All Lagniappe Set Collectibles
.webp)
There are 15 sets of three Lagniappe collectibles (45 Lagniappes in total) scattered about Derceto and its strange anomalies. Completing each Lagniappe set also earns you a unique reward, such as a weapon, forbidden knowledge, or even a secret objective. This guide provides the locations of all the Lagniappe collectibles in Alone in the Dark.
Where to Find All Lagniappe Collectibles
Need help to find a particular Lagniappe collectible? Click the links below to locate the items for each collectible set.
- Vagabonds Set
- A Goat Without Horns Set
- A Great Depression Set
- All the World's a Stage Set
- A Thousand Young Set
- Beast of Burden Set
- Death of the Author Set
- Dying with Dignity Set
- Lost Children Set
- Prisoner of Ice Set
- The Crescent City Set
- The Hartwood Curse Set
- Unspeakable Cults Set
- The Pirates of Pontchartrain Set
- When It Makes You Worse Set
Vagabonds Set
Complete the Vagabonds set to unlock Forbidden Knowledge.
Reveal spoiler
A Brightness From Afar
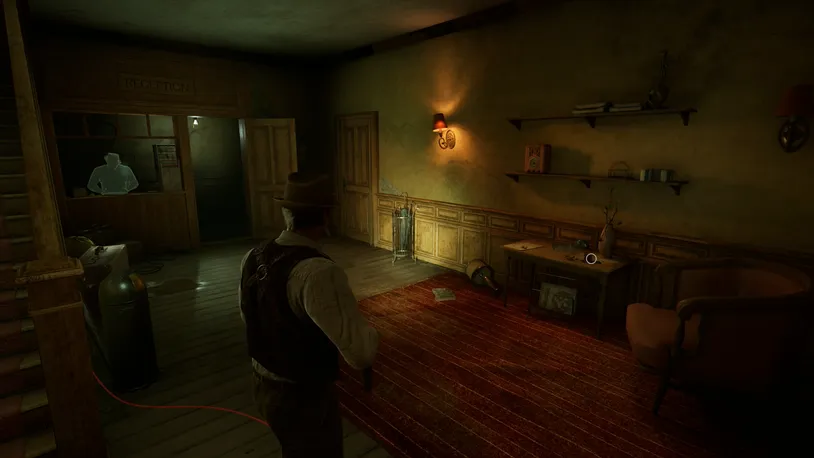
After returning from the Oil Fields, if you're playing as Emily, go to the Library and pick up A Brightness From Afar Lagniappe on the table next to the chair Ruth was sitting in earlier. Alternatively, if you're playing as Edward, this will appear on the table in the Mezzanine.
Canopic Jar
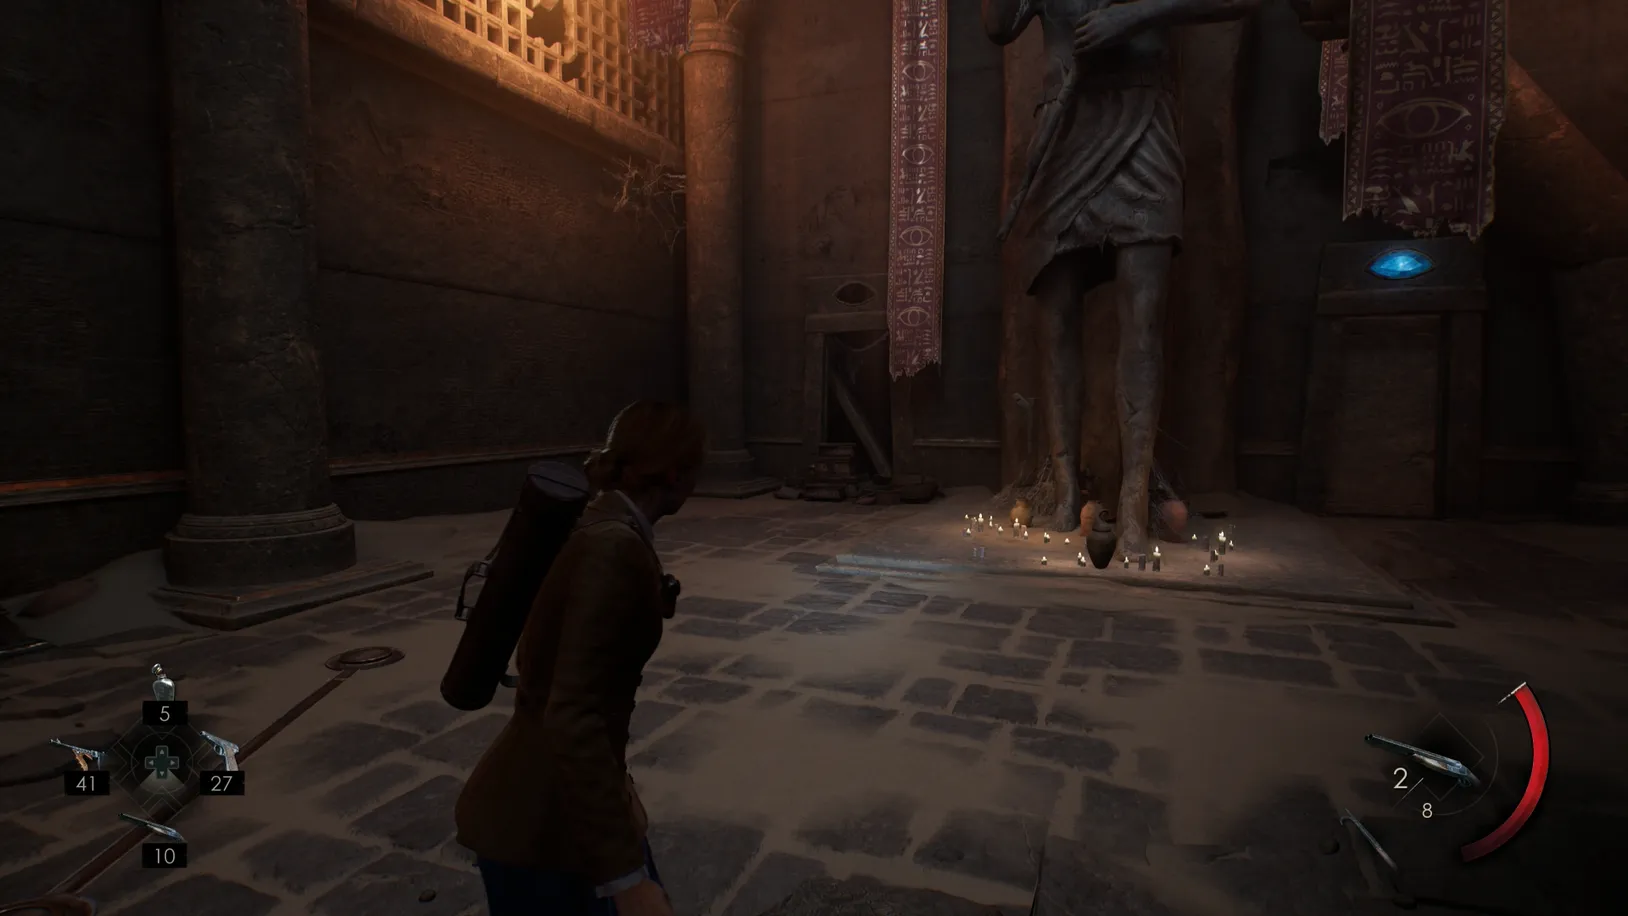
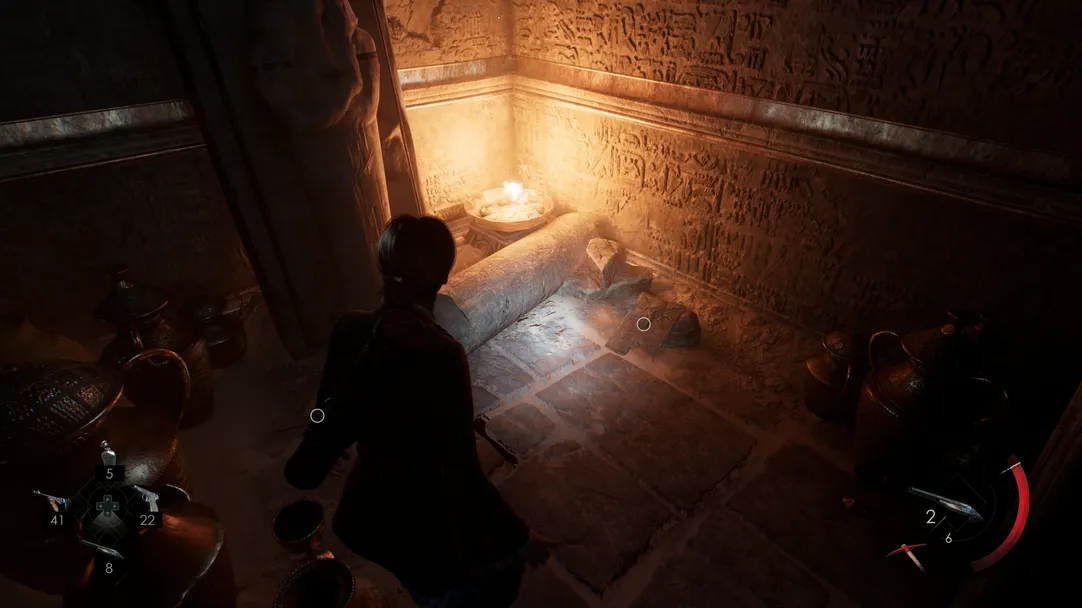
When climbing down into the tomb, a short cutscene will play as you descend. Once on the ground, approach the large nearby statue and you'll find the Canopic Jar Lagniappe at the base of the statue.
Broken Compass
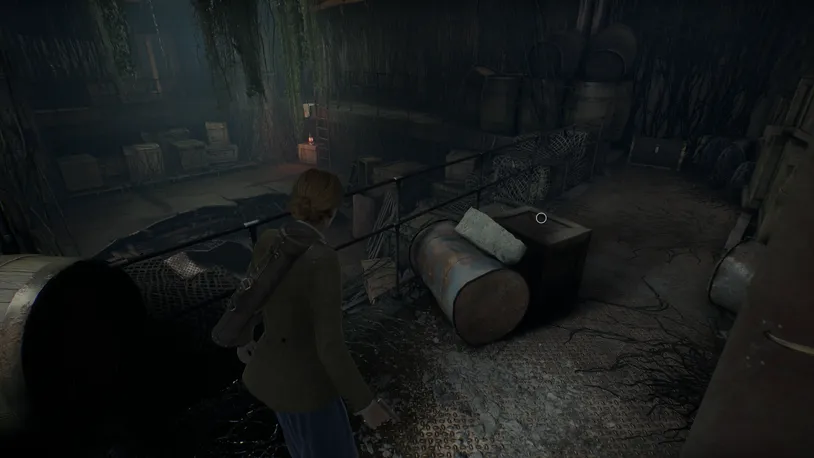
From the poker table room on the Steamboat, walk past the big hole in the floor and through the next door to the outside. Now, before continuing to the top deck, descend down the nearby stairs until you reach the bottom floor.
Turn right, and head through the double red doors, where you'll find the Broken Compass Lagniappe on top of a wooden crate when entering.
A Goat Without Horns Set
Complete the A Goat Without Horns set to unlock a secret objective. To learn more about the secret objective, see the spoiler box below.
Reveal spoiler
Reveal spoiler
The whispers became more common as he moved to New Orleans, but still rare enough to be ignored.
Now as he walks the halls of Derceto, he knows what is calling him. He doesn't want to admit it, but the Dark Yound in the conservatory is telling him to sacrifice the Kabri-san-korn.
Preserved Reptile

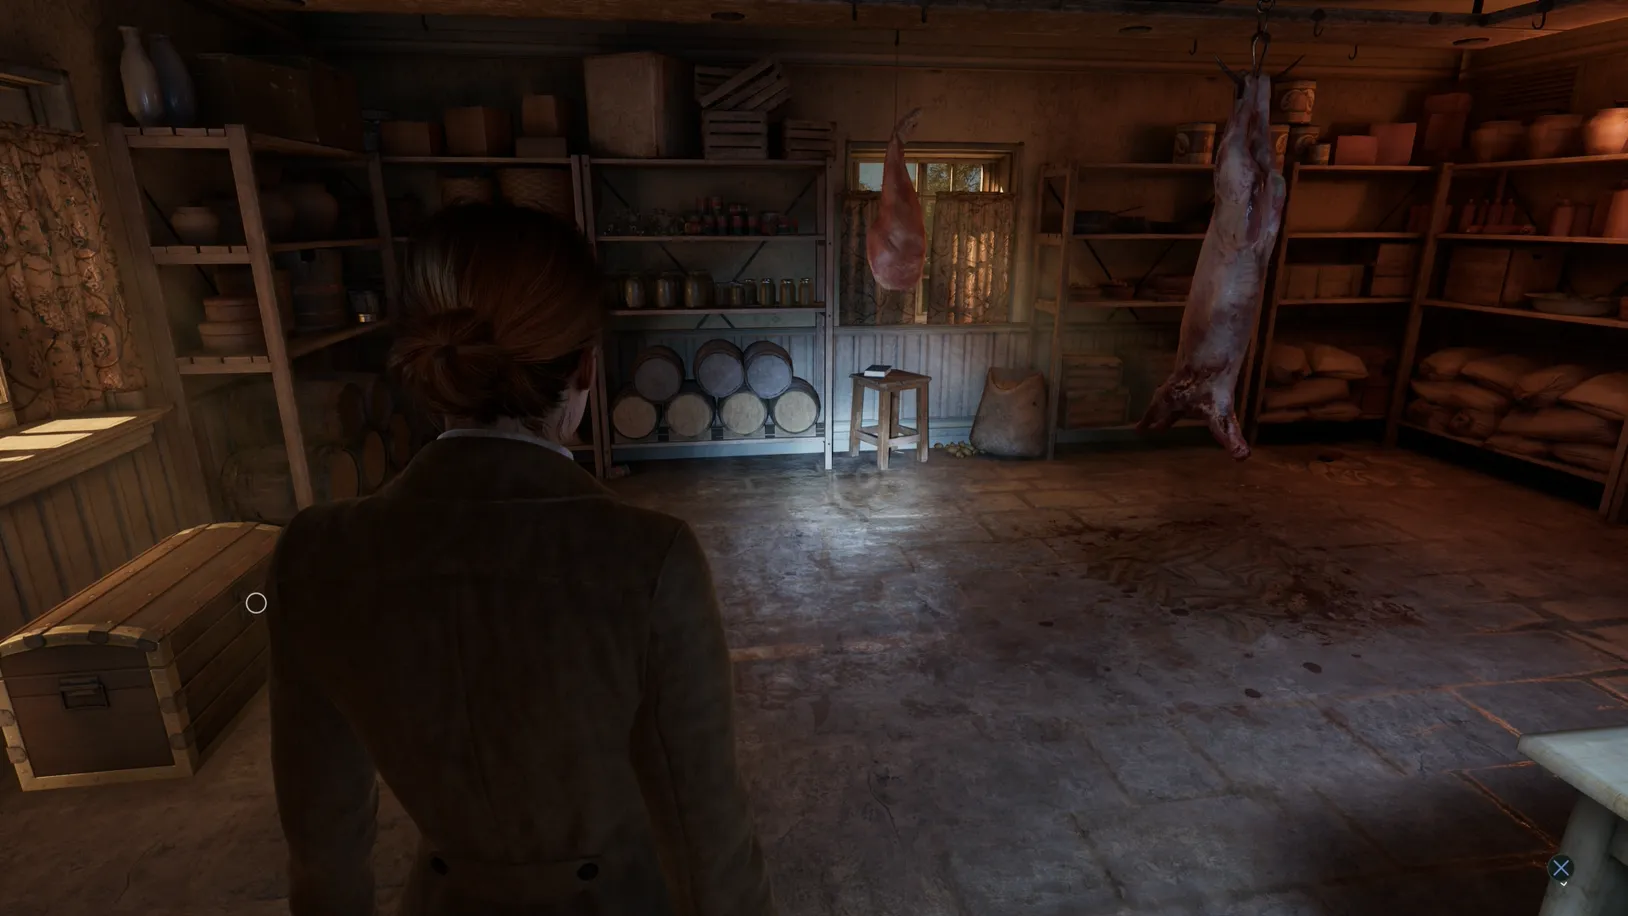
Following the cutscene with Batiste in Chapter 1, pick up the Preserved Reptile Lagniappe off the floor next to the large chest in Batiste's store.
Jangling Shaker
After leaving the Empty Room, enter the Grand Parlor to experience another anomaly, where you'll find the Jangling Shaker Lagniappe on the ground behind the bar counter.
Profane Totem
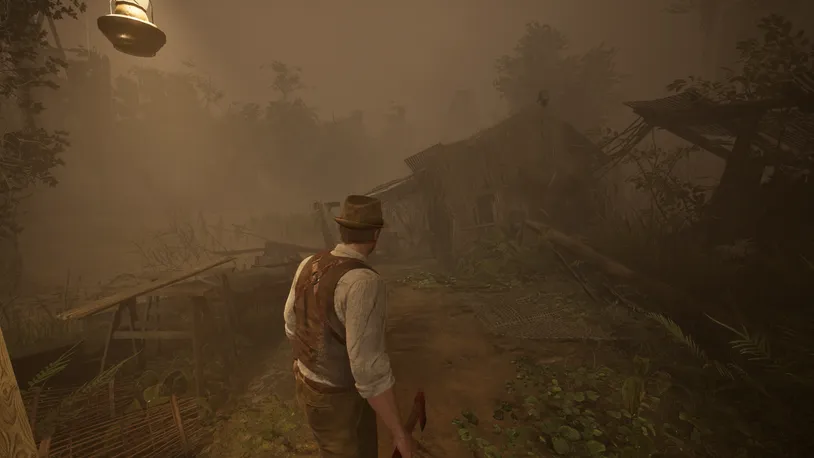
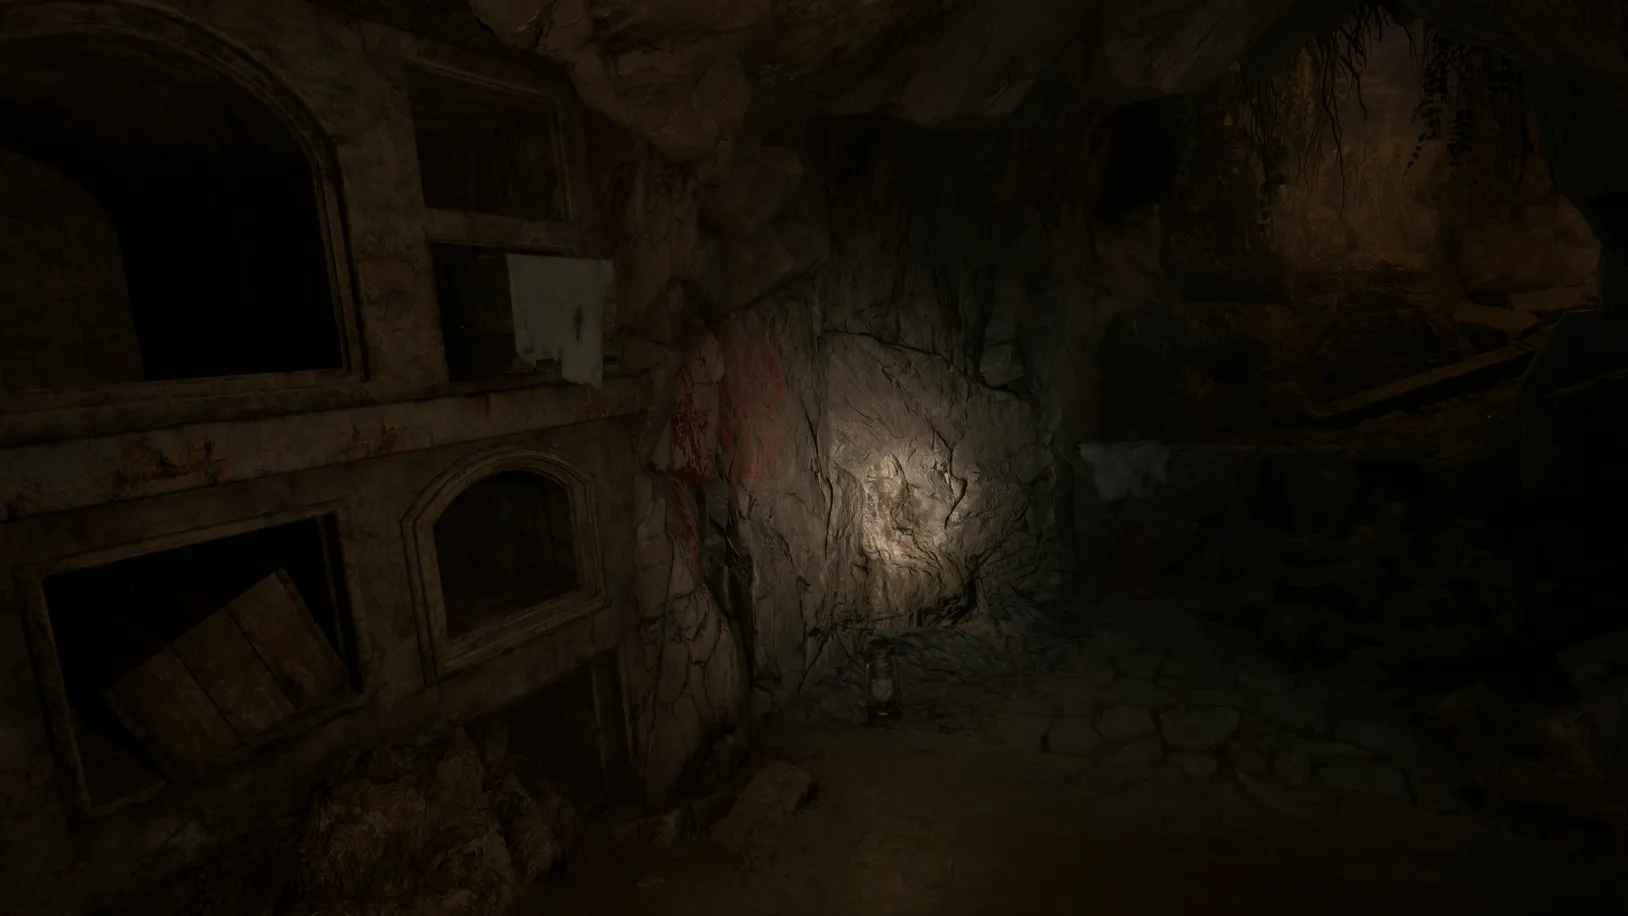
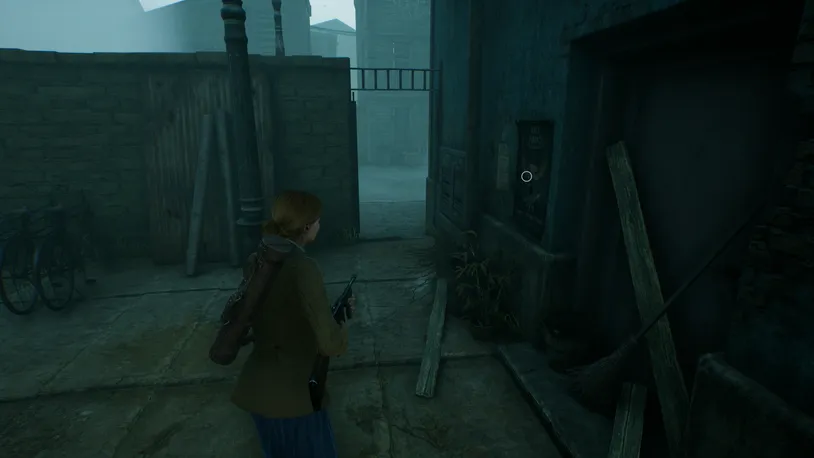
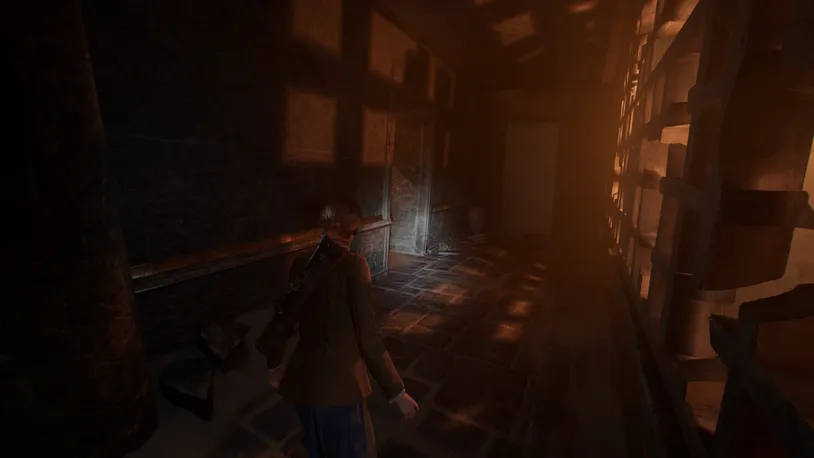
Edward Only: When exiting the hotel room in Chapter 4, you will see that you have arrived at the Pearl River Bridge. Now, turn left and follow the path under the bridge, turning left when you reach the fork in the path.
At the end of the path, you'll find an old abandoned building, where you'll find the Profane Totem Lagniappe inside, on the ground beside the chest.
A Great Depression Set
Complete the A Great Depression Set to unlock Forbidden Knowledge.
Reveal spoiler
Rat Poison
During Chapter 1, you'll find some Rat Poison in the back corner of the Pantry, on top of an old sheet on the ground.
Beignet
.webp)
When entering the Mezzanine through the hallway in Chapter 2, follow the path left, and you’ll find the Beignet Lagniappe in a bowl on top of a side table.
Syringe
.webp)
Following the cutscene with Grace in the Grand Parlor during Chapter 2, pick up the Syringe off the floor, which is part of the A Great Depression Lagniappes set.
All the World's a Stage Set
Complete the World's a Stage set to unlock a secret objective. To learn more about the secret objective, see the spoiler box below.
Reveal spoiler
Reveal spoiler
Box of Biscuits
Emily Only: When turning on the power in the sealed Medical Ward during Chapter 4, head to the opposite end of the room. The Box of Biscuits Lagniappe is on the left-most desk.
Curious Napkin
Edward Only: When entering Hotel St. George during Edward's anomaly in Chapter 4, you'll find the Curious Napkin Lagniappe on top of a wooden table that's along the wall to your right.
Toy Talisman
In Chapter 4, after speaking with the other character in Dr. Gray's Apartment, pick up the False Book from Dr. Gray's desk and then pick up the nearly appeared Toy Talisman Lagniappe that's now on the ground beside Dr. Gray's Apartment door.
A Thousand Young Set
Complete the A Thousand Young set to unlock Forbidden Knowledge.
Reveal spoiler
Ever Their praises, and abundance to the Black Goat of the Woods. Hear us, Mother, and take pity on us.
Accept our sacrifice and judge our worth. Ia! Shub-Niggurath.
Forsaken Crucifix
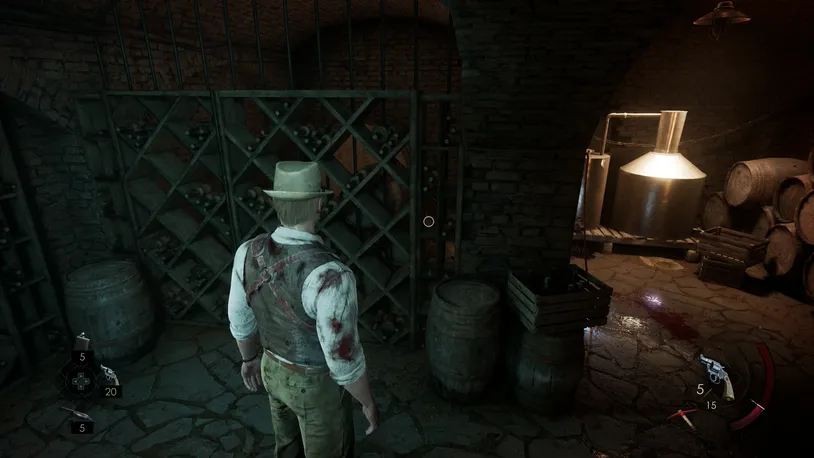
In Chapter 2, when entering the Wine Cellar, the Forsaken Crucifix is tucked away on the shelf directly in front of you, amongst some wine bottles. The exact shelf is nearest to the two wooden barrels and the crate of wine.
Nurse’s Watch
.webp)
When searching for the Medicine Bottle in Lottie’s Room during Chapter 2, you’ll notice her window is slightly open. Shut the window, and you’ll find the Nurse’s Watch sitting on the window sill.
Severed Horn
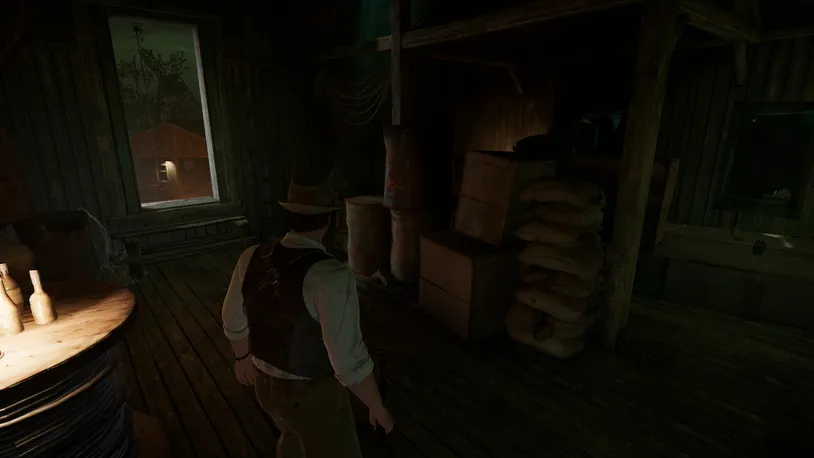
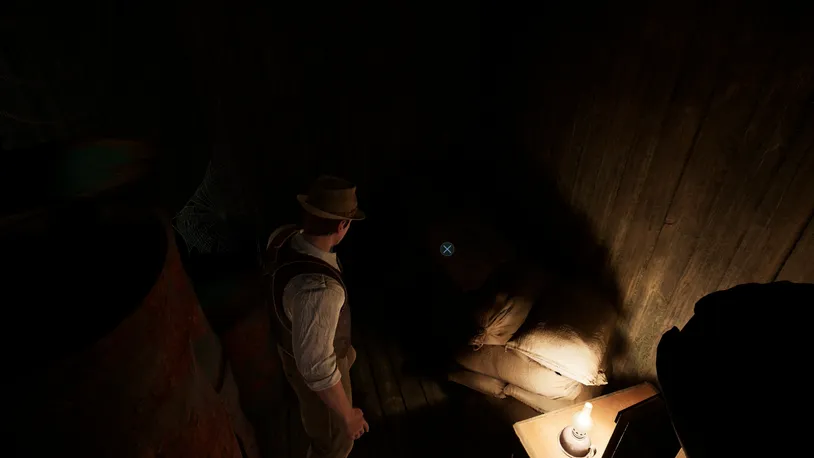
Inside the warehouse during the Gallatin Street section of Chapter 3, you'll find the Severed Horn Lagniappe on top of a wooden crate in the dark corner just left of the main entrance door.
Beast of Burden Set
Complete the Beast of Burden set to unlock Forbidden Knowledge.
Reveal spoiler
Mummified Cat
.webp)
During Chapter 2, go through the Conservatory to the Kitchen Garden, and watch as a cutscene plays out. Following the cutscene, interact with the hole in the garden bed to discover a Mummified Cat, which is part of the Beast of Burden Lagniappes set.
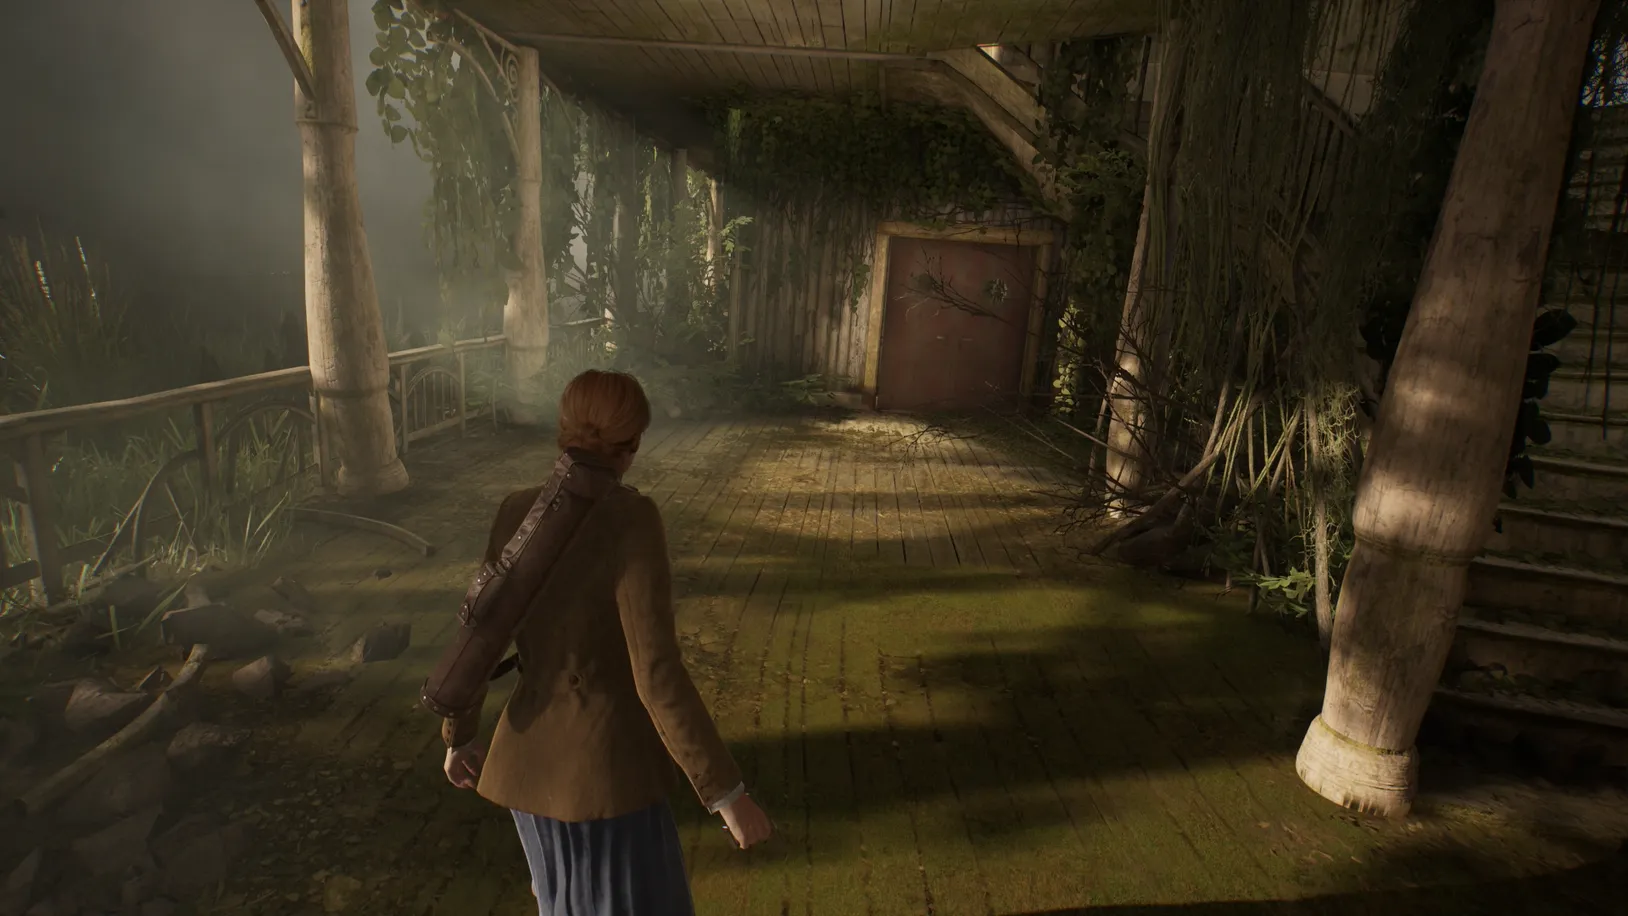
Gazing Statuette
.webp)
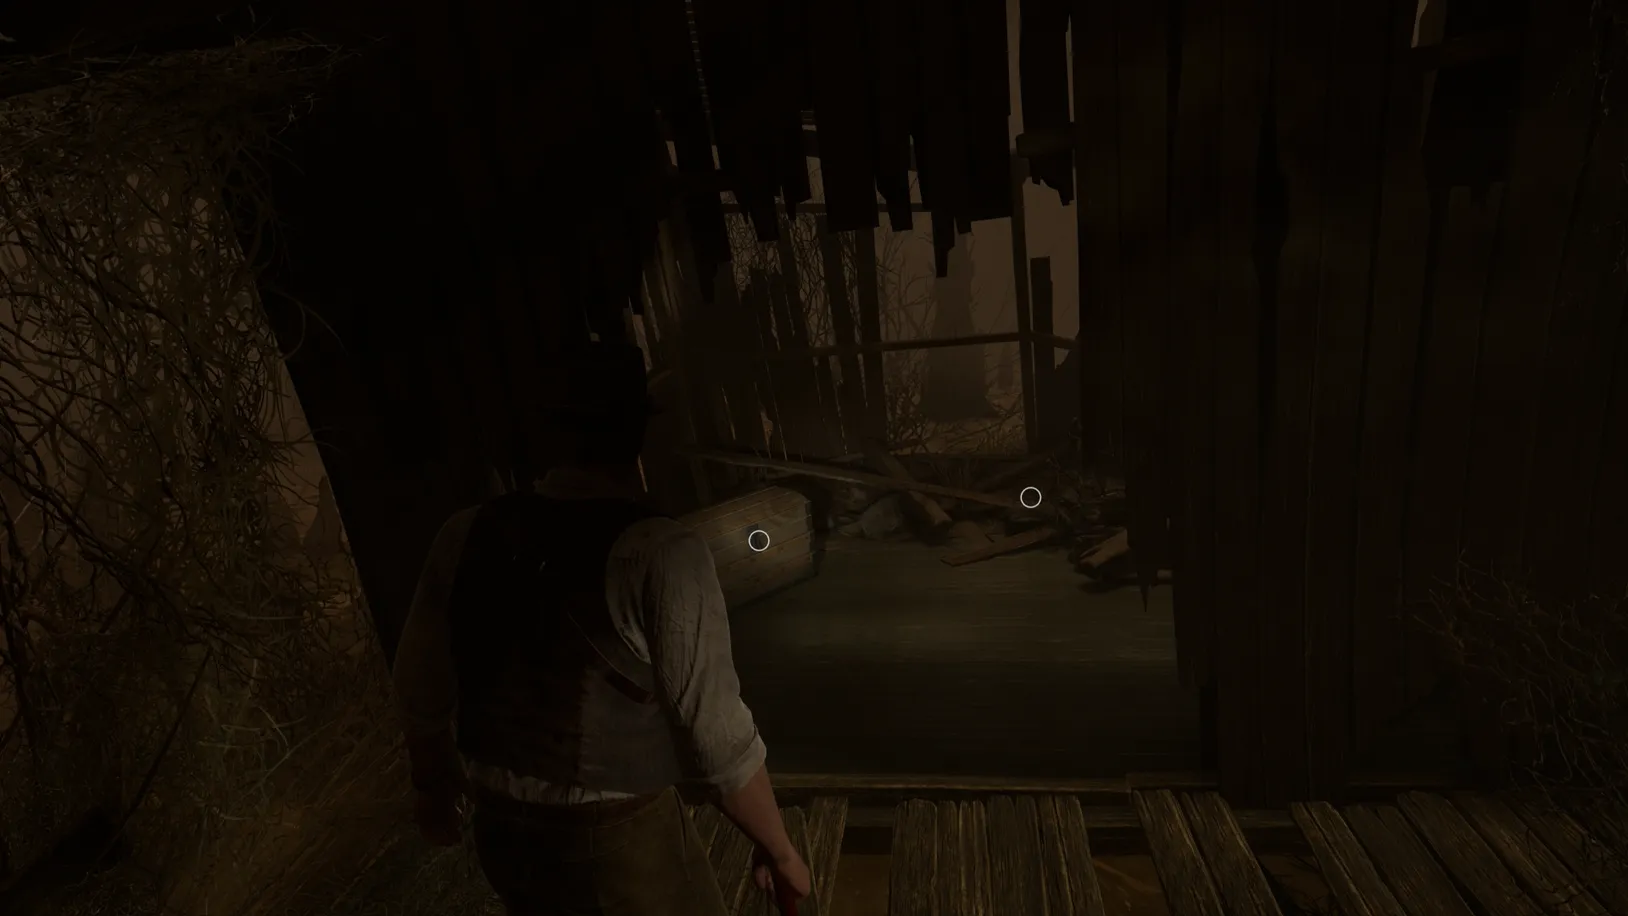
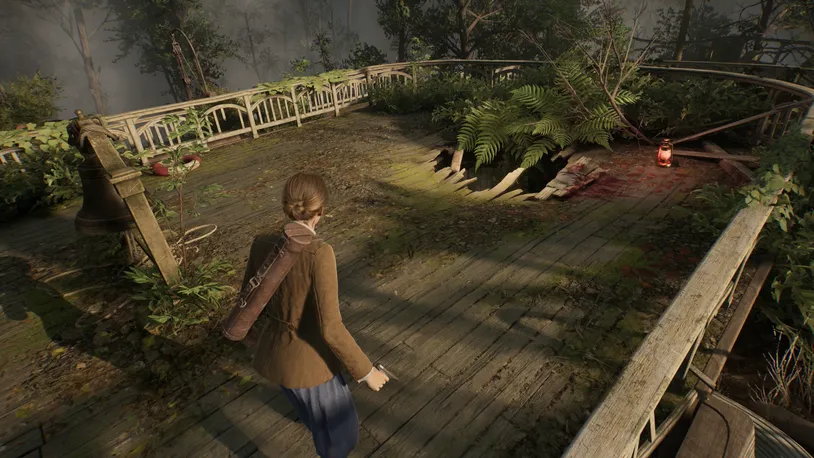
In Chapter 2, after breaking through the barrier in the Hateful Mound, you'll be tasked with heading towards the tower. Before doing so, cross over the wooden boardwalk, turn left, and enter the far, well-lit house at the end of the path—it’ll be playing music, so you can’t miss it.
.webp)
Inside, you’ll find a swamp creature, so take it down swiftly. Additionally, you’ll find some Pistol Bullets in the house and the Gazing Statuette Lagniappe on the workbench.
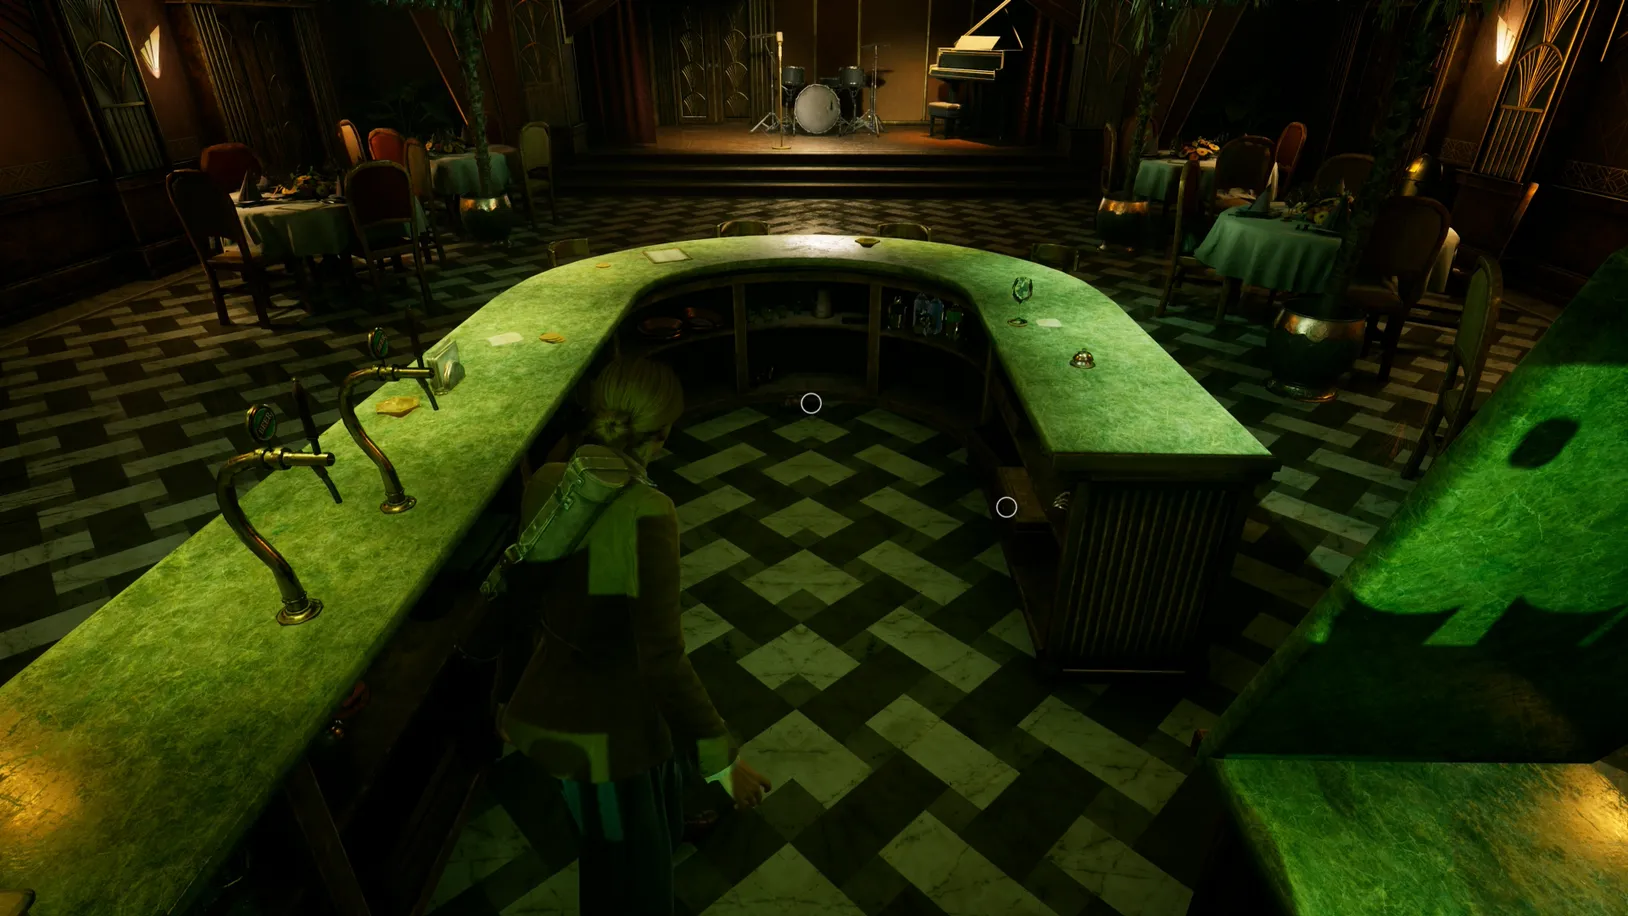
Unmasked Evil
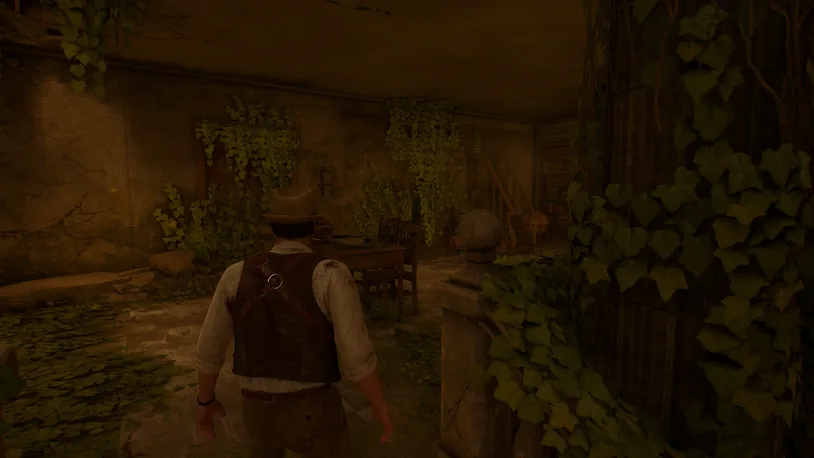
When entering the Great Library in Chapter 3, make your way up to the third floor. From the top of the staircase, look slightly right, and you'll find a small hole covered in green vines that you squeeze through on the wall in front of you.
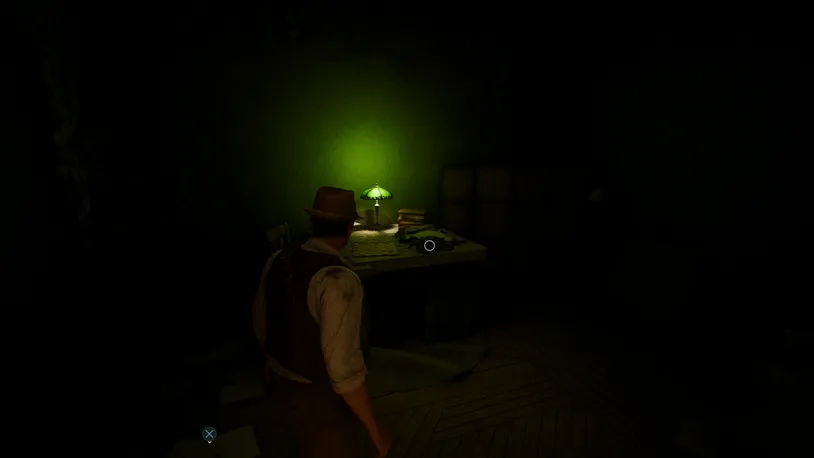
When squeezing through the gap, you'll find the Unmasked Evil Lagniappe on a table that's lit with a green hue.
Death of the Author Set
Complete the Death of the Author set to unlock Forbidden Knowledge.
Reveal spoiler
Typewriter Ribbon
After exiting the boathouse in the Gatlin Street section of Chapter 3, proceed towards the water's edge. At the crossroads, turn left, and you'll find the Typewriter Ribbon Lagniappe on a small wooden crate at the end.
Broken Spectacles
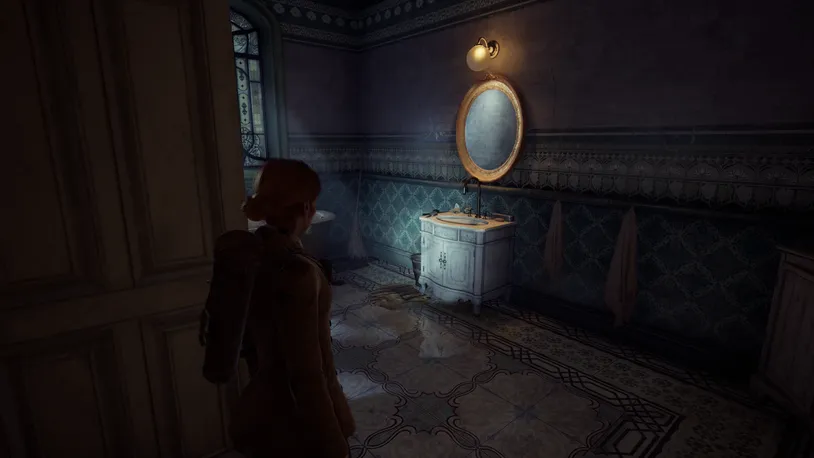
Found in the Water Closet near Lottie's Room during Chapter 4, you'll find some Broken Spectacles in the sink.
Movie Script
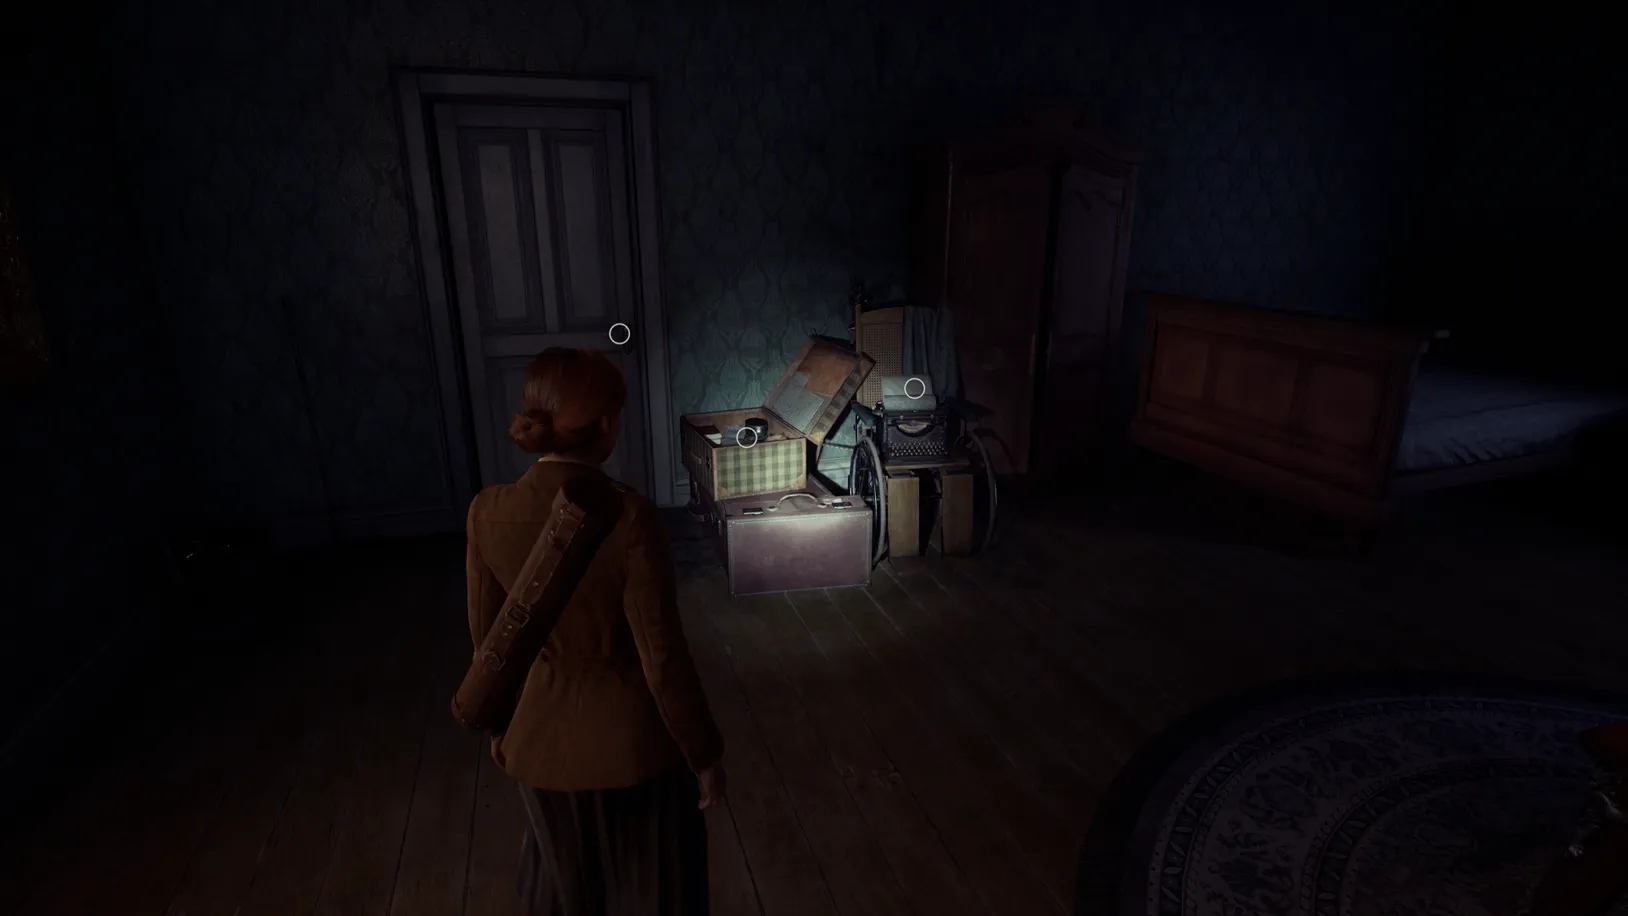
In Chapter 4, enter Cassandra's room. There, you'll find the Movie Script Lagniappe inside a suitcase beside her door.
Dying with Dignity Set
Complete the Dying with Dignity set to unlock a secret objective. To learn more about the secret objective, see the spoiler box below.
Reveal spoiler
Reveal spoiler
This dark blessing is said to protect against evil. Much like the sign of the horns which is quite similar, but has a reversed schema. The truth is that the dark blessing is a sign of submission. A complete capitulation to your lesser selves. The sign only protects from evil in the sense that you become a part of it.
Sheet Music
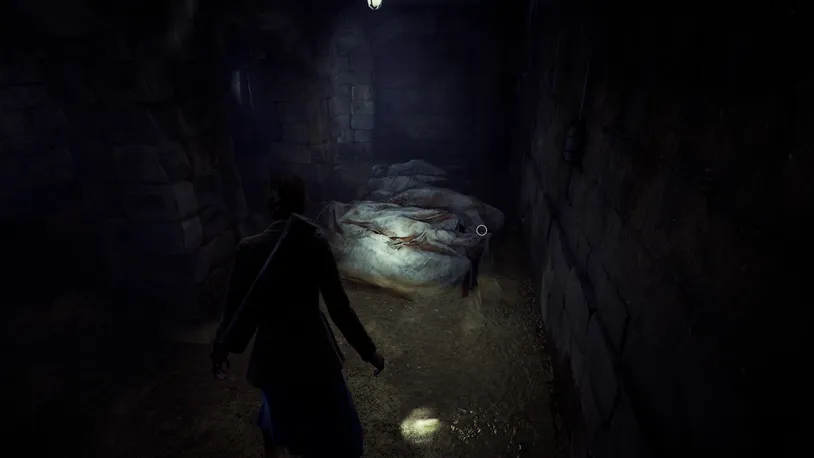
After the chase sequence through the crypt in the Cemetery during Chapter 2, you'll find an easily missable crevice along the left wall just before you climb up the small ledge and leave the crypt via the ladder.

In this crevice, you'll find the Sheet Music Lagniappe on top of a wooden coffin.
War Photo
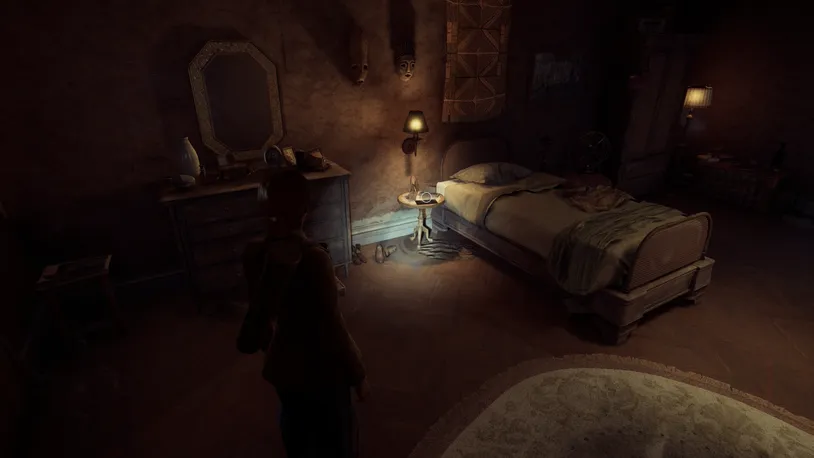
Emily Only: In Ruth's Room during Chapter 4, you'll find the War Photo Lagniappe on her bedside table.
Toe Tag
Emily Only: After solving the blueprint puzzle in Chapter 4, be sure to pick up John's Toe Tag Lagniappe from where he's lying on the ground before leaving the morgue.
Lost Children Set
Complete the Lost Children set to unlock the Shotgun Cabinet in the Small Parlor.
Reveal spoiler
Rubber Stamp
.webp)
During Chapters 1 and 2, you’ll find the Rubber Stamp in the Reception room, sitting on the small wooden reception bench.
Dog Collar
.webp)
At the back of the Drawing Room – which you visit during the main story in Chapter 2 – you will find the Dog Collar from the Lost Children set on a small table along the wall.
Fountain Pen
.webp)
Found in Batiste’s Room during Chapter 4, you’ll find the Fountain Pen Lagniappe on the small table along the wall.
Prisoner of Ice Set
Complete the Prisoner of Ice set to unlock Forbidden Knowledge.
Reveal spoiler
Tessellated Shard

When entering the Attic during Chapter 4, you'll find the Tessellated Shard Lagniappe on a table that's hidden inside a small room, not too far from the hanging noose.
Do Not Disturb
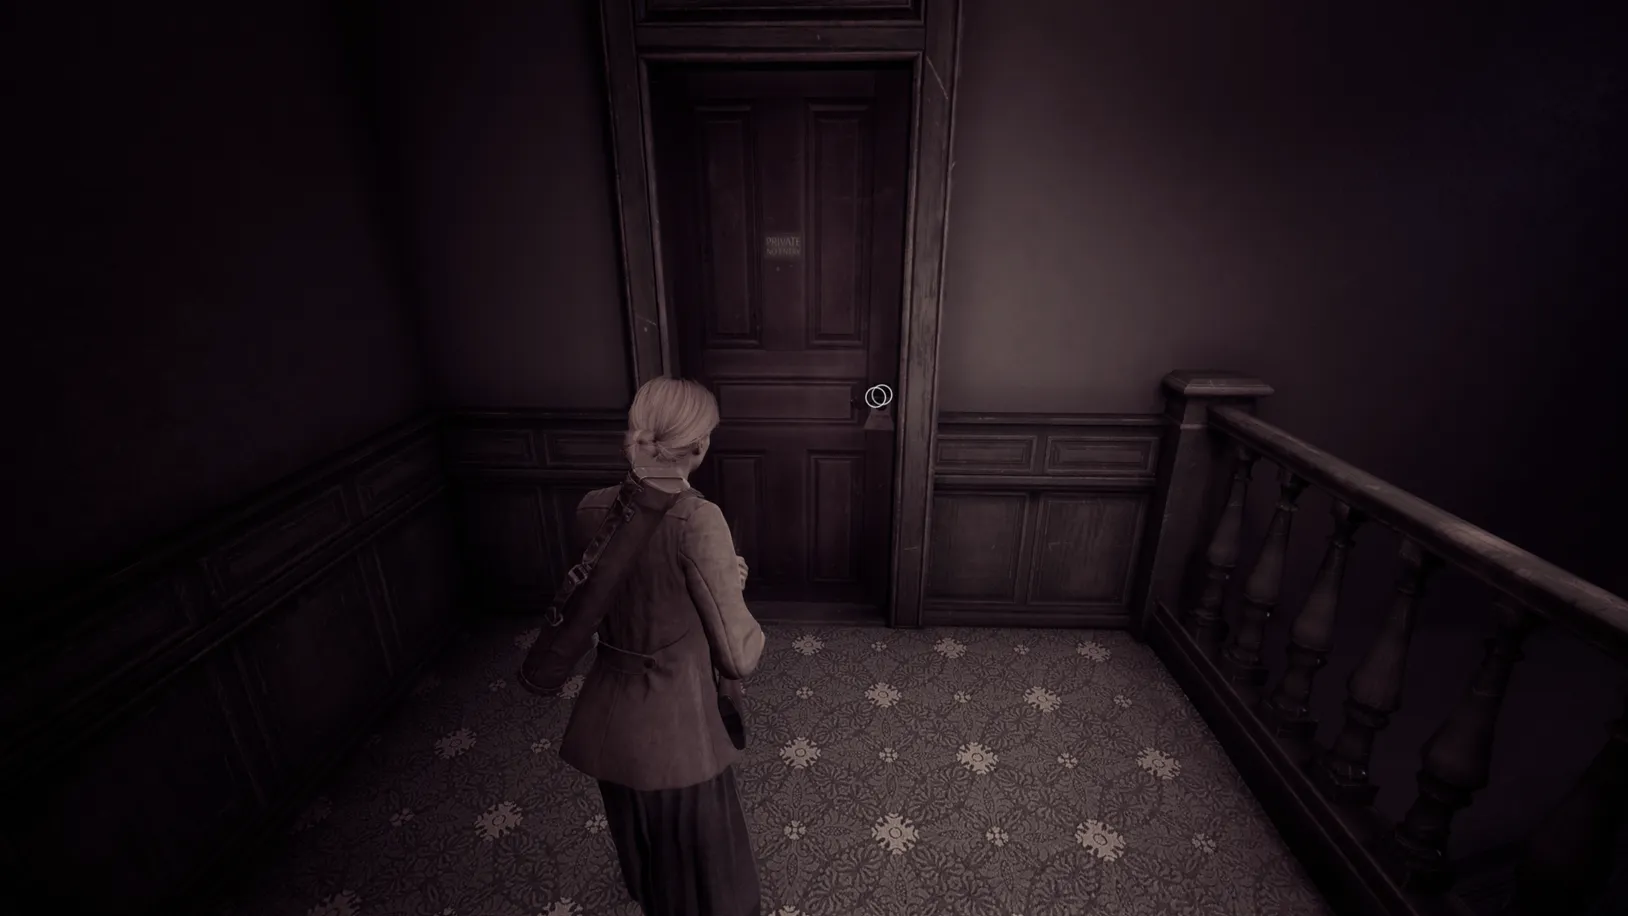
Before entering Dr. Gray's Apartment in Chapter 4, you'll find the Do Not Disturb Lagniappe on his door handle.
Sallow Offering
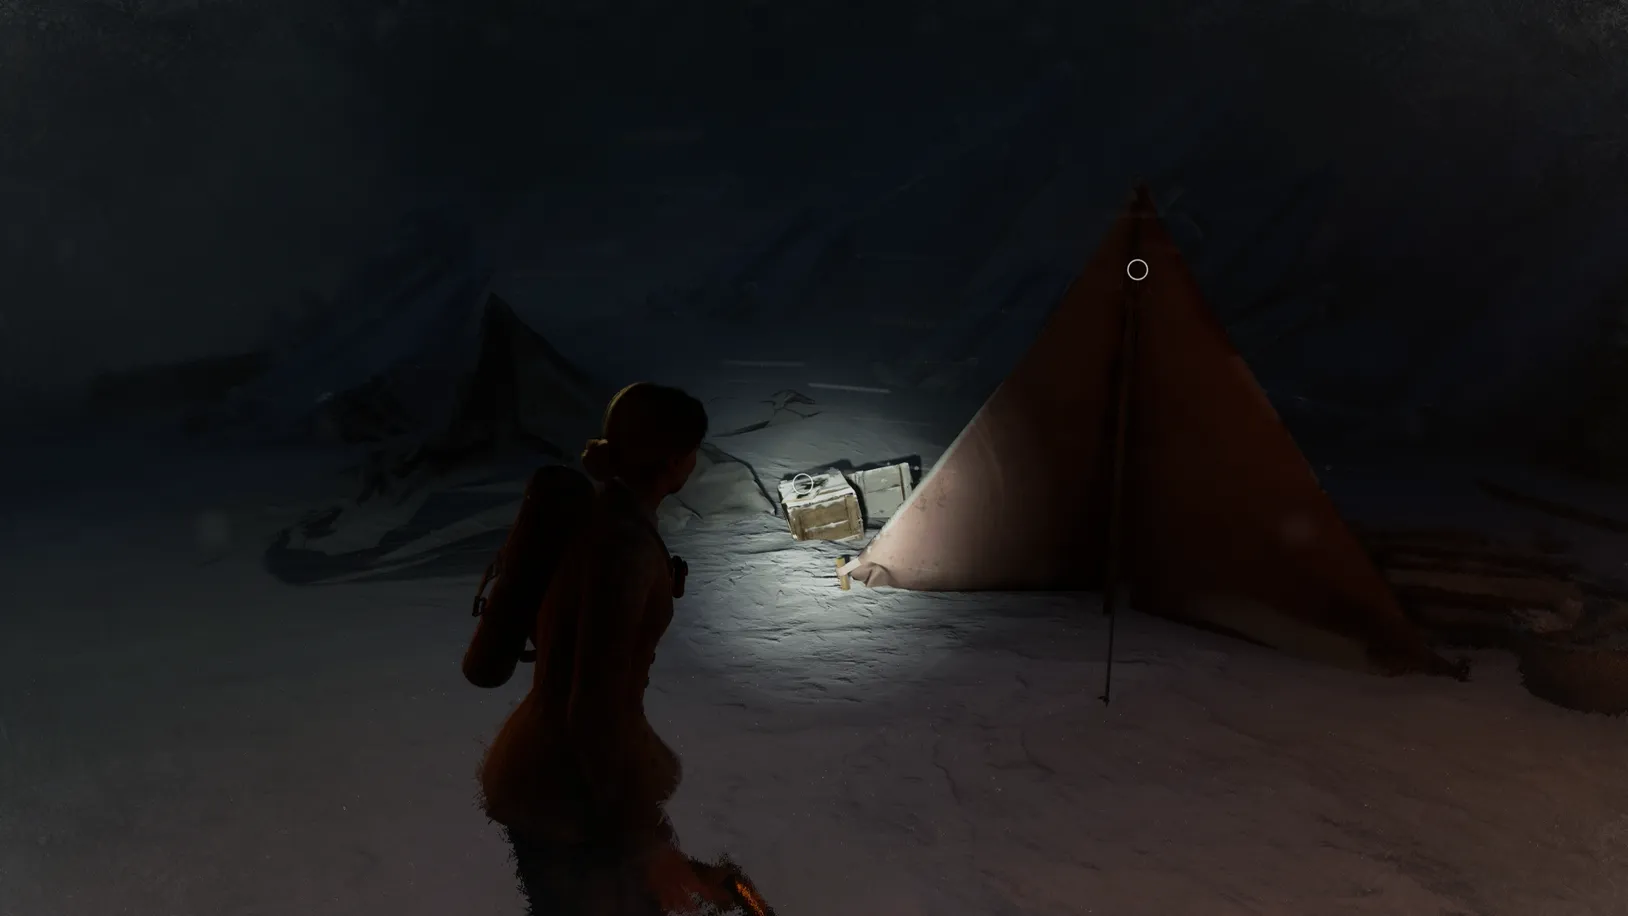
When reaching Greenland in Chapter 4, you'll encounter a small camp when exiting the frozen boat. When entering the camp, you'll find the Sallow Offering Lagniappe on top of the bright red tent to your right.
The Crescent City Set
Complete The Crescent City set to unlock Forbidden Knowledge.
Reveal spoiler
Streetcar Ticket
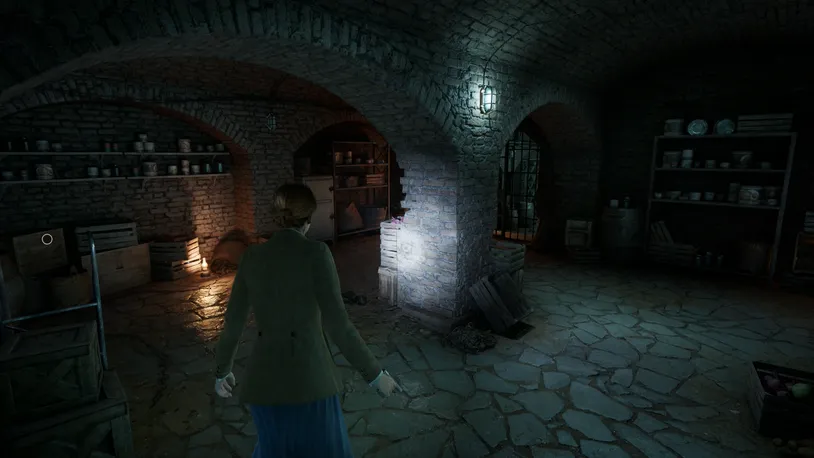
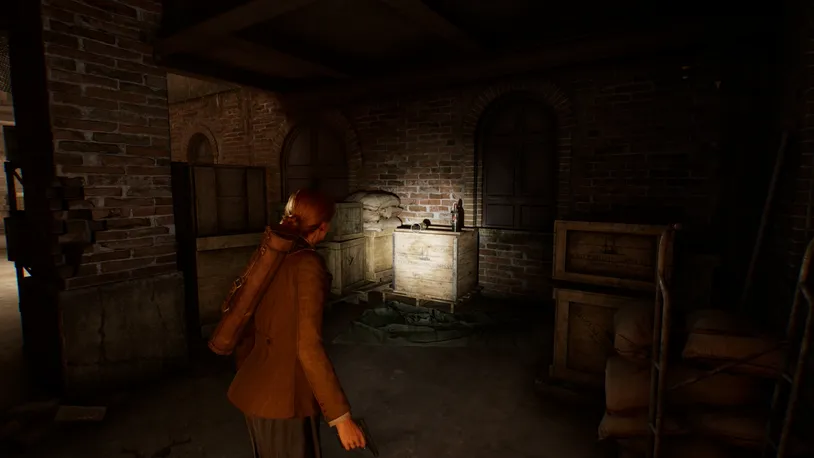
During Chapters 1 and 2, the Streetcar Ticket Lagniappe is on a shelf in the rightmost corner of the Food Cellar.
Ju-Ju
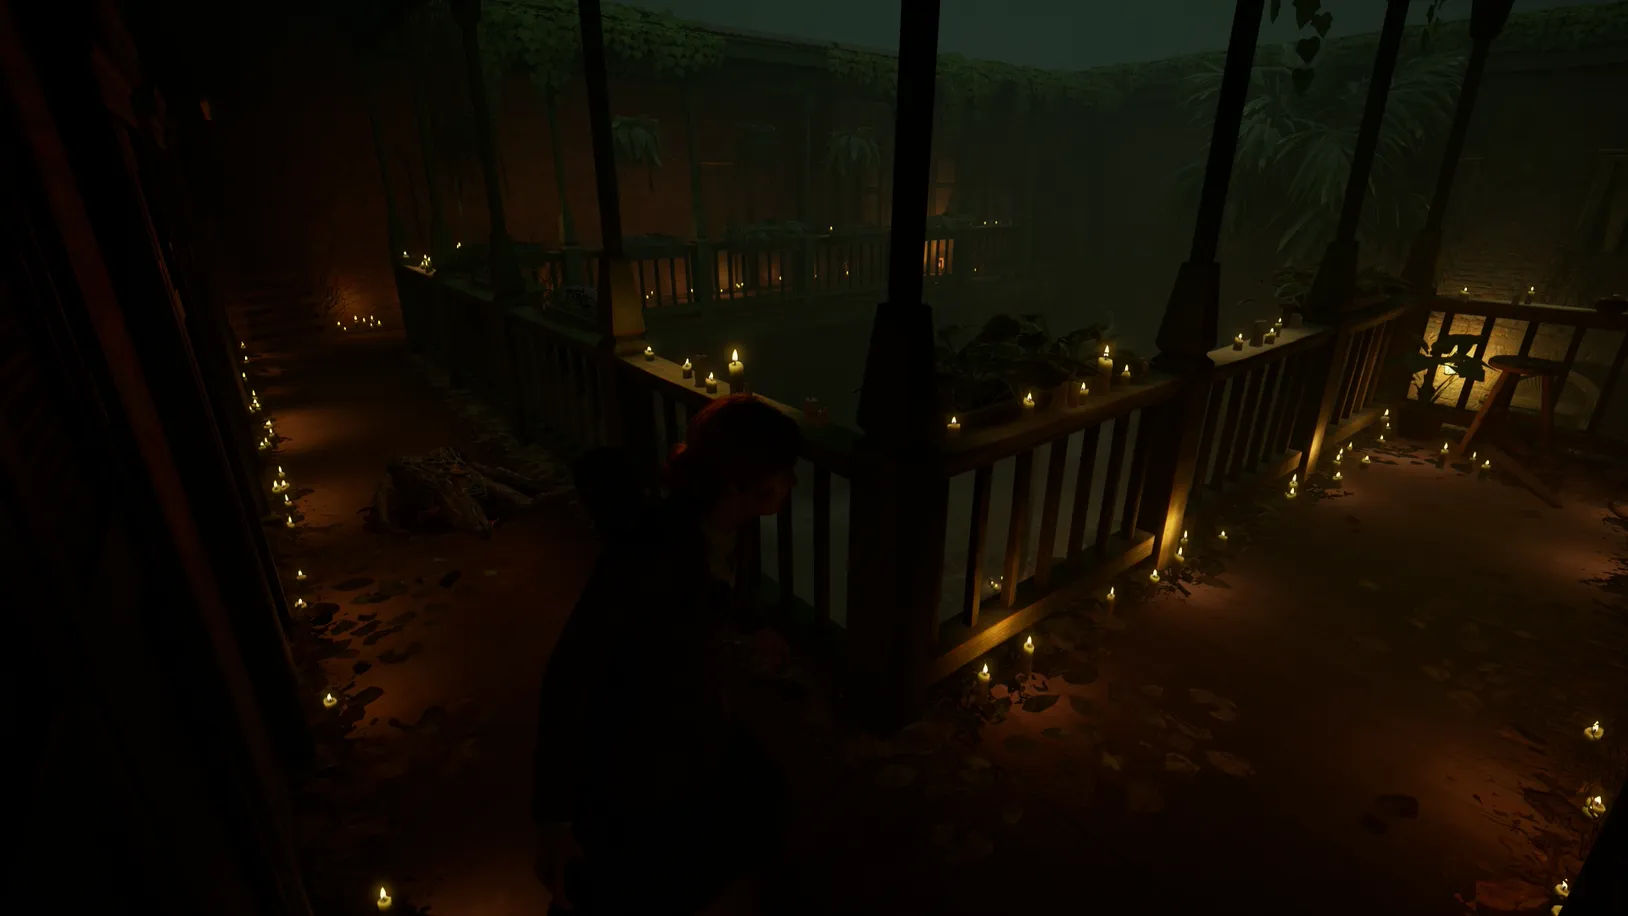
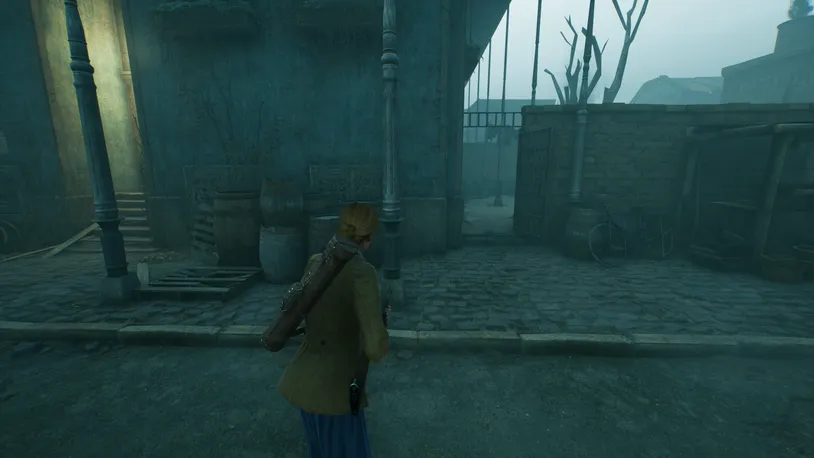
From the second courtyard in the French Quarters during Chapter 1, climbing the stairs to the balcony, turn right, and you’ll find the Ju-Ju Lagniappe on a small stool.
Matchbook
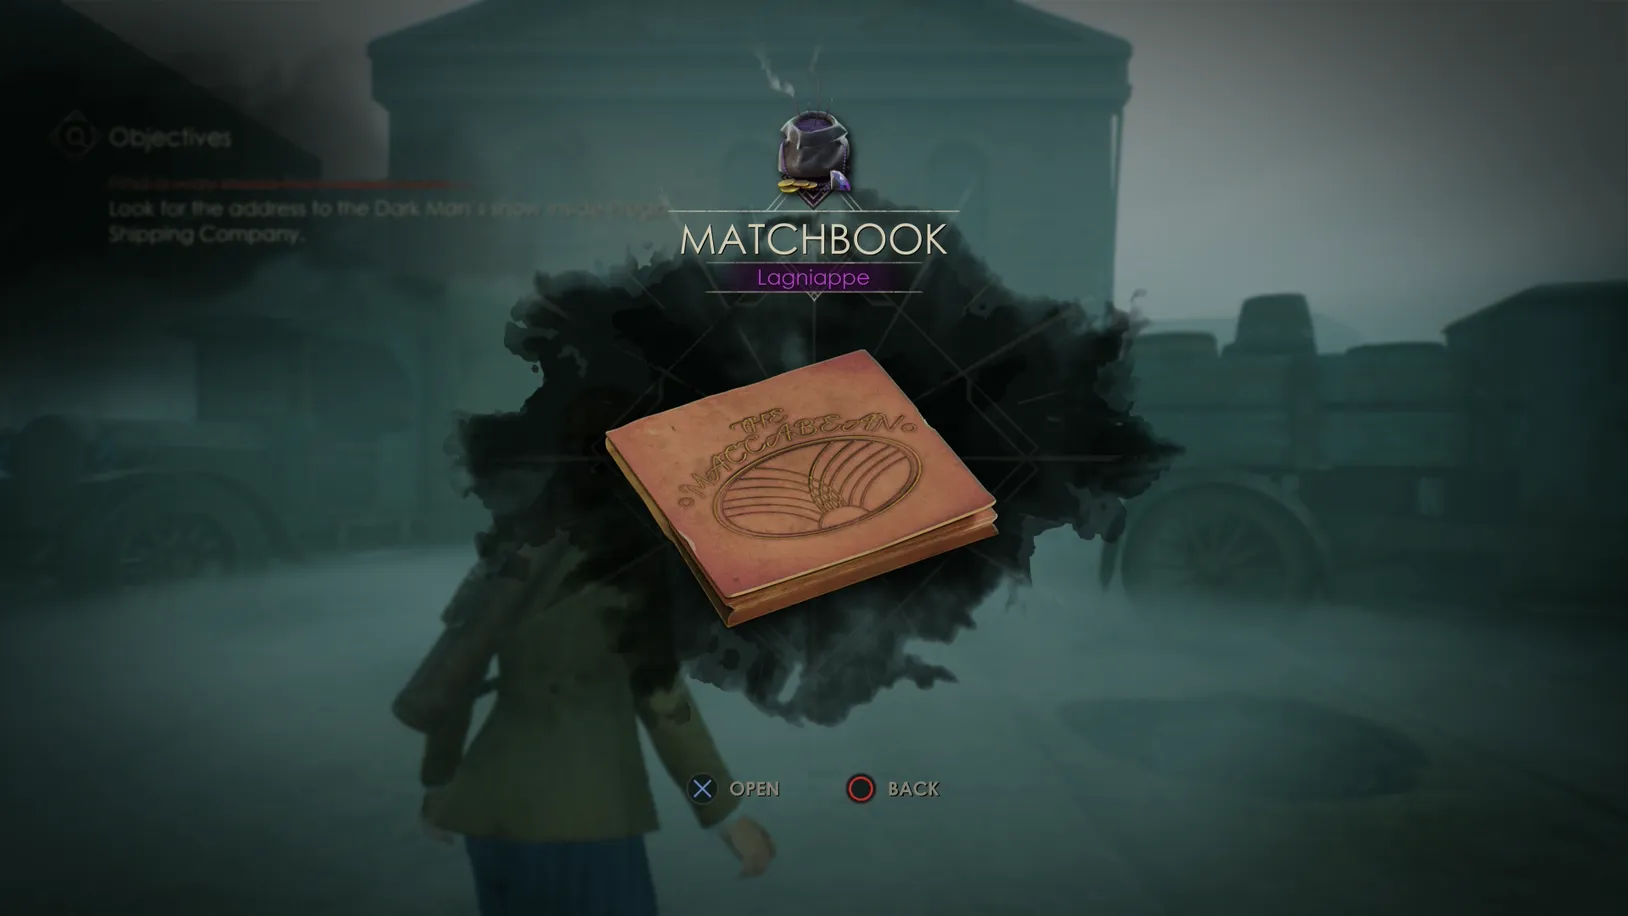
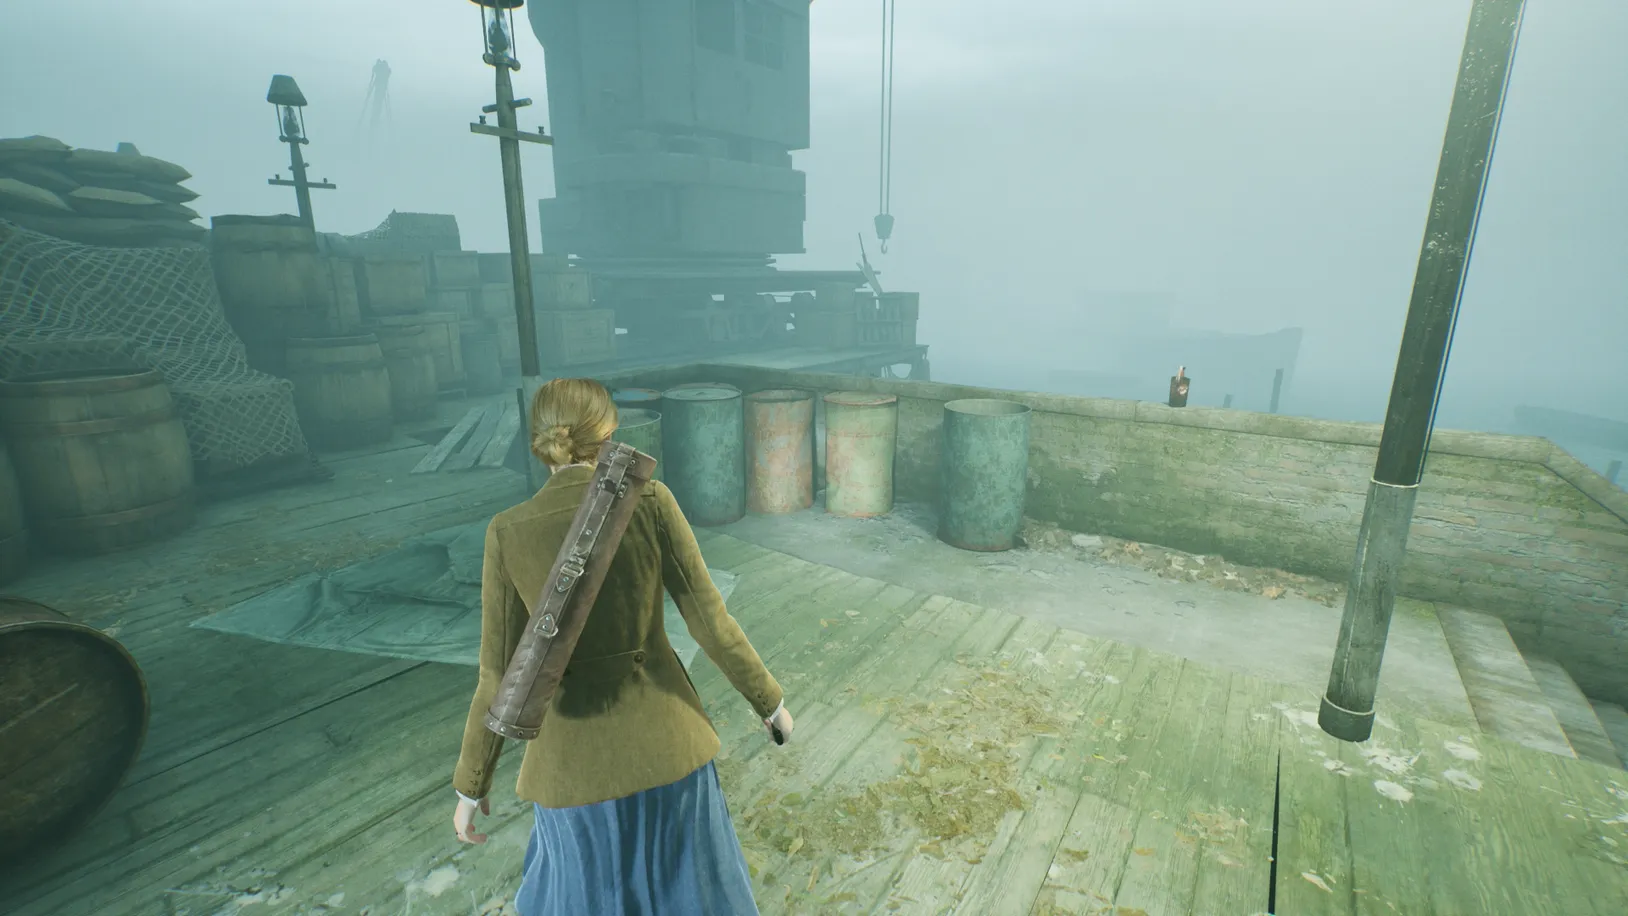
After visiting the Grand Library in Chapter 3, you'll automatically receive the Matchbook when you arrive at the Pregzt Shipping Company.
The Hartwood Curse Set
Complete the Hartwood Curse set to unlock a hidden memory in the Attic. To learn more about the hidden memory, click the spoiler box below.
Reveal spoiler
Reveal spoiler
Alone in the Dark
In Chapter 2, you'll find a safe in the back of the Clerk's Office. While you won't have the code yet, you can open it early if you know the code. This is only possible if you have already played the game or are using a guide during your first playthrough.
To open the safe, enter the following code: L9 R1 L3. Doing so will reward you with the Alone in the Dark Lagniappe, which is only available in Chapter 2.
Discarded Palette
During Chapter 2, after fixing the bridge in the Hateful Mound, climb up to the second floor of the barn and follow the path until you near a chain that's hanging outside the barn loft window.
It's important not to get too close to this chain. Otherwise, you will trigger a cutscene, and you'll miss this Lagniappe.
To obtain the Discarded Palette, look just right of the window. A stack of three red barrels will be there.
Carefully near them and squeeze between the gap, where you'll find the Lagniappe inside a chest.
Witness The Black Pharaoh
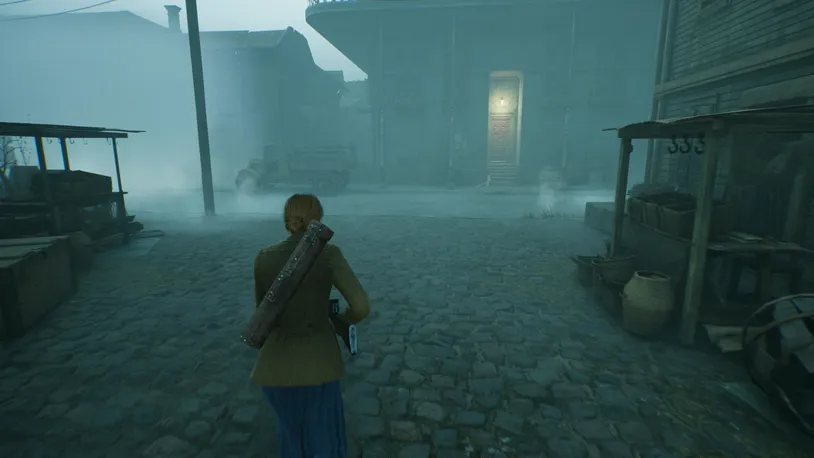
During Chapter 3, after learning the address of the theater where Jeremy first met the Dark Man, head outside and follow the newly opened street until you reach a large, well-lit entrance to a building.
Before heading inside, turn right and head into a small side garden area, where the Witness The Black Pharaoh Lagniappe poster is hanging on the wall.
Unspeakable Cults Set
Complete the unspeakable Cults set to unlock Forbidden Knowledge.
Reveal spoiler
That is the story of every man and woman who gather around that ancient arbor. They all croak, bark, and bleat. Because their own bodies are afraid and they wish to repel the evil those words conjure. Ia! Ia!
Instead of that blasphemous name, they gossip in hushed whispers the names of Derceto, Astarte, and the Black Goat of the Woods.
Children of a Dark Sun
During Chapter 3, when exploring the tomb in the desert, make your way to the second floor.
Travel down the left side hall and then turn left at the very end.

Climb the stairs and then enter the doorway. To your right, you'll find a small hidden room. Here, you'll find a Pickaxe and the Children of a Dark Sun Lagniappe on the ground.
Scapegoat
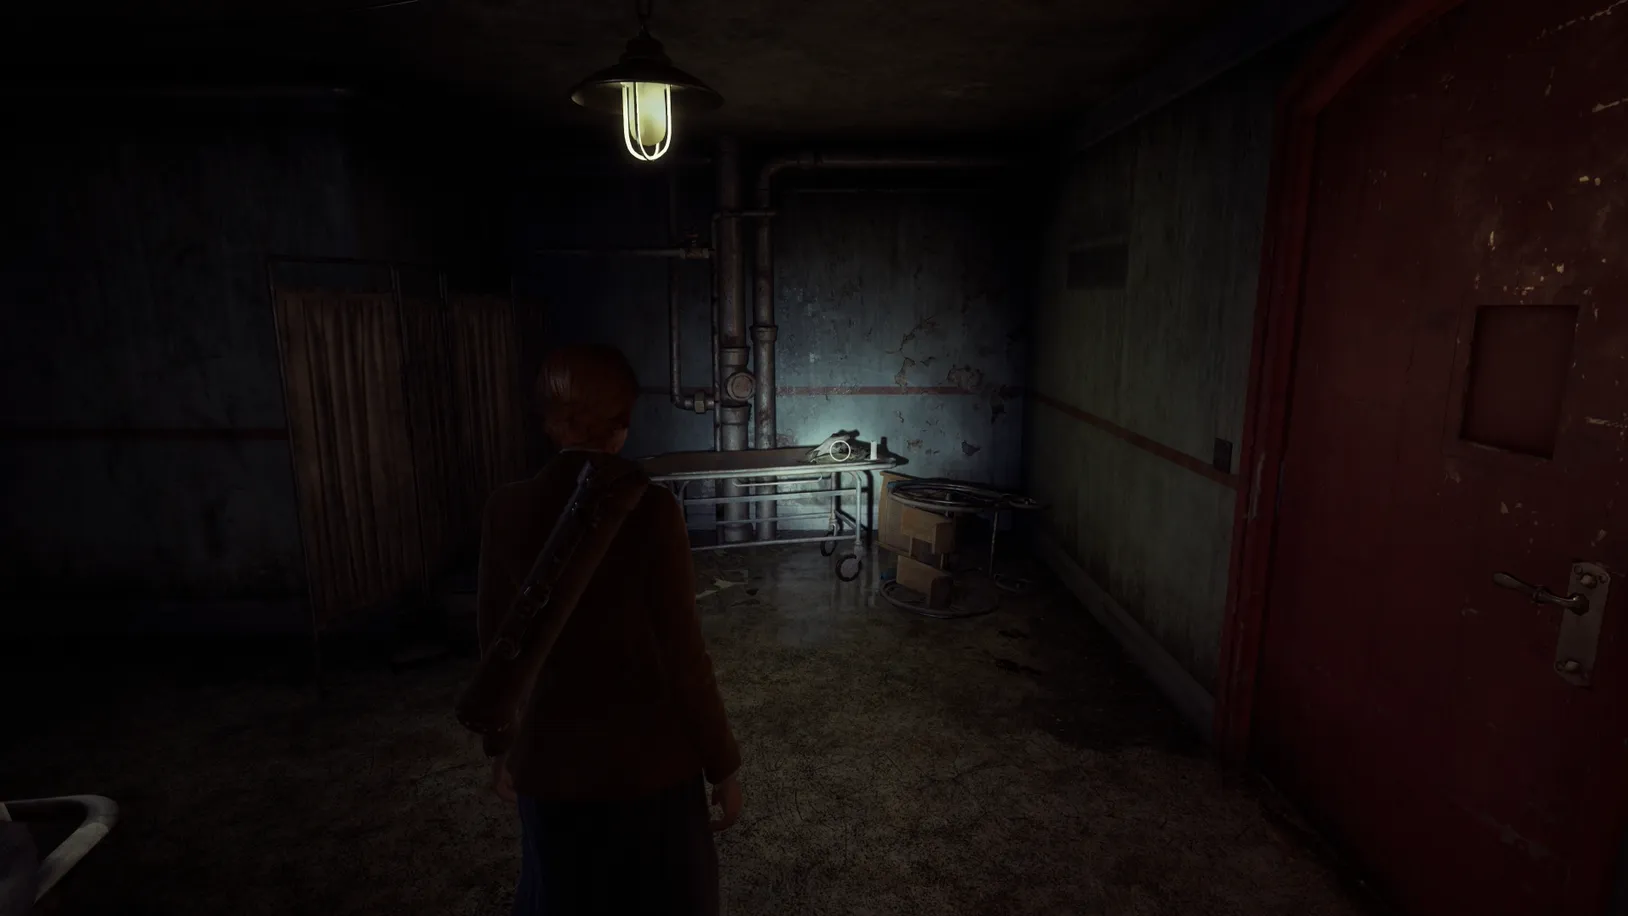
When entering the Infirmary during Chapter 4, turn right, and you'll find the Scapegoat Lagniappe on the medical trolley.
Ashes of Indigo
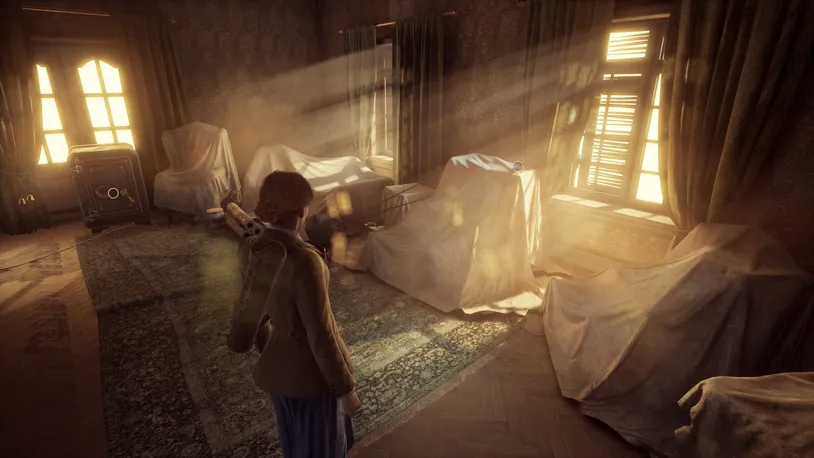
Inside the Empty Room, which is accessed during Chapter 4, you'll find the Ashes of Indigo Lagniappe on top of the sheeted furniture by the window.
The Pirates of Pontchartrain Set
Complete The Pirates of Pontchartrain set to unlock Forbidden Knowledge.
Reveal spoiler
Opera Playbill
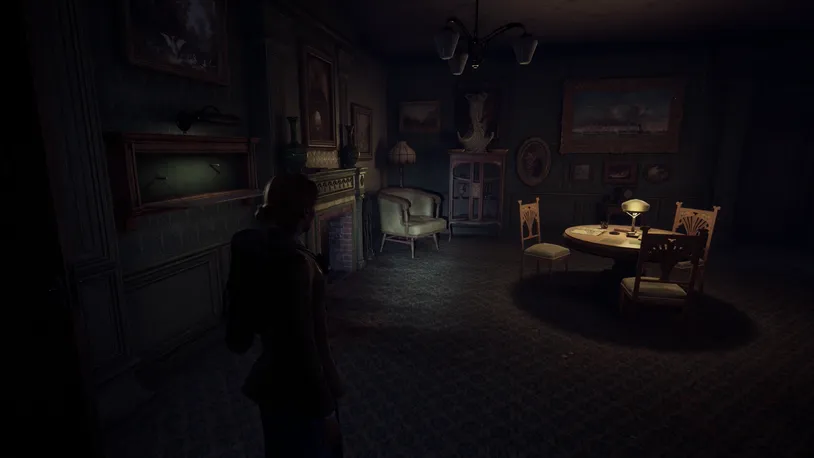
During Chapter 4, in the Small Parlor, the Opera Playbill is sitting on top of the green chair in the corner of the room, not too far from the Shotgun case.
Map of Caribbean
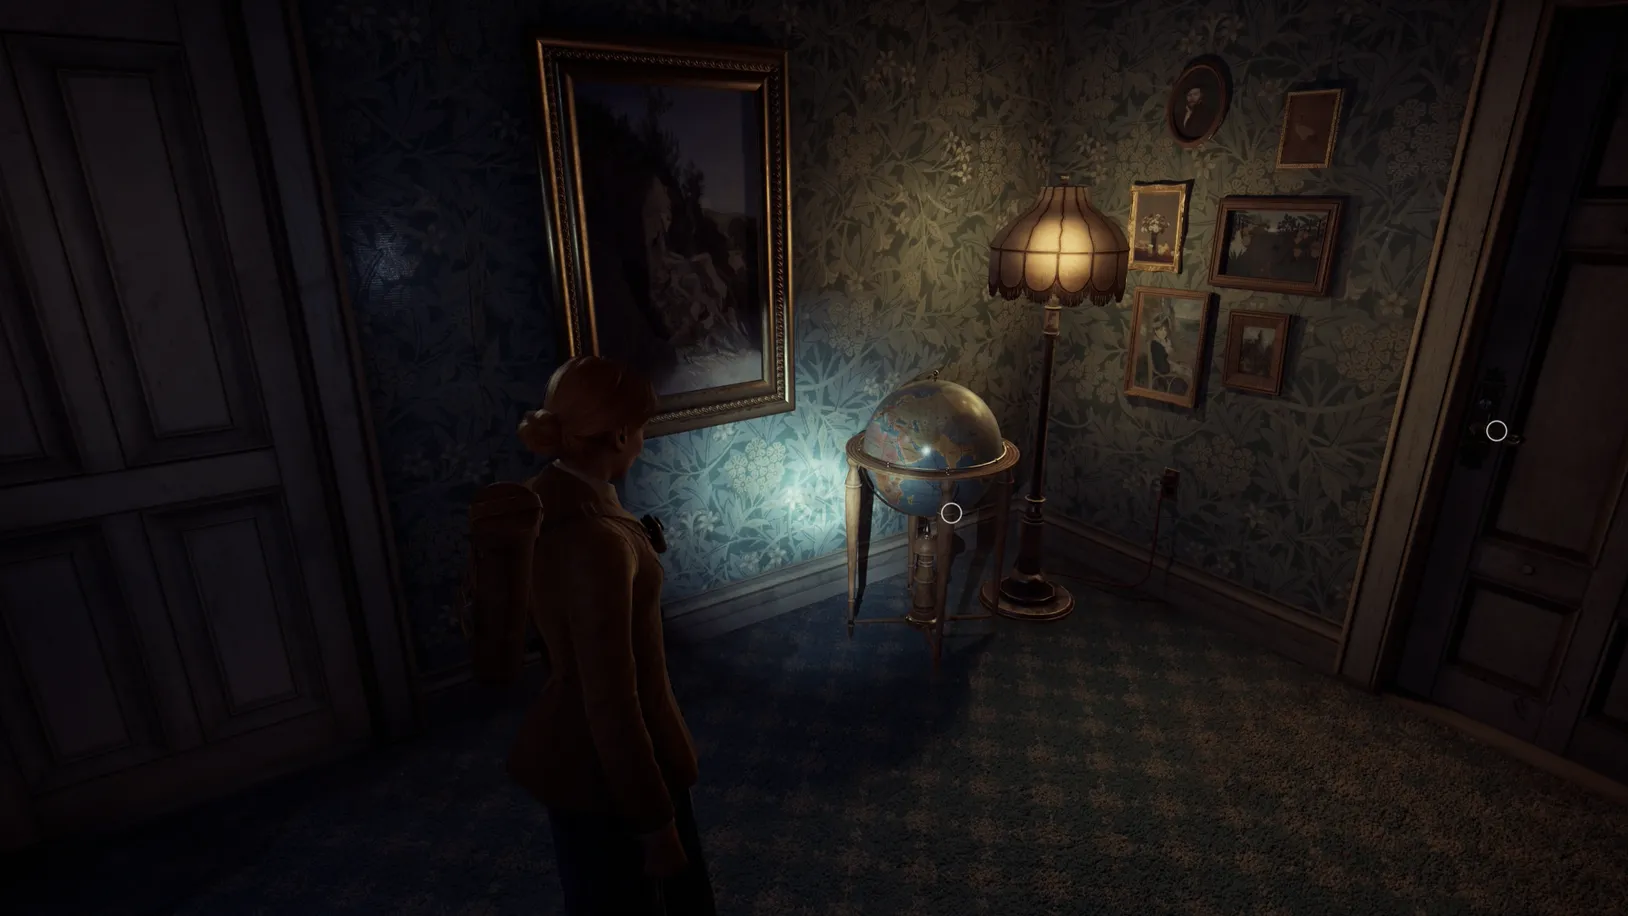
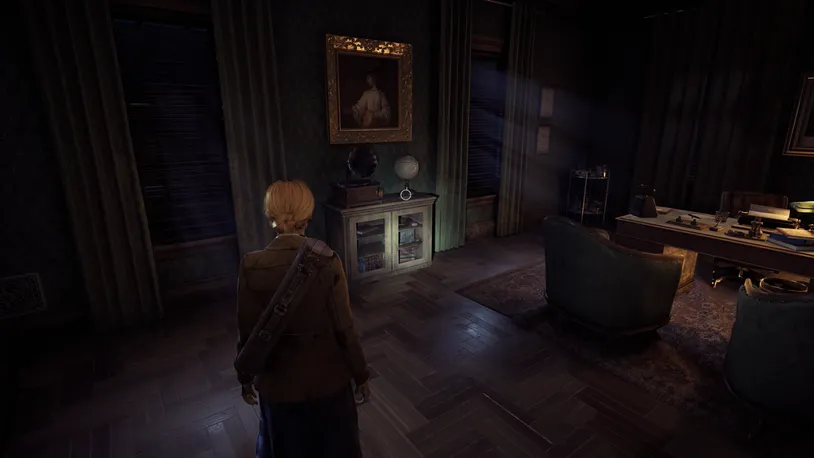
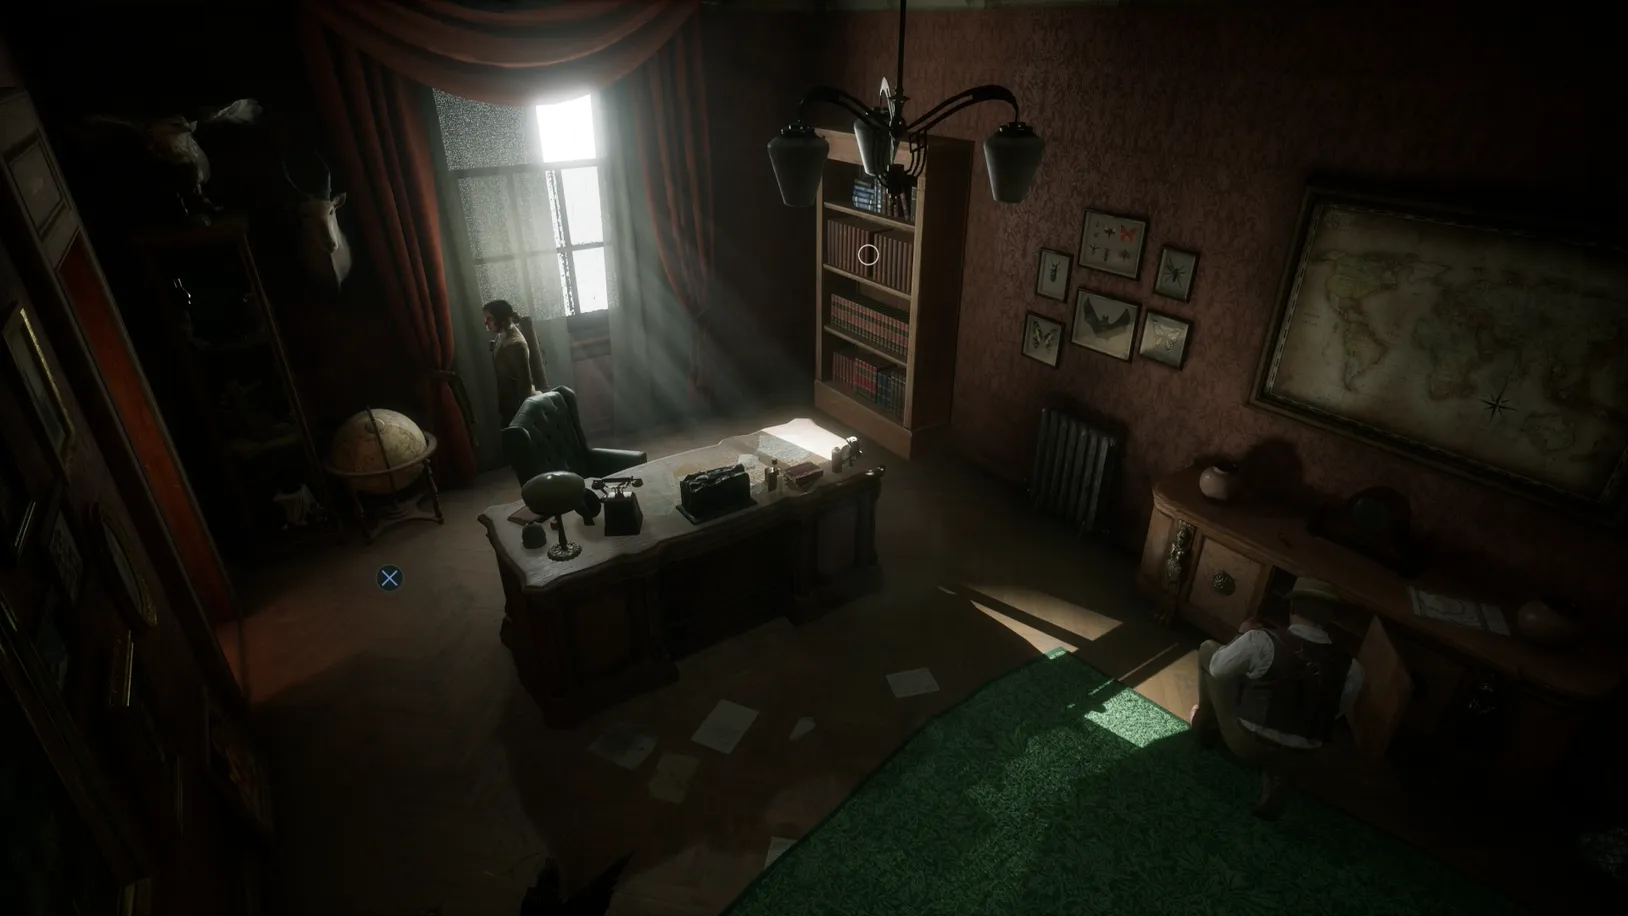
In Chapter 4, the Map of Caribbean is obtained after solving the Globe Puzzle in the Sitting Room. To solve the puzzle, you'll first need to obtain the France puzzle piece, which is found in Dr. Gray's Office on the sideboard with the Cassandra's Things note.
Pallid Mask
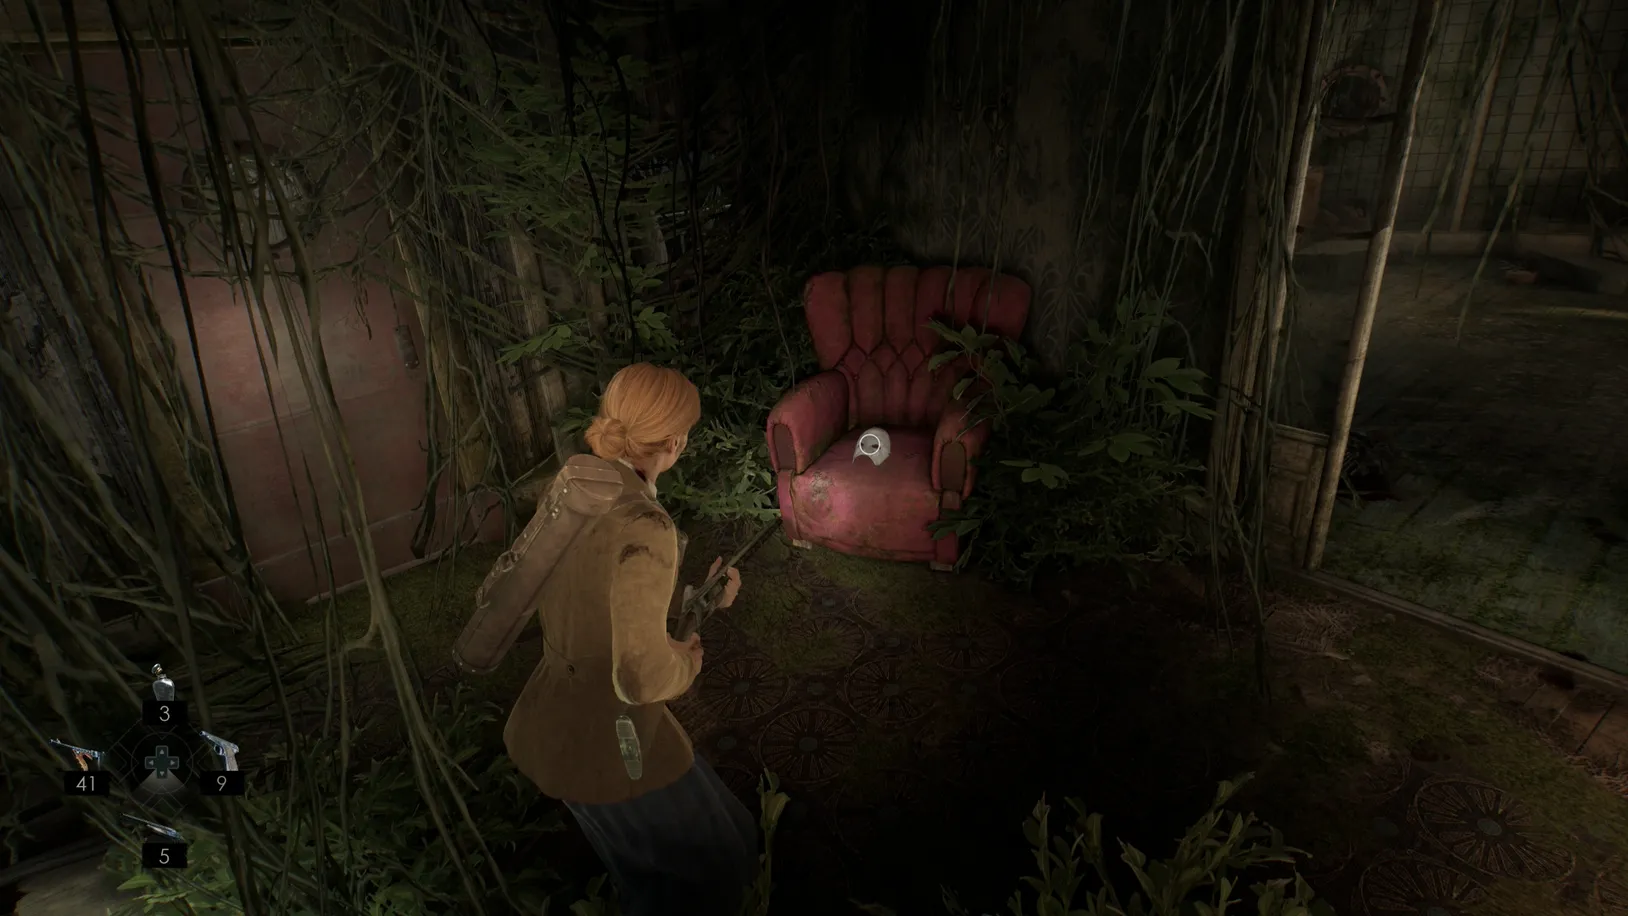
On the top deck of the Steamboat in Chapter 4, you'll find a hole in the floor. Jump down, and you'll find the Pallid Mask Lagniappe on a red chair just through the kitchen doorway, around the corner.
When It Makes You Worse Set
Complete the When It Makes You Worse set to unlock Forbidden Knowledge.
Reveal spoiler
Rorschach
.webp)
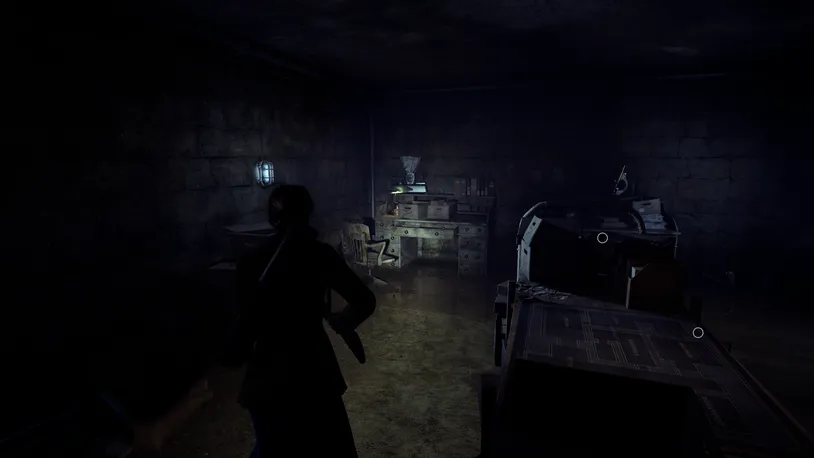
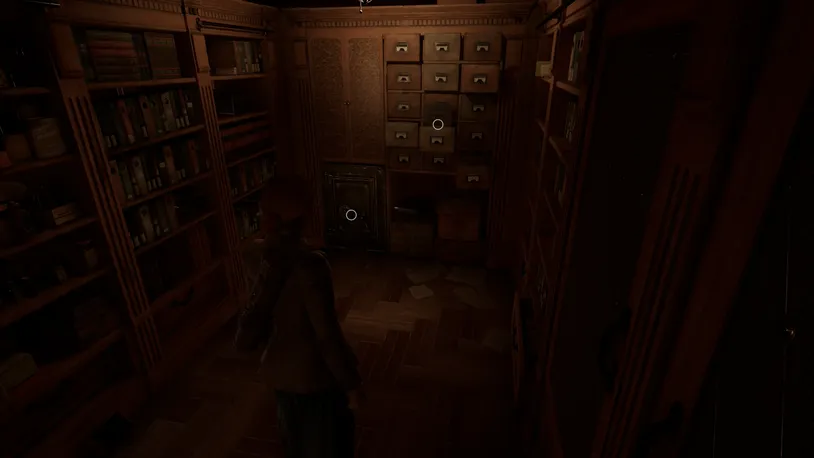
During Chapter 2, the Rorschach Lagniappe, which belongs to the When It Makes It Worse collection, is in the Clerk's Room, behind the bookcases, on a shelf.
Jack in the Box
.webp)
Found in Grace’s Room during Chapter 2, interact with the Jack in the Box that’s found sitting on the chair in the corner of the room. Once it has popped open, pick it up to discover the Jack in the Box Lagniappe.
The Flying Dutchman
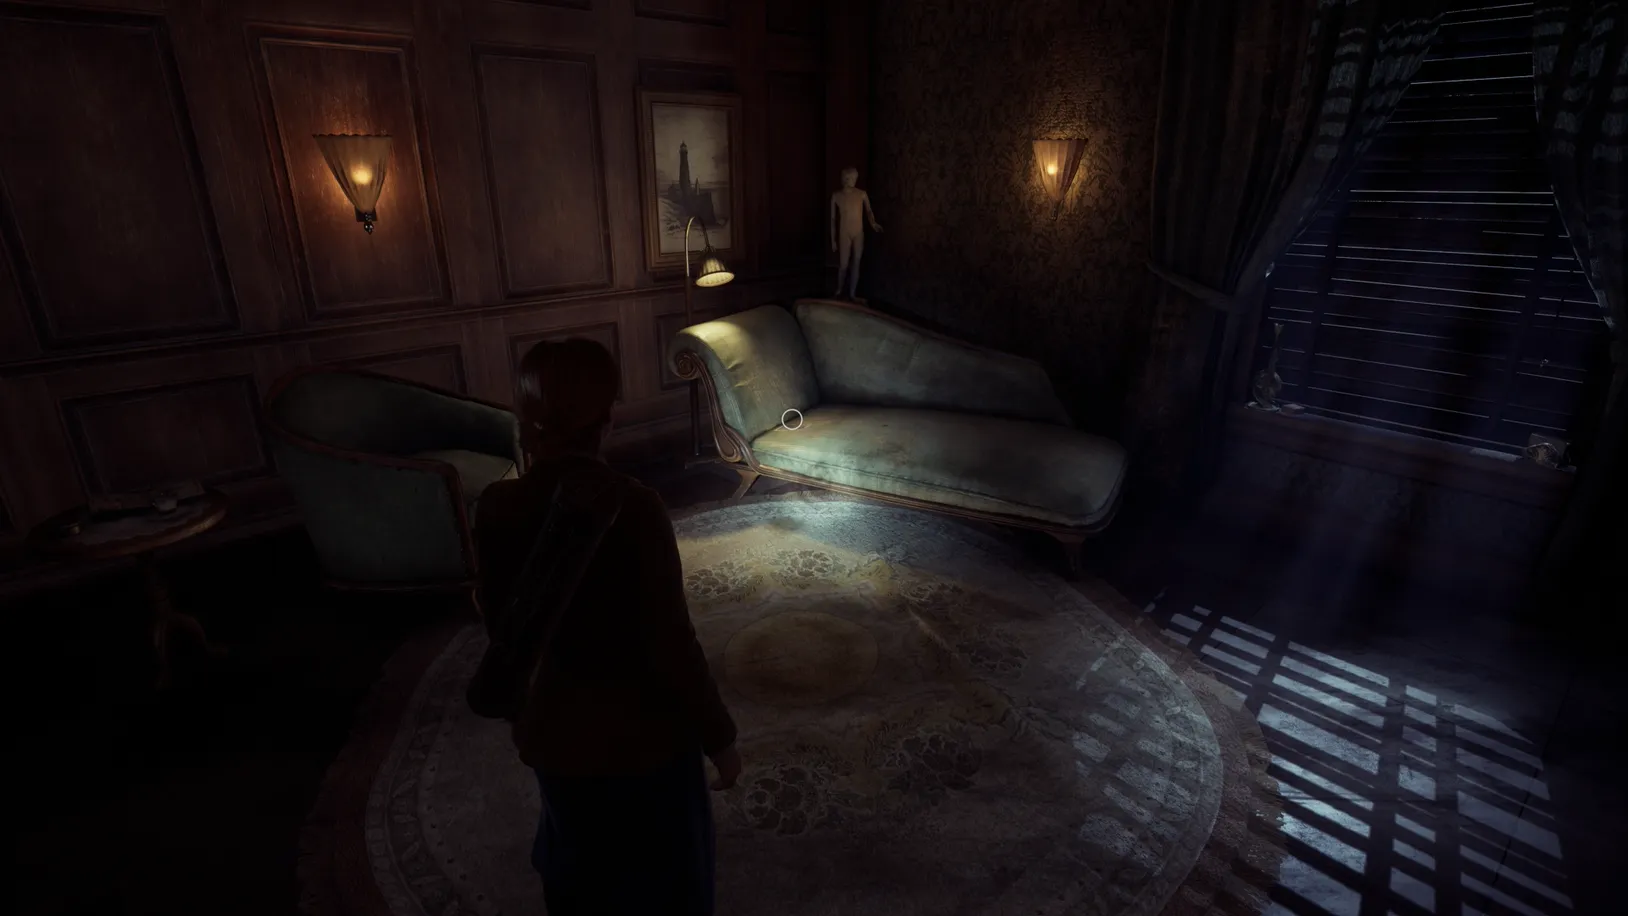
In the Treatment Room, which is first unlocked in Chapter 4 via Dr. Gray's Office with the key from the Clerk's Room Safe, you'll find The Flying Dutchman Lagniappe on the green lounge chair.
Looking for even more Alone in the Dark Guides? Why not check out...