Chapter 2 Walkthrough
When you return to Derceto after exploring the anomaly of the French Quarters, you'll still be left seeking answers about Jeremy's disappearance. So, you set out to find more answers.
This Chapter 2 walkthrough will guide you through investigating the well in the Kitchen Garden, looking for Jeremy in the , unlocking the shotgun, and solving the medicine bottle puzzle, astronomical clock puzzle, Perosi's painting puzzle, the boiler room puzzle, and the telescope puzzle in Alone in the Dark.
Looking for something in particular? Click the links below to jump to...
- Investigate the Well in the Kitchen Garden - How to Solve the Well Puzzle
- Investigate What Perosi Knows - How to Solve Perosi's Painting Puzzle
- Look for Jeremy Inside the Hateful Mound Beyond the Oil Rig
- How to Solve the Medicine Bottle Puzzle
- Find Derceto’s Boiler Mentioned in the Commonplace Book
- How to Solve the Boiler Room Puzzle
- Look for Jeremy Inside the Chapel - Where to Find the Three Medallions
- Unlock Jeremy’s Steamer Trunk
- How to Solve the Telescope Puzzle - Drawing Room
- How to Solve the Constellation Puzzle - Drawing Room
Chapter 2 Walkthrough
You are now in the Reception. A Rubber Stamp sitting on the small wooden reception bench is part of the Lost Children Lagniappes Collection.
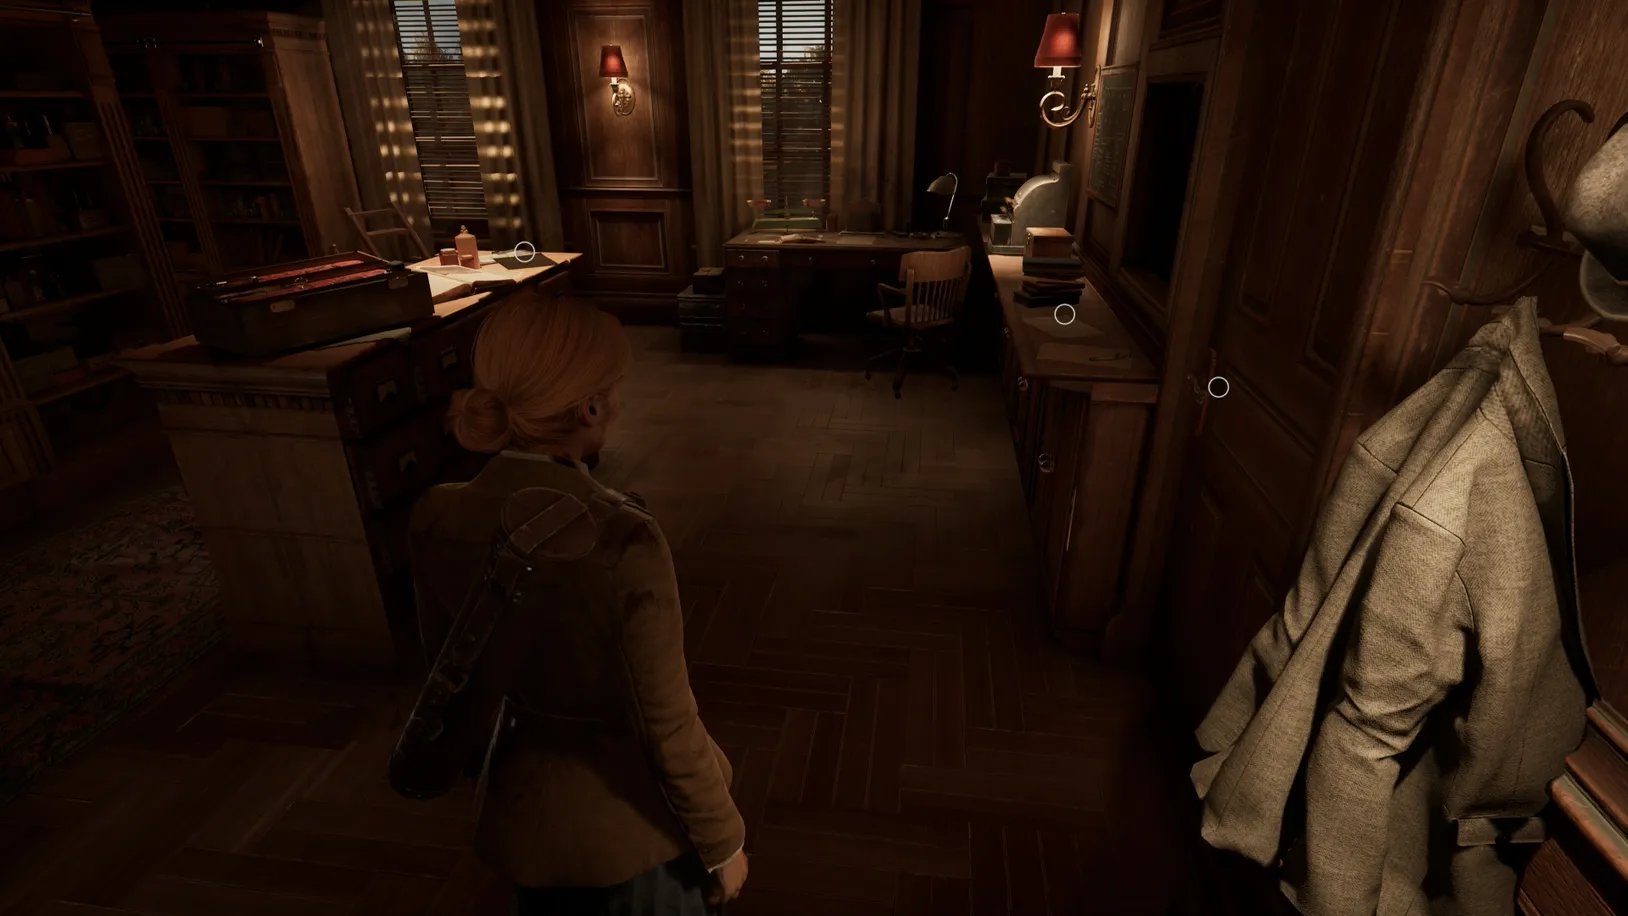
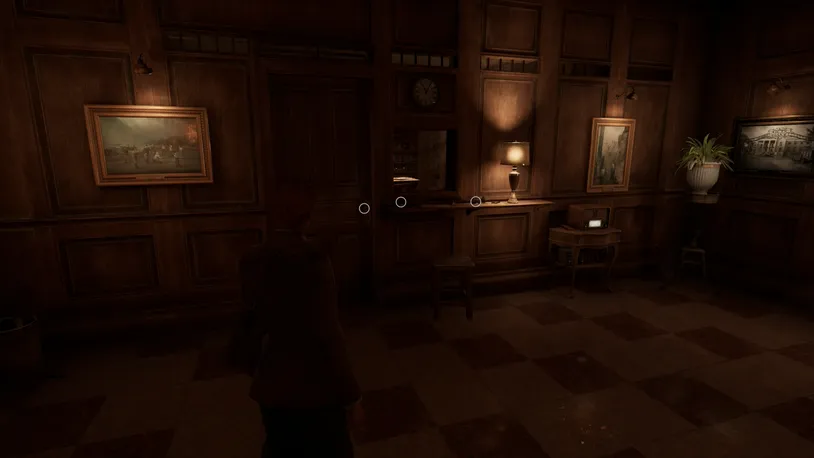
Using Batiste’s Key, open the door to the Clerk’s Office, where you’ll find a slew of items to discover.
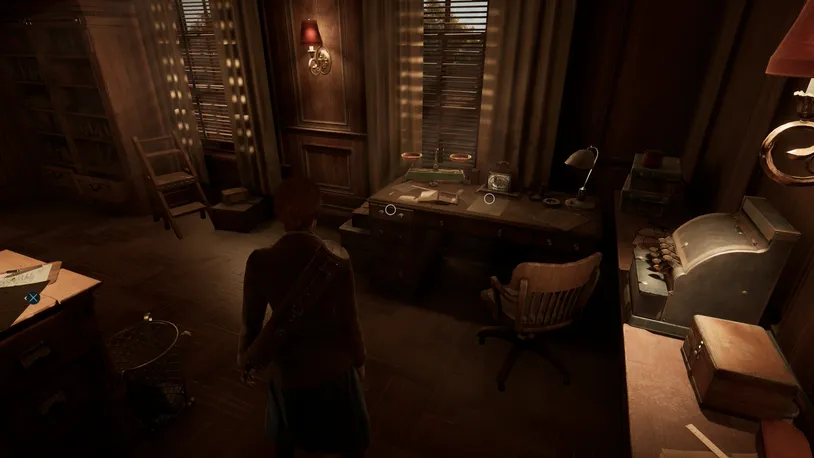
Here, you’ll find the Broken Plates clue on the reception window bench, Room Key #6 in the desk draw, the Staff & Patient Directory clue on top of the desk, and the Repairing the Boiler clue on top of the central cabinet bench.
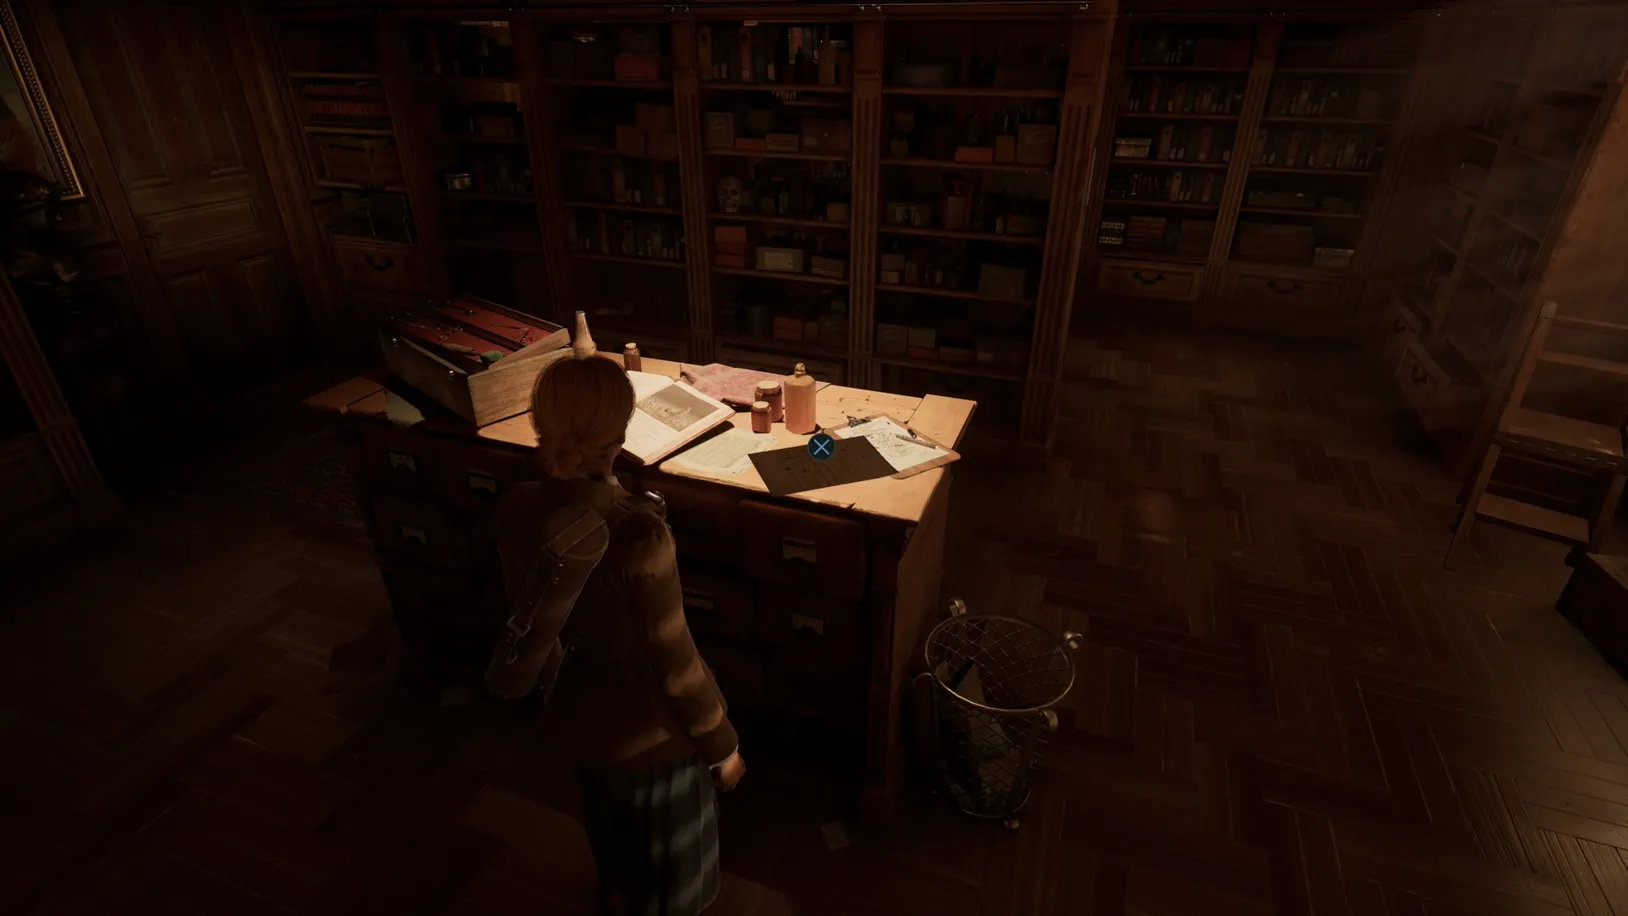
In the same room, behind the bookcases, is the Rorschach Lagniappe, which is found on a shelf and belongs to the When It Makes It Worse collection. Nearby, you’ll also find the Clerk’s Office Safe and some Patient Files.
While you'll discover the code later on, you can open the Clerk's Office Safe now to obtain a Lagnaippe, which would otherwise not be there later on. The Clerk's Office Safe code is L9 R1 L3.
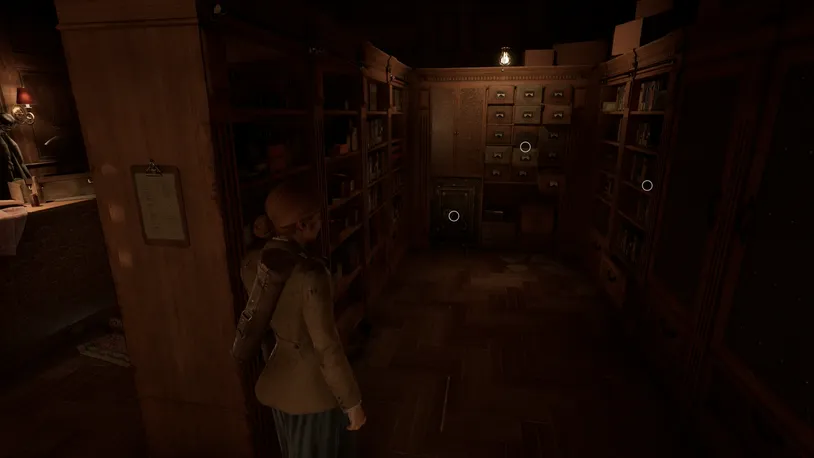
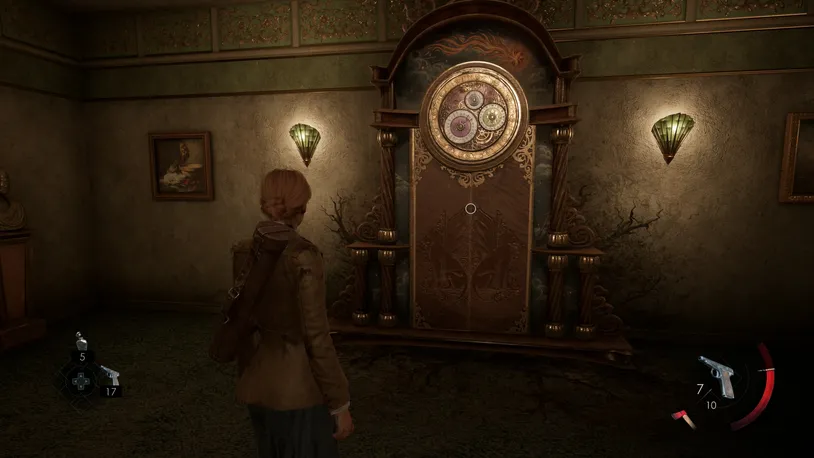
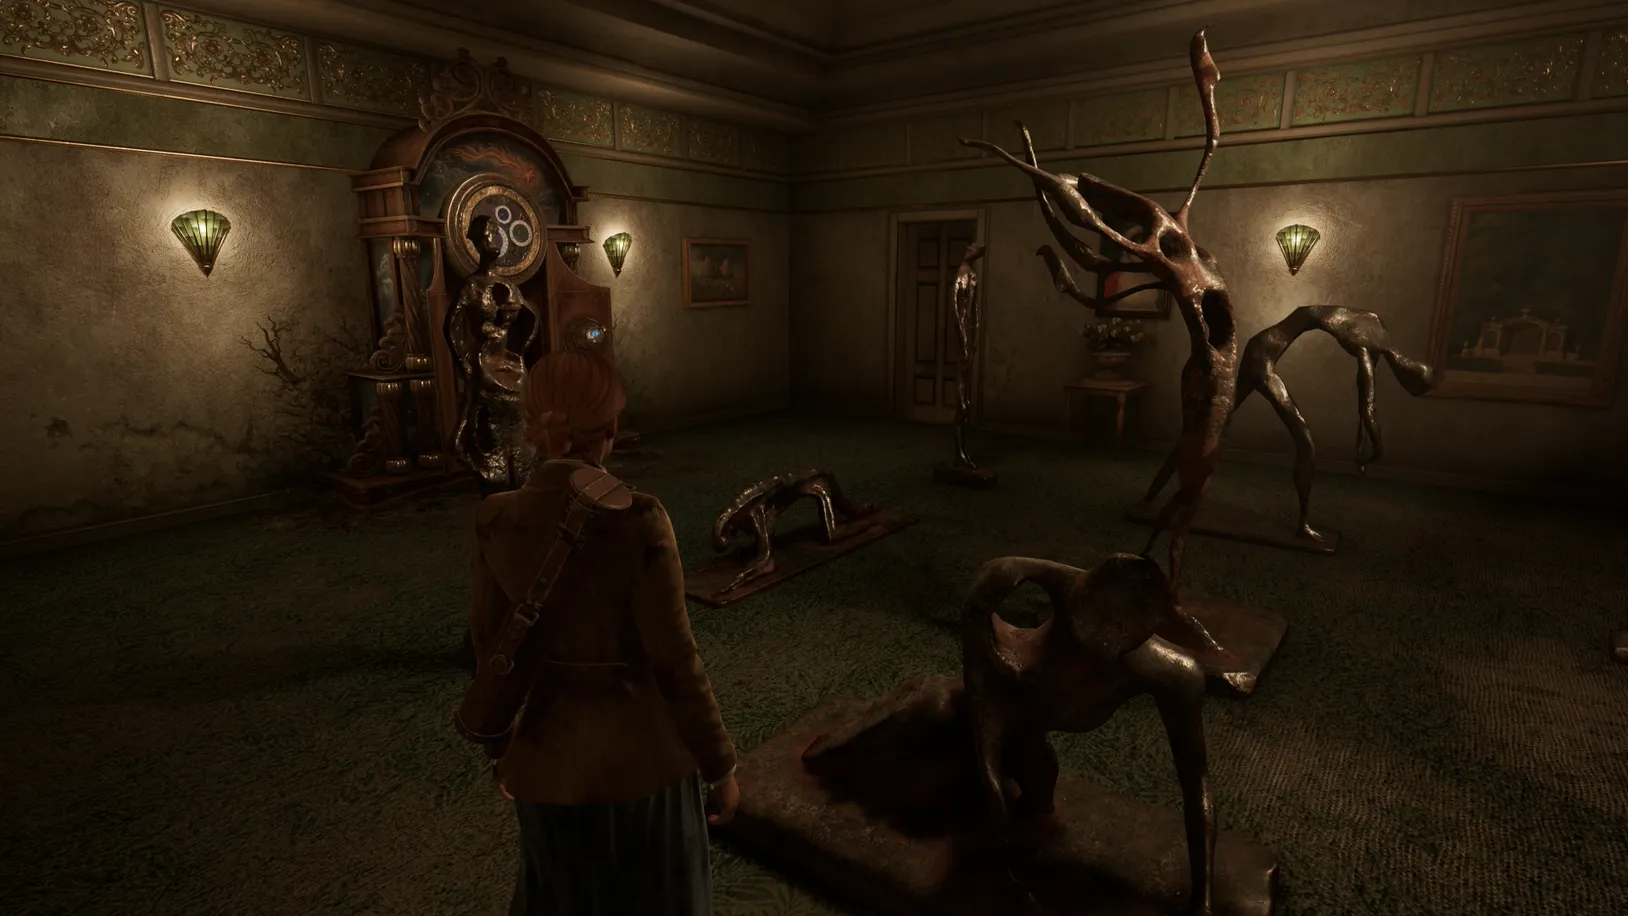
Once you’ve found those items, it’s time to dive back into the main story. You are tasked with investigating an astronomical clock. Upon inspection, you will notice a broken socket/plate that needs two pieces to complete.
You can solve those puzzles in any order – to avoid getting lost, follow along with our exact approach below:
Investigate the Well in the Kitchen Garden - How to Solve the Well Puzzle
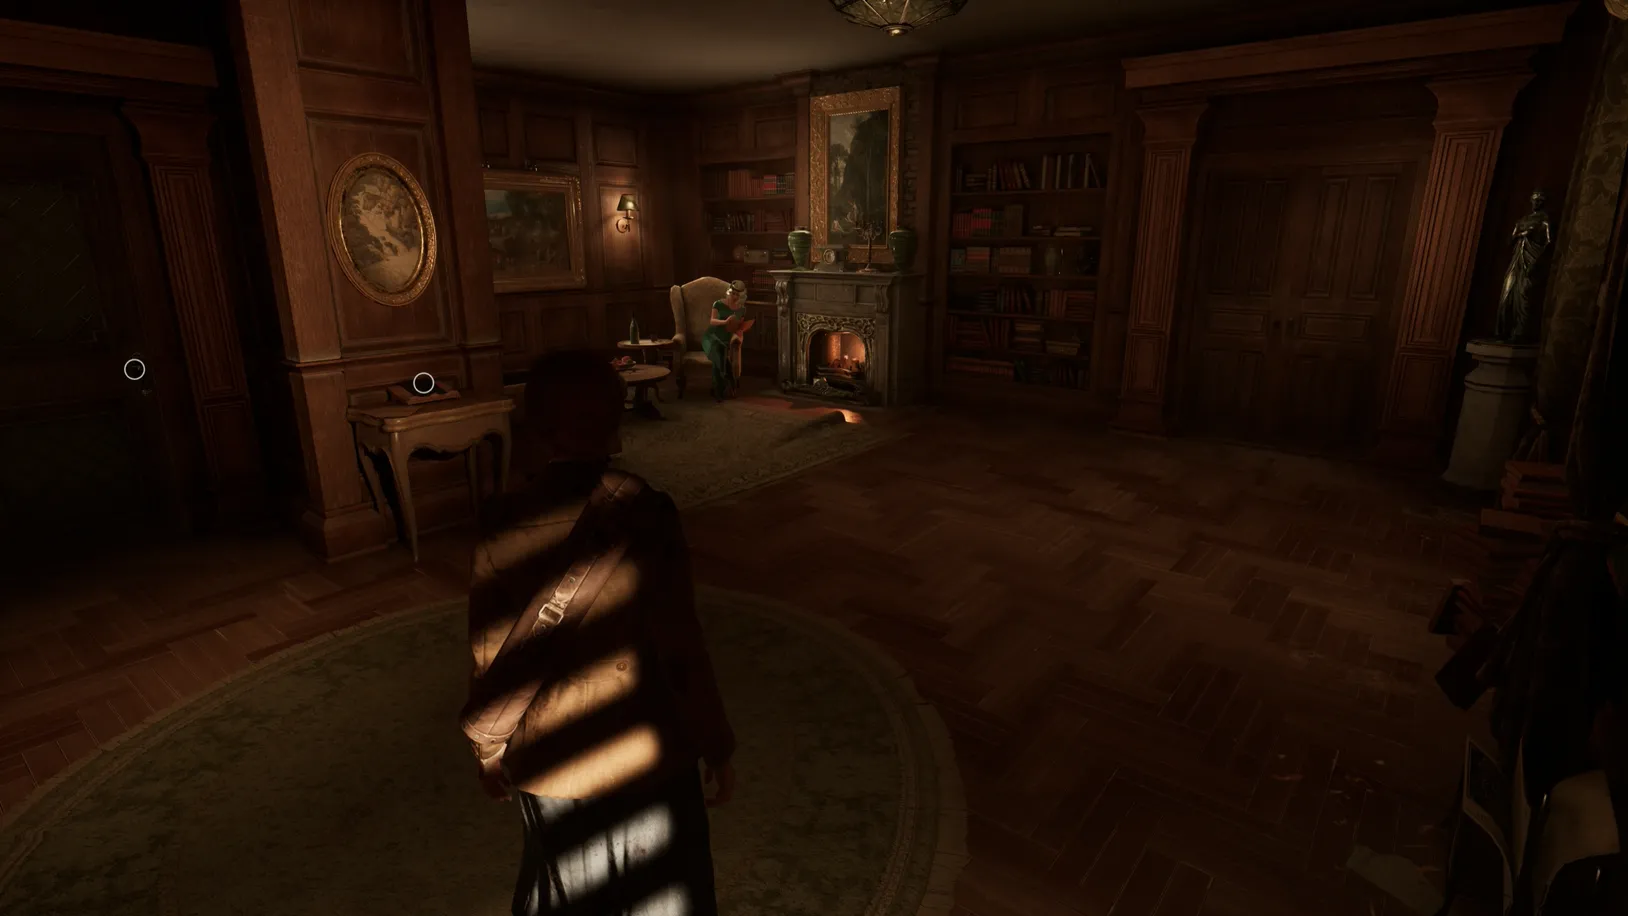
Make your way back through the Stair Hall and Piazza again, and take a right through the Library. Open the door with Batiste's Keys and enter the room.
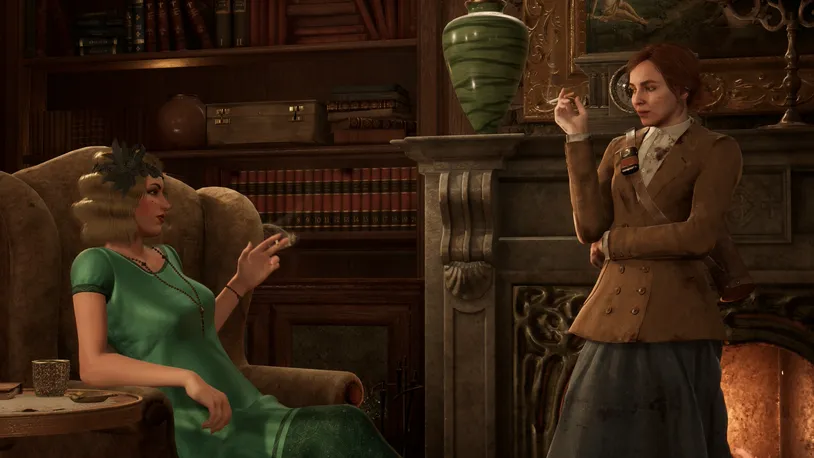
After the initial cutscene with Ruth, you’ll discover the Lost Plantations of Louisiana clue on a small table.
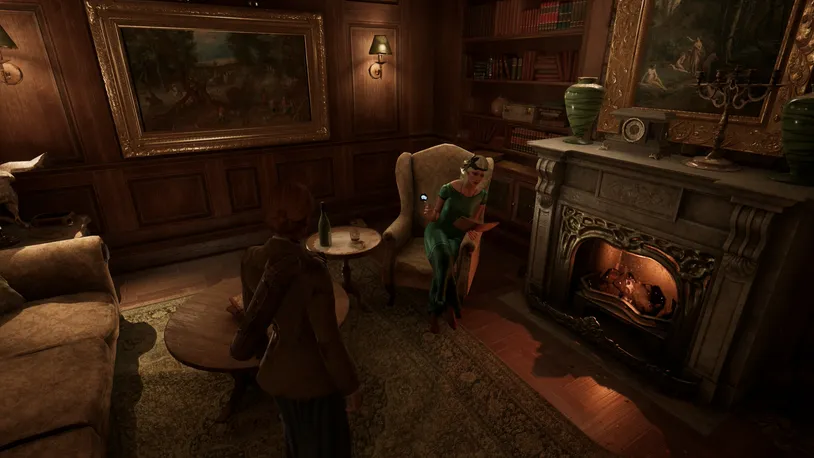
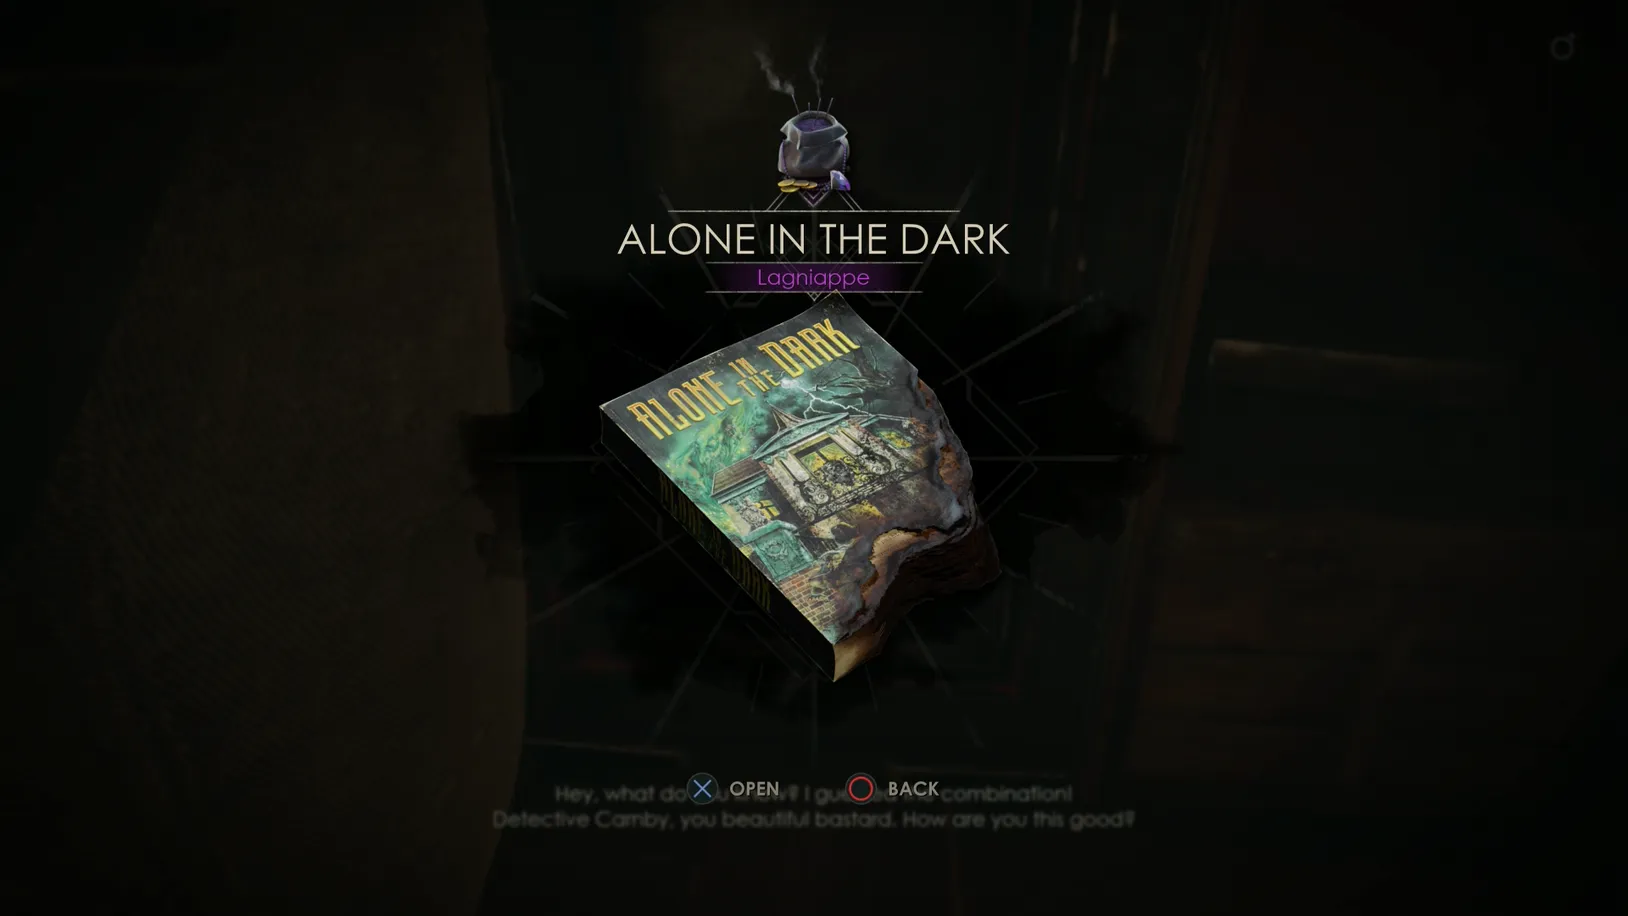
Before leaving the Library, approach Ruth again. You’ll have the chance to discuss some optional conversations that involve the novel she’s reading, Detective Carnby’s whereabouts, and, finally, a short goodbye.
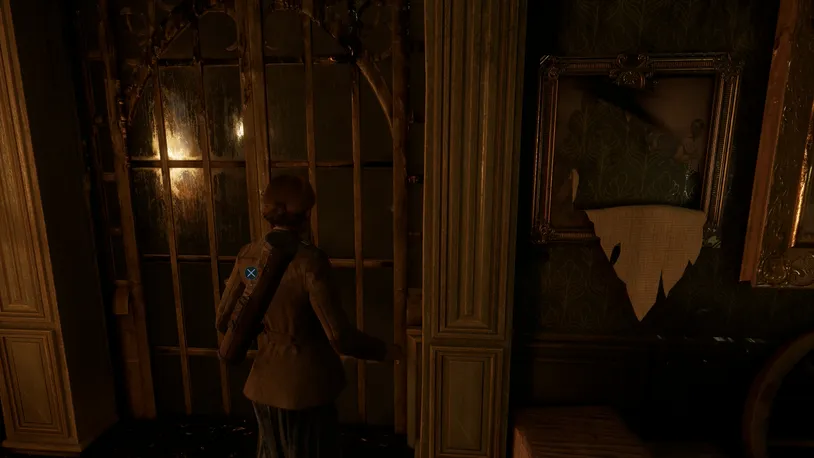
Trying to exit the Parlor to the Conservatory triggers an anomaly, which floods the room with oil and creates a furniture maze.
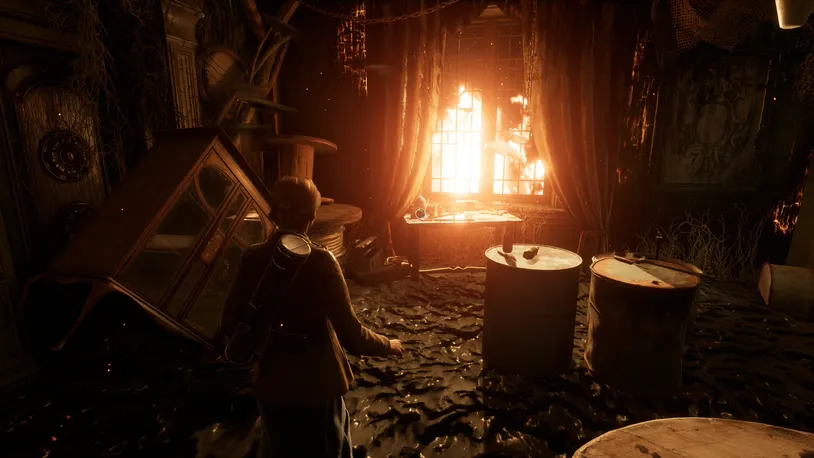
Travel through the oil to the desk near the window to pick up the bolt cutters. Use the bolt cutter on the door out to the Conservatory to end the anomaly.
All items can be obtained once returning from the and going back to Derceto--we'll cover this below.
After completing the , the player should be able to obtain the shotgun regardless of whether they obtained the Lagniappes.
Go through the Conservatory to the Kitchen Garden, and watch as a cutscene begins.
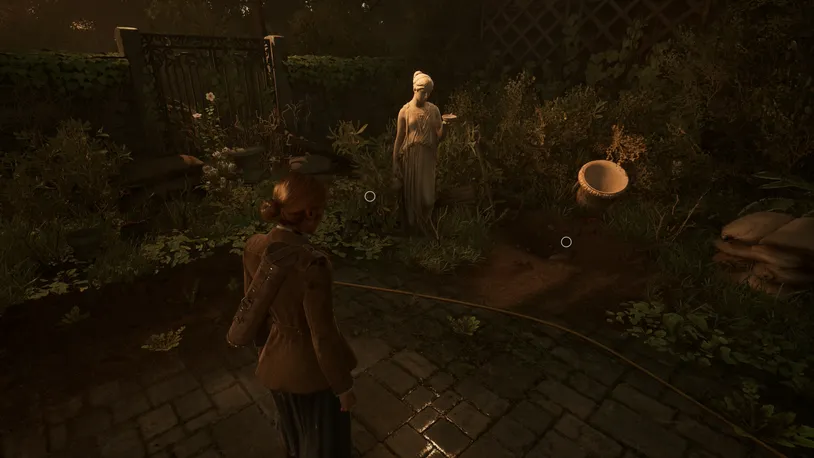
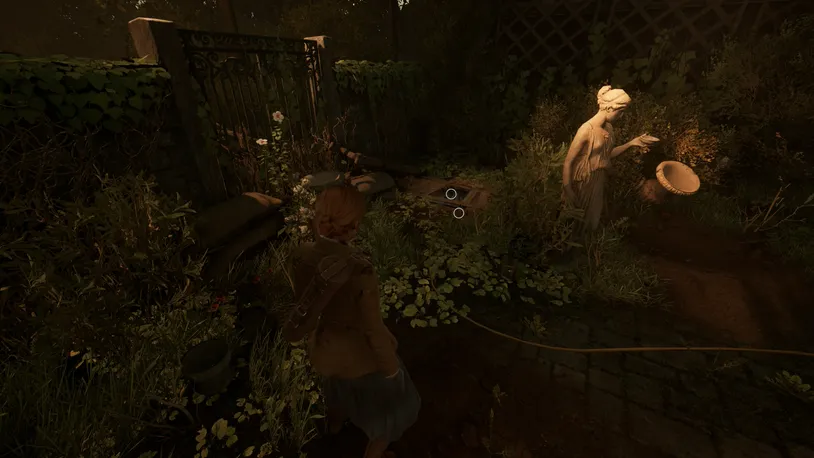
Following the cutscene with the housekeeper, interact with the hole in the garden bed to discover a Mummified Cat, which is part of the Beast of Burden Lagniappes set.
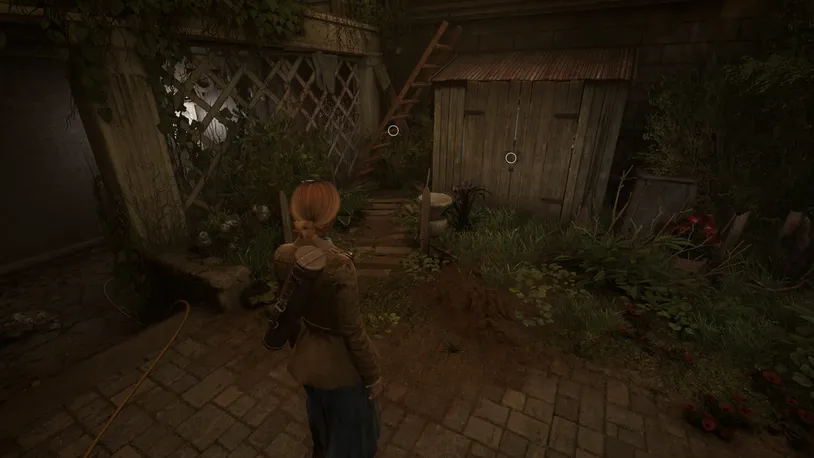
Now, open the tool shed with the bolt cutter and pick up a water hose extension.
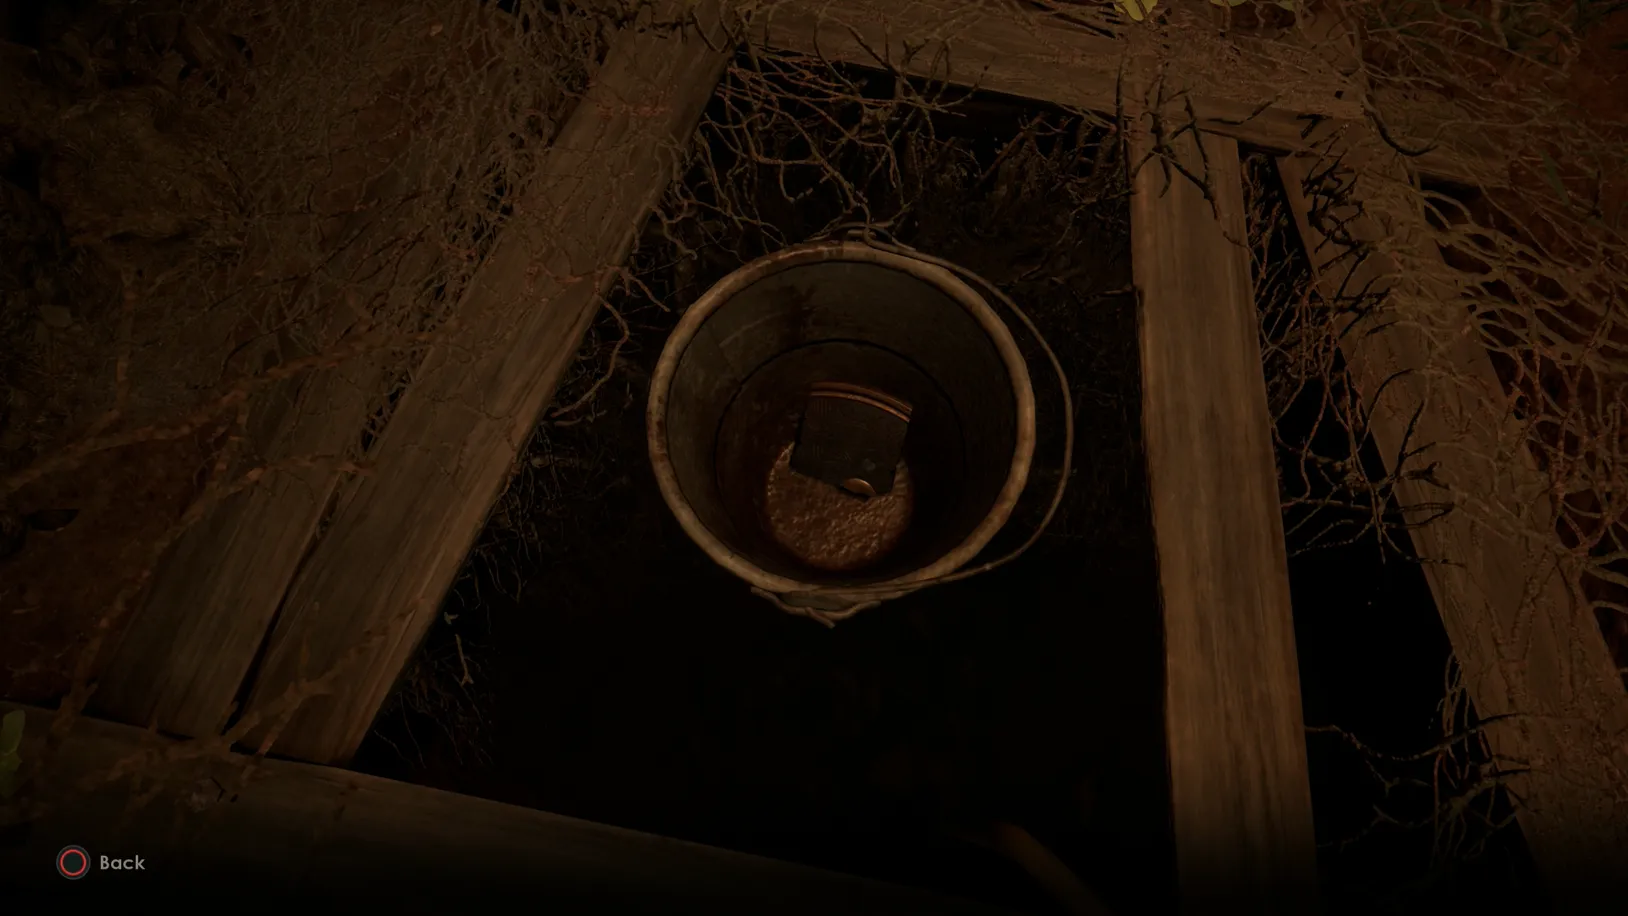
Walk over to the well straight in front of the Conservatory door and add the water hose extension to the yellow water hose on the ground.
Interact with the faucet below the Piazza to the right to fill the well with water, revealing a bucket with a Broken Plate for the astronomical clock.
There is a ladder next to the tool shed in the garden. Interact with it to open a shortcut to the Piazza.
Investigate What Perosi Knows - How to Solve Perosi's Painting Puzzle
Traverse through the Piazza, the Foyer, and enter the Reception - from here, you can enter the Administration by unlocking the door with Batiste’s Keychain.
Inside the Administration, on the desk to your right, you find Perosi’s Key to her room—you may have already gathered these earlier.
Make your way back to the Astronomical clock through the Foyer and up the stairs.

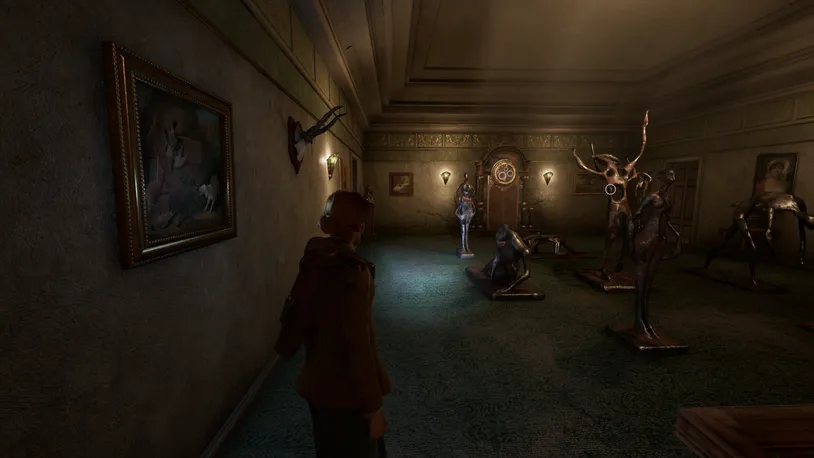
Enter the door to your left, where you'll find Perosi’s is located all the way down the hall on the left-hand side. If you are playing as Edward, a cutscene is triggered when entering the hall.
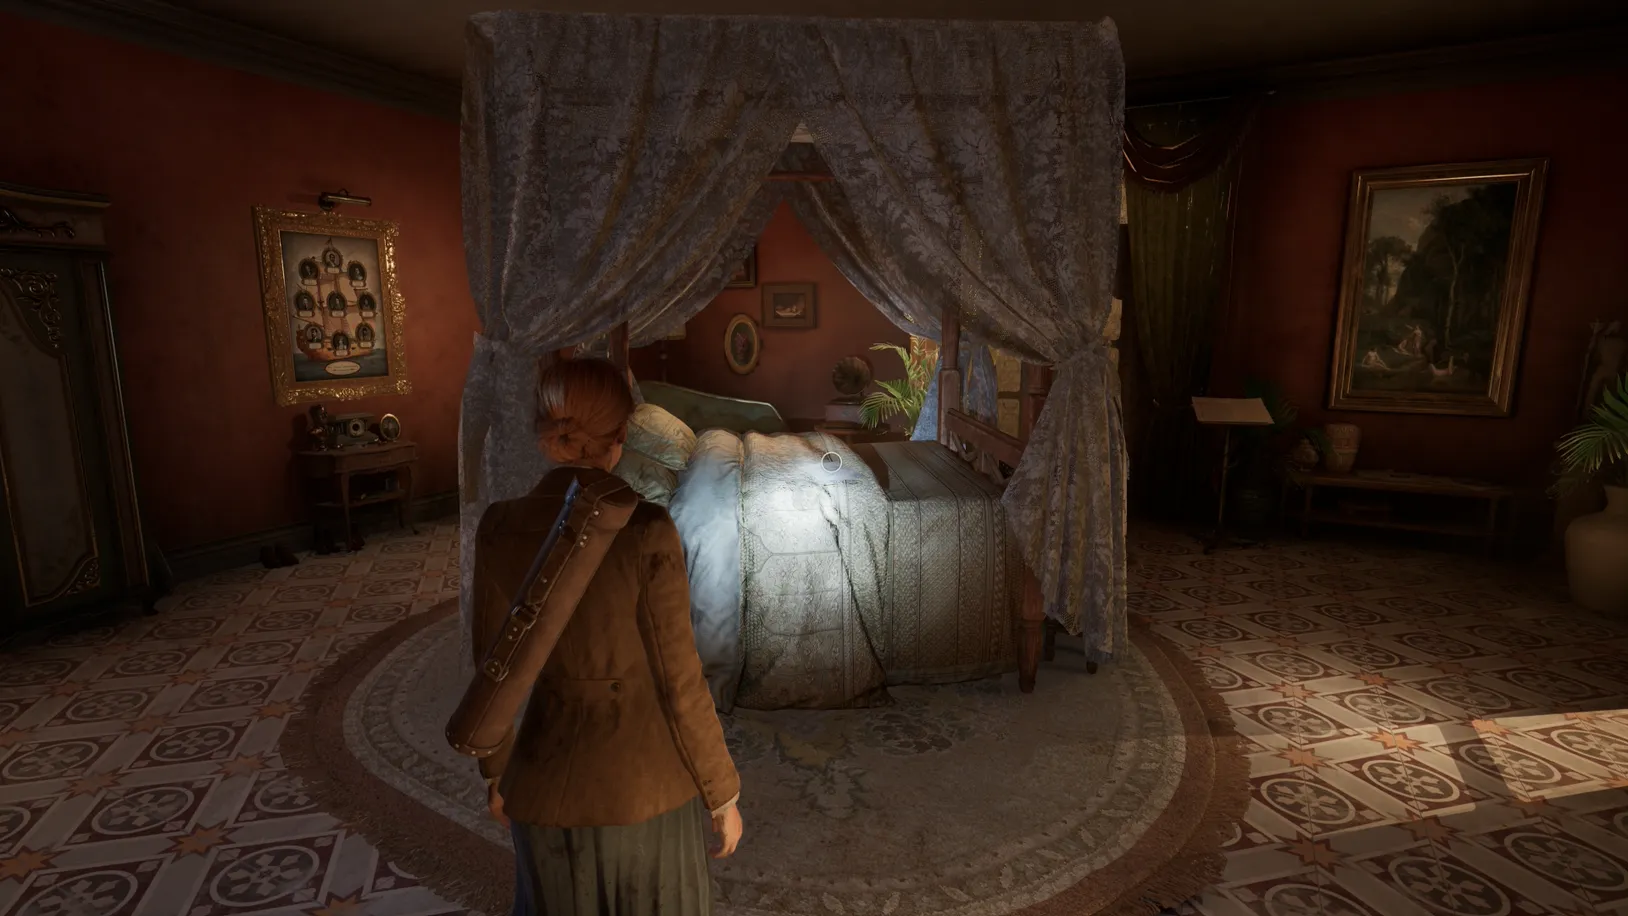
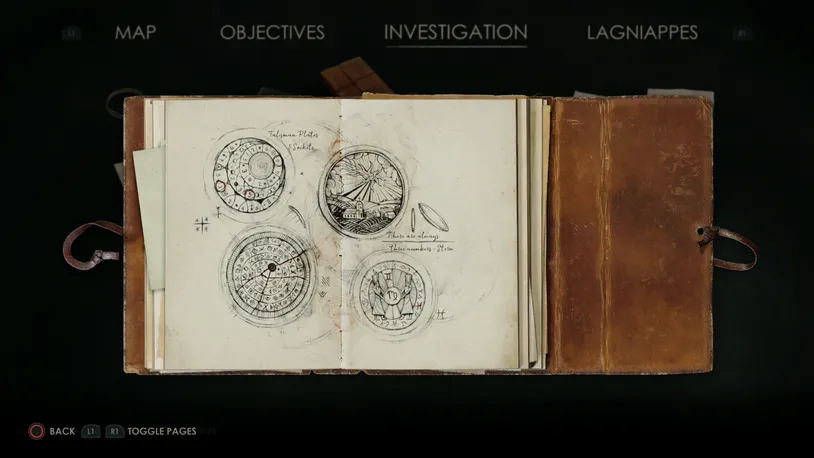
Unlock Perosi’s room, while inside, you will find a clue on the bed, as well as Perosi's Journal on a nearby sofa, which has a series of numbers and zodiac signs.
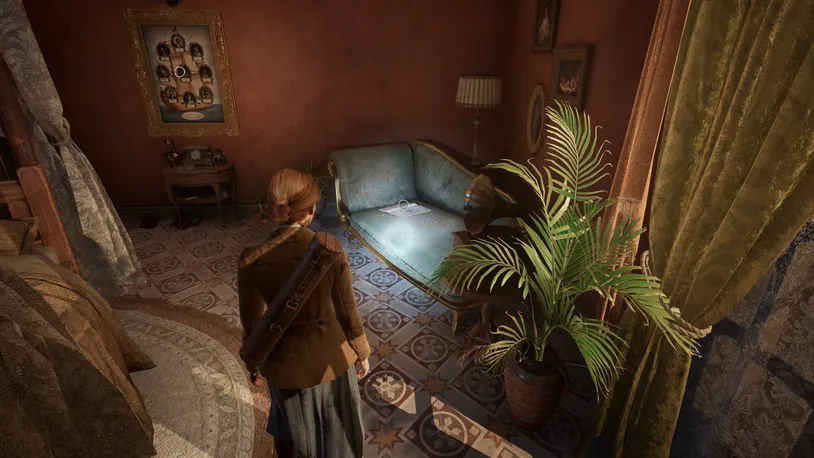
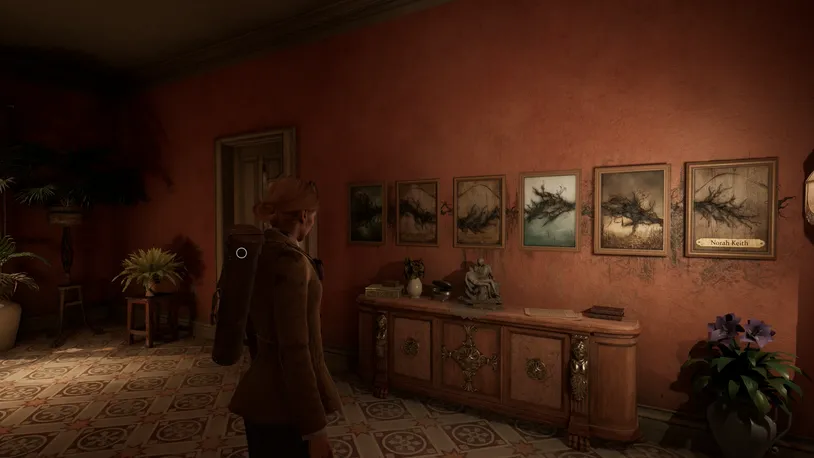
On the wall to your left, you will find a series of paintings. Turn the paintings and keep the ones with rot turned with the backside towards you. The turned nameplates will read: William Arges, Franklyn Mosig, and Simone Danny.
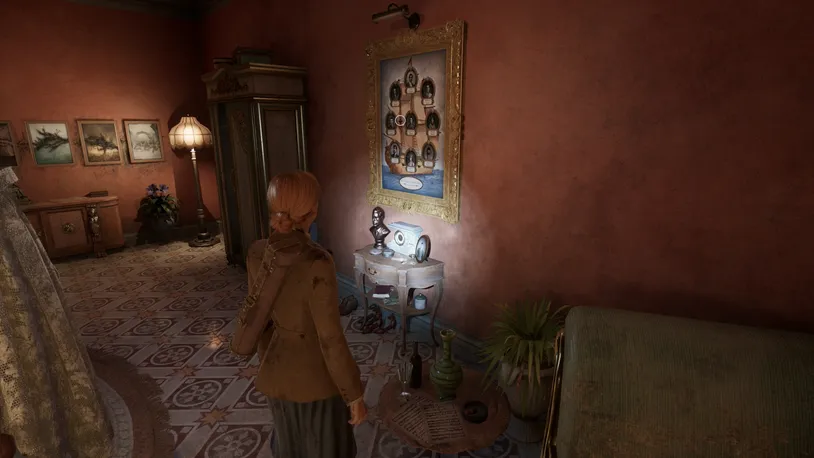
On the wall to your right, you will find a family tree with a series of names and numbers attached. Here, you will notice that William is number 2, Simone is number 4, and Franklin is number 9.
Take note of the order of the names in the family tree, reading left to right.
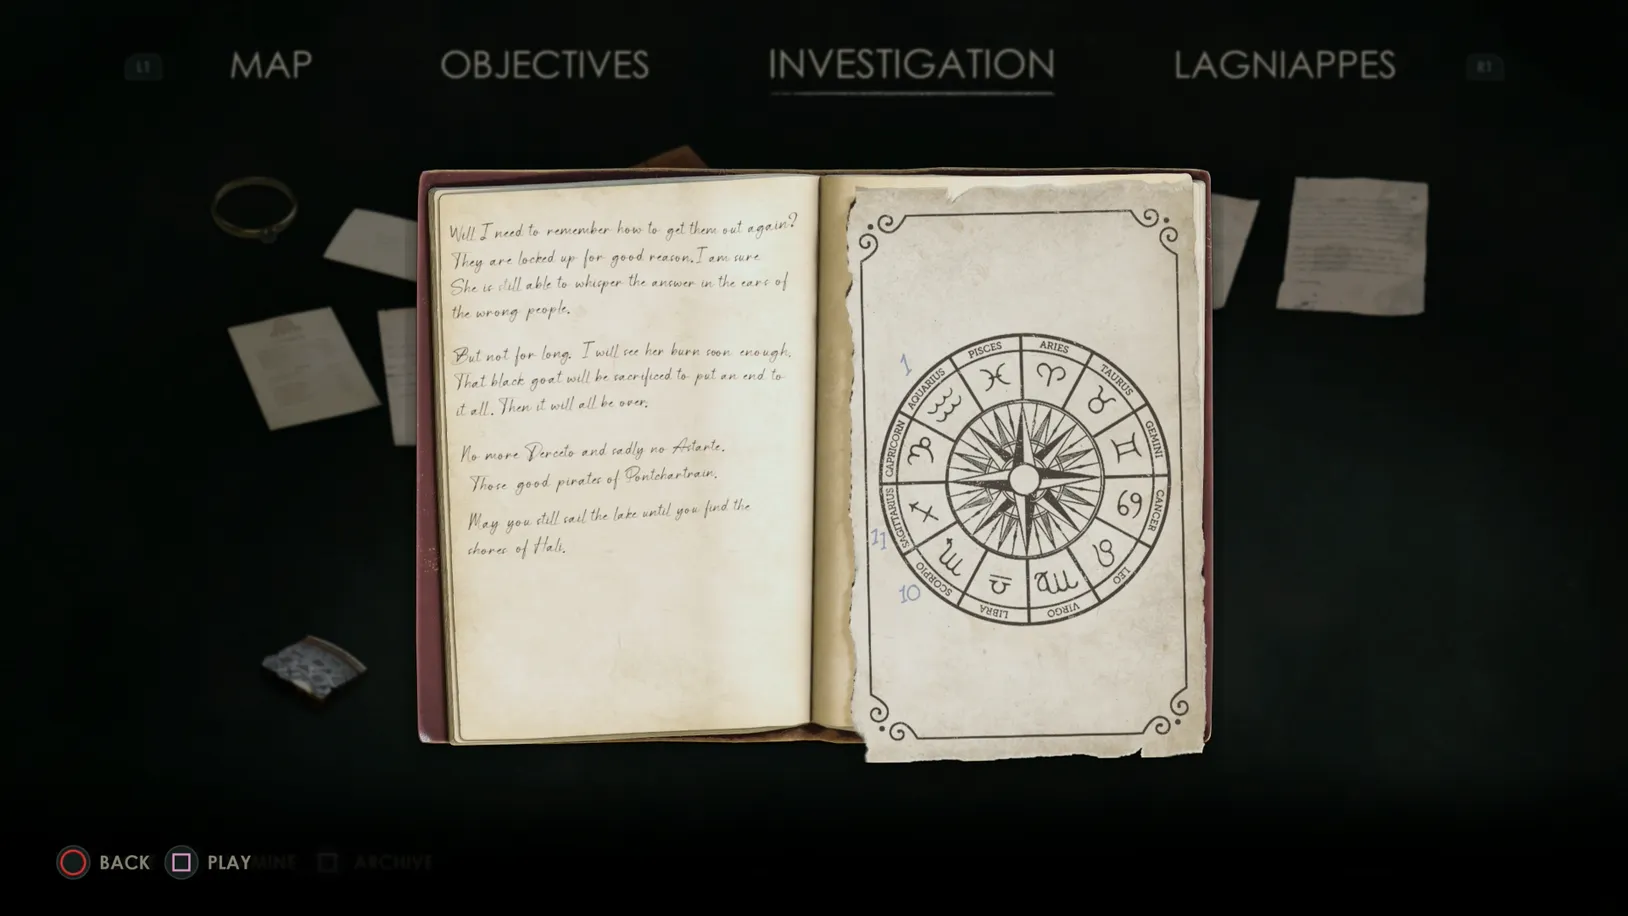
Now match these numbers to the zodiac signs in Perosi's Journal, which will reveal the combination: Pisces, Libra, Taurus.
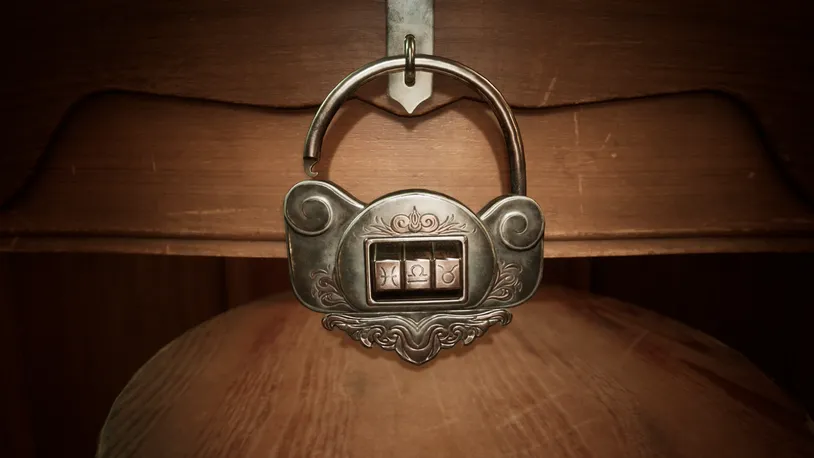
Enter this code on the drawer padlock. This will give you another Broken Plate.
Exiting Perosi's Room will trigger another anomaly. Exit it at the end of the hall.
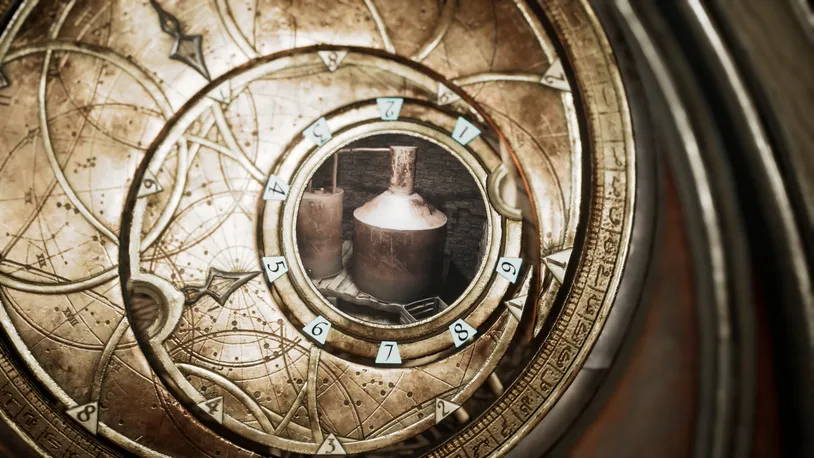
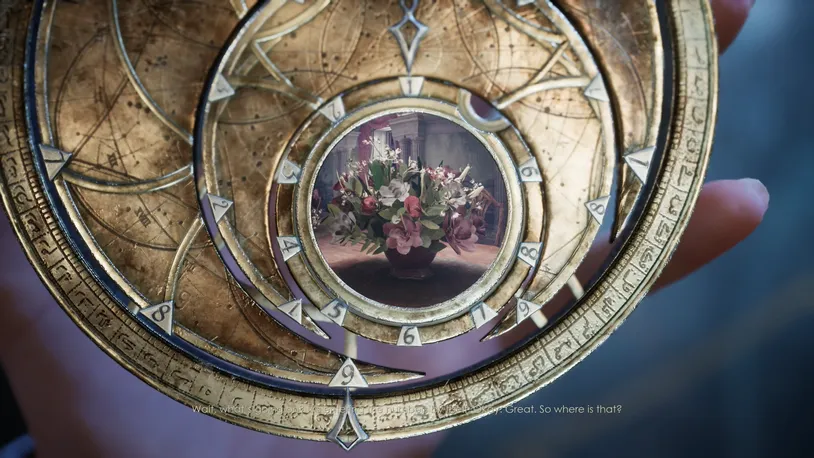
How to Solve the Astronomical Clock Puzzle
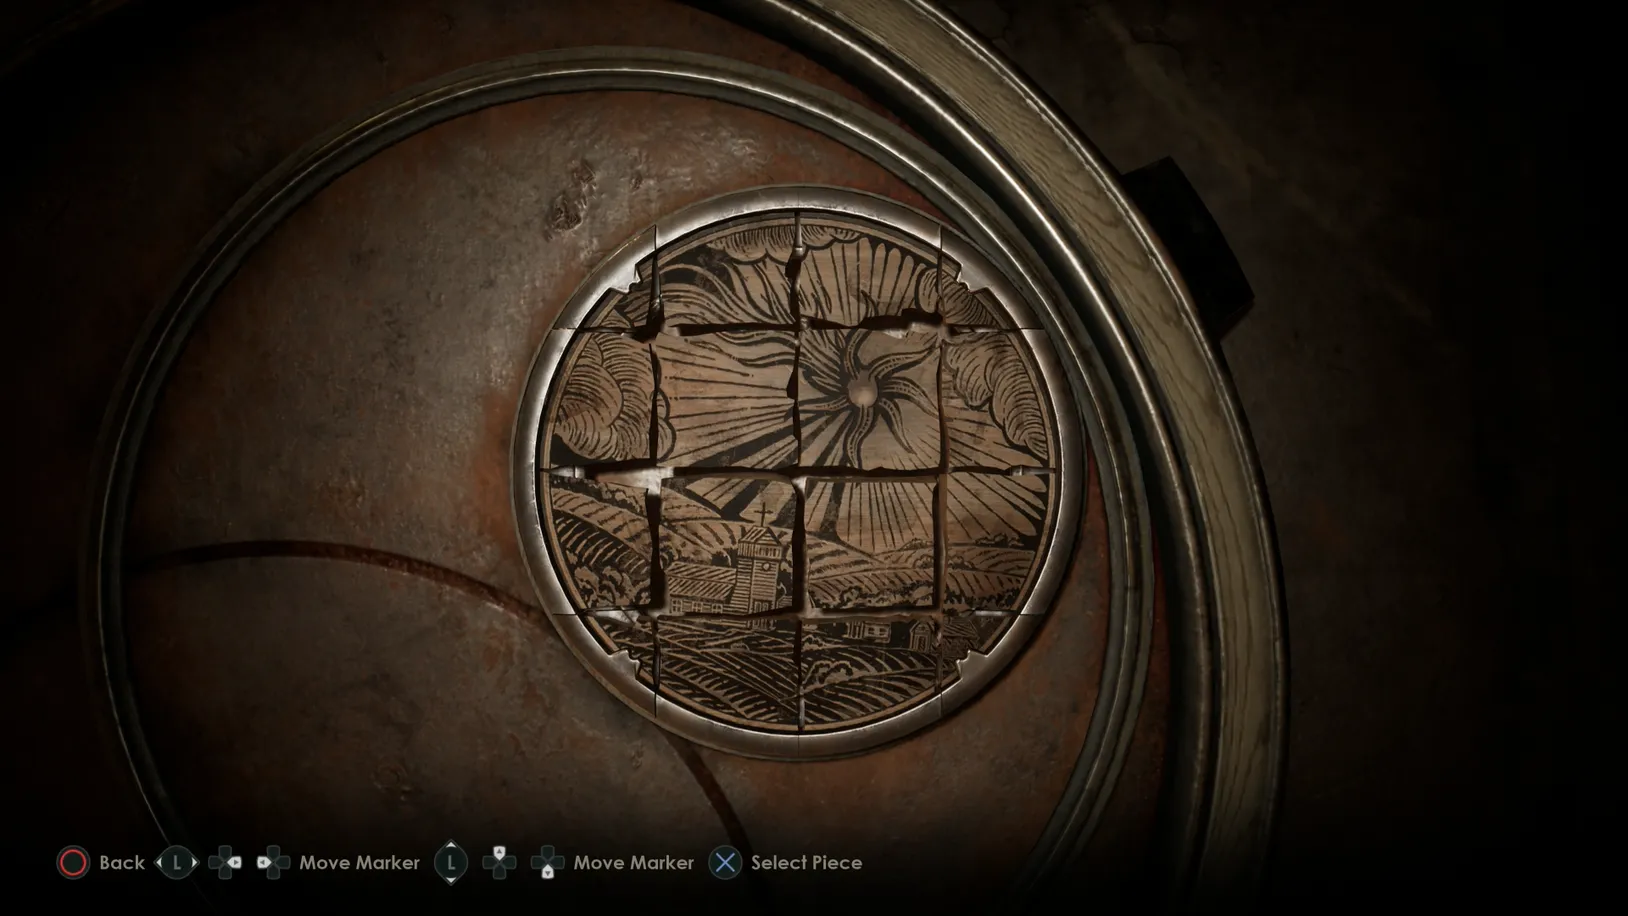
Use the two Broken Plates in the astronomical clock.
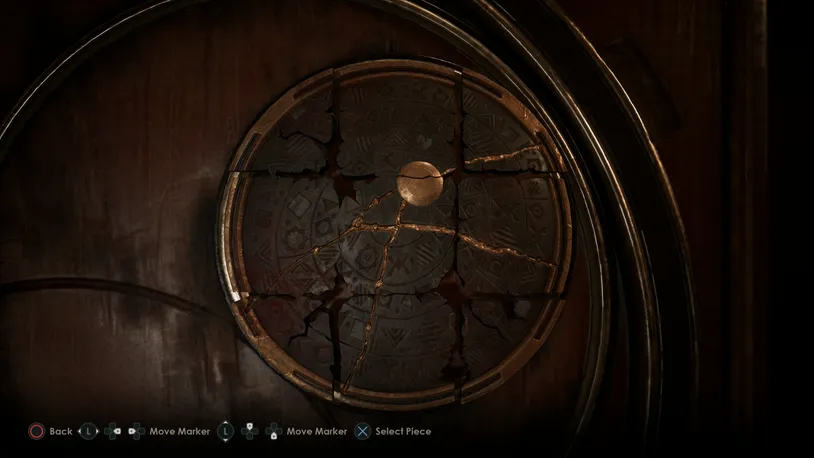
Solving the puzzle on the right-hand side of the clock will reveal the talisman code in the three clocks on top.
The pieces can be arranged to match the image seen in The Commonplace Book.
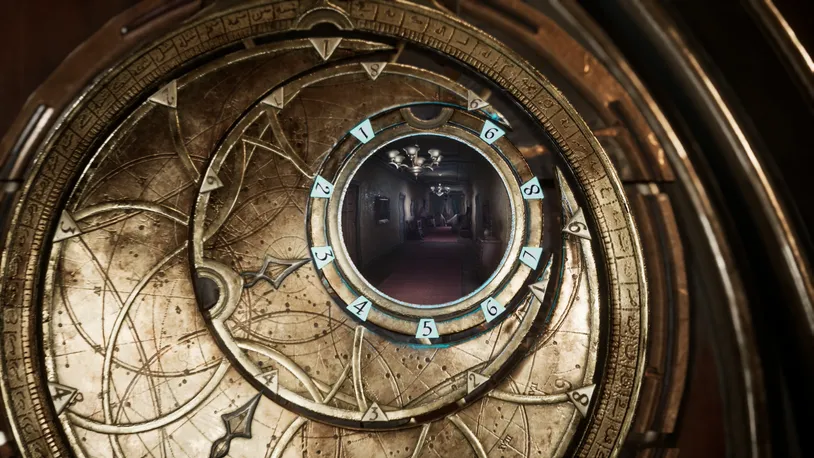
Interact with the finished puzzle to put the talisman on the disc, and enter the code 6-4-3 from top to bottom.
Enter the hallway (Hall) you came from. Baptiste's door – the second door on the left – will open automatically and lead you to the Oil Rig.
Look for Jeremy Inside the Hateful Mound Beyond the Oil Rig
Exit the starting room by jumping down from the platform to the right.
Follow a path straight across the yard to a warehouse ramp.
When entering the warehouse, you will see that to access the other side of the building; you will have to lower a bridge, which is missing a lever.
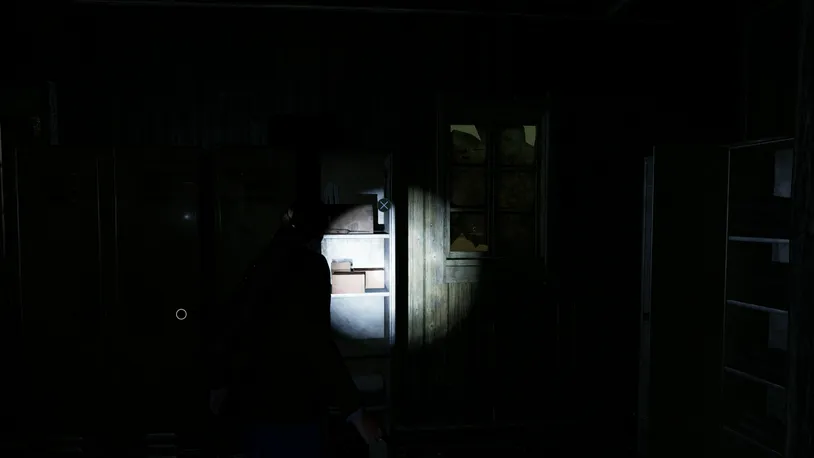
Enter the room to the left side and search the lockers for the Jetty Key.
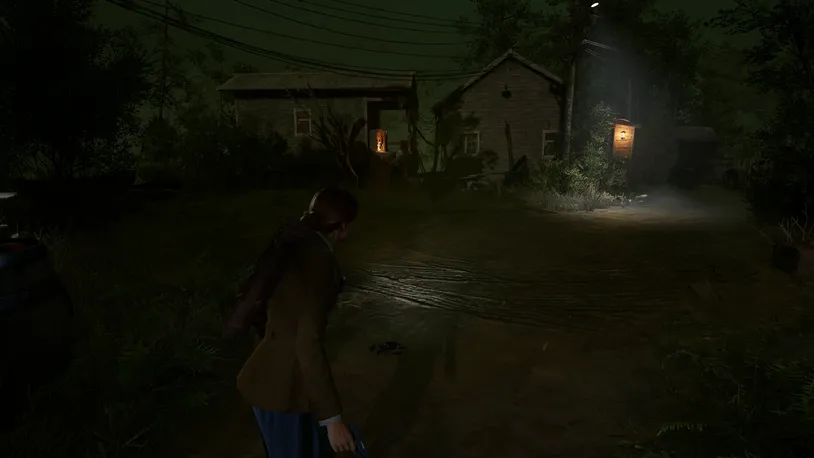
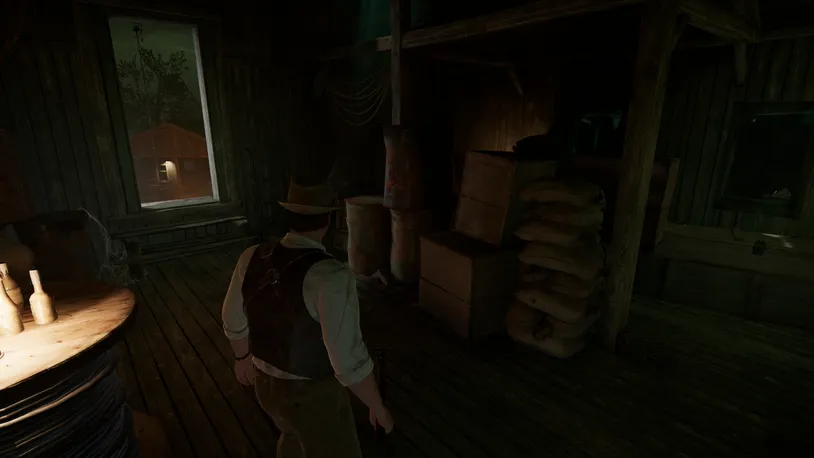
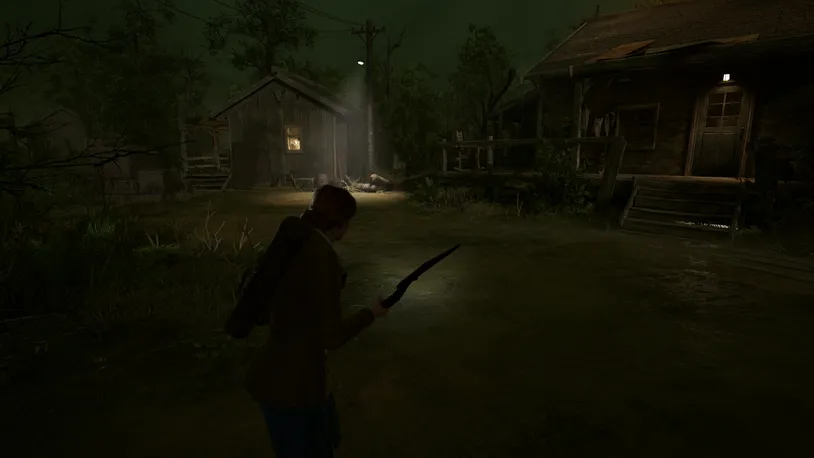
Exit the warehouse through the bolted windowed door, and walk over straight ahead to the house across the road.
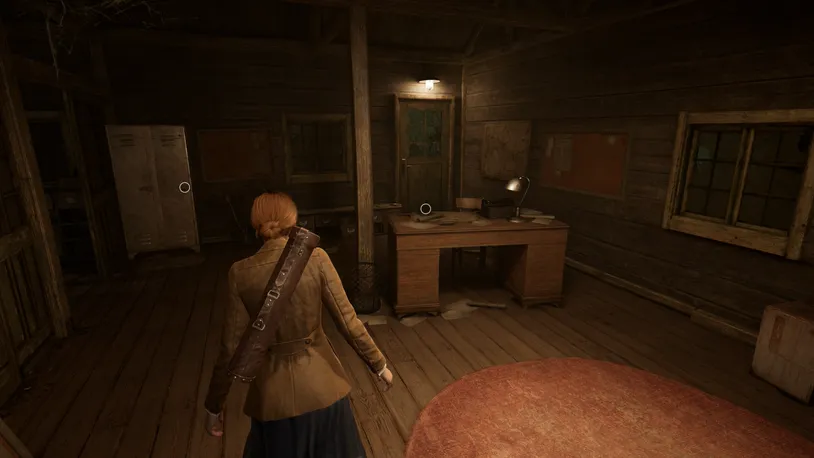
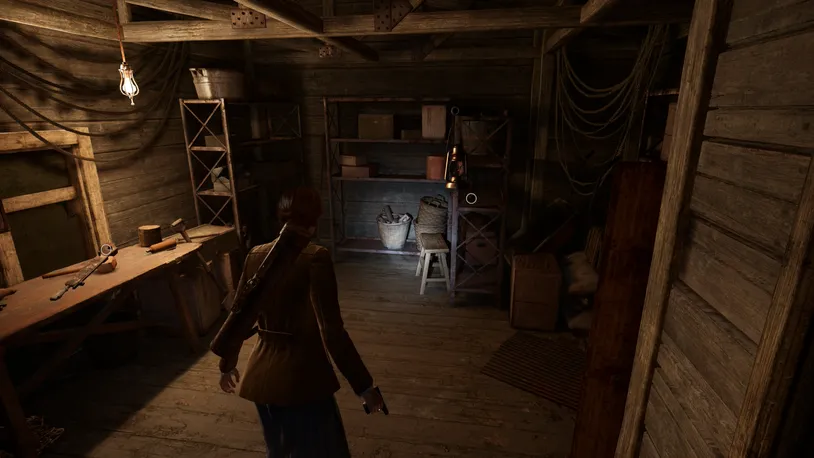
When entering the small wooden building, where you’ll find the Oil Rig Report on the desk. Be sure to also collect the bullets lying about the office and then leave through the same door.
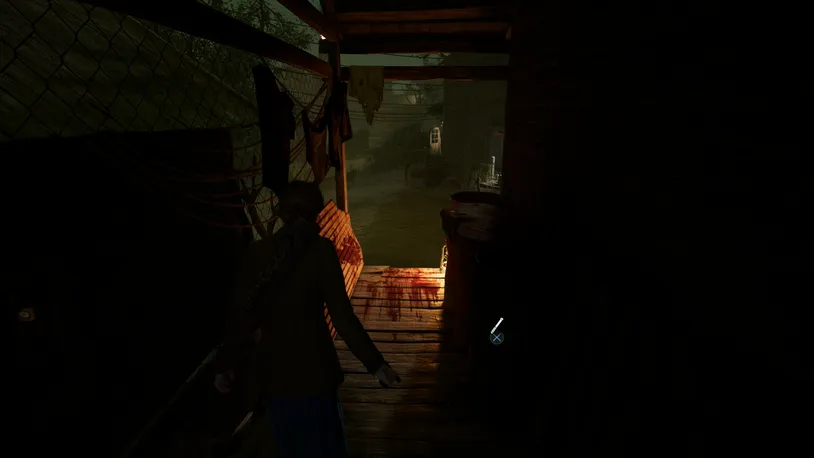
Now, use the Jetty Key to leave through the backdoor.
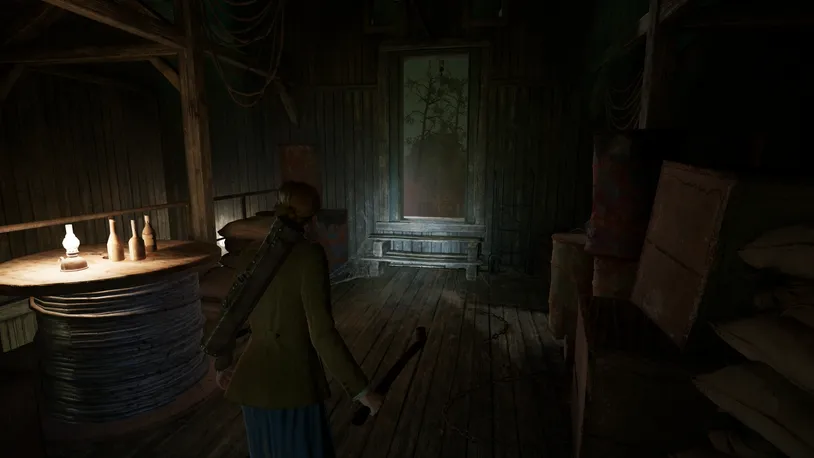
Go directly to your left and enter the open room up the wooden steps. Inside, you will find the lever needed to cross the water in the warehouse.
There is a shortcut back to the yard between the open room and the house you exited through the backdoor. Before the ledge, you’ll also find a Pipe Weapon beside some crates.
Jump down this shortcut and go straight ahead, which takes you back to the warehouse.
Along the way, you’ll encounter a borrowing swamp creature—take it down and avoid its slime attack.
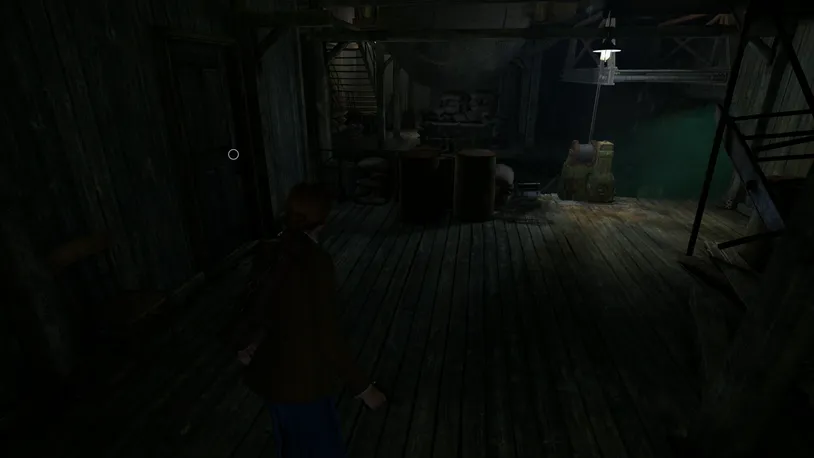
Enter the warehouse and use the lever on a workbench to lower the bridge. Then go up the stairs and reach the other side of the room, where you can see a chain hanging outside.
Before nearing or interacting with the chain, look for the stack of three red barrels just to the right of the window.
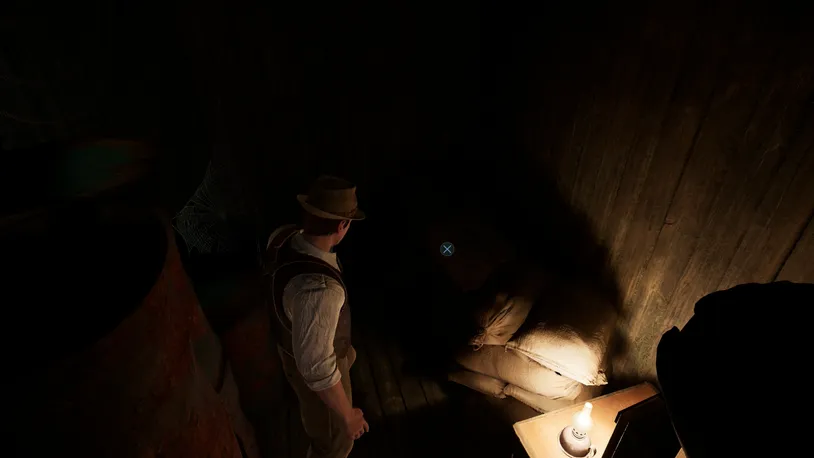
Squeeze between the gap, and you'll find the Discarded Palette inside a chest.
Just be very careful not to get too close to the chain. Otherwise, you can trigger a cutscene that leads to a new area that will prevent you from returning to the barn. If that's the case, you'll need to reload an old/automatic save or simply collect the item in another playthrough.
Now, interact with the chain, and a cutscene will trigger where you fall down and start just outside of the warehouse.
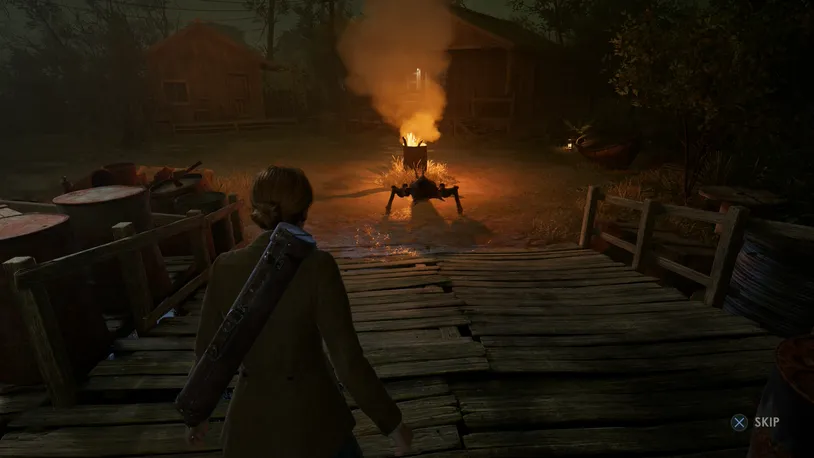
Pick up the melee weapon to your left and destroy the barricade to the left. During this process, you’ll need to fend off several swamp creatures. Breaking through the barrier will also unlock The Thin Veneer of Civilization trophy.
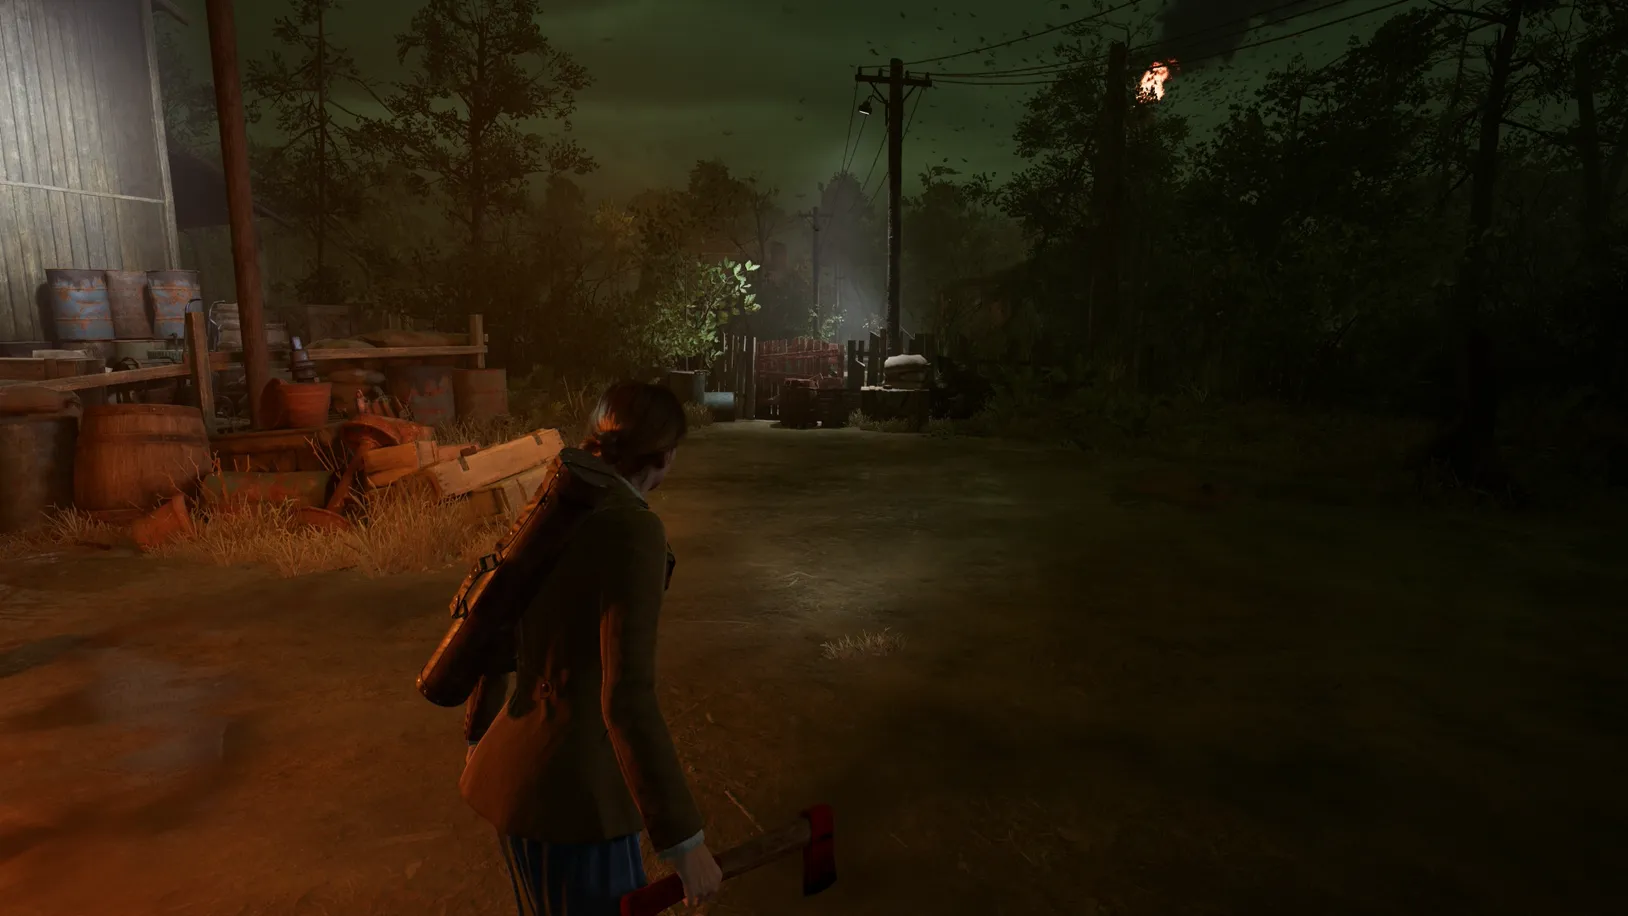
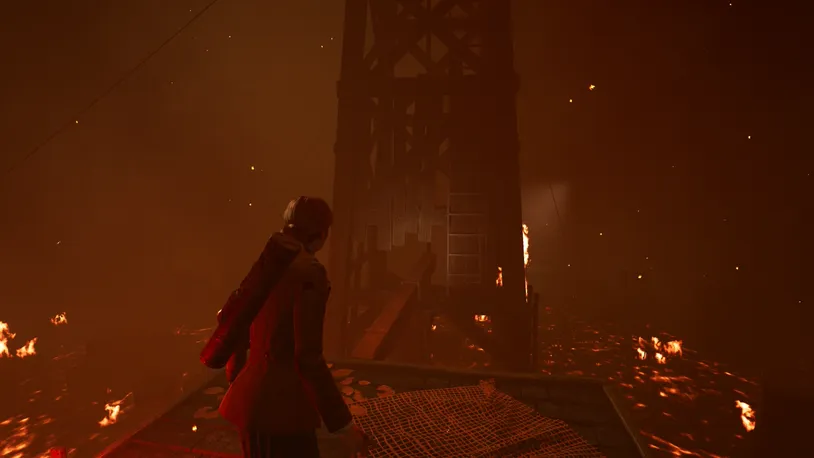
Then, follow the path to the oil rig tower, where many enemies will appear.
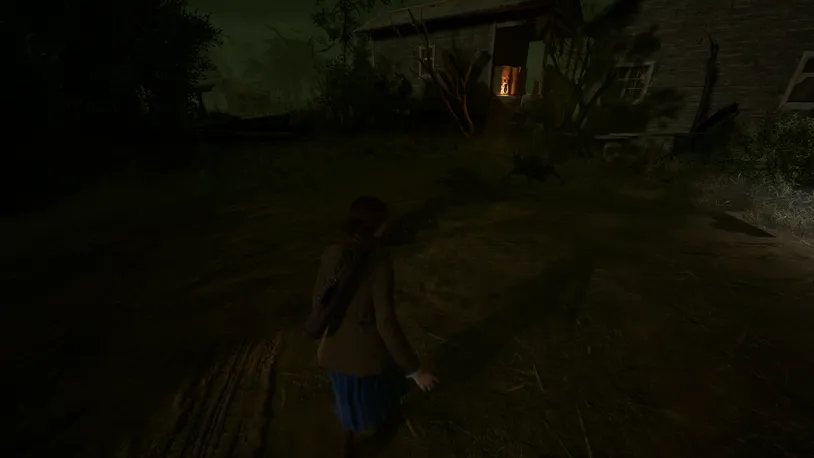
Before heading towards the tower, turn left and enter the far, well-lit house at the end of the path—it’ll be playing music, so you can’t miss it.
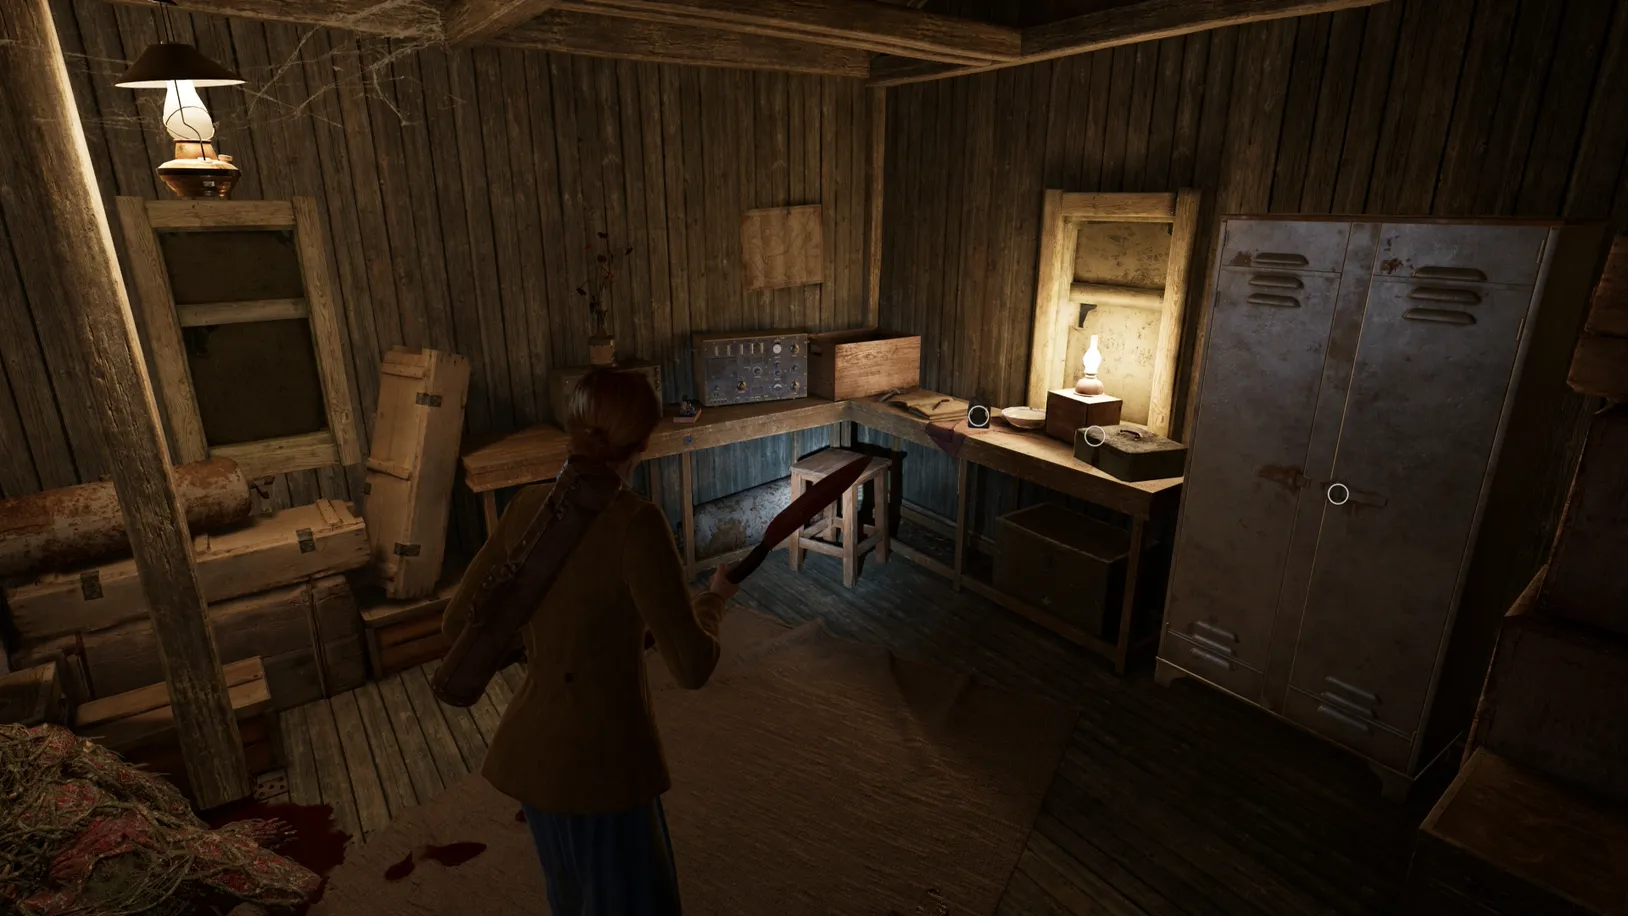
Inside, you’ll find a swamp creature, so take it down swiftly. Additionally, you’ll find some Pistol Bullets in the house and the Gazing Statuette Lagniappe on the workbench.
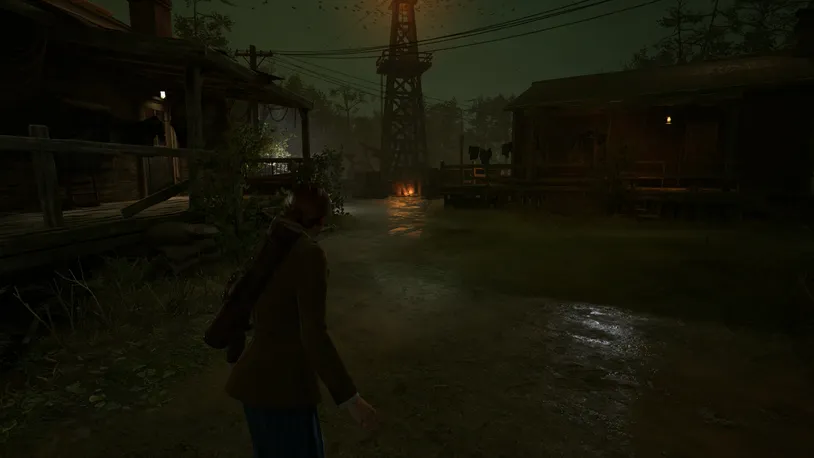
Now, leave the house and head toward the tower. On the right side, you’ll notice a path. Follow it to the other side of the tower.
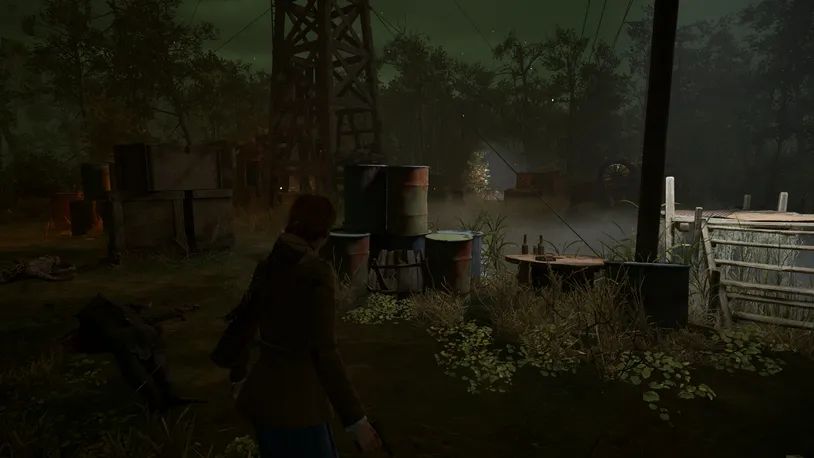
Along the way, you’ll need to defeat the patrolling creatures or sneak past them by throwing loose objects to distract them from the right path, which leads across the bridge.

On the other side, you’ll need to defeat or avoid two more creatures. Then interact with the lever by the ladder to stop the mechanism, and then climb up the ladder to the top of a shed to your right.
From here, you can walk on the beam leading to another ladder.
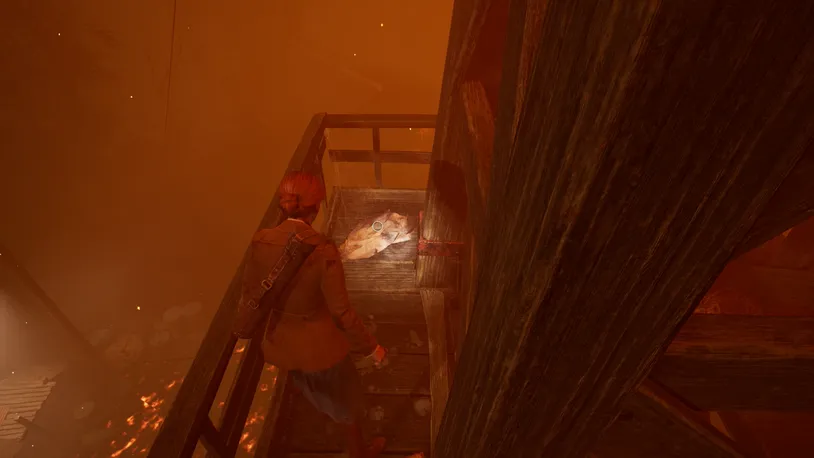
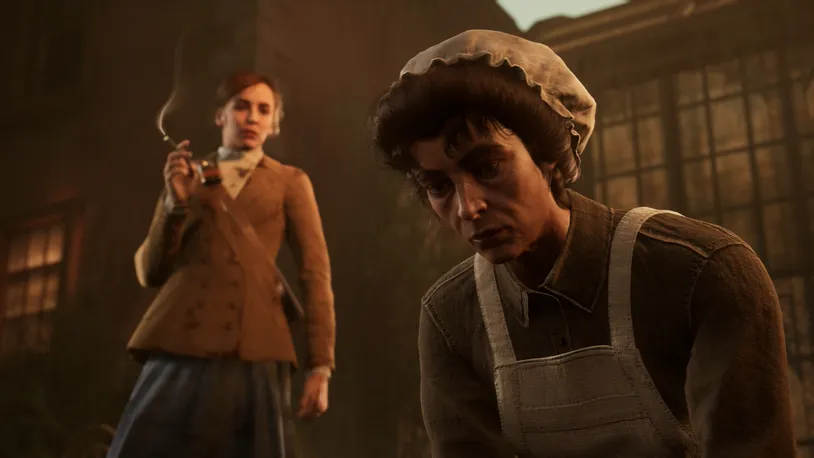
Climb to the top of the oil rig, where a Tough Cloth can be picked up and used to take the zip-line, triggering a cutscene that takes you down the tower to the other side of the swamp.

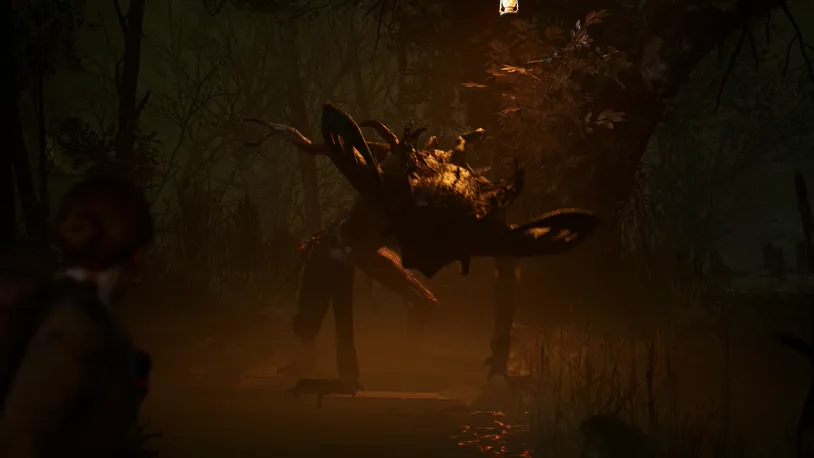
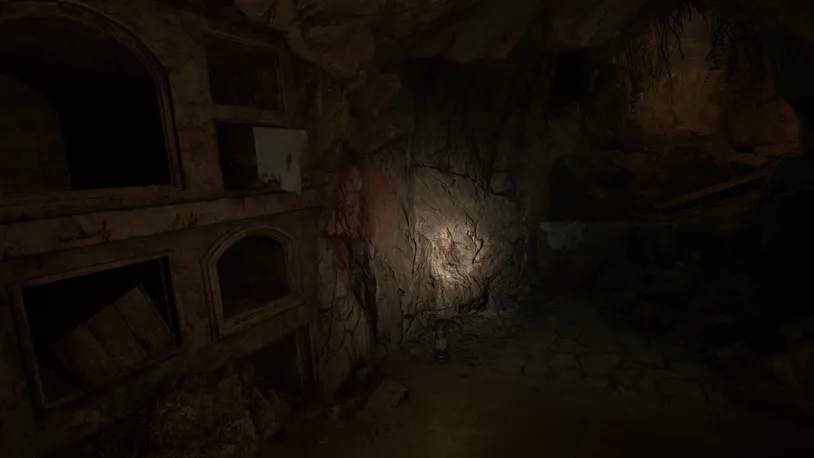
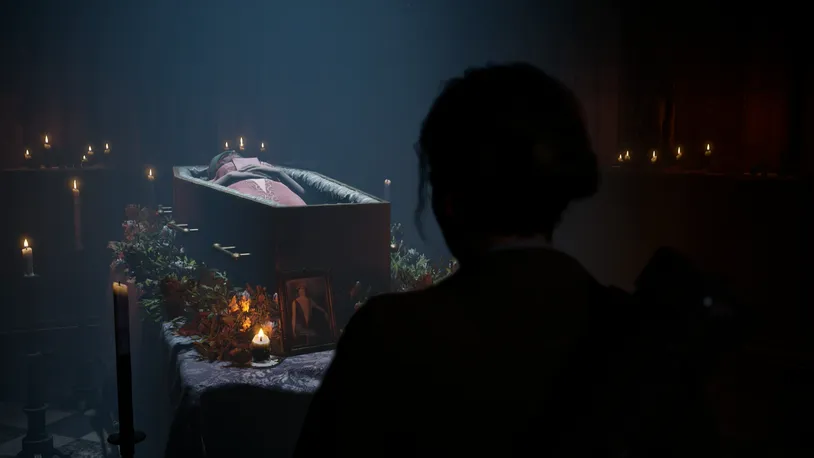
Follow the path through the forest, and just before the bridge at a tree, you will encounter the mound beast.
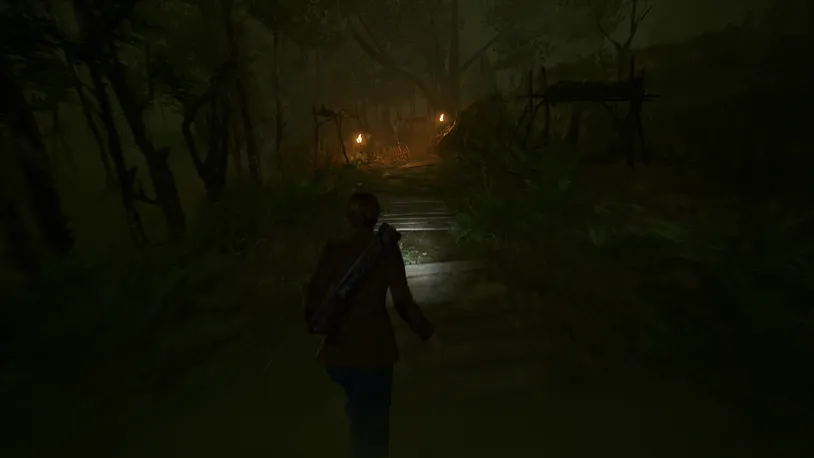
After it runs off, continue over the bridge and proceed into the mound ahead.

A cutscene will trigger, and you will return to Derceto.
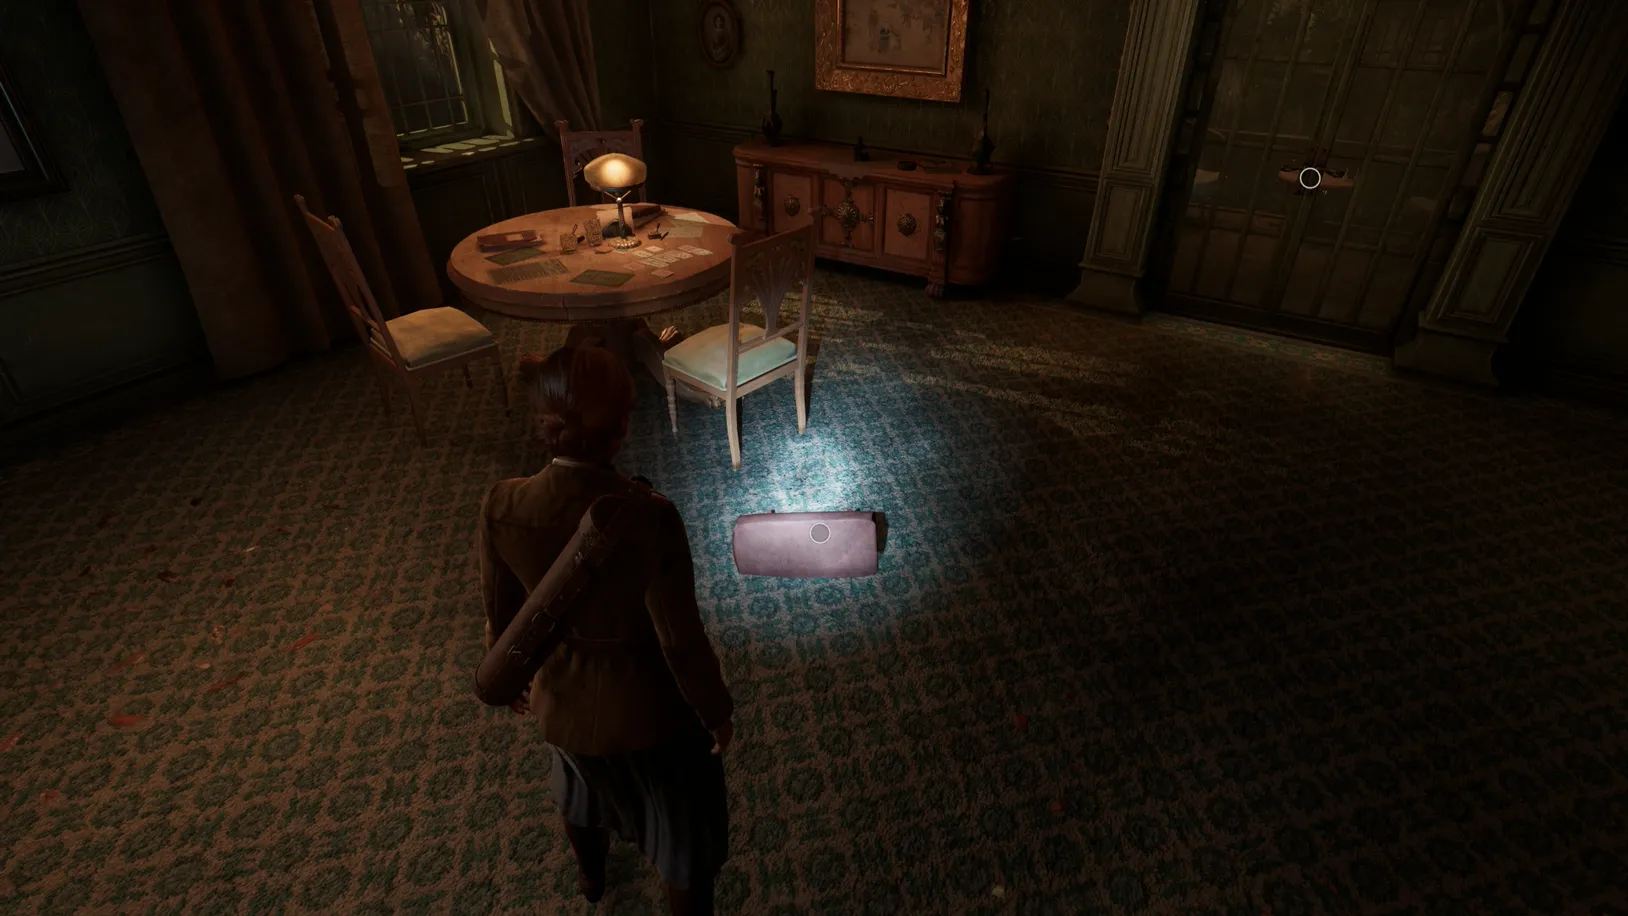
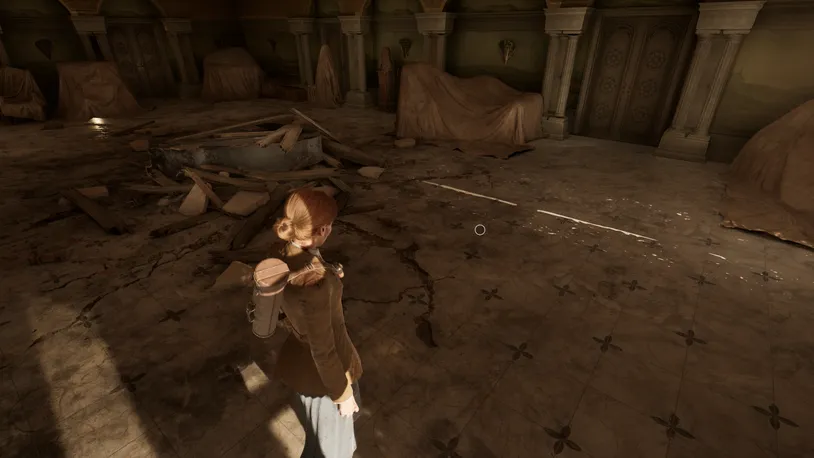
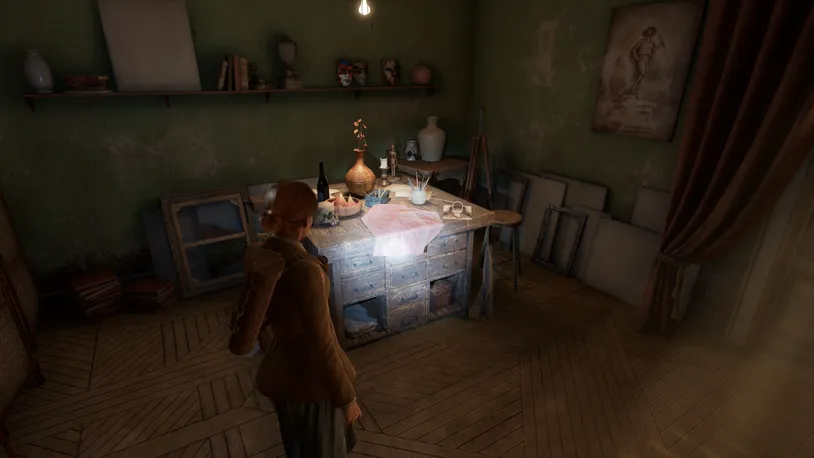
When you return to the Small Parlor in Derceto, a bag containing the Palette Knife, Reflections on the Power of the Verb in Certain Texts clue, and the Sitting Room Key is on the floor.
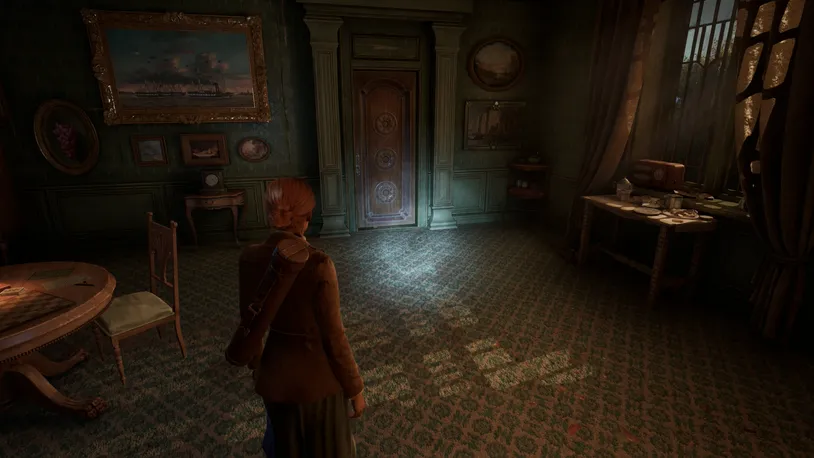
Pick them up and continue to open the drawing room, using the Palette Knife to remove the wedge that blocks you from opening the door.
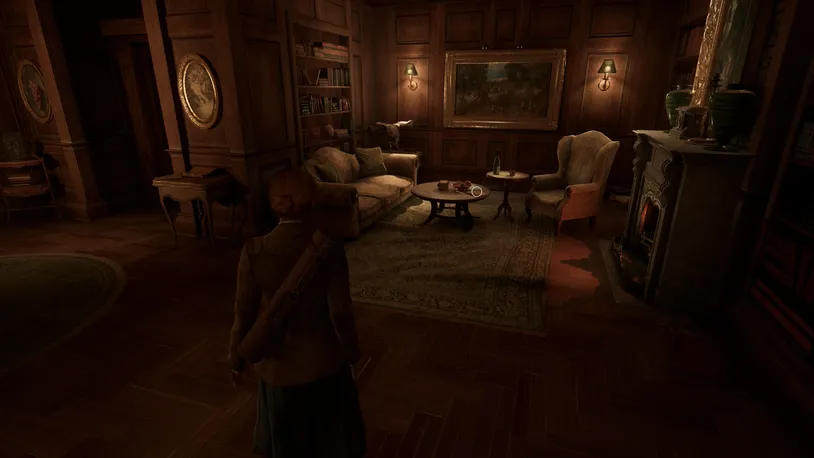
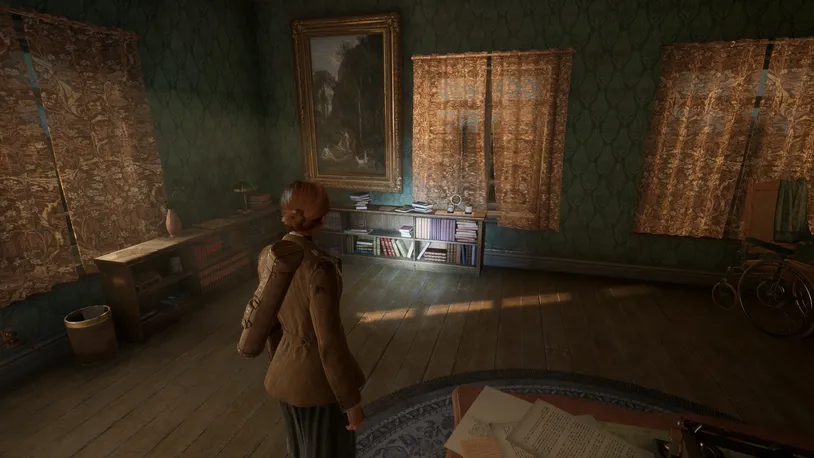
Inside the Drawing Room, you pick up the Cellar Key located on the table, as well as the Barlow Lens Instructions clue.

At the back of the room, on a small table, you’ll find the Dog Collar Lagniappe.
Just as in the previous astronomical clock puzzle, you must now find two more Broken Plate Fragments and complete two puzzles to receive them.
How to Solve the Medicine Bottle Puzzle
Before returning to the astronomical clock, pick up the A Brightness From Afar Lagniappe that’s found on the table in the Library, next to the chair Ruth was sitting in earlier.
Now, make your way back to the astronomical clock on the second floor.

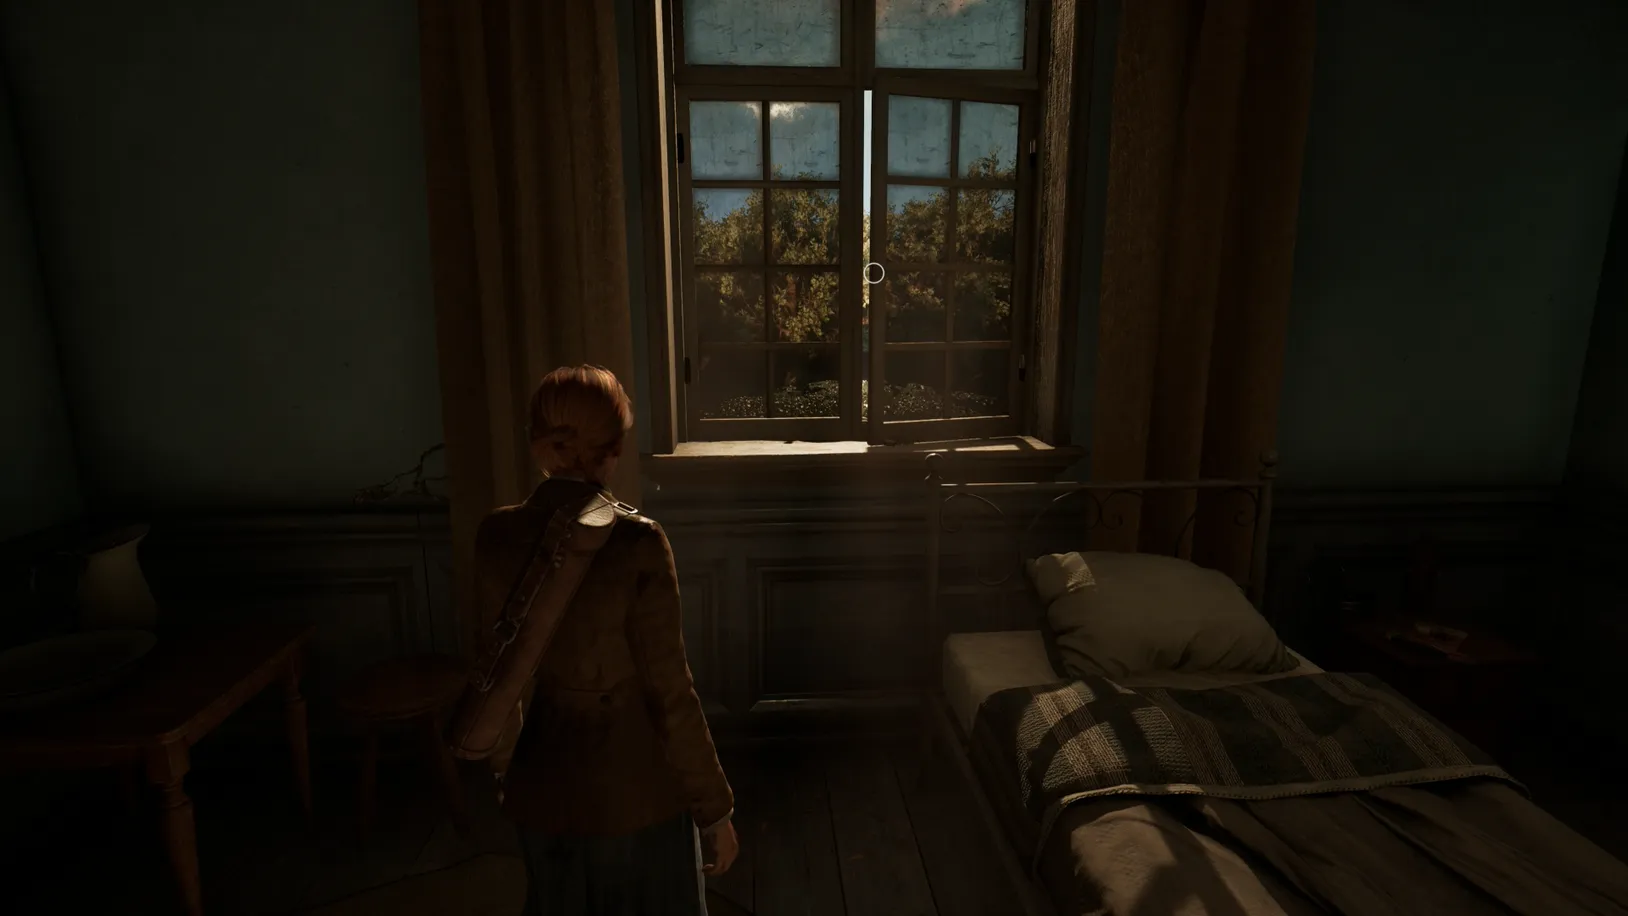
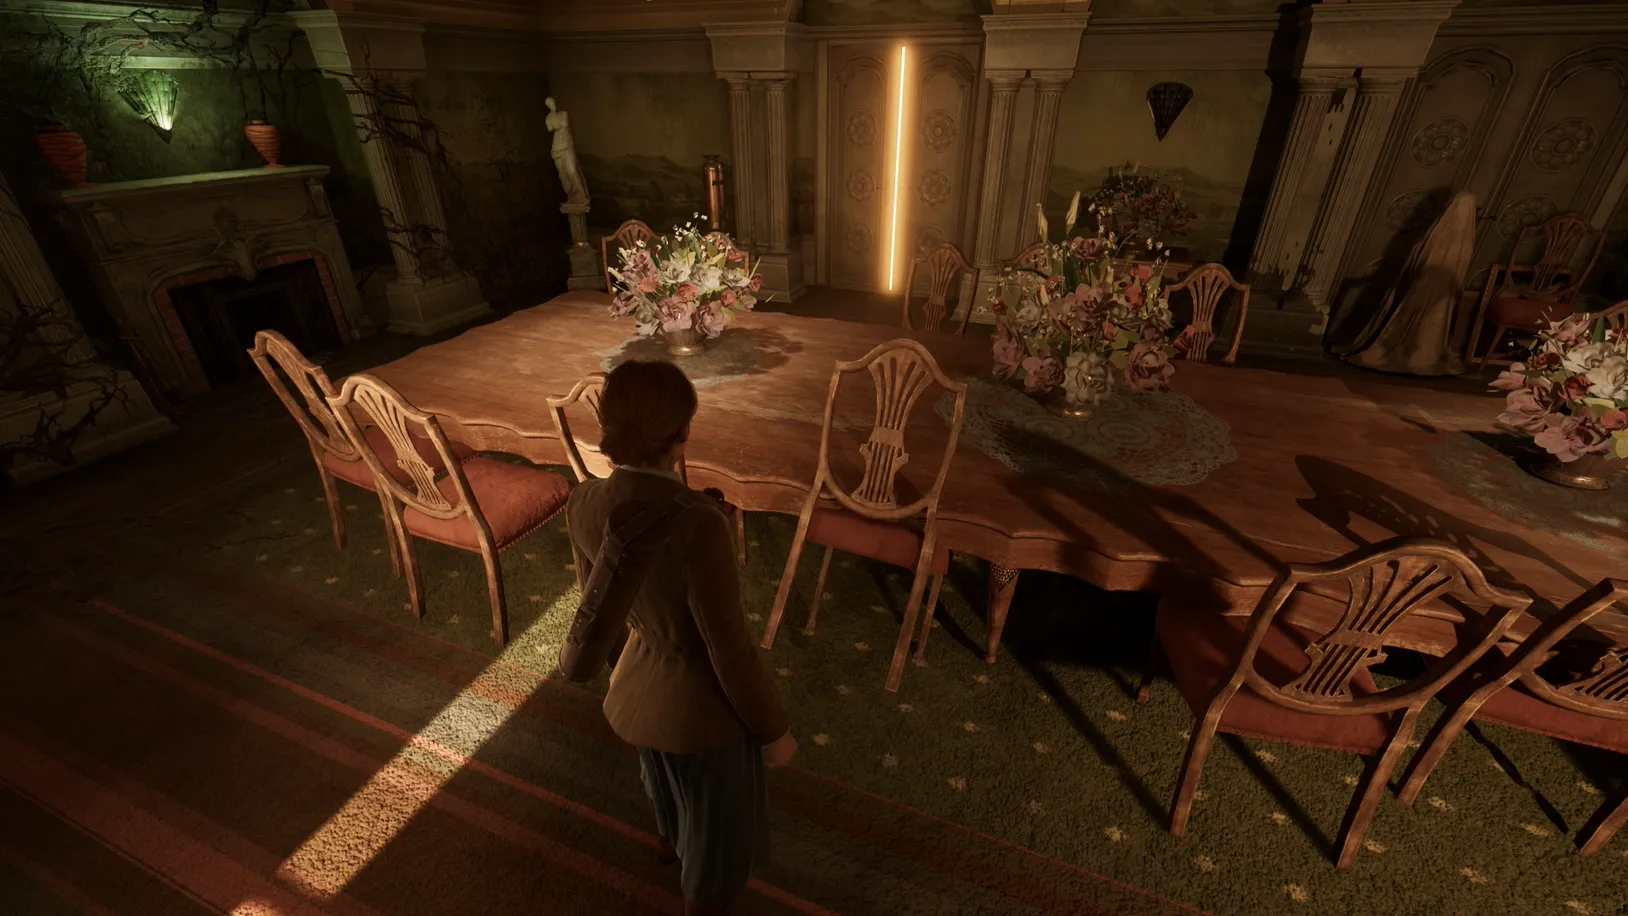
This time, unlock the door to the Sitting Room to your right using the Sitting Room Key and watch as a cutscene unfolds.

Enter the second room to your right (Cassandra's Room) to trigger a cutscene (when playing Edward).
There is a puzzle in the room. To solve it, you need to complete a set of medicine bottles and arrange them in the correct order.
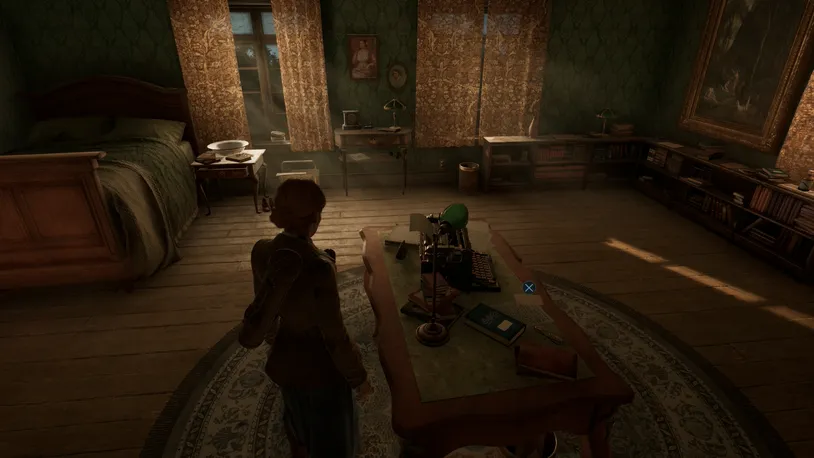
One bottle is found on the table in the middle of the room. You also find a note titled Your Medicine, telling you that Lottie (the orderly you met in the cutscene at the end of the Oil Rig) has the medicine in her room.
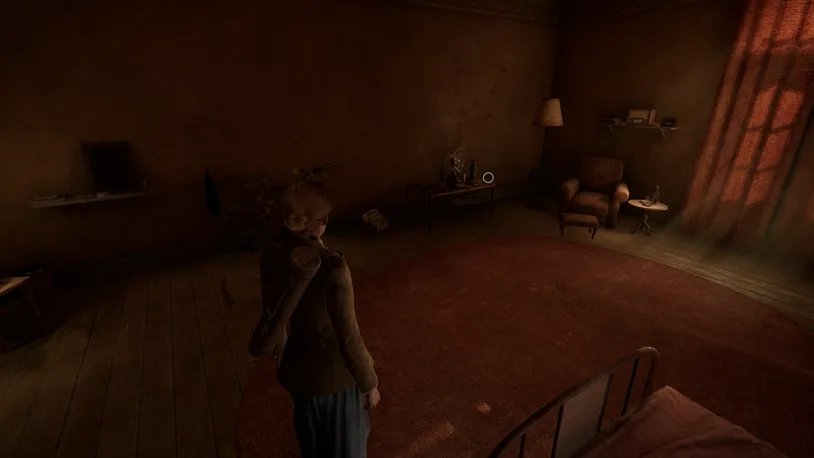
Before backtracking to Lottie’s Room, leave Cassandra’s Room and enter Grace’s Room.

The A Small Request clue is on the desk along her wall.

After collecting the note, interact with the Jack in the Box that’s found sitting on the chair in the corner of the room. Once it has popped open, pick it up to discover the Jack in the Box Lagniappe.
Now, backtrack to Lottie's Room (where you found the map and the Piazza key) to learn that the box is locked.
A note in Lottie’s Diary (found on the bedside table in her room) will tell you that Grace took the key, who likes to play in the piano room (Grand Parlor).
Before leaving, approach Lottie’s window and shut it. Upon doing so, you’ll find the Nurse’s Watch Lagniappe on the window sill.
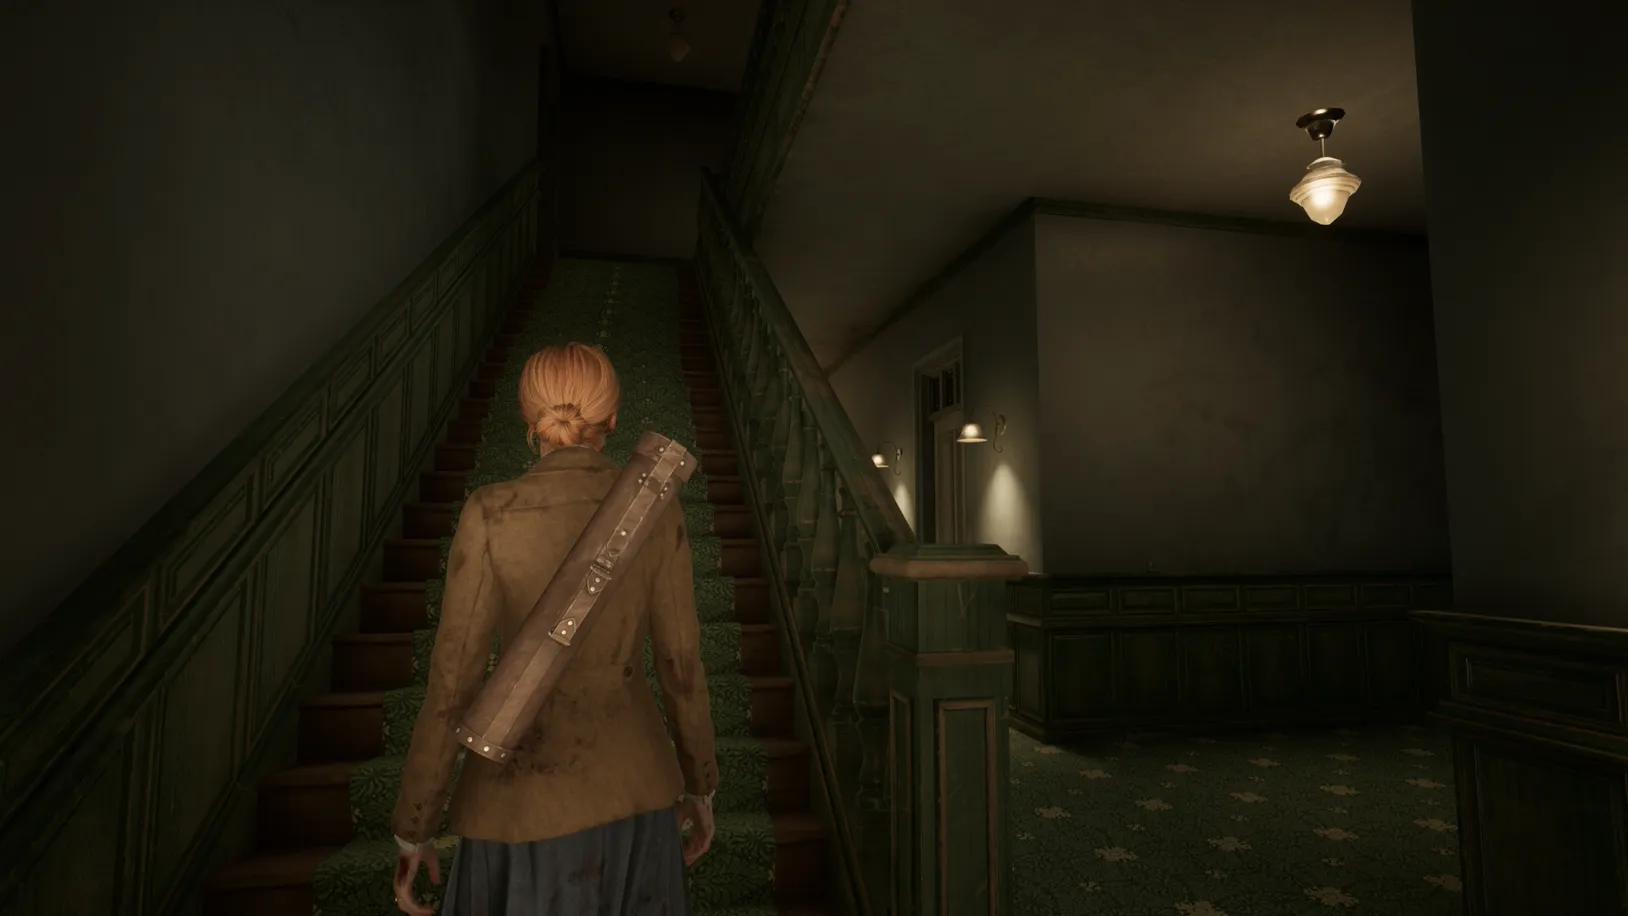
Exit Lottie's Room, climb the stairs in Stair Hall, and use the Palette Knife on the door at the left as you reach the top, which takes you to a hallway – where you take the door directly to your right into the Mezzanine.
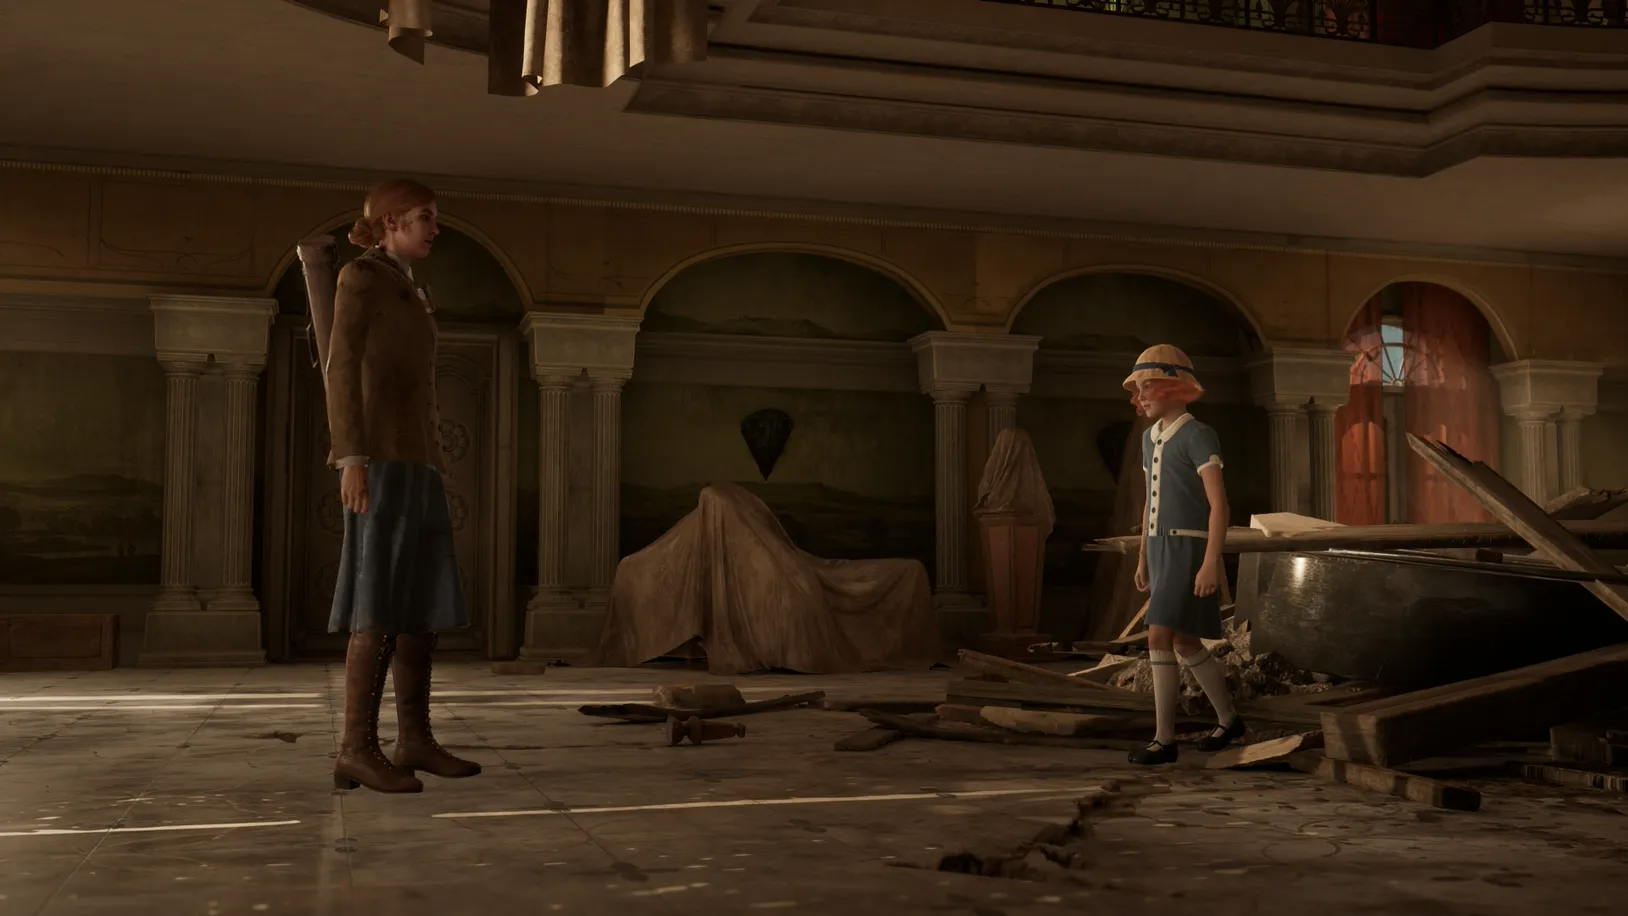
Entering the Mezzanine through the hallway will trigger a cutscene (if you're playing as Edward).
 If you're playing as Edward, you'll have the chance to speak with Ruth three times following the cutscene.
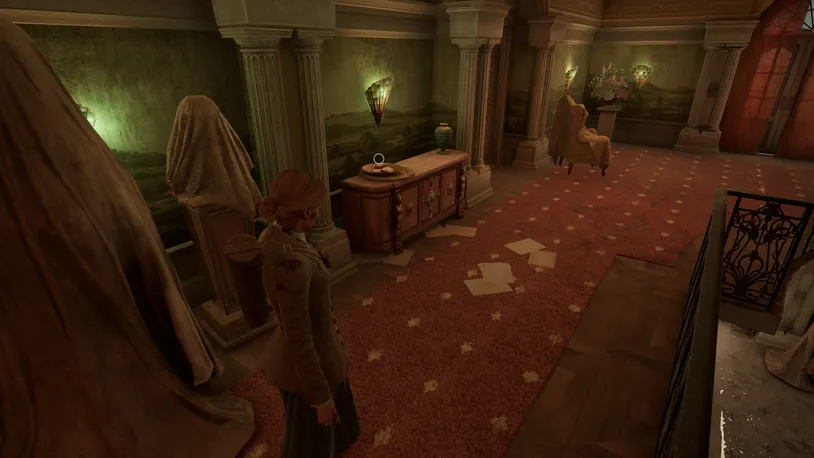
Now, follow the path left, and you’ll find the Beignet Lagniappe in a bowl on top of a side table. Nearby, you’ll also find a door, which you can unlock to create a shortcut.
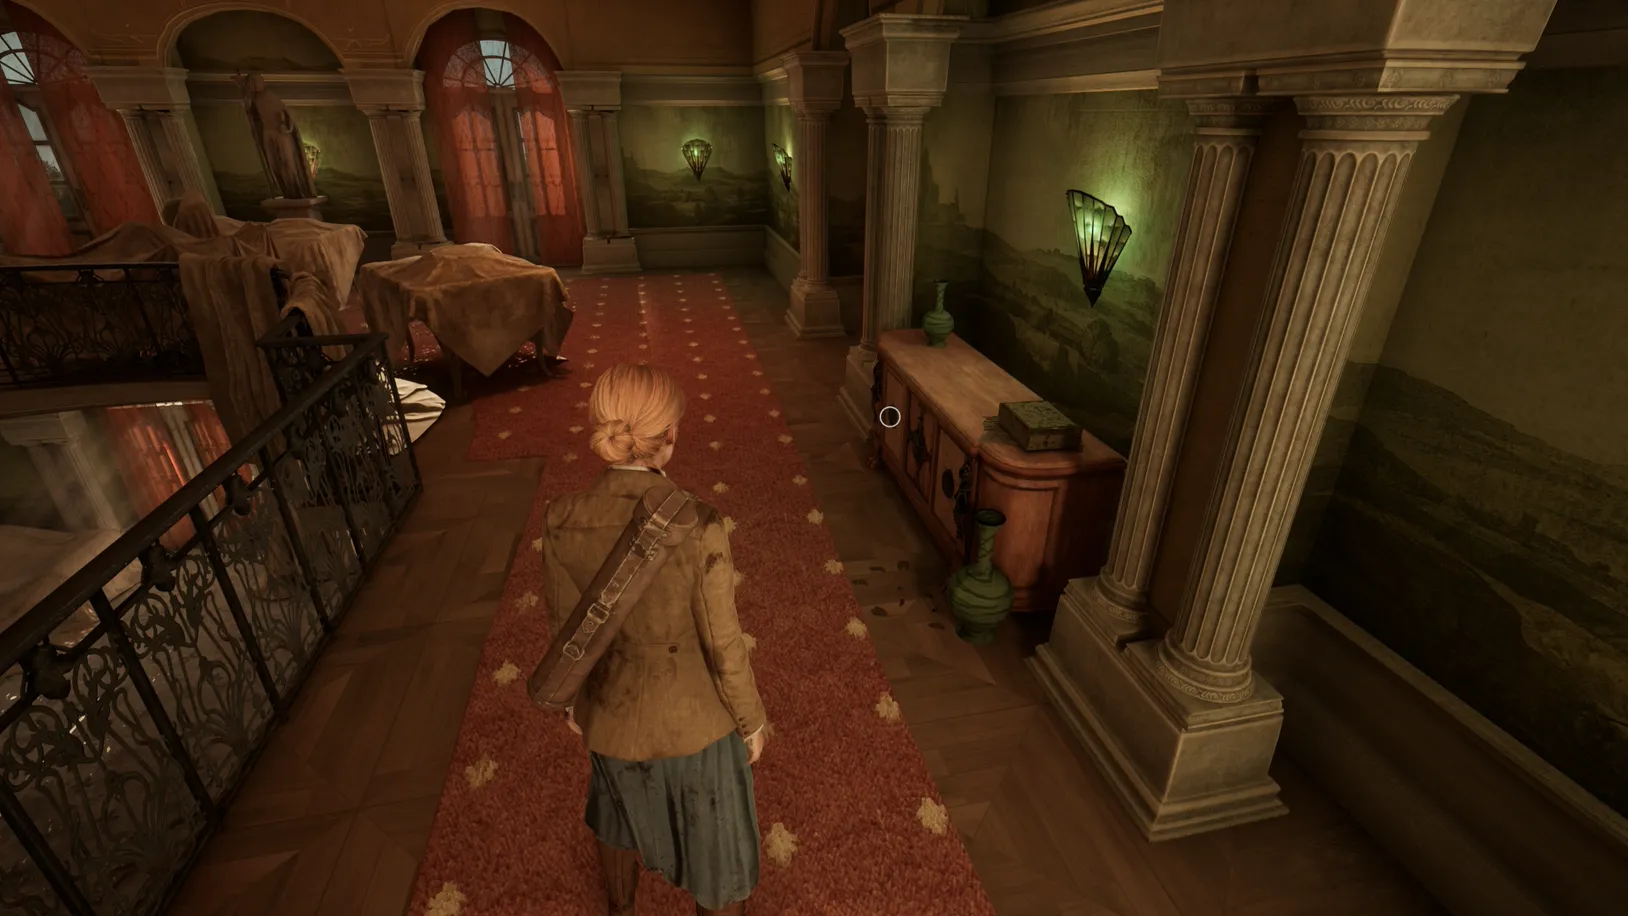
From here, unlock the door on the other side of the Mezzanine.
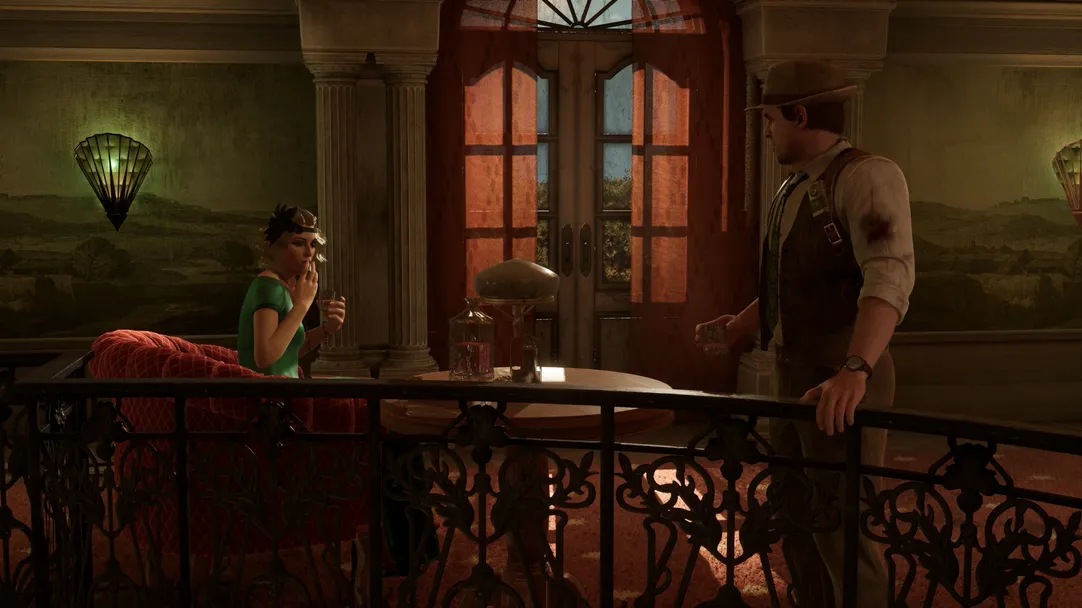
Descend one floor and enter the door to the Grand Parlor (a cutscene will trigger if you play as Emily).
On the piano, there is a key for the medicine box.
Before leaving the Grand Parlor, pick up the Syringe off the floor, which is part of the A Great Depression Lagniappes set. This will complete the A Great Depression set.
Backtrack to Lottie's Room (you can unlock the door to the Dining Room from the Grand Parlor and enter the Stair Hall).
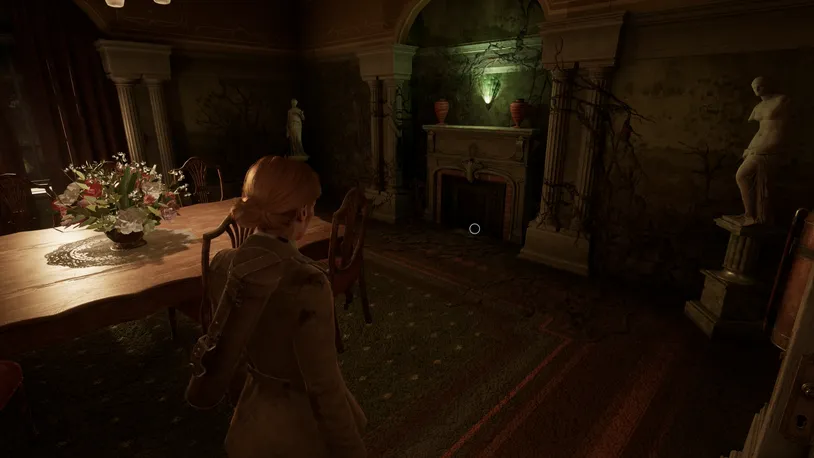
In the Dining Room, you’ll find the clue, On the Commonplace of Evil at the base of the fireplace that’s covered in the unsettling rot.
In Lottie’s room, unlock the medicine box to find a medicine bottle.
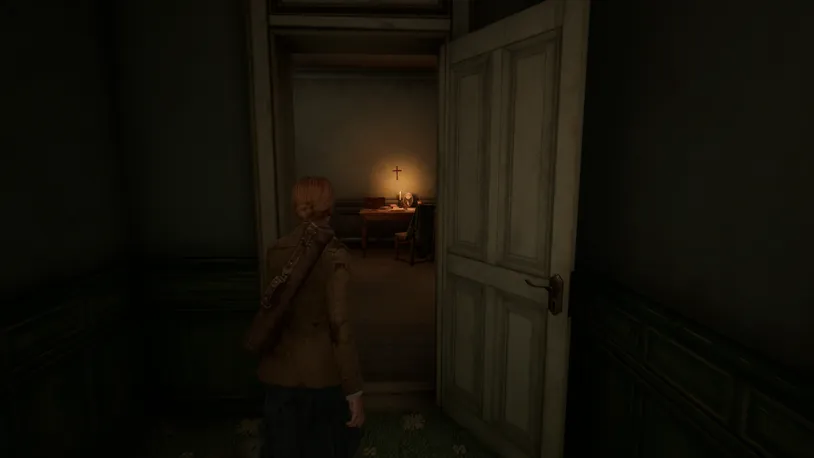
Before returning to Cassandra's room, make a detour to Batiste’s Room.
There, you’ll find the Fountain Pen Lagniappe on the small table along the wall.
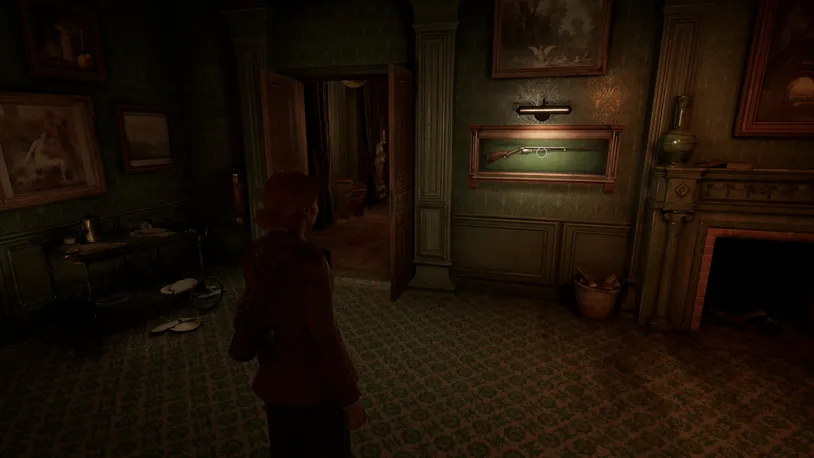
If you’ve been following this guide, this will complete the Lost Children set, and you’ll be able to unlock the Shotgun from the cabinet in the Small Parlor.
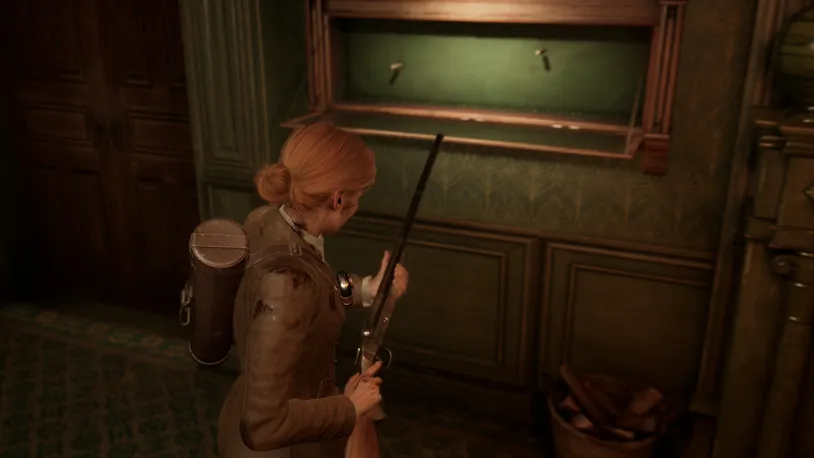
We recommend collecting the Shotgun now, as it’ll come in handy for future encounters.
With those all collected, head through the Library door and attempt to open the door to the Stair Hall. Learning that it's now blocked, attempt to return back to the Small Parlor, only to trigger an anomaly.
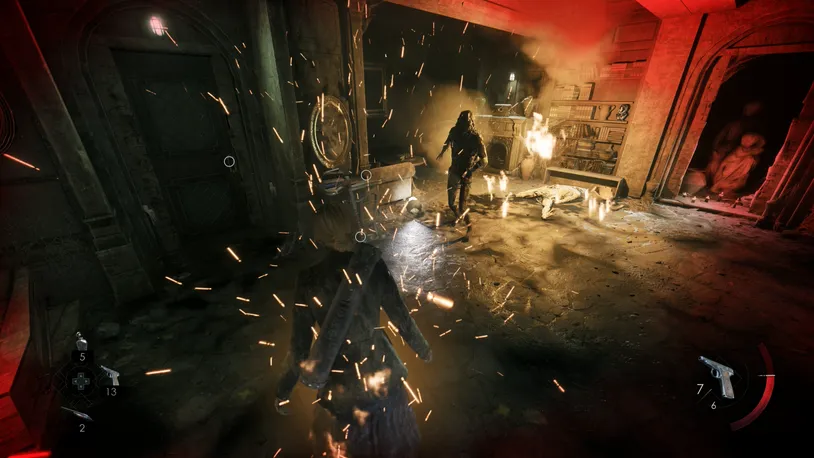
In this anomaly, two creatures will rise up. You’ll want to lure them near the fireplace and then shoot at them to set them alight—this unlocks the Bonfire Night trophy.
Once defeated, pick up the supplies in the room and exit the Library to return to reality.
With that sorted, return to Cassandra’s Room, interact with the puzzle on the cabinet along the wall, and add the two medicine bottles you collected.
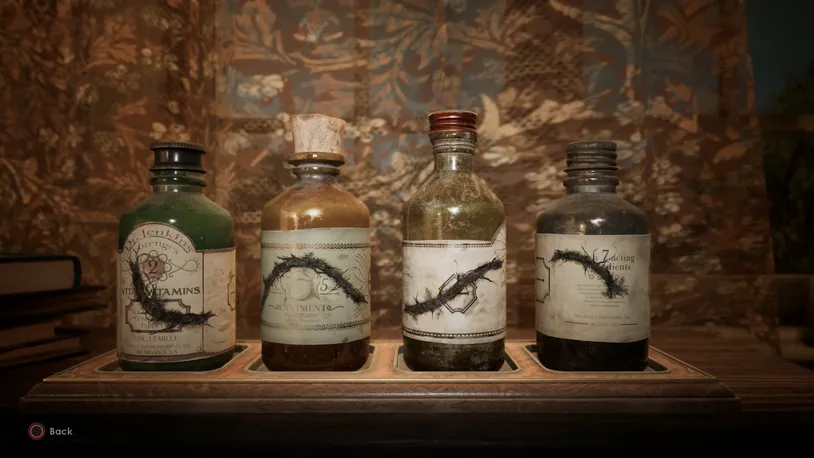
Now, rotate the bottles so the rot pattern is lined up—see our screenshot for the solution—and watch as the numbers on the bottles are revealed. These numbers correspond to the zodiac signs in Perosi's Journal.
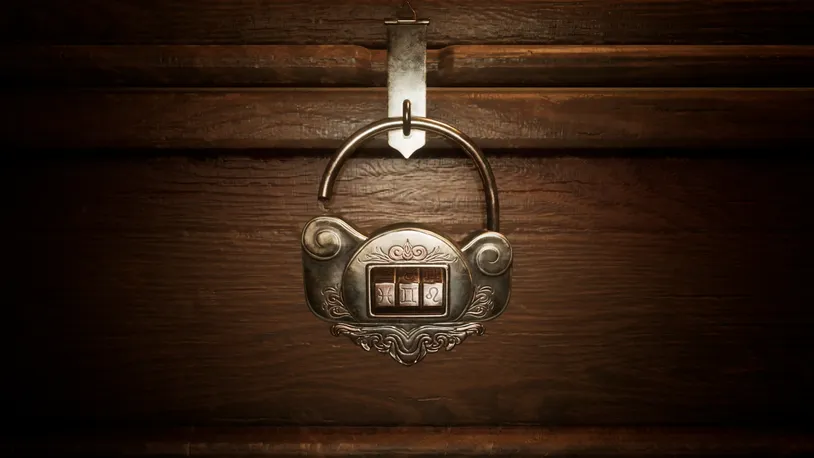
To receive the Broken Plate fragment, enter the corresponding zodiac signs (Pisces, Gemini, Leo) into the padlock on the bureau.
Find Derceto’s Boiler Mentioned in the Commonplace Book
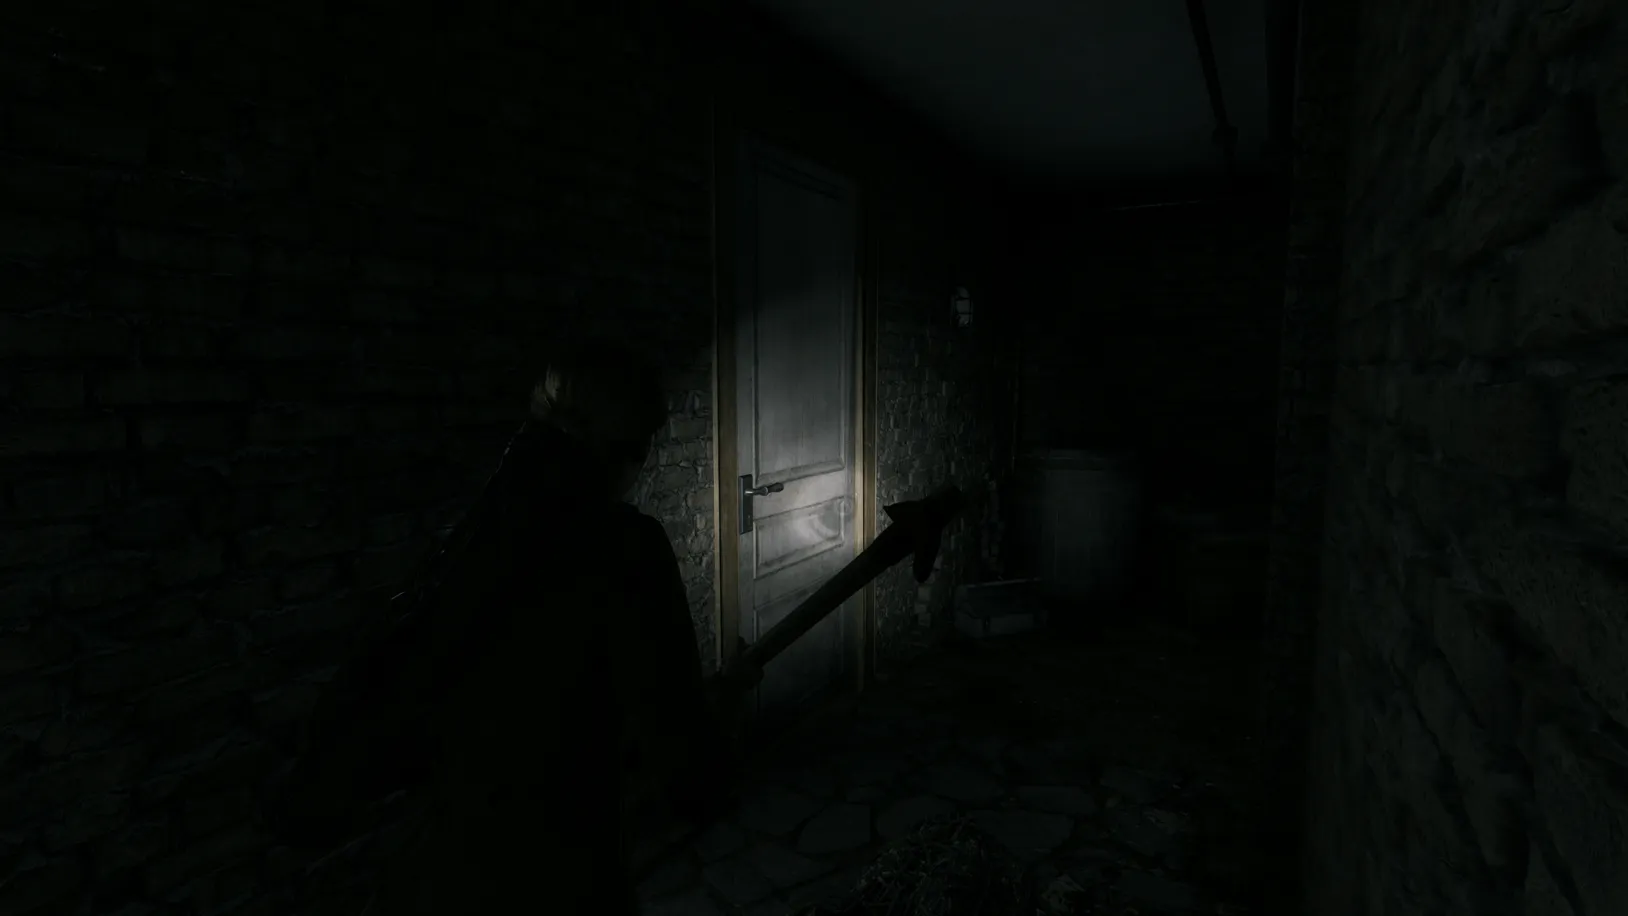
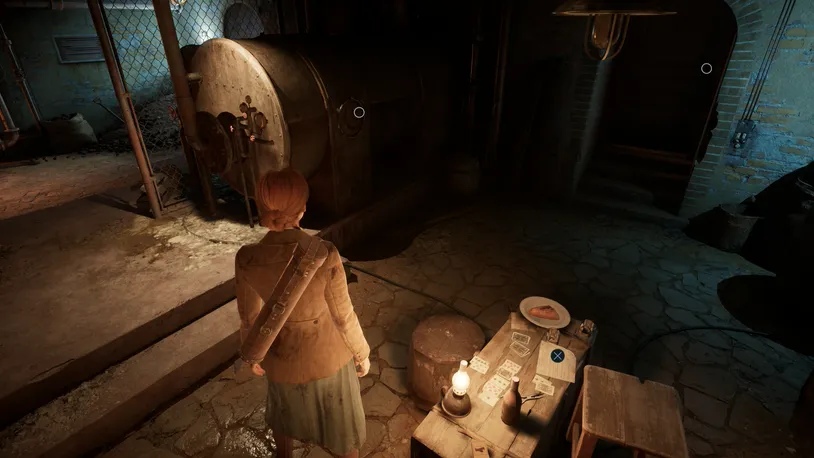
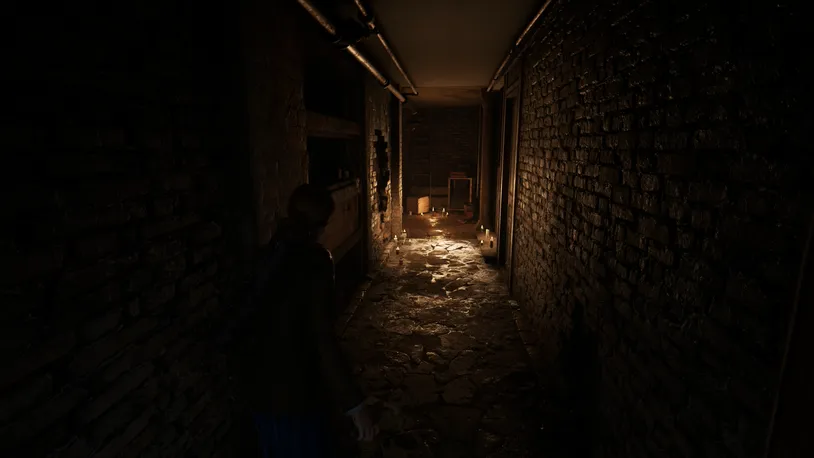
Return to the Staircase Hall and enter the Boiler Room, where you will find a puzzle on the side of the boiler. However, due to a steam leak, you can't traverse across the Boiler Room. Now, you need to find a valve to close the steam off.
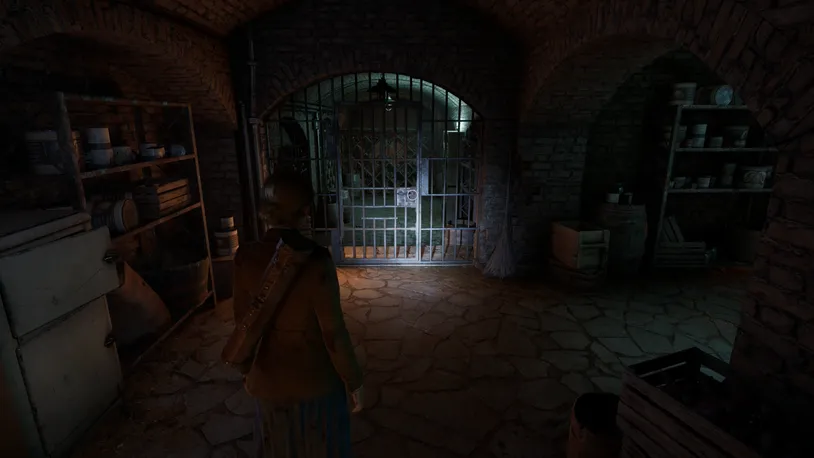
Now, advance through the nearby Food Cellar, and you will encounter a locked door to the Wine Cellar -- use the Cellar Key to unlock it.
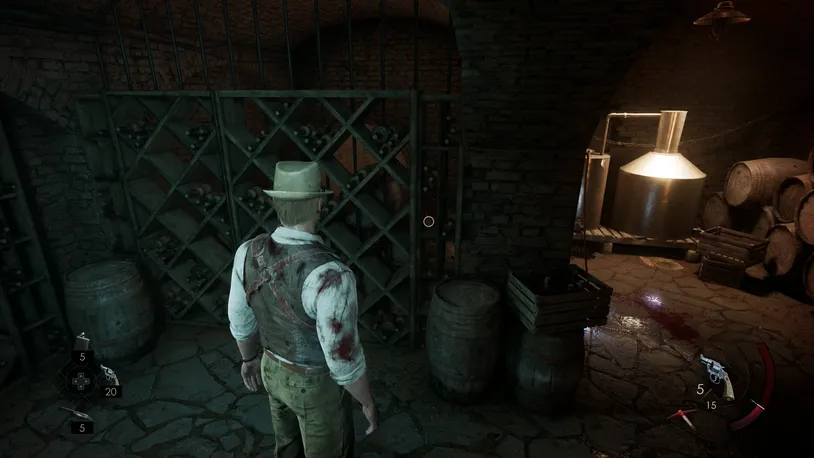
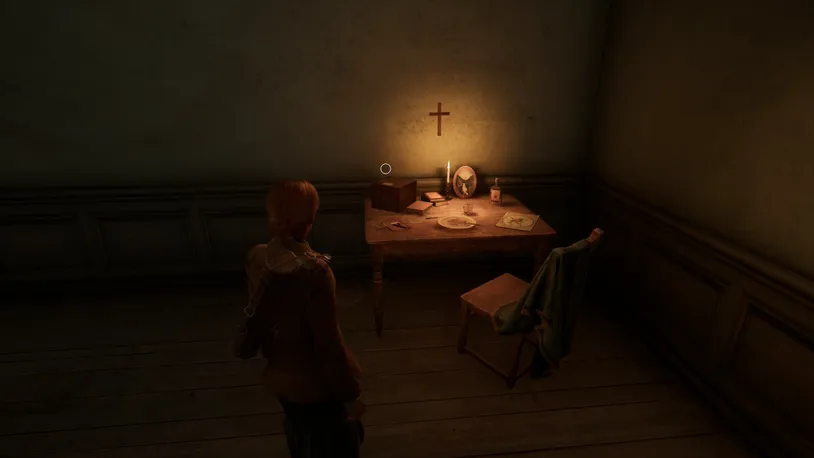
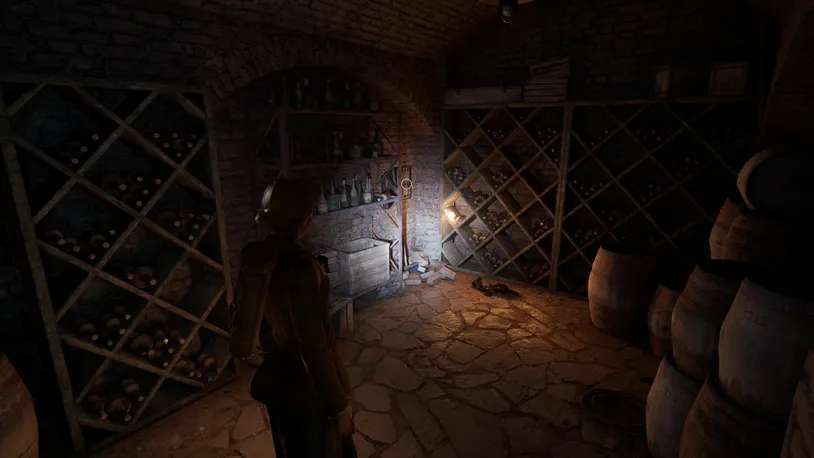
When entering the Wine Cellar, you'll find the Forsaken Crucifix Lagniappe tucked away on the shelf directly in front of you, amongst some wine bottles. The exact shelf is nearest to the two wooden barrels and the crate of wine.
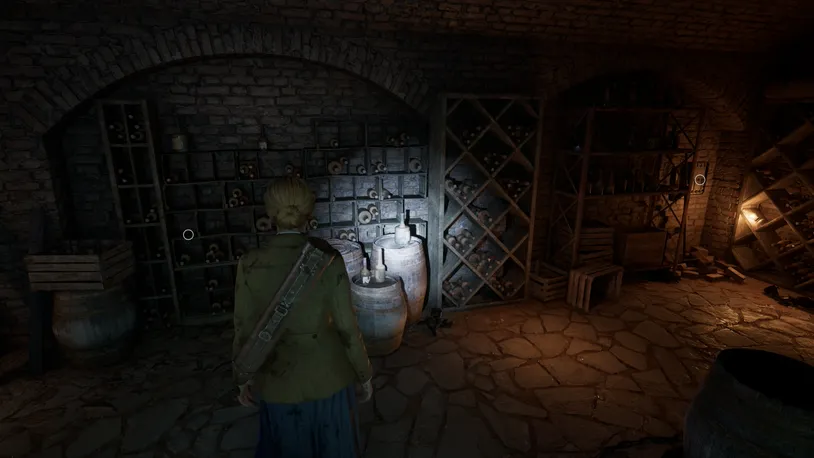
Now, pick up the lever on the shelf that's found to the right.
Then, add it to the circuit box that is opposite the inaccessible, electrified area.
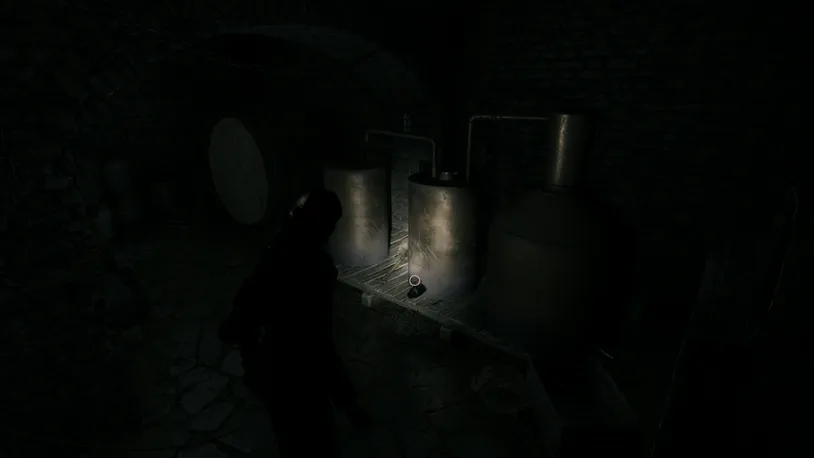
Insert the lever to turn off the electricity and walk past the water, where a valve can be picked up.
Return to the Boiler Room—you’ll encounter an enemy in the Hall—and use the valve on the Boiler.
How to Solve the Boiler Room Puzzle
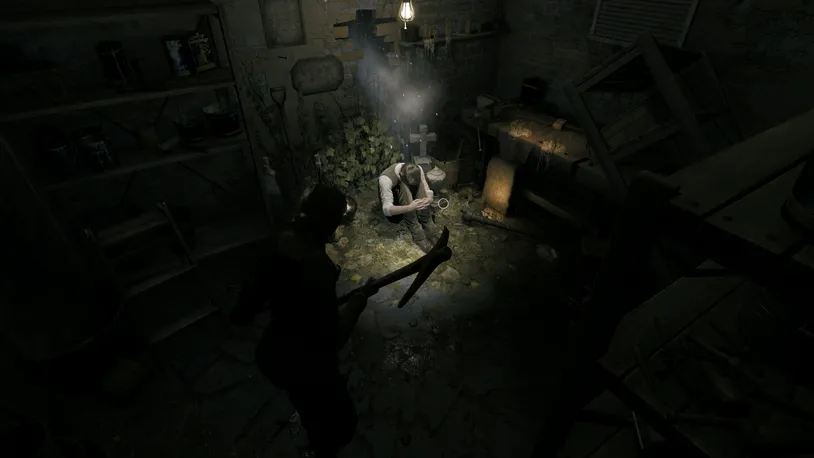
You can now progress into a side room, where a clerk is sitting on the floor. Interacting with him triggers an anomaly that produces a Broken Plate fragment on the floor.
Return to the boiler, insert both plate fragments, and solve the puzzle.
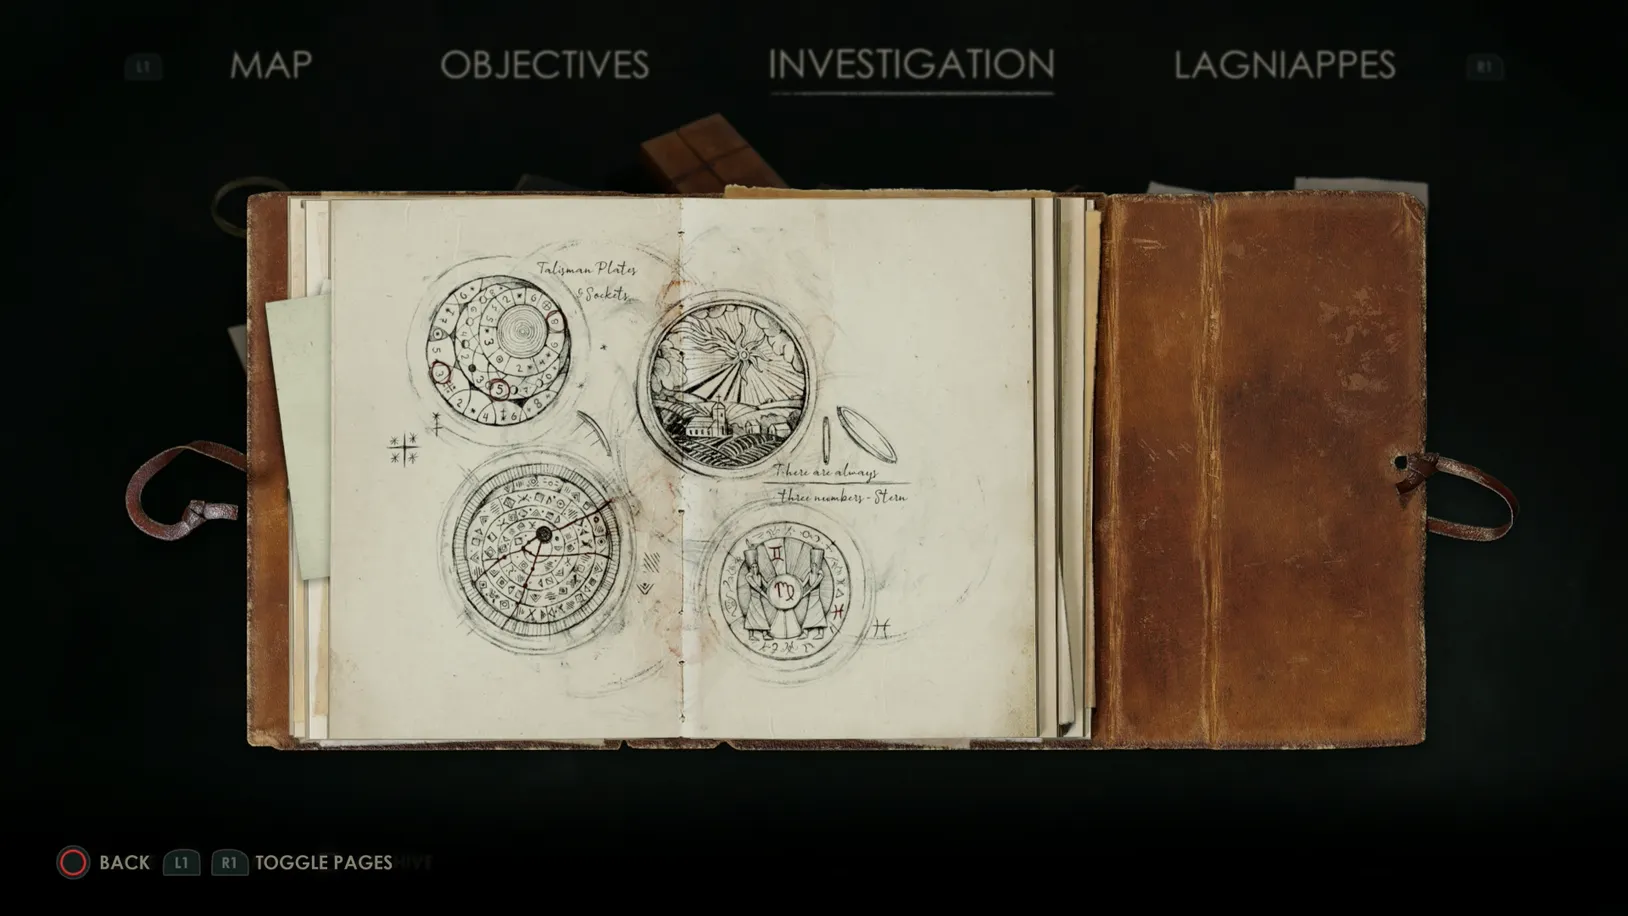
Like the astronomical clock, the puzzle solution is in The Commonplace Book.
Grace also left another note on the makeshift wooden table nearby.
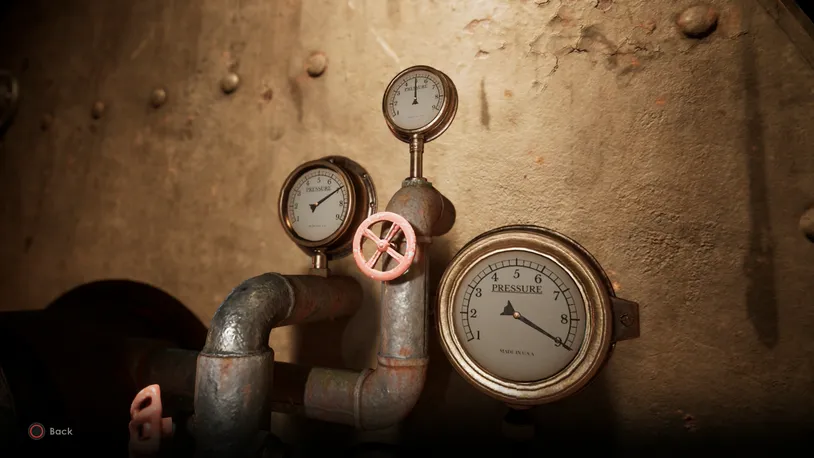
The valve gauges will reveal a number combination.
Once again, add the talisman to the disc and enter the combination (9-7-5).
Walk towards the Wine Cellar again to get transported to the Cemetery.
Look for Jeremy Inside the Chapel - Where to Find the Three Medallions
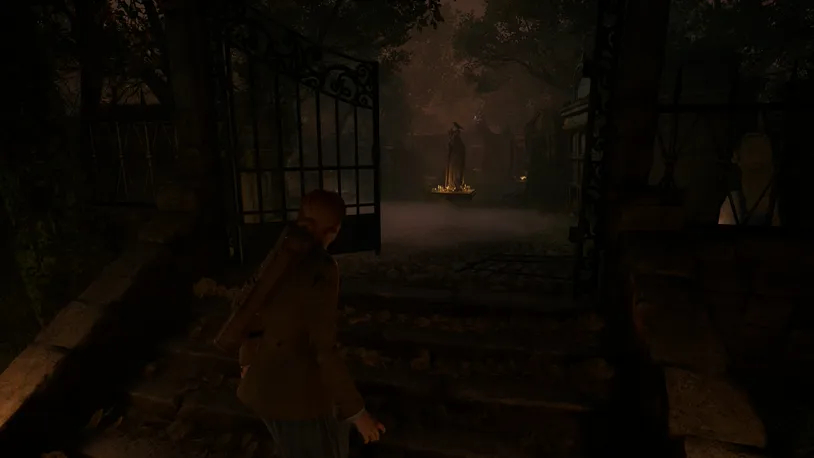
Here you have to find three medallions.
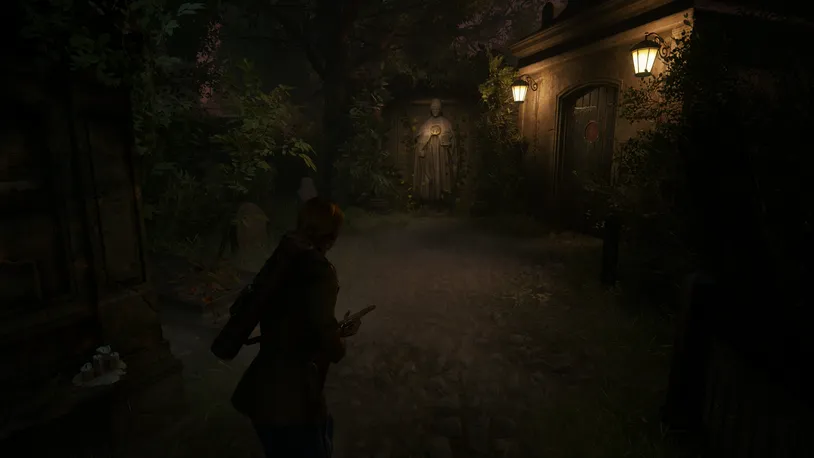
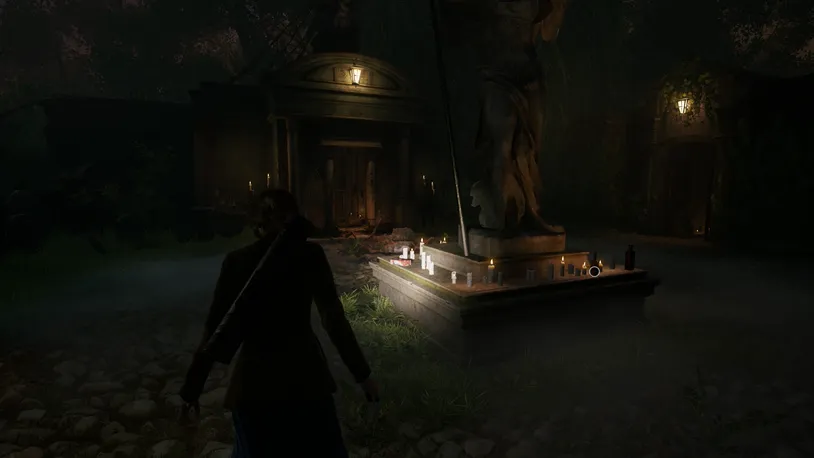
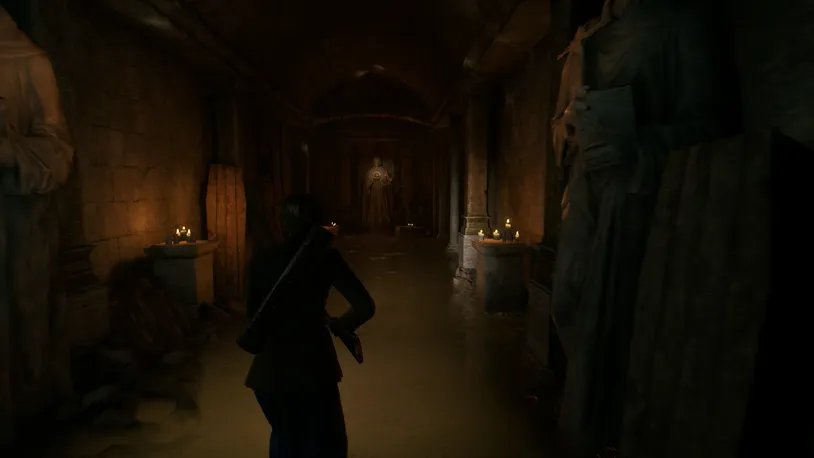
Continue along the path until you find a statue adorned with yellow flowers.
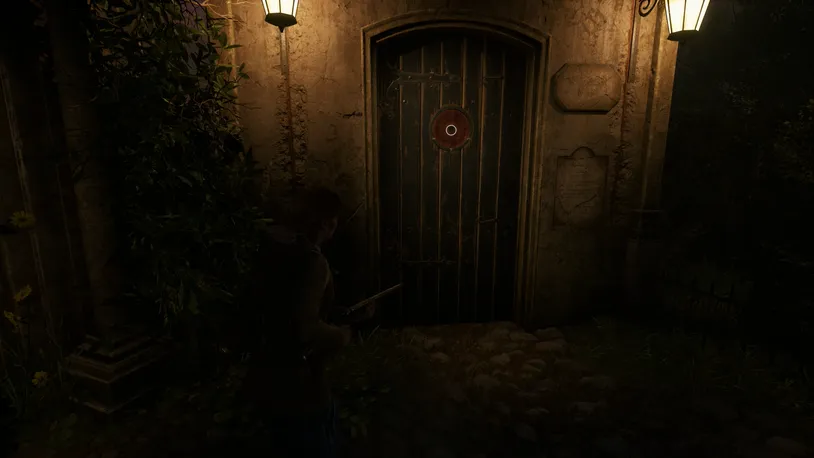
Pick up the medallion from its hand and add it to the door. You’ll need to rotate the medallion until it lines up with the outer markings.

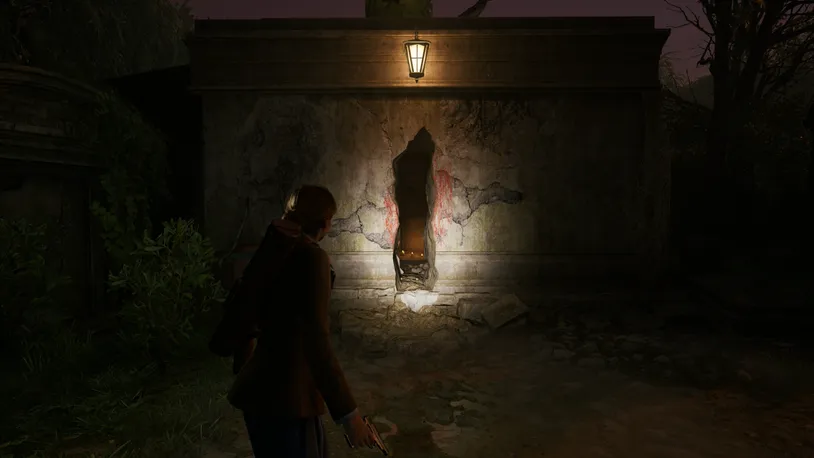
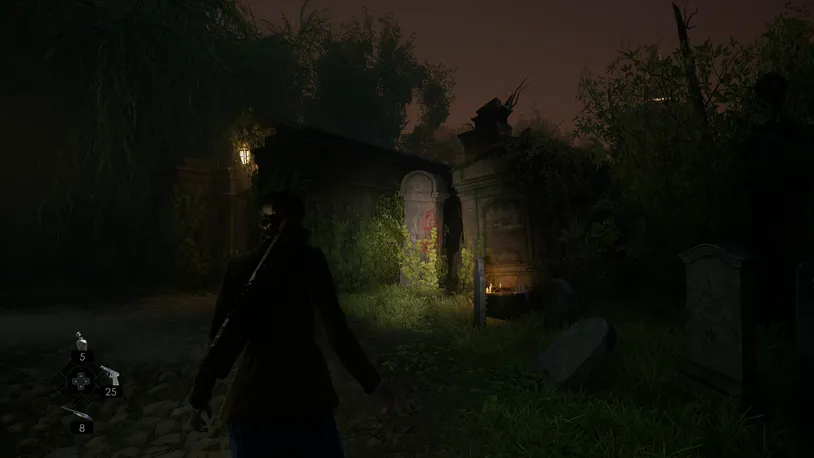
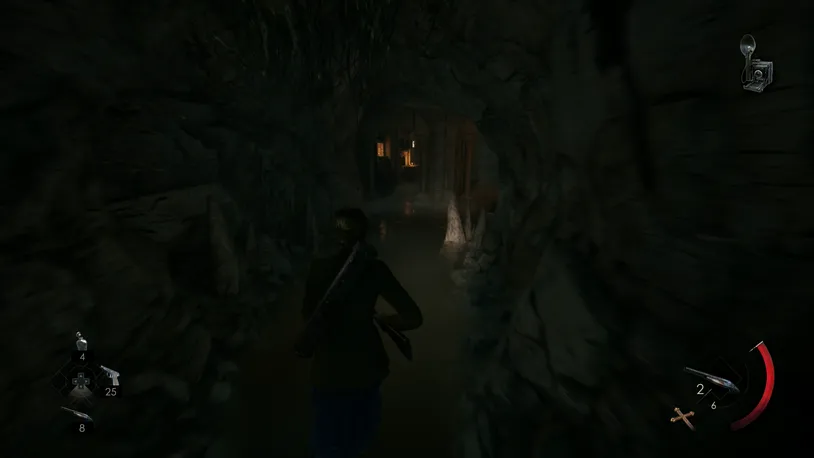
Enter through the door and follow the path to the chapel. Along the way, an enemy will break through a small tomb.
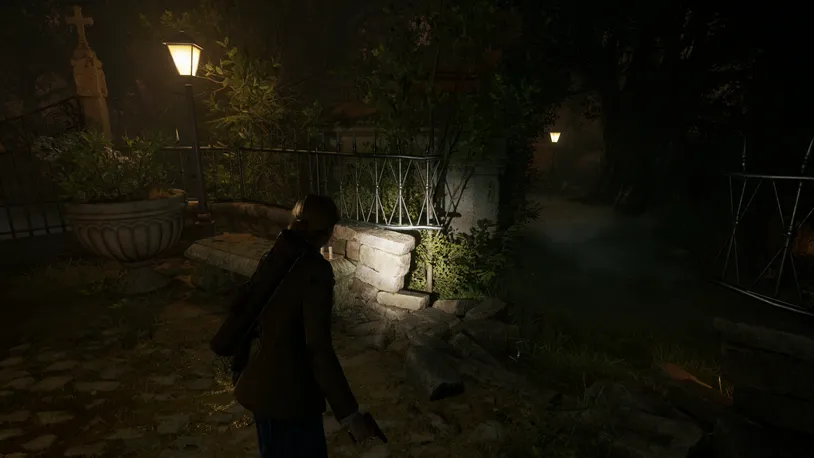
Exit through a hole in the fence to your left and continue along the path for some time until you enter an area with patrolling enemies.
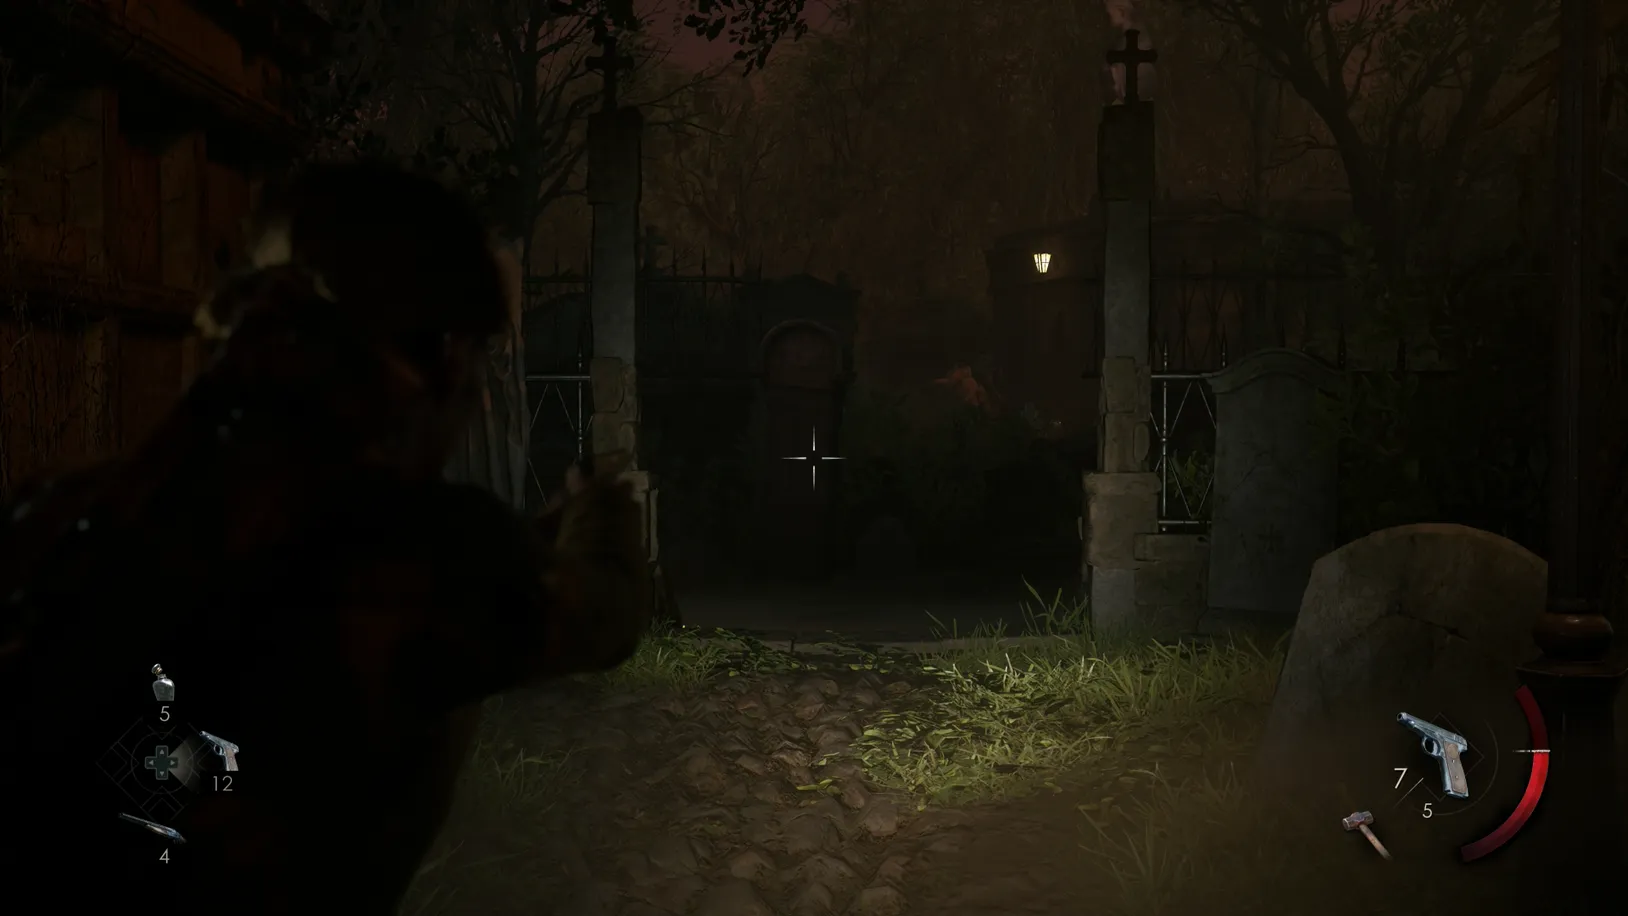
Follow the path, either sneaking past or defeating the enemies along the way, until you reach the tomb, where you’ll find a crack in the tomb wall that you can squeeze through.
Exit through the iron bar door into the angel statue arena.

Enter the crypt to your left. Traverse through the crypt and find another statue adorned with yellow flowers. Pick up the medallion from its hand and exit the crypt.
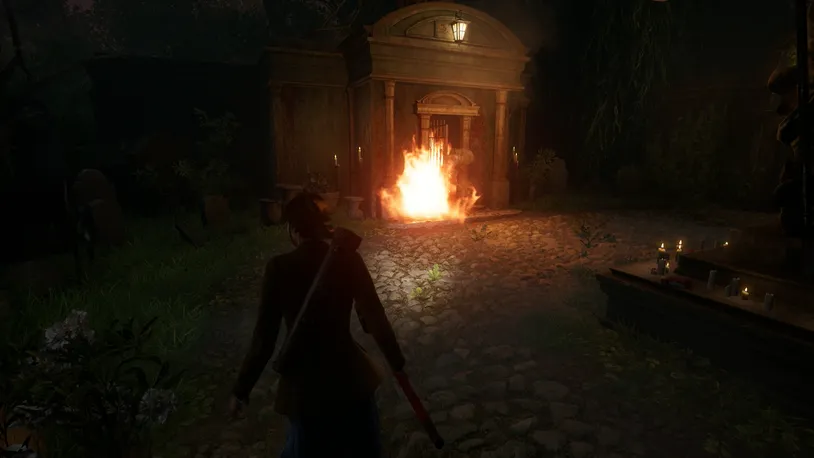
Once you have returned back to the angel statue arena, two monsters will break free from an iron gate and will appear in the area.
If you didn't complete the Bonfire Night trophy earlier, you have another opportunity, as you can lead the creatures through the fire that spawns.
If you run low on supplies after the battle, you’ll find a secret area along the right side of the arena, marked by bright red blood. This area contains some healing drinks and a new melee weapon.
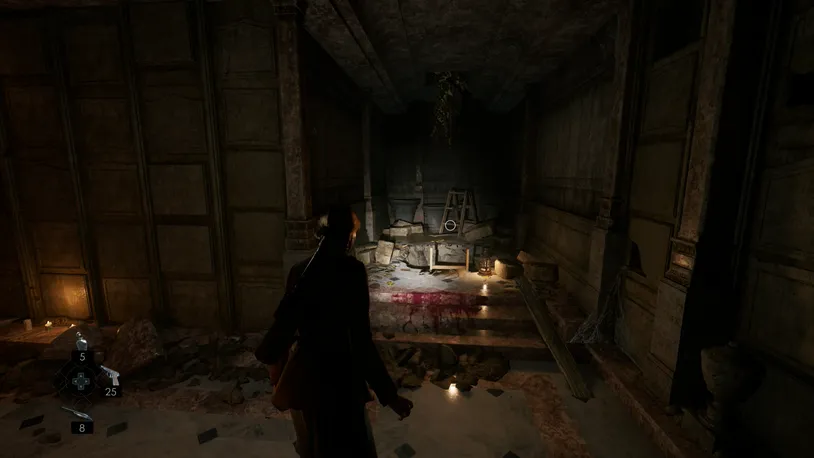
Enter the gate the monster came from and climb down the hole.
Add your two medallions to the socket on the locked door at the end of the crypt—again, rotate the medallions to match the gold outer edge.

Continue until you trigger a chase sequence.
Find your way into another area (marked by torches on the sides) and enter the room to trigger stones falling down, sealing off the path for any pursuers.
You can pick up the final medallion at the end of this area (from another statue adorned with yellow flowers) and embark to the surface to your right.
Before climbing up the ledge, as you head toward the surface, look for a small crevice along the wall to your left -- it's marked with red blood.
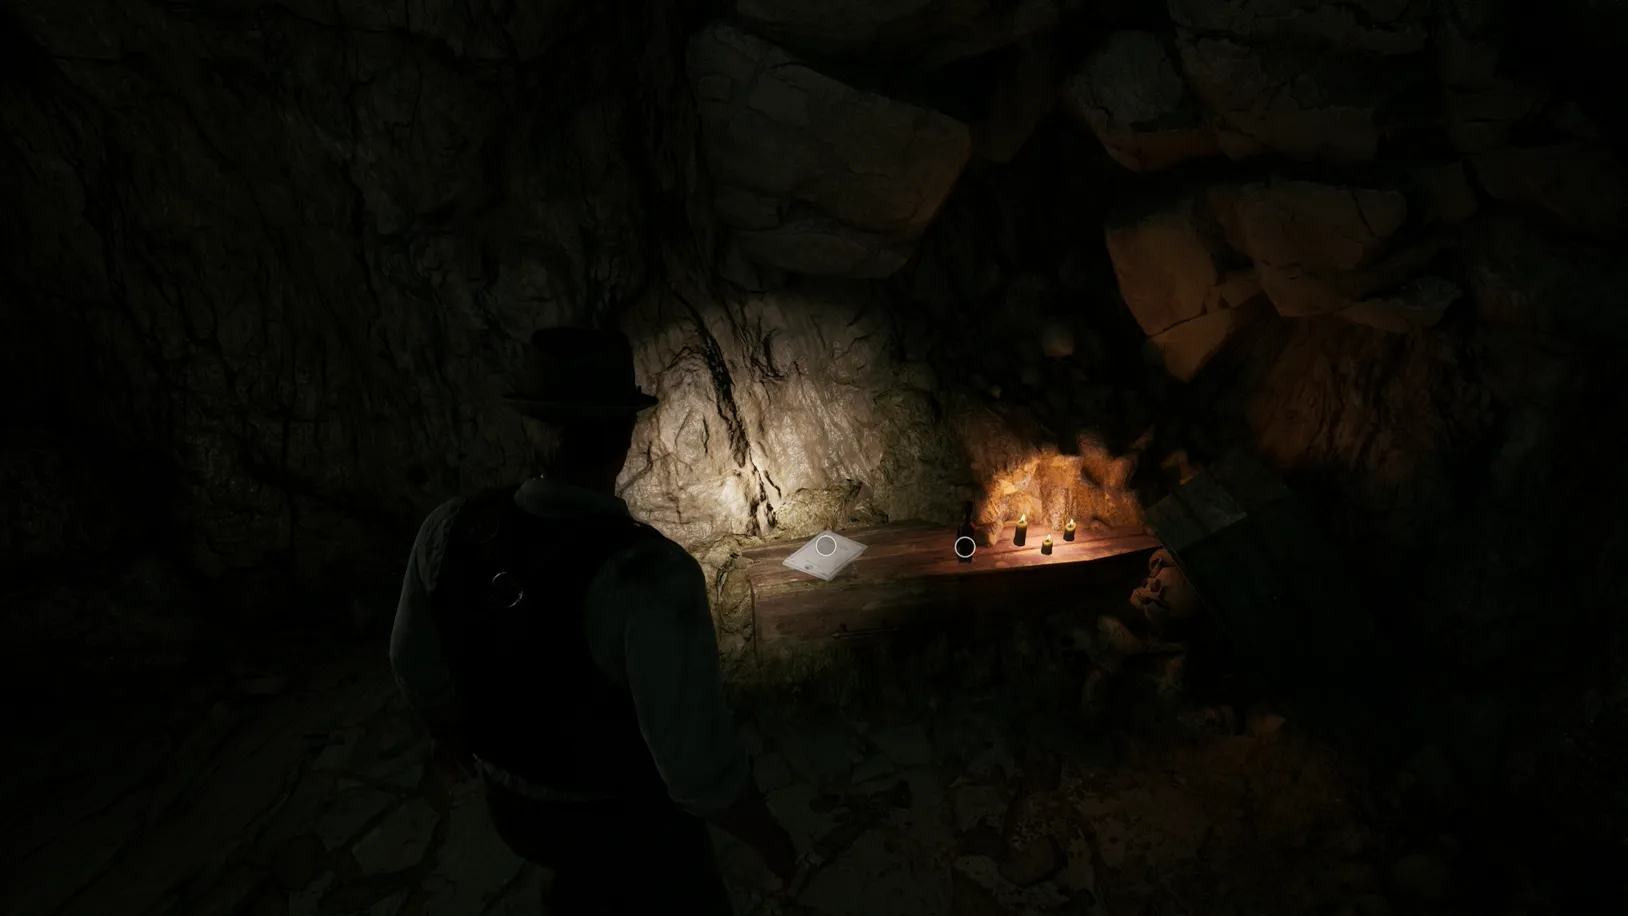
Squeeze between this gap, and you'll find the Sheet Music Lagniappe on top of a wooden coffin on the ground.
When you're ready, leave the crypt via the ledge and then the ladder. Now, return to the Chapel.
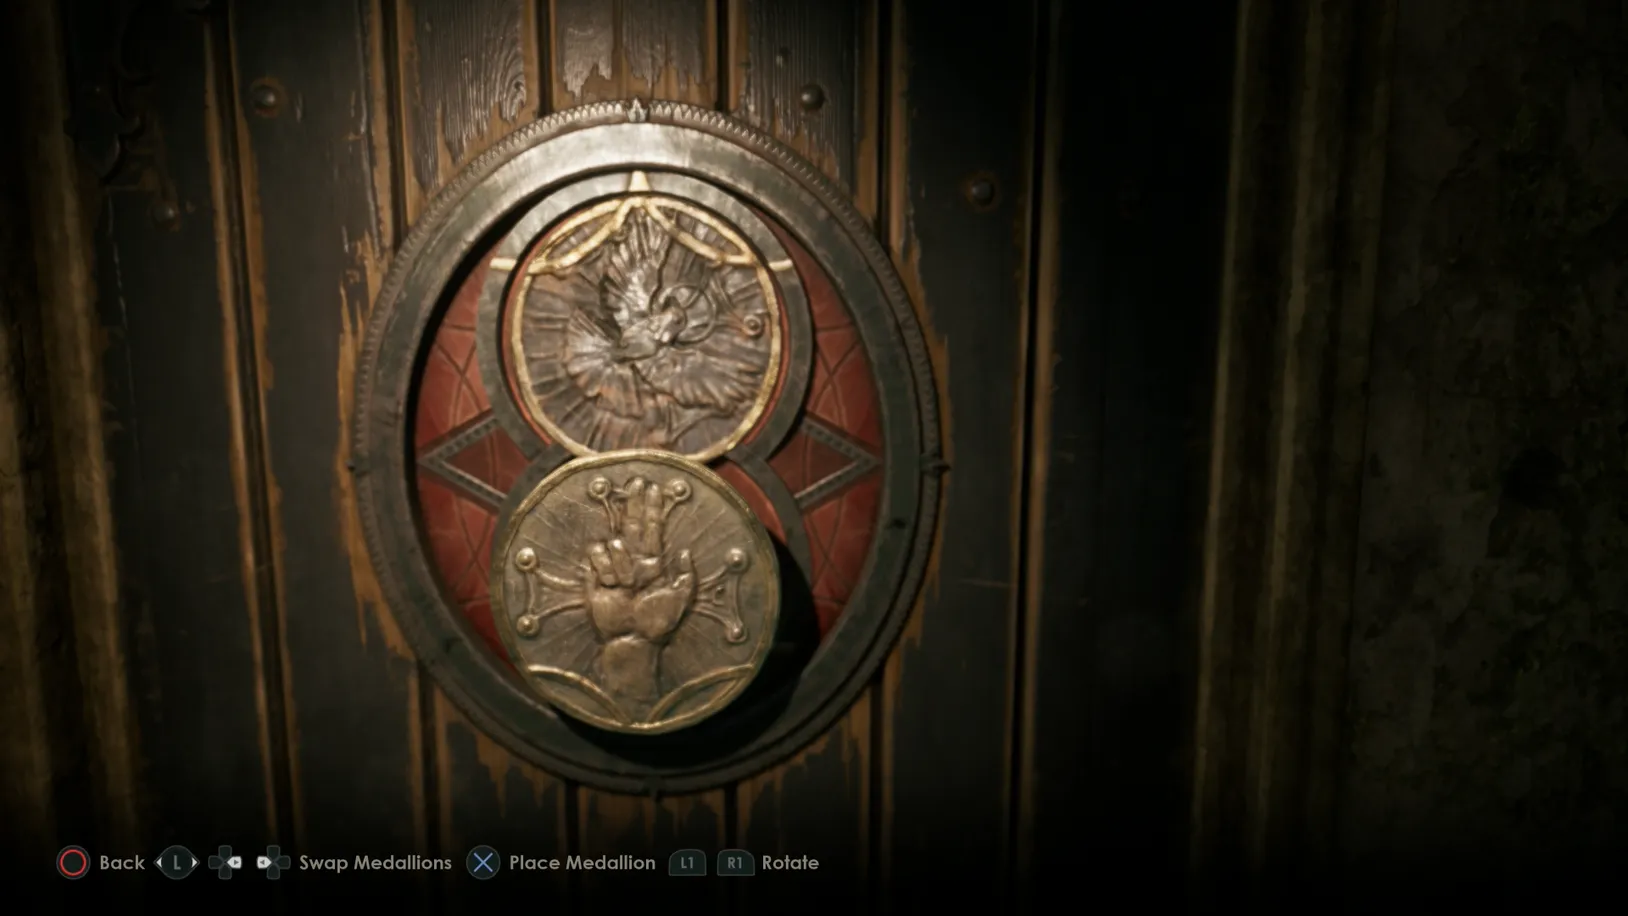
Add the medallions to the chapel door.

The correct order and rotation of the medallions are on the first page of The Commonplace Book.
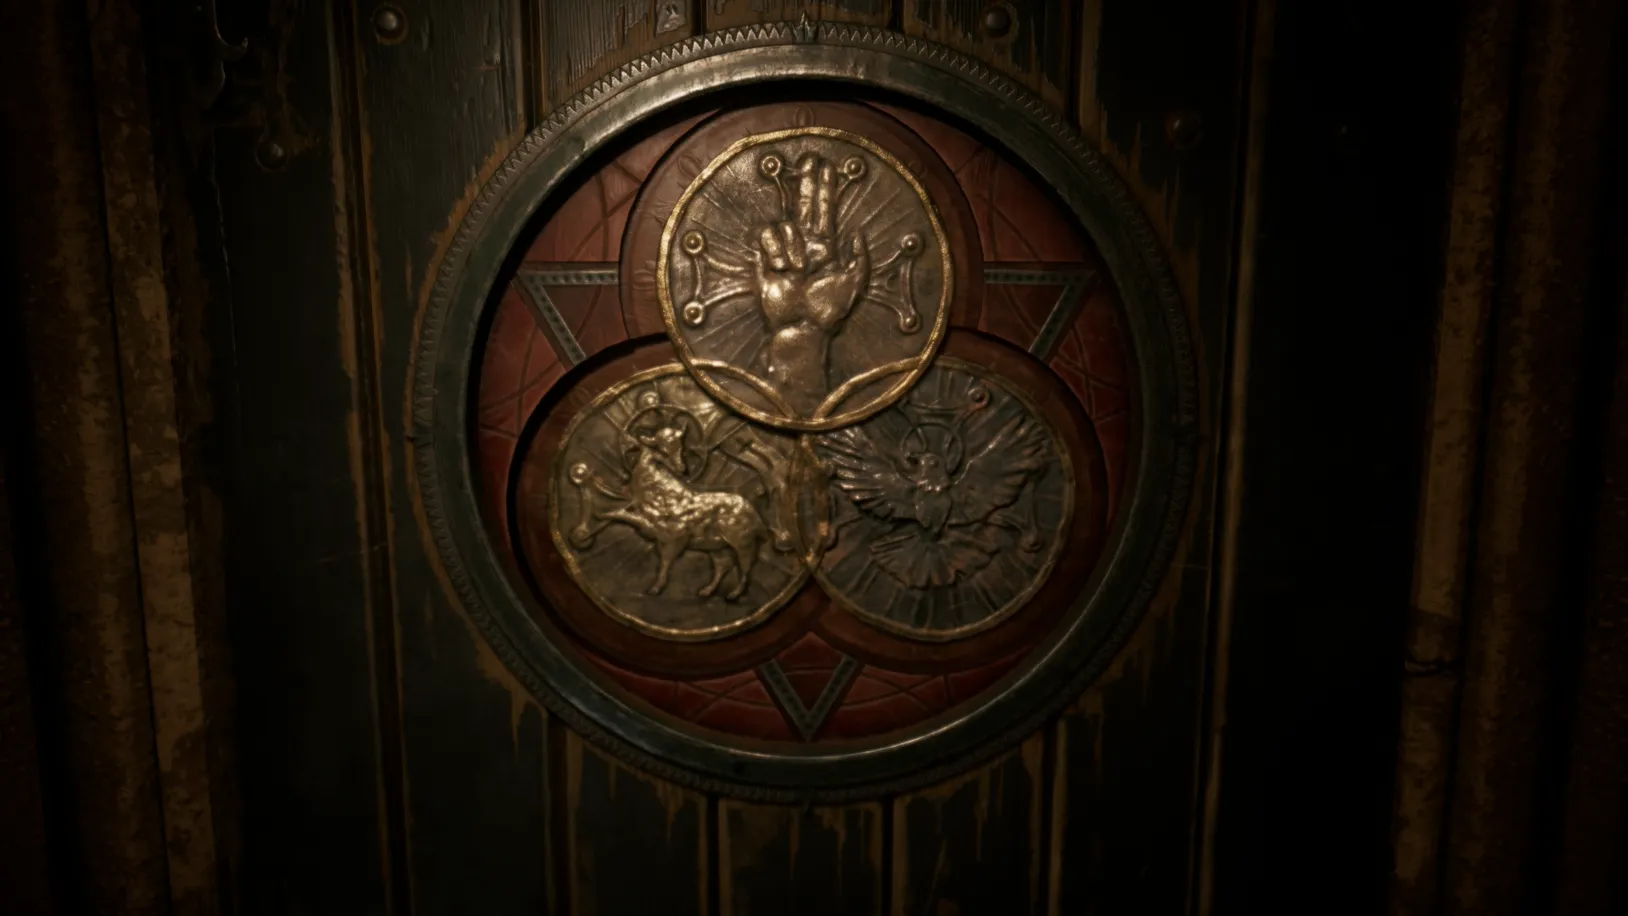
However, you can solve this by placing The Blessing at the top, The Sacrifice at the left, and The Omen at the right. These all need to be rotated so they are currently facing up and matching up with their outer gold rims.
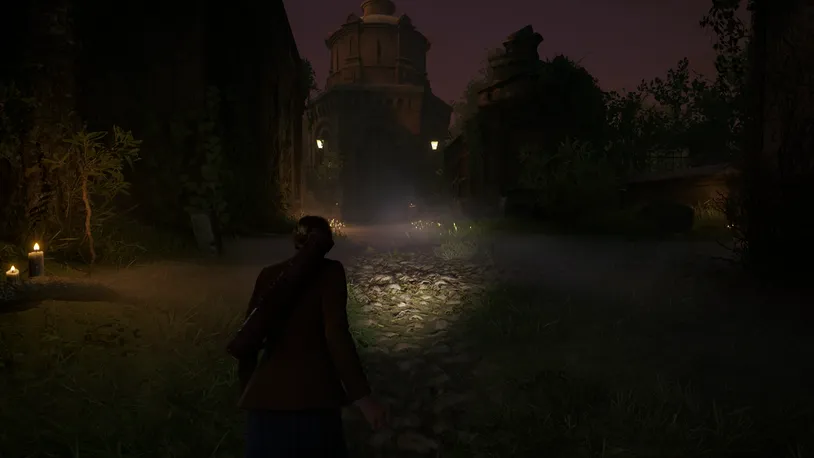
Once entered correctly, you’ll solve the cemetery chapel puzzle and trigger a cutscene that takes you back to Derceto.
Unlock Jeremy’s Steamer Trunk

Back at Derceto you are brought back to Perosi’s room, with a letter from Jeremy and the Luggage Key.
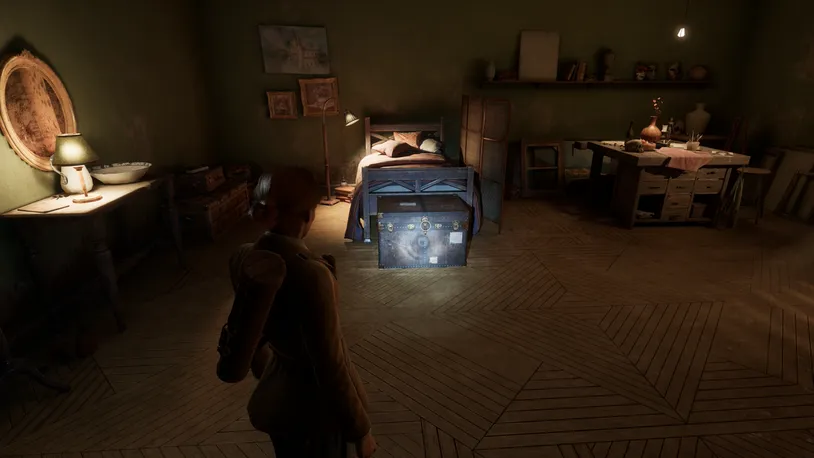
Enter Jeremy’s Room and retrieve the telescope lens from his trunk using the key you received when returning from the Cemetery.
You’ll also find the Emily is Here clue on the nearby table.
How to Solve the Telescope Puzzle
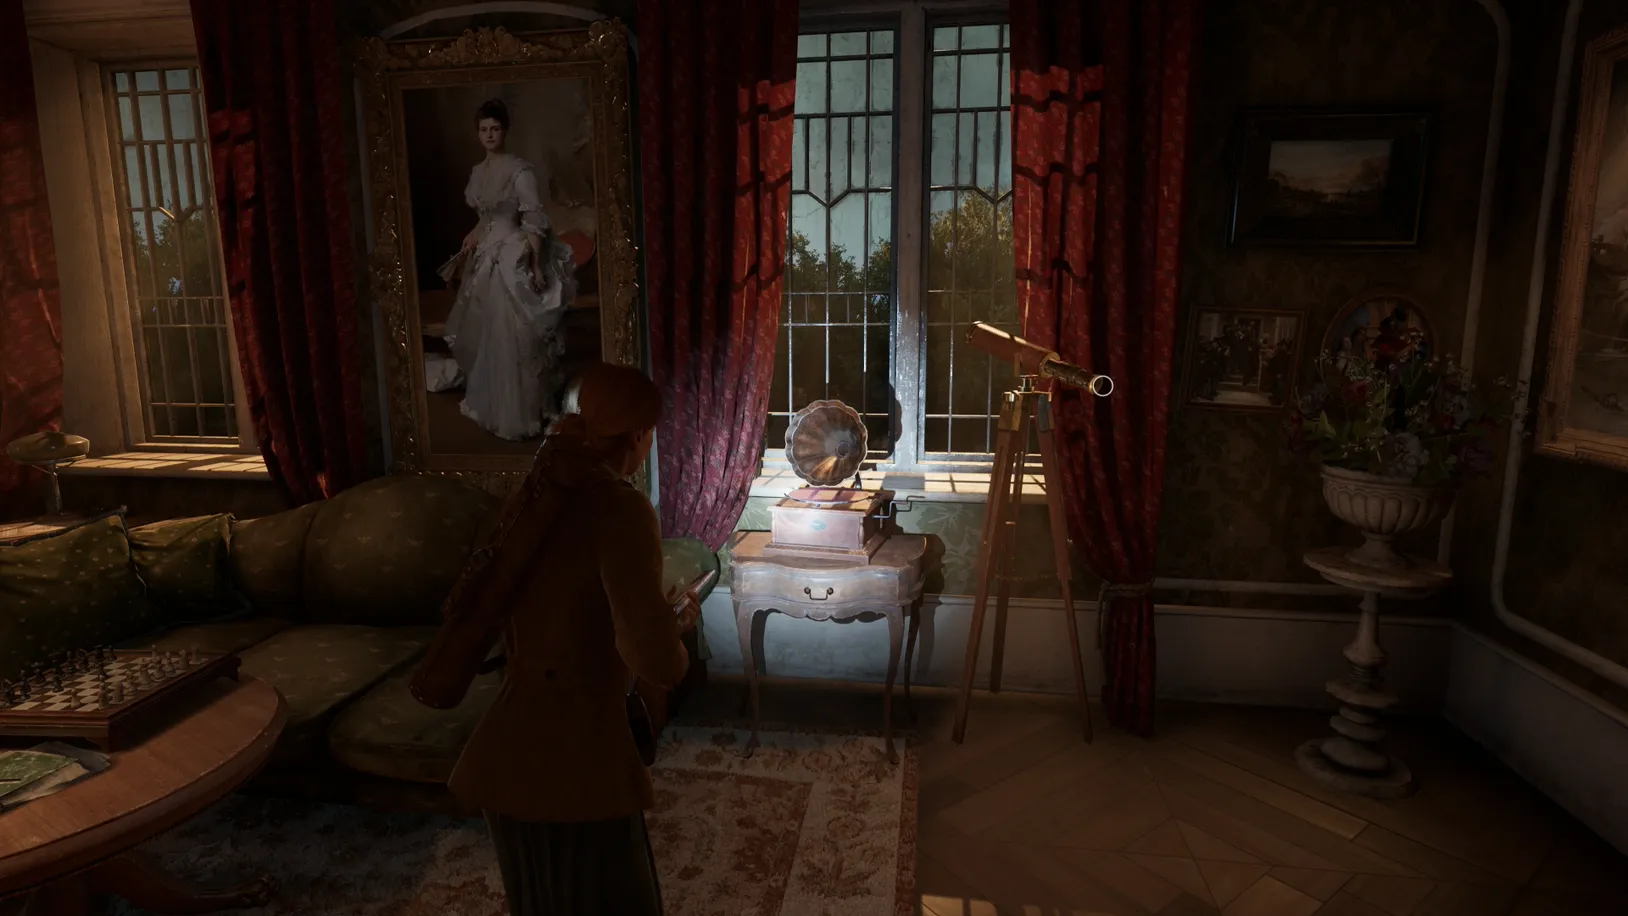
Make your way back to the Drawing Room, where you will find a telescope. Add the telescope lens and align the lenses to solve the puzzle. This puzzle can be tricky and will require some fine-tuning to trigger the next stage.

You’ll have the most success aligning the lens by zooming out and focusing the colored dots, then zooming in until they align.
How to Solve the Constellation Puzzle - Drawing Room
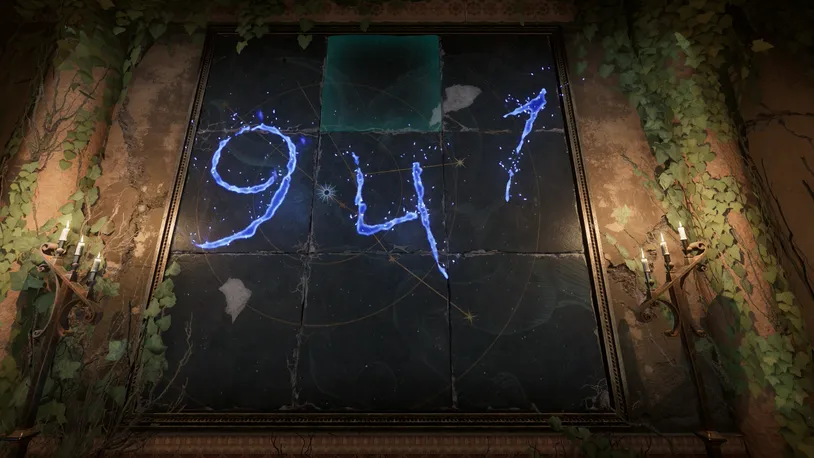
This will reveal a wall-mounted puzzle, which will see you correctly aligning a series of stars together.
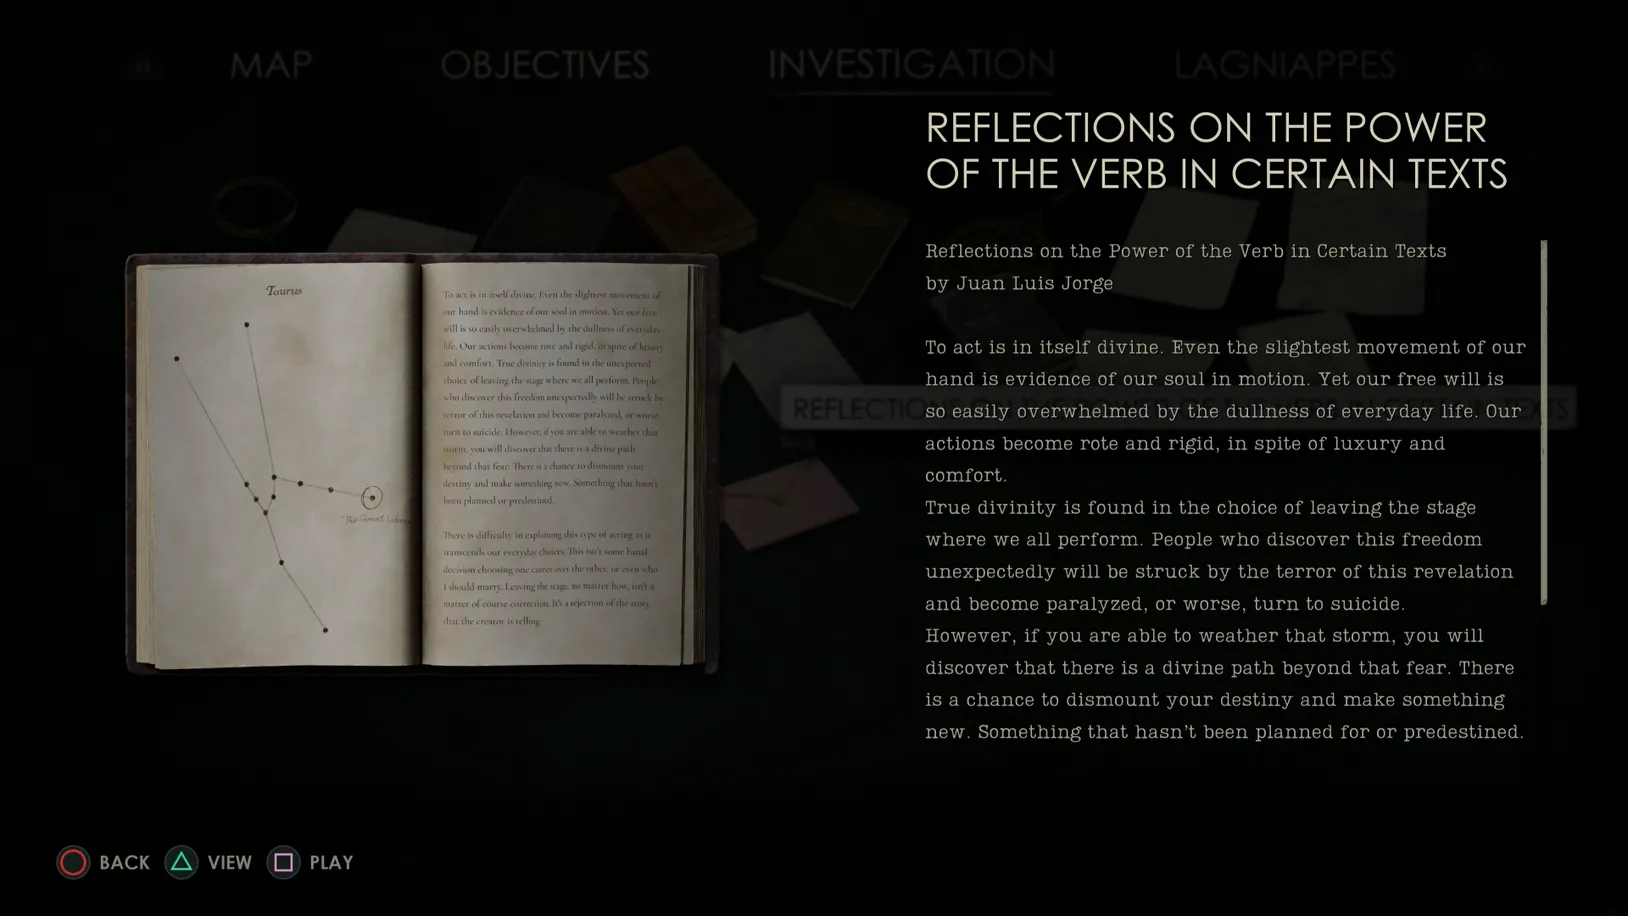
The solution can be found in the Reflections on the Power of the Verb in Certain Texts clue.
Solving it will give you the code to get to the Convent of Taroella (9-4-1), which will be entered automatically into the talisman.
To teleport to Taroella, you need to go through the Dining Room into the Grand Parlor.