All Clue Locations
Throughout Alone in the Dark, you'll discover clues that can provide helpful hints and puzzle solutions. You also need to read all the clues to unlock the Librarian trophy. Thankfully, we've compiled a list of all the clues in Alone in the Dark and the chapter in which they can be found.
It's also important to note that some clues can be missed, so we highly recommend following our guide below or our comprehensive Walkthrough to ensure you don't accidentally miss a clue!
| All Alone in the Dark Clue Locations | ||||
|---|---|---|---|---|
| Chapter 1 Clues | Chapter 2 Clues | Chapter 3 Clues | Chapter 4 Clues | |
Chapter 1 Clues
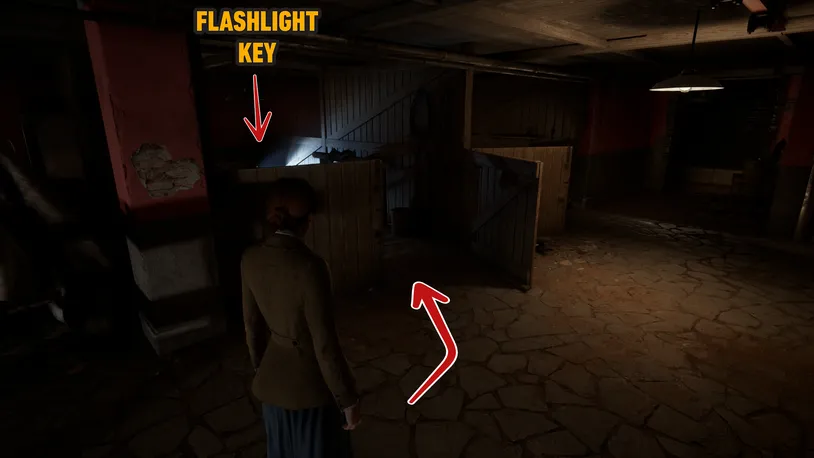
Flashlight
Flashlight - Clue
The Flashlight can be found in the Garage, on top of a small stool inside the horse stall.
Family Bible
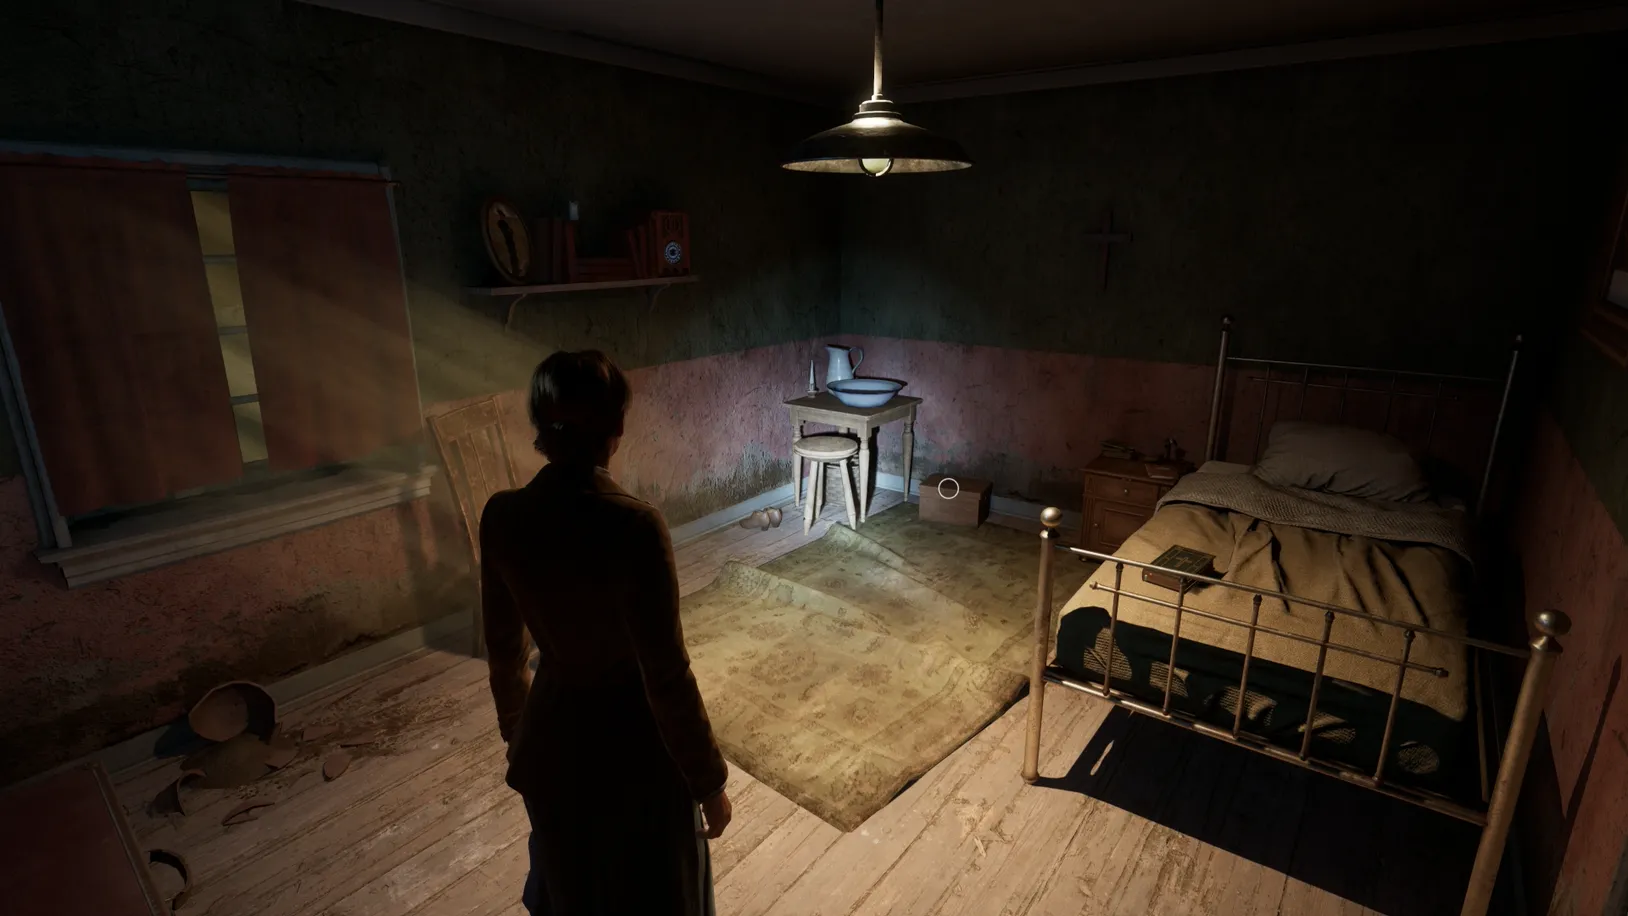
Family Bible - Clue
The Family Bible is on top of the bed in Mag’s Room, which is just off the Staff Lounge and Laundry.
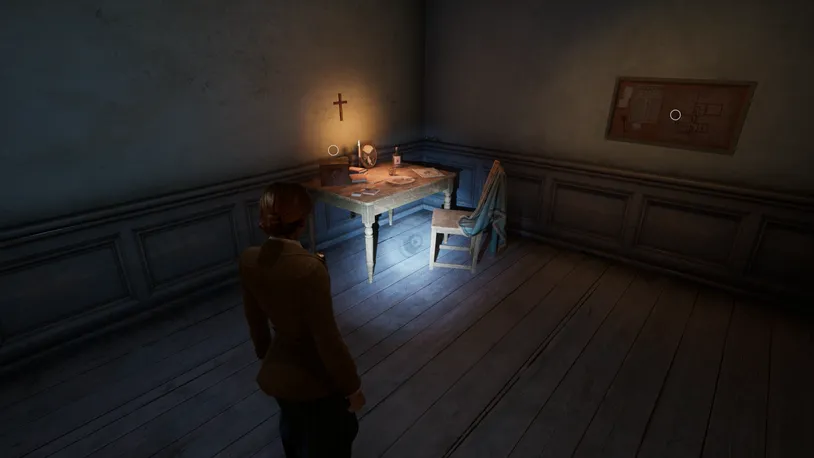
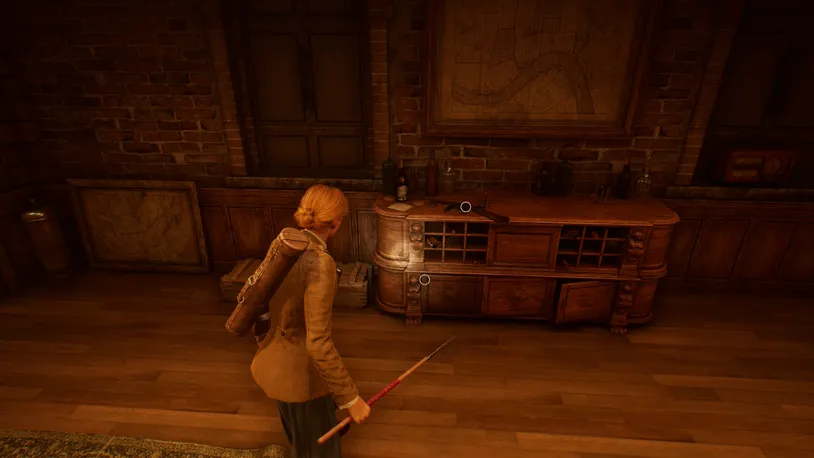
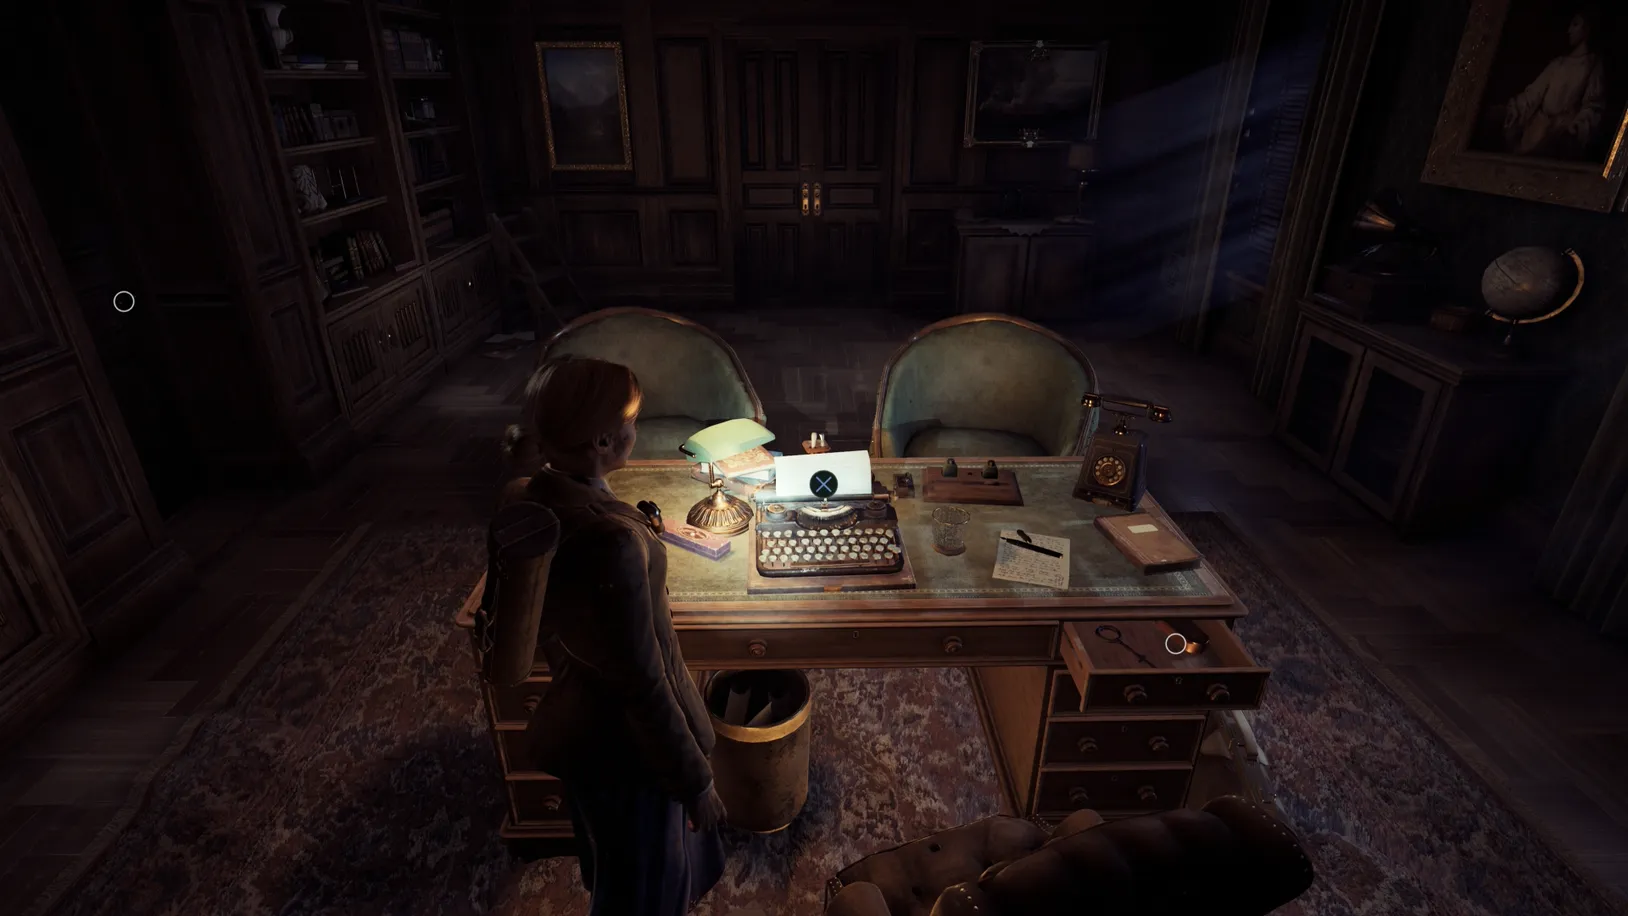
Sabotage
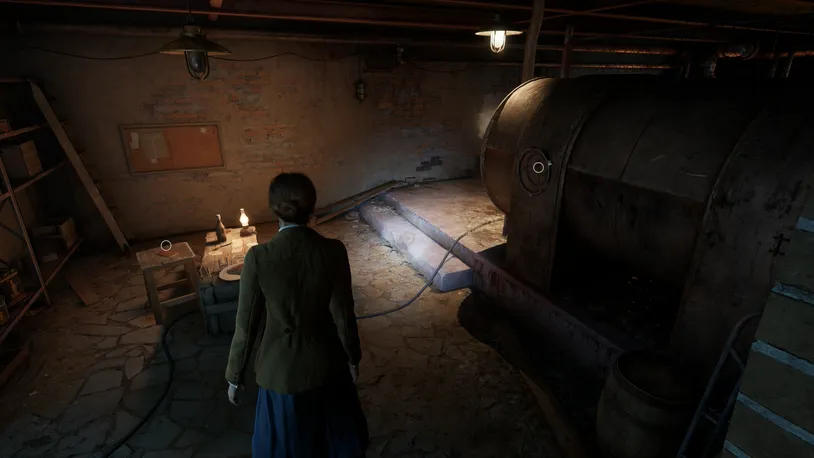
Sabotage - Clue
In the Boiler Room, you’ll find the Sabotage note from Mr Waites on top of a makeshift table.
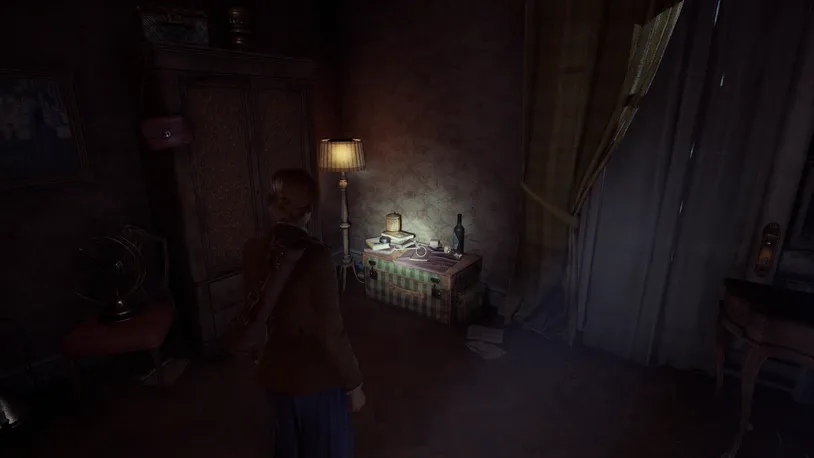
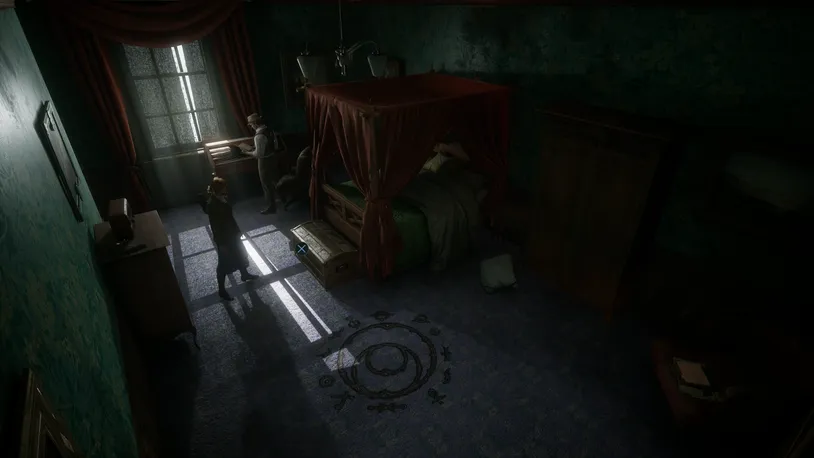
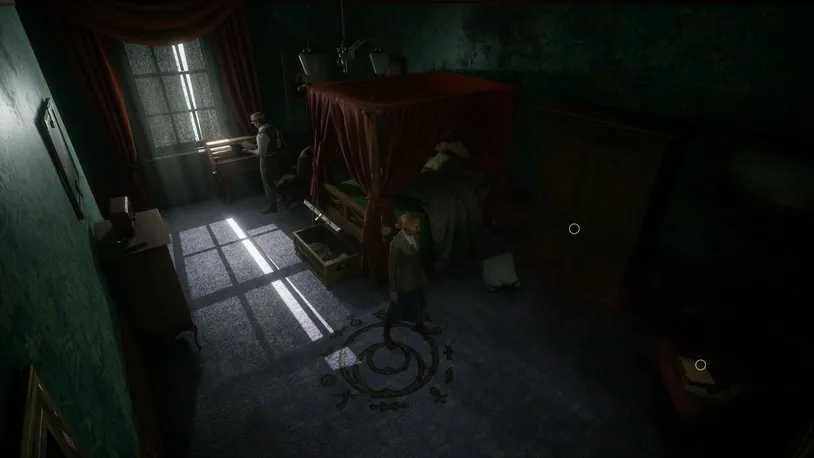
Lottie’s Diary
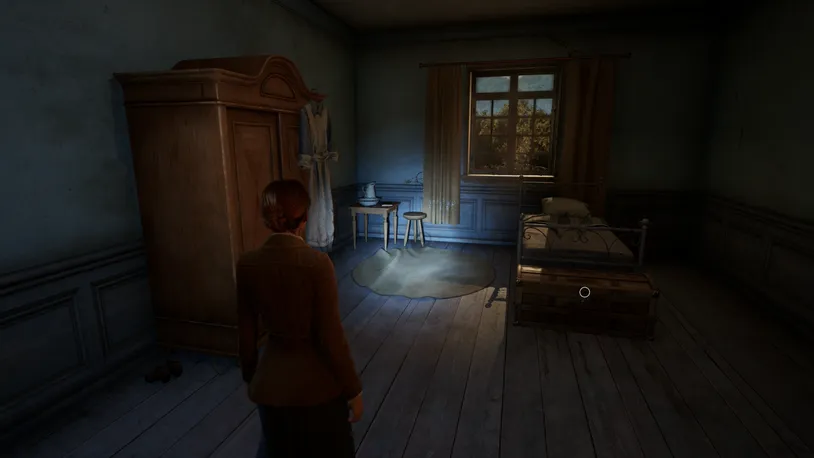
Lottie’s Diary - Clue
Lottie’s Diary can be found on a small table beside the bed in the Orderly’s Room.
Derceto Floor Plans
Derceto Floor Plans - Clue
The Derceto Floor Plans are pinned on the wall within the Orderly's Room (Lottie's Room).
The Picayune Post
.webp)
The Picayune Post - Clue
Before opening the door to Decerto for Emily, carefully approach the Reception. The Picayune Post clue is on the coffee table in this room.
Commonplace Book
Commonplace Book - Clue
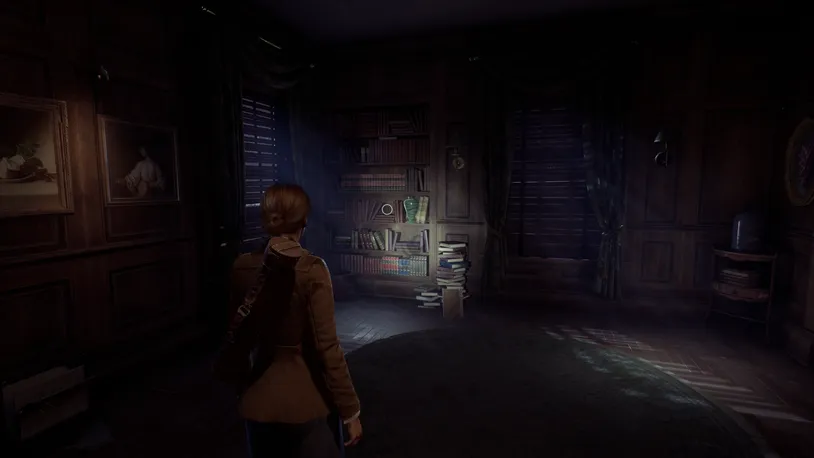
The Commonplace Book is found on a table in Jeremy’s Room.
Talisman
Talisman - Clue
The Talisman is on the table in the Seance Room. You’ll find it after navigating the second courtyard in the French Quarter.
Chapter 2 Clues
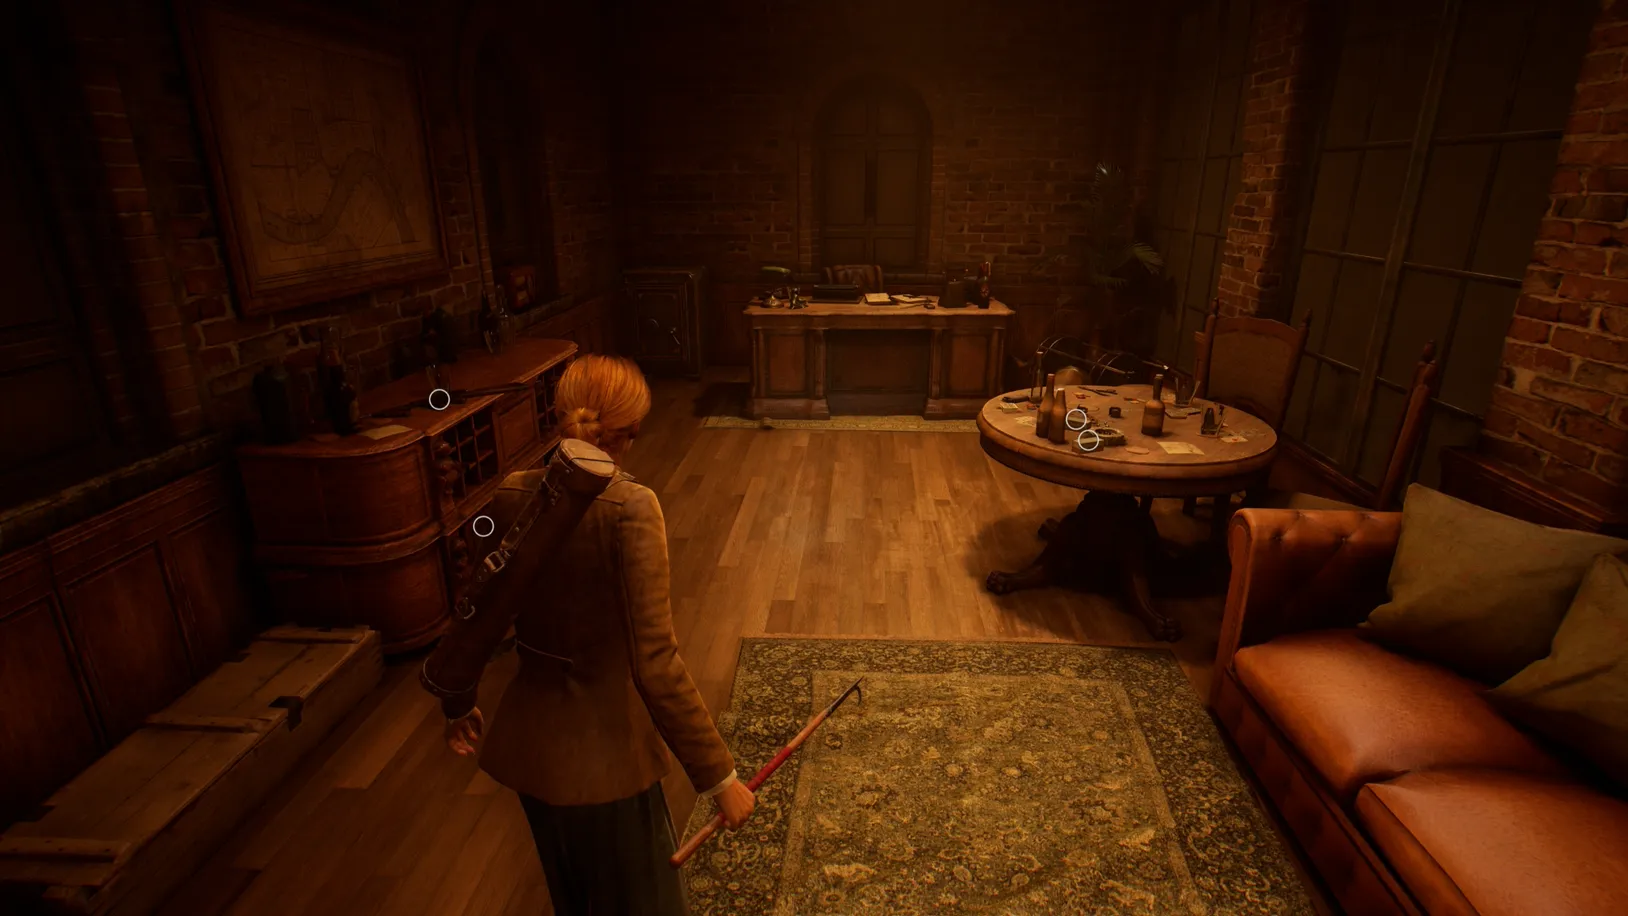
Broken Plates
.webp)
Broken Plates - Clue
The Broken Plates clue is located in the Clerk’s Office, which can be accessed with Batiste’s Key. It is on the reception window bench.
Staff & Patient Directory
.webp)
Staff & Patient Directory - Clue
The Staff & Patient Directory clue is located in the Clerk’s Office, which can be accessed with Batiste’s Key, on top of the desk.
Repairing the Boiler
.webp)
Repairing the Boiler - Clue
The Repairing the Boiler clue is located in the Clerk’s Office—which is accessed with Batiste’s Key—on top of the central cabinet bench.
Patient Files
.webp)
Patient Files - Clue
The Patient Files are in the Clerk’s Office, behind the bookcases, on top of a shelf, not far from the safe.
Lost Plantations of Louisiana
.webp)
Lost Plantations of Louisiana - Clue
After speaking with Ruth in the Library, you’ll discover the Lost Plantations of Louisiana clue on a small table along the wall.
I Must Return
.webp)
I Must Return - Clue
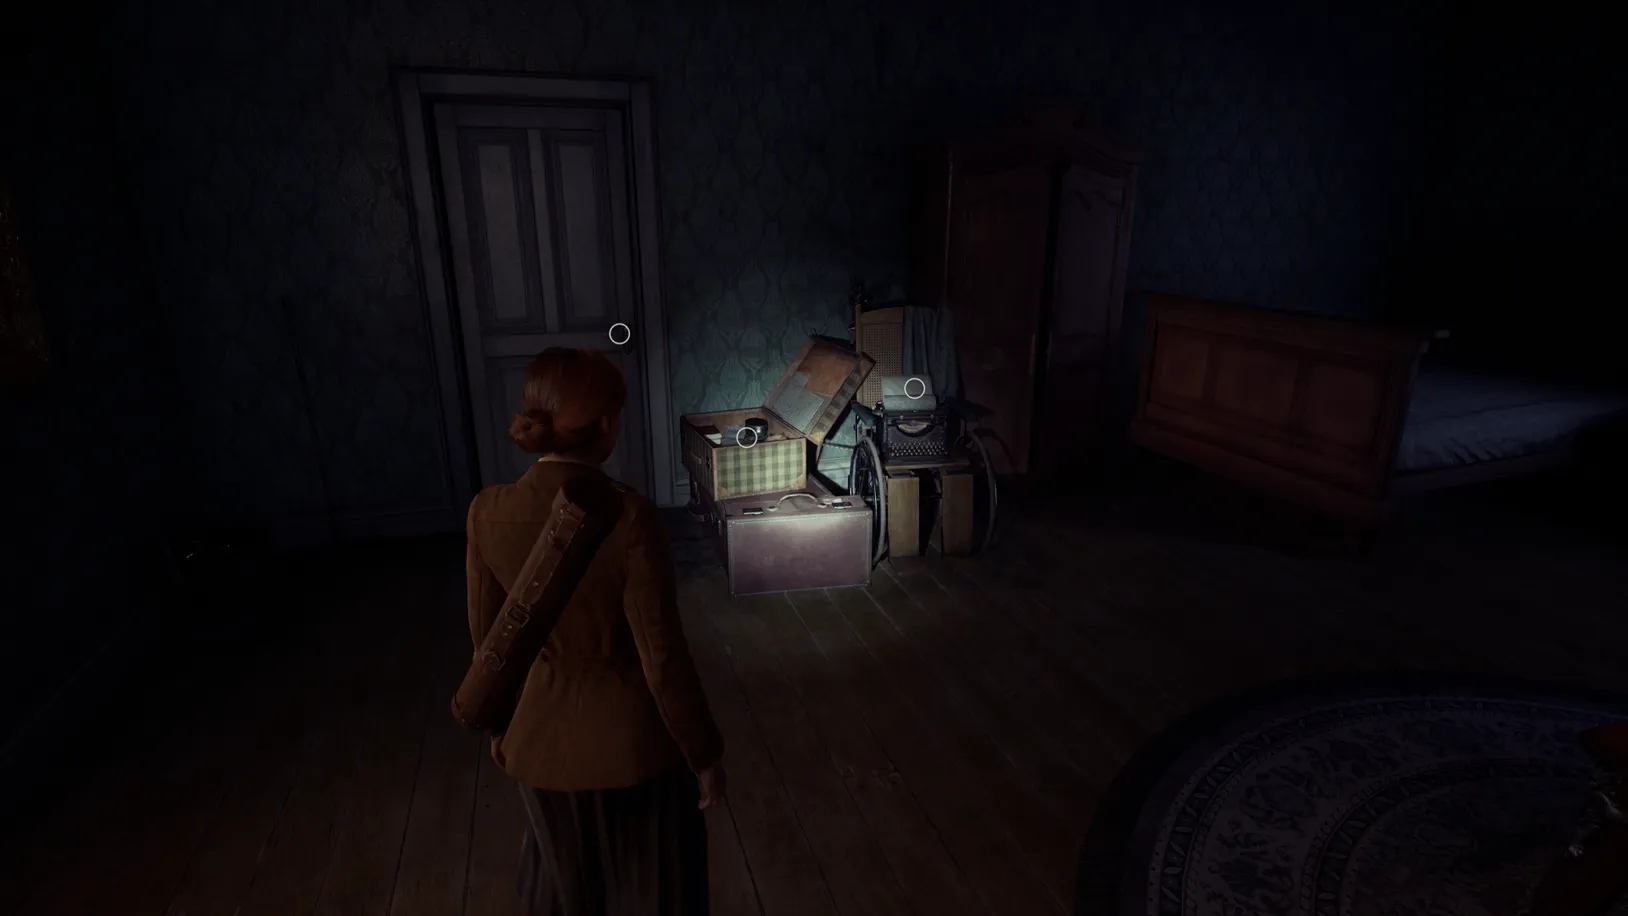
The I Must Return clue is located in Perosi’s room, on top of her bed.
Perosi’s Journal
.webp)
Perosi’s Journal - Clue
Located in Perosi’s room, you’ll find her journal sitting on the sofa in the back corner of the room.
Oil Rig Report
.webp)
Oil Rig Report - Clue
When arriving at the Oil Fields, jump down the ledge and enter the small wooden building on your right. The Oil Rig Report is on the desk.
Reflections on the Power of the Verb in Certain Texts
.webp)
Reflections on the Power of the Verb in Certain Texts - Clue
When returning to the Small Parlor in Derceto following the Oil Fields, you’ll find a bag on the floor containing a Palette Knife, the Reflections on the Power of the Verb in Certain Texts clue, and the Sitting Room Key.
Barlow Lens Instructions
.webp)
Barlow Lens Instructions - Clue
Inside the Drawing Room, the Barlow Lens Instructions clue is on the table in the center of the room.
Your Medicine
.webp)
Your Medicine - Clue
The Your Medicine clue and a medicine bottle are on the desk in Cassandra's Room.
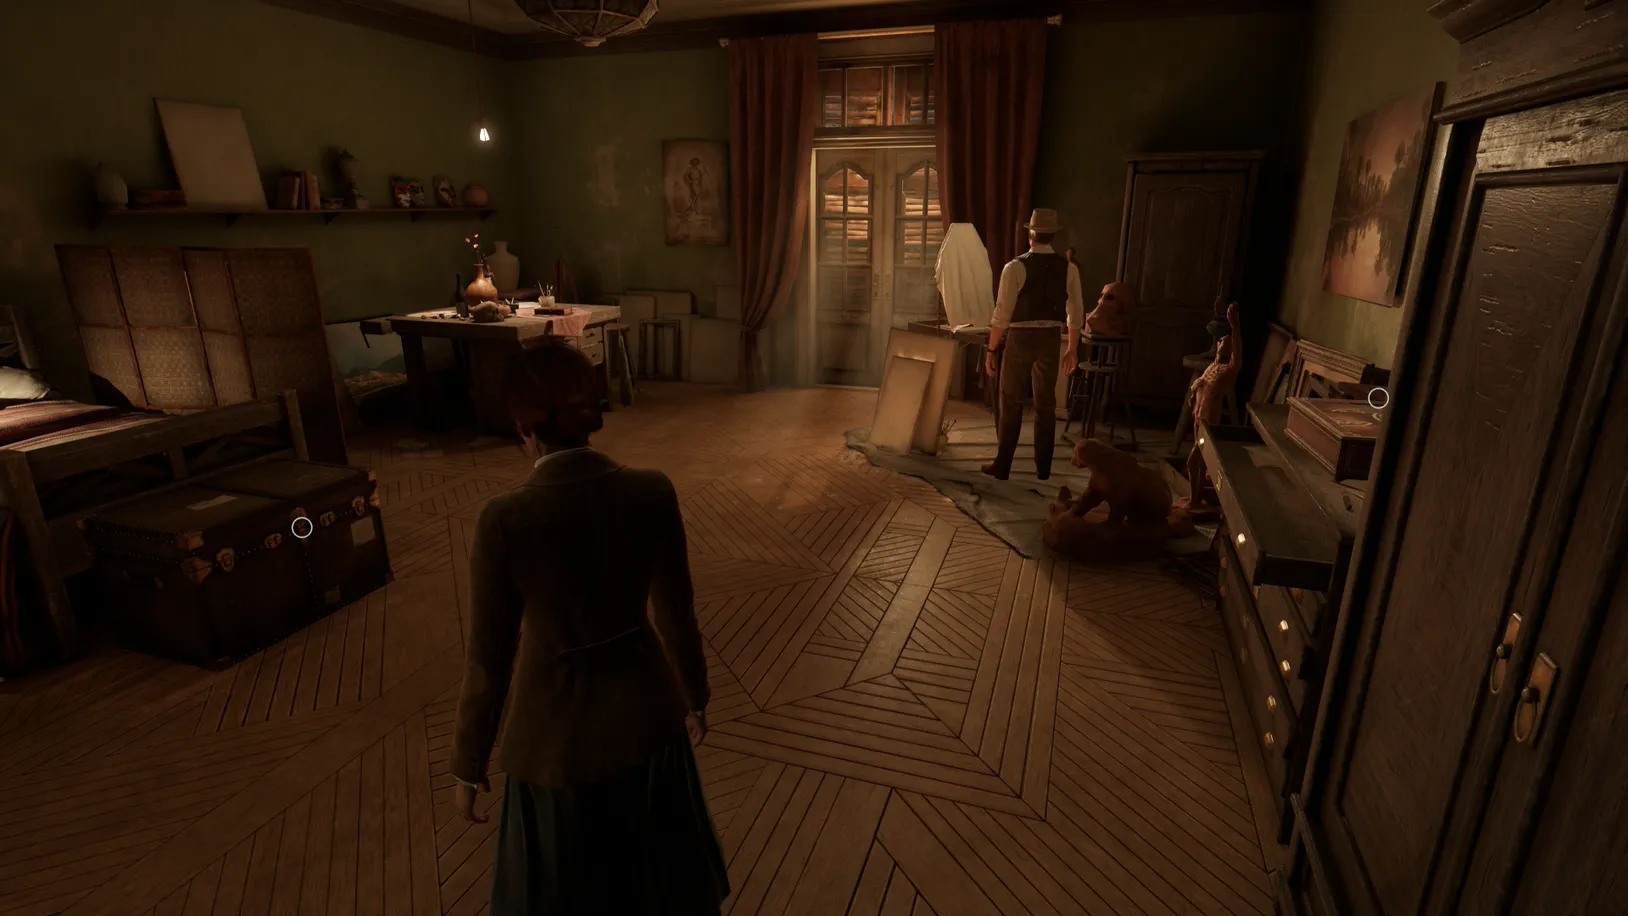
A Small Request
.webp)
A Small Request - Clue
In Grace’s Room, the A Small Request clue is on the desk along her wall.
Pieces of Plate
.webp)
Pieces of Plate - Clue
When entering the Boiler Room, you'll find a new note on the makeshift wooden table that's signed by Grace.
On the Commonplace of Evil
.webp)
On the Commonplace of Evil - Clue
In the Dining Room, you’ll find the On the Commonplace of Evil clue at the base of the fireplace.
My Everything
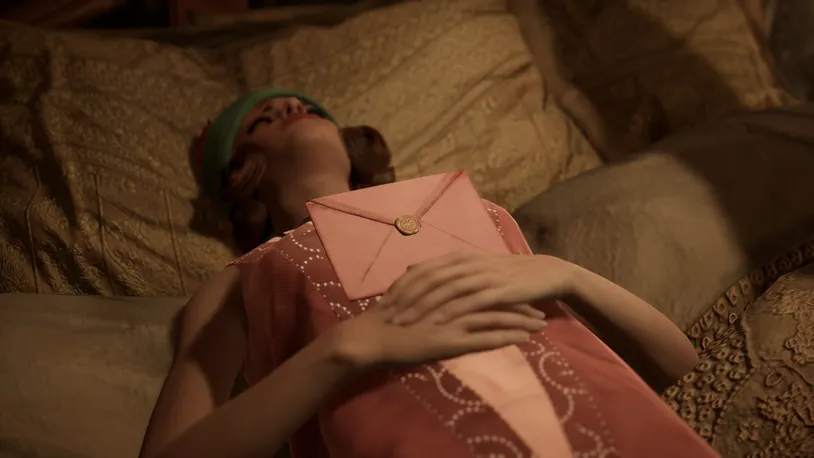
My Everything - Clue
Once you arrive back at Derceto following the Cemetery, you are brought back to Perosi’s room with a letter from Jeremy and the Luggage Key.
Emily is Here
.webp)
Emily is Here - Clue
When entering Jeremy’s Room to retrieve the telescope lens from his trunk using the key you received when returning from the Cemetery, find the Emily is Here clue on the table.
Chapter 3 Clues
The Great Library
The Great Library - Clue
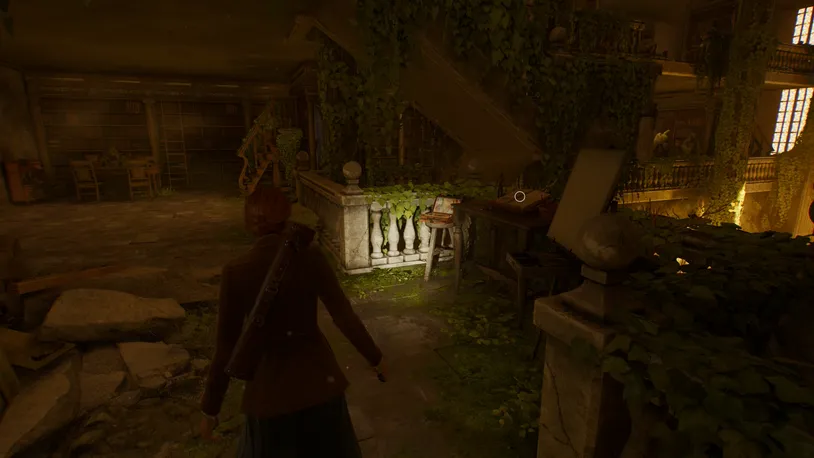
In the Grand Library, continue past the cross-shaped socket on the pillar when ascending to the first floor. On the way to the other side, you'll discover The Great Library clue on top of a desk along the railings to your right.
The Dark Man Enters
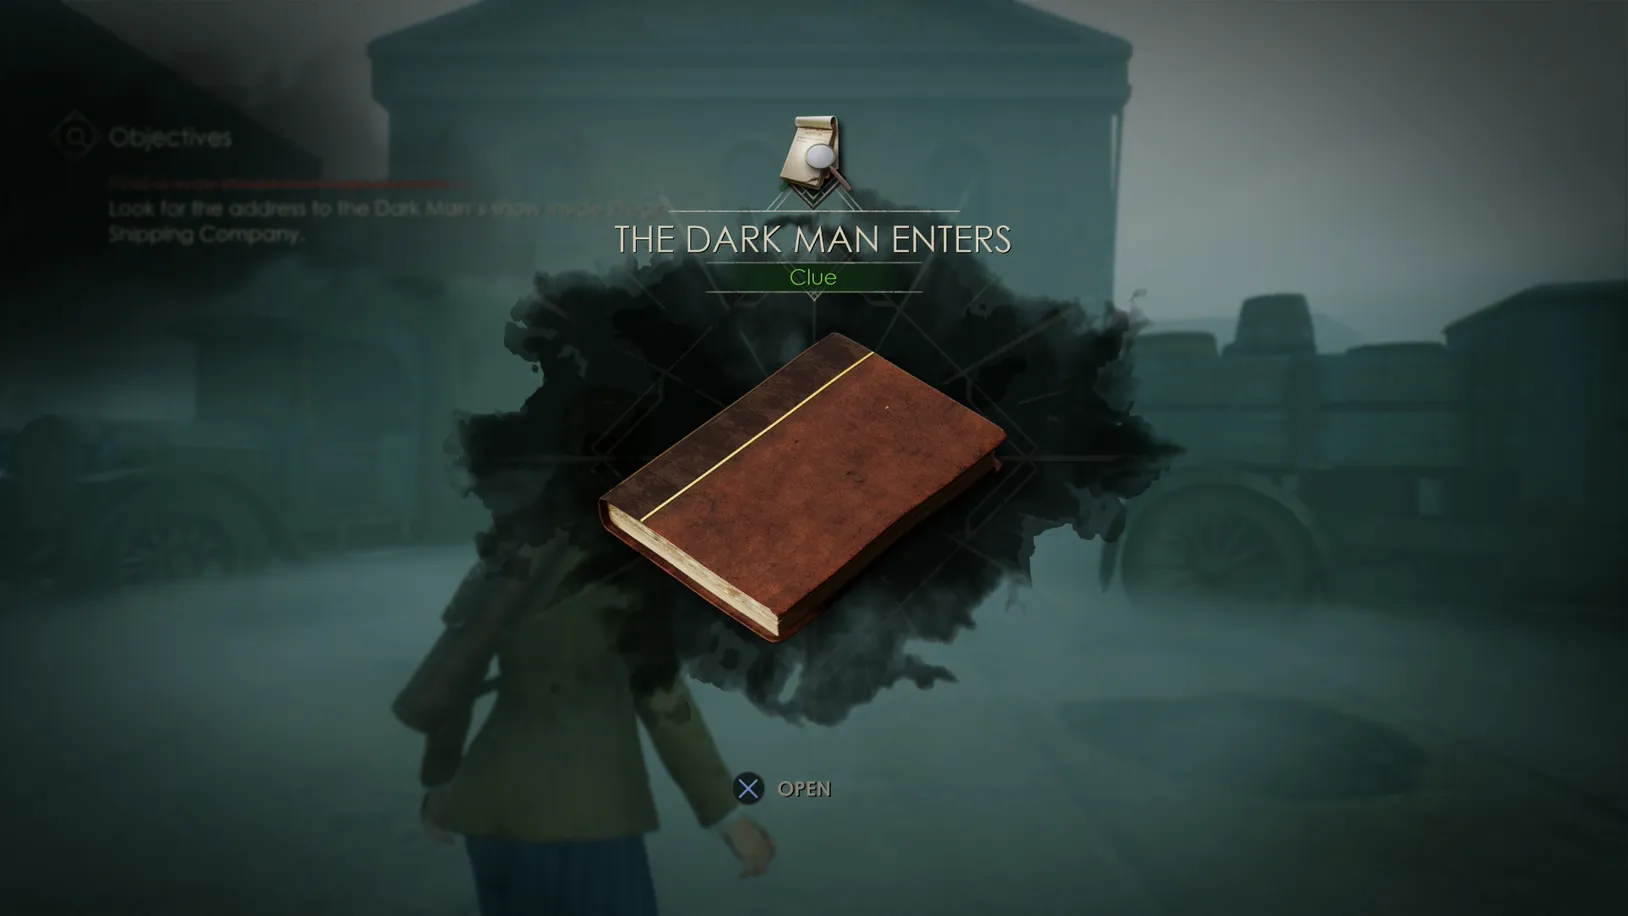
The Dark Man Enters - Clue
After visiting the Grand Library in Chapter 3, you'll automatically receive the Matchbook when you arrive at the Pregzt Shipping Company.
New Orleans Docks - Pier #11
New Orleans Docks - Pier #11 - Clue
After defeating the monster that breaks through the boathouse door at Gallatin Street, enter the boathouse. The New Orleans Docks - Pier #11 clue is on the wall.
All His Things
All His Things - Clue
Within the Pregzt Shipping Company warehouse, pick up the All His Things clue from the wooden cabinet of the second-floor office in the warehouse.
Cargo Manifesto
Cargo Manifesto - Clue
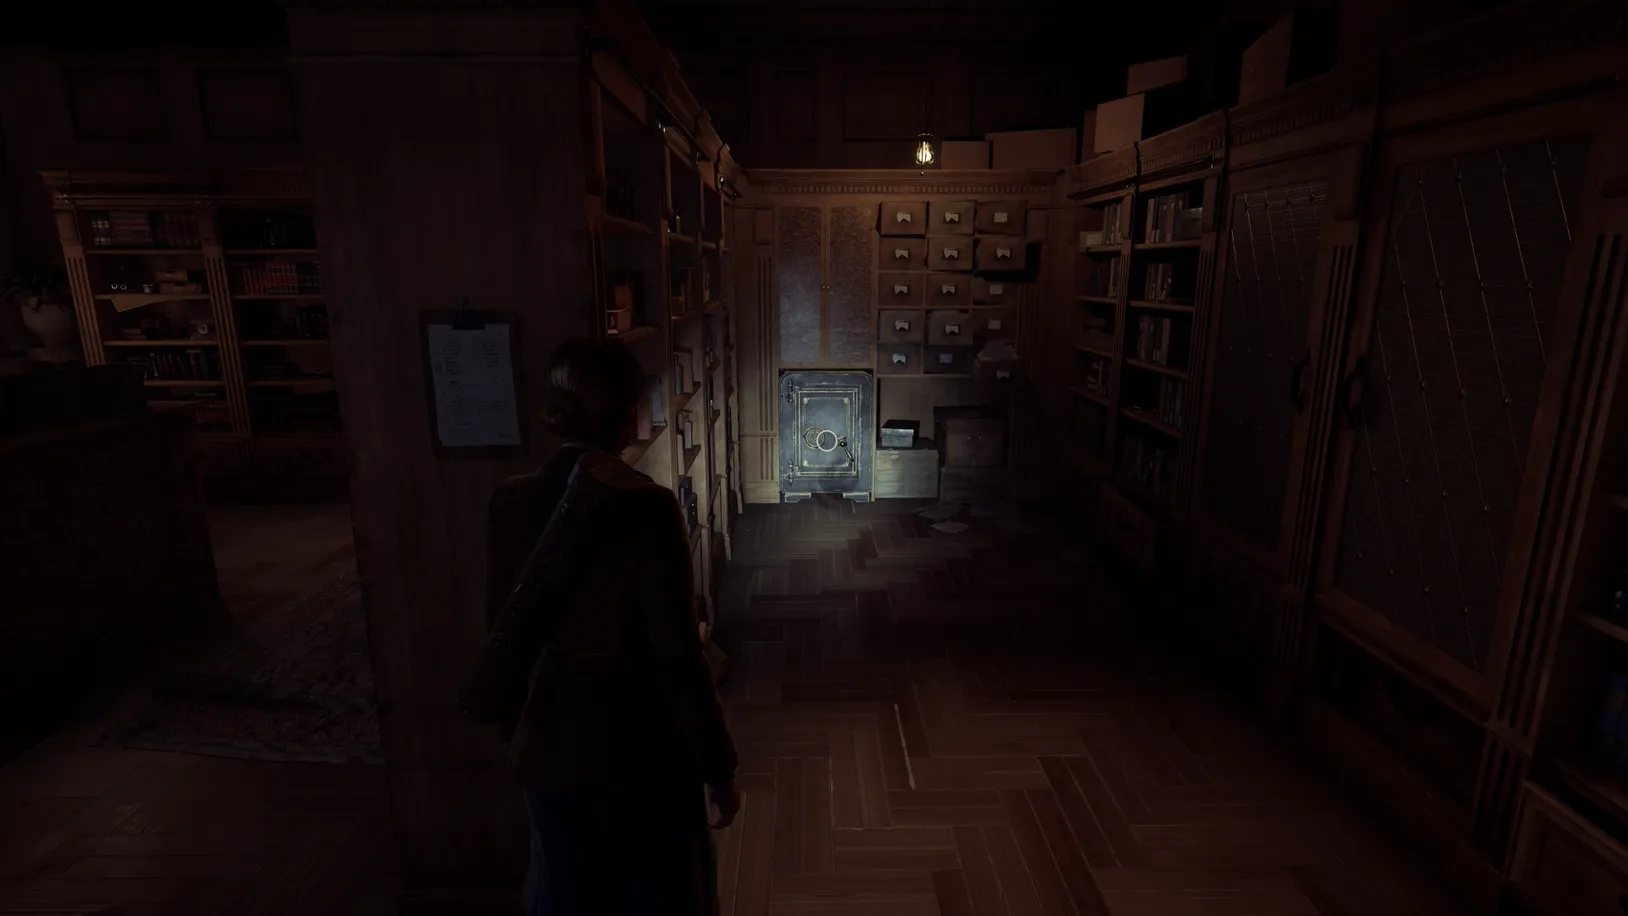
The Cargo Manifesto clue is located in the Warehouse Safe, which is in the second-floor office of the warehouse and can be accessed with the following combination: L4-R5-L4.
Warehouse Safe - Gallatin Street
Beyond the Nile Valley

Beyond the Nile Valley - Clue
When entering the Pharob's Sacrophagus, follow the path down the dunes, past the pillars, until you reach a campsite. Beside the rope, inside a wooden crate, you'll find the Beyond the Nile Valley clue.
The Dark Man's Contract and Sacrificial Dagger
The Dark Man's Contract - Clue
Sacrificial Dagger - Clue
After the cutscene that leads into Chapter 4, you'll automatically be given The Dark Man's Contract clue, which you'll find during the final moments in the tomb.
Chapter 4 Clues
Preparations for St. John's
Preparations for St. John's - Clue
Search the table in Lottie's Room to uncover the Preparations for St. John's clue.
Lunacy & the Astarte Artists' Colony
Lunacy & the Astarte Artists' Colony - Clue
When entering the Library from the Stair Hall, look for the bookcase along the wall to your right. The Lunacy & the Astarte Artists' Colony clue is on the shelf.
Keep Our Secrets
Keep Our Secrets - Clue
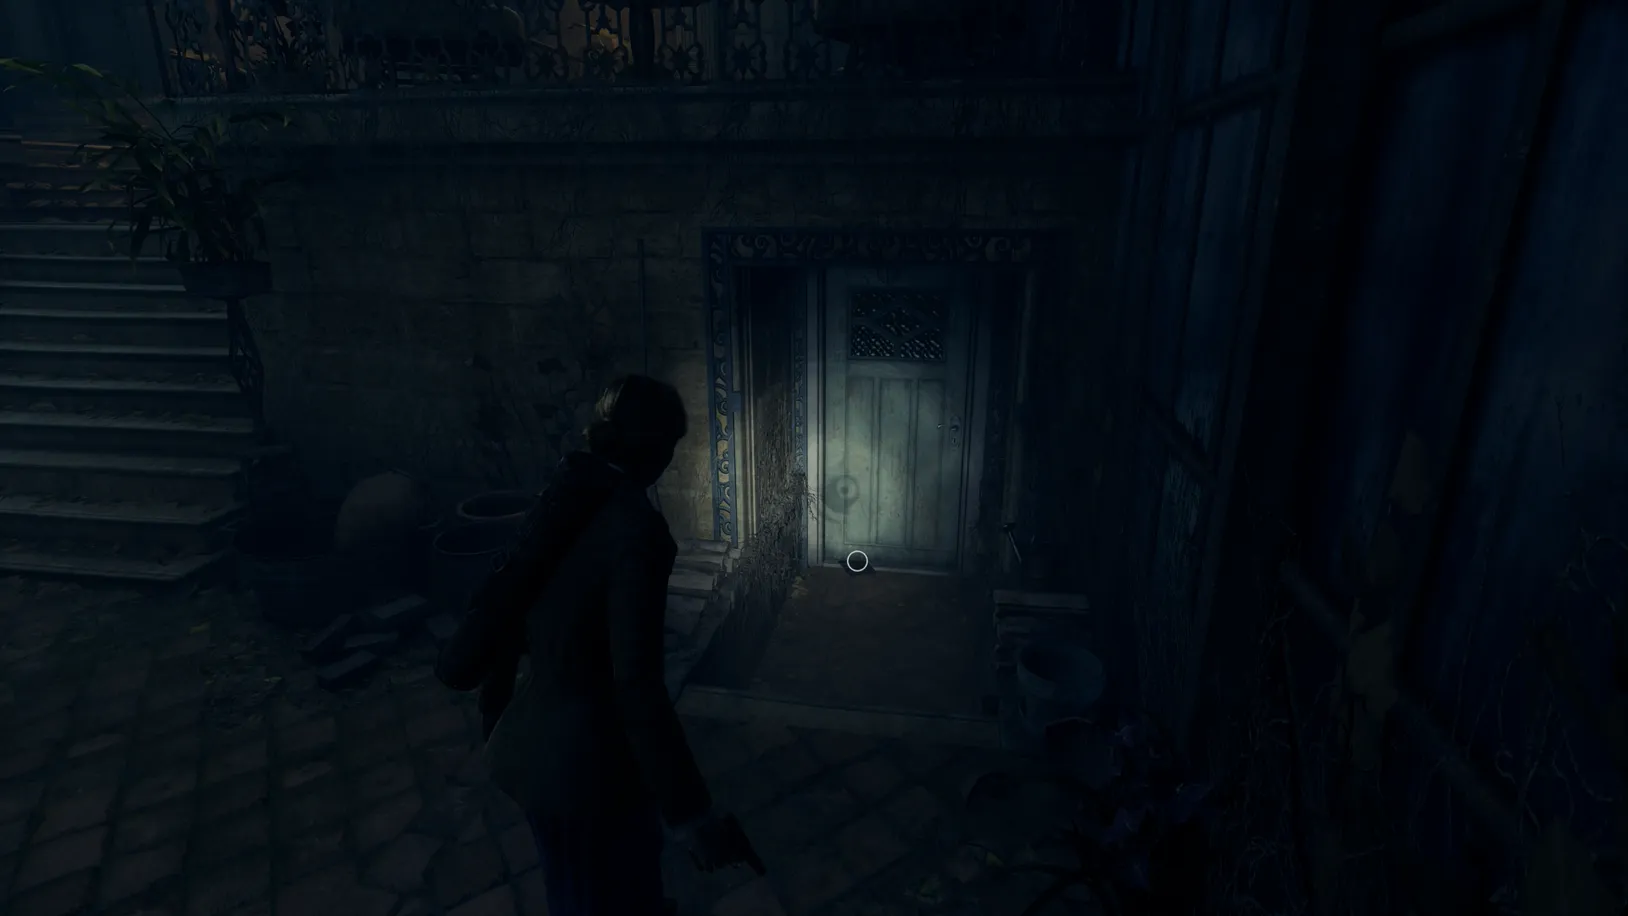
In the Conservatory, Dr. Gray left a clue in front of the door leading to the Laundry Room.
The Empty Room
The Empty Room - Clue
The Empty Room clue is in the Clerk's Room Safe, which is in the back corner of the room amongst some bookshelves. The code needed to open the safe is L9 R1 L3.
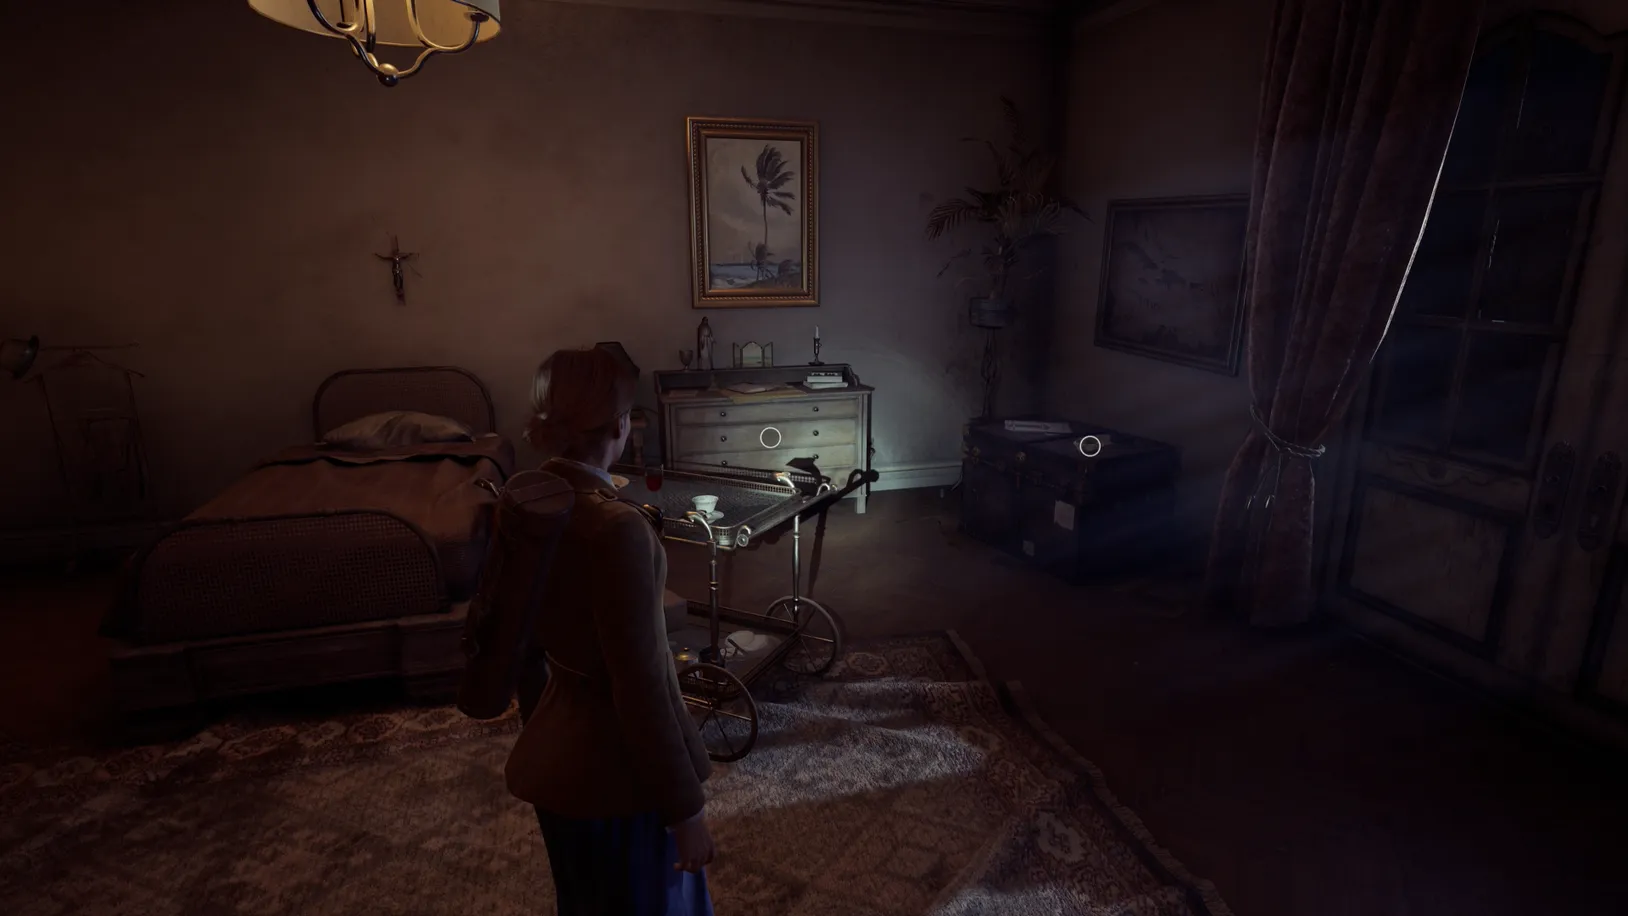
Cassandra's Things
Cassandra's Things - Clue
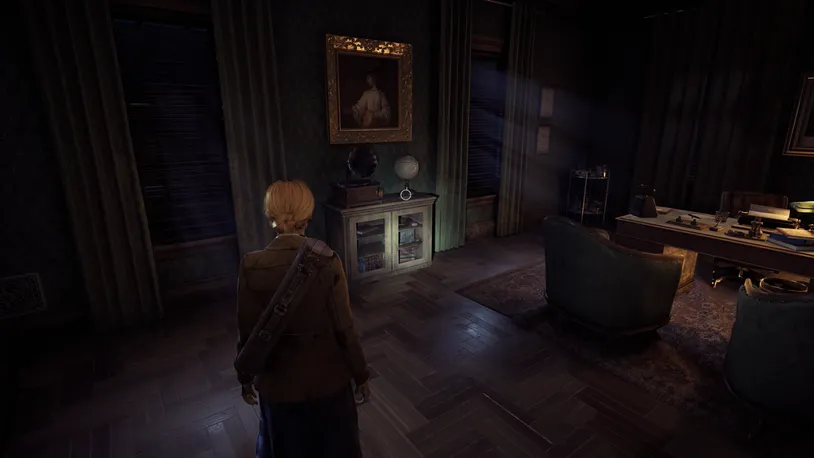
Inside Dr. Gray's office, the Cassandra's Things clue is on the small sideboard along the wall.
MacCarfey's Pirate Treasure
.webp)
MacCarfey's Pirate Treasure - Clue
Edward Only: Inside Dr. Gray's office, MacCarfey's Pirate Treasure clue is on the small sideboard along the wall.
Jeremy's Treatment
Jeremy's Treatment - Clue
Enter Dr. Gray's office with the key from the Clerk Room's Safe, and you'll find Jeremy's Treatment clue in the typewriter on Dr. Gray's desk.
Cassandra's Last Page
Cassandra's Last Page - Clue
In Chapter 4, enter Cassandra's room. On top of the wheelchair beside her door, you'll find Cassandra's Last Page.
To Detective Carnby
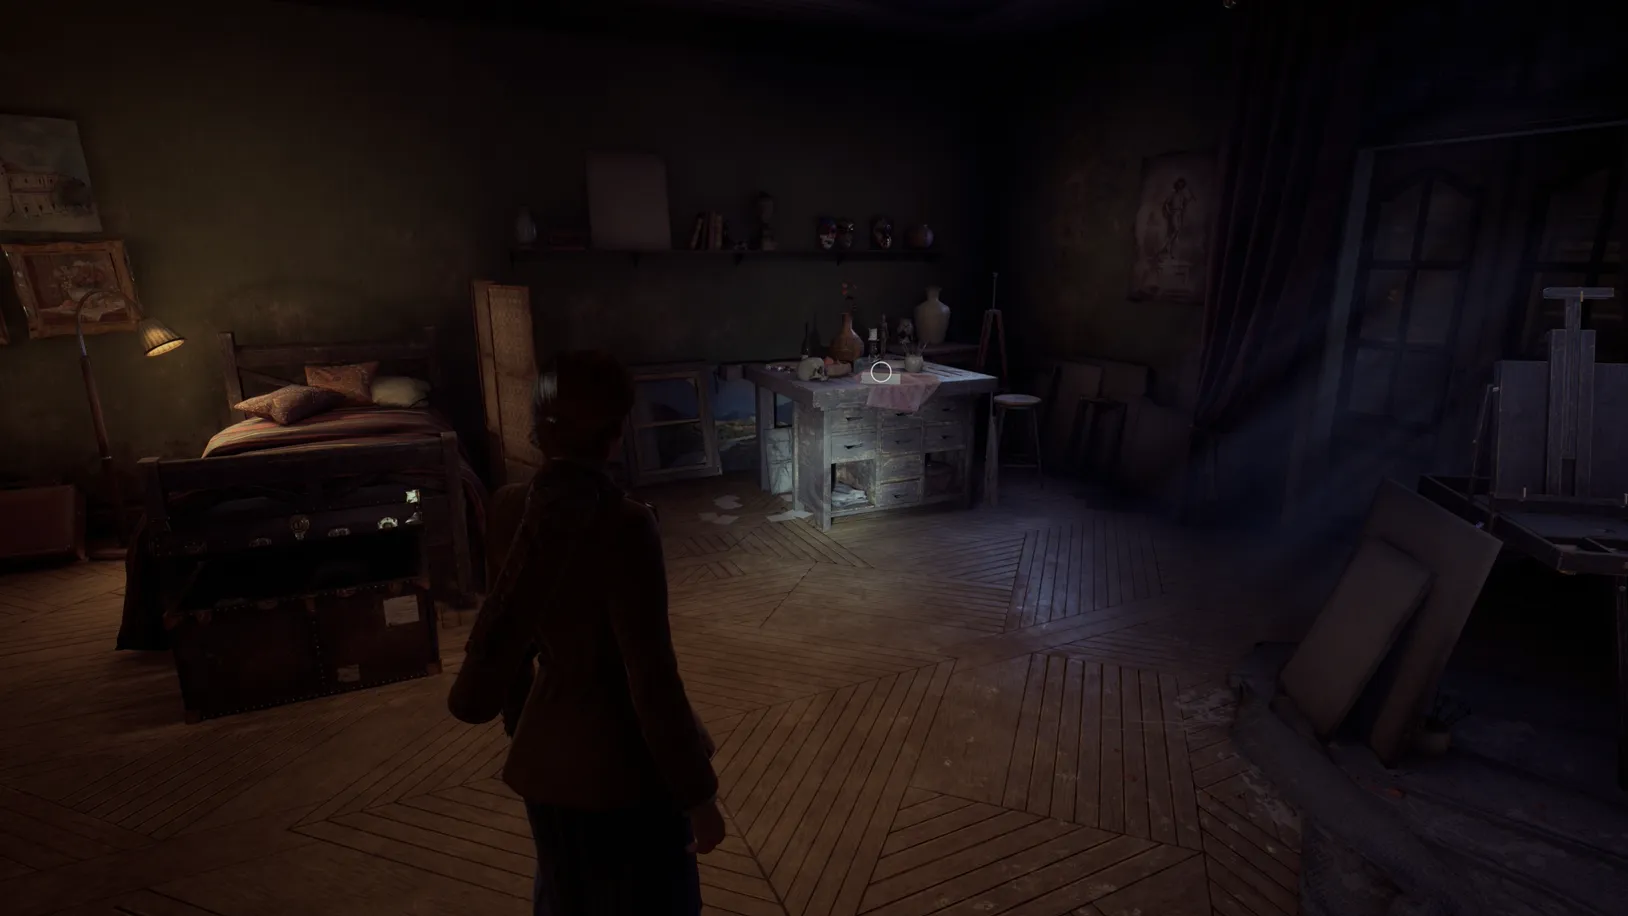
To Detective Carnby - Clue
In Jeremy's Room, you'll find a note addressed to Detective Carnby on his workbench.
Trust Me

Trust Me - Clue
In Batiste's Room, you'll find a note from Lottie on his bed.
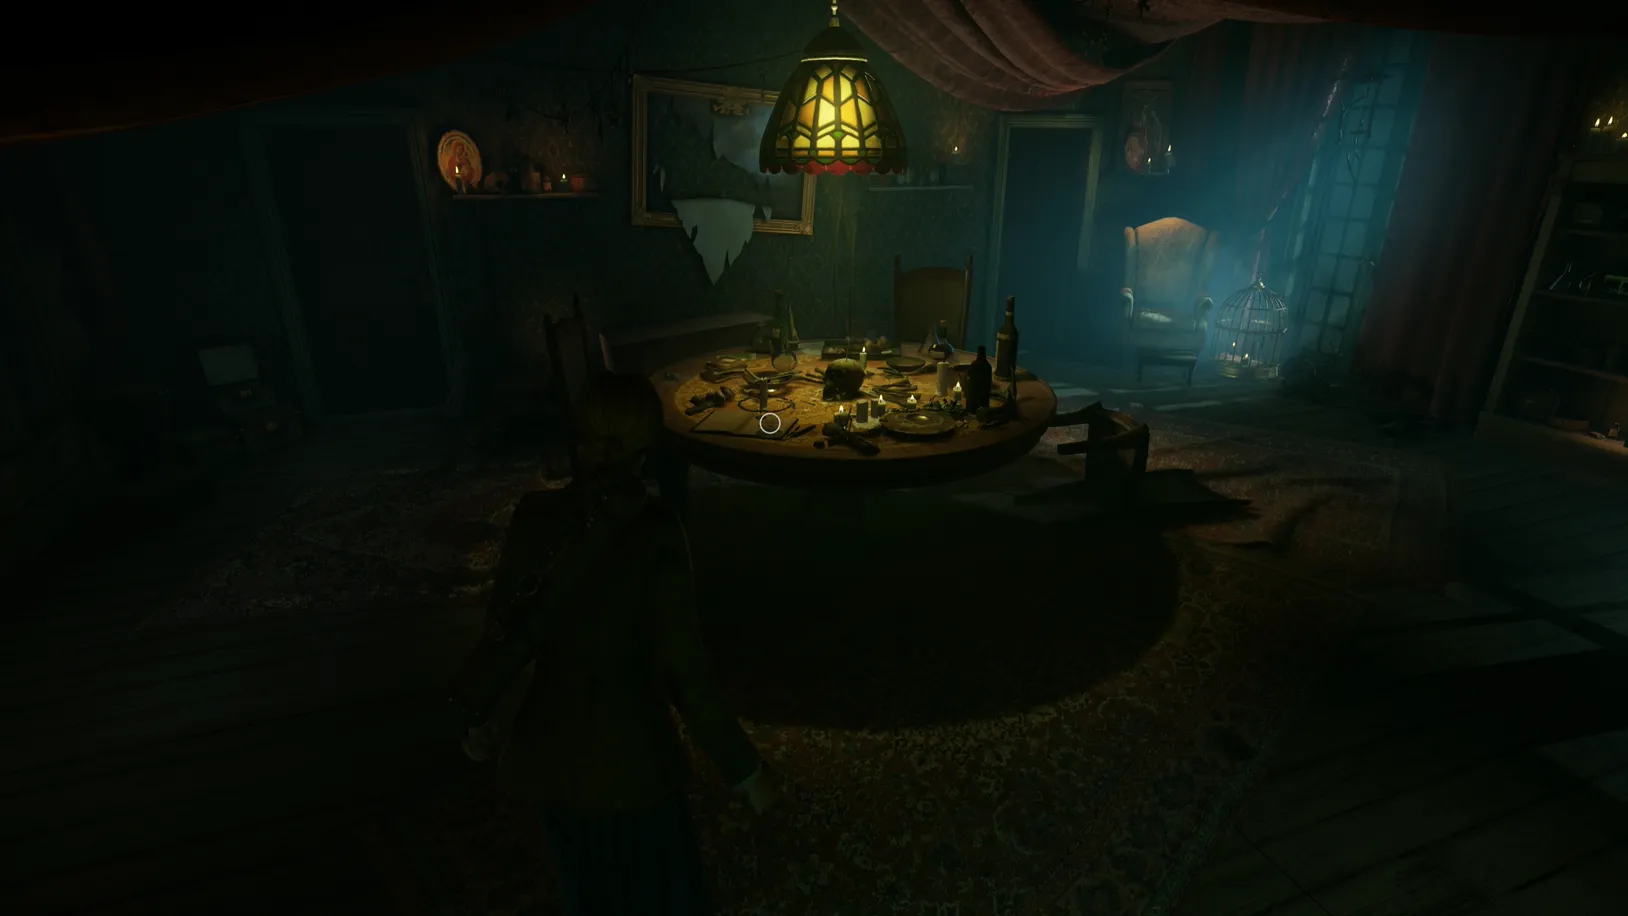
Moment of Clarity
Moment of Clarity - Clue
Enter MacCarfey's Room, where the Moment of Clarity clue is on top of a large chest in the back corner.
Henry Cassel's Zoetrope
Henry Cassel's Zoetrope - Clue
In the back corner of Ruth's Room, on top of an old trunk, you'll find the Henry Cassel's Zoetrope notebook clue.
Radiography Notes and If All Else Fails
Radiography Notes - Clue
If All Else Fails - Clue
From the Infirmary, enter the Laboratory. The Radiography Notes and the If All Else Fails Note are on the workbench at the back of the room.
To Emily
To Emily - Clue
Emily Only: In the Empty Room, open the safe (L9 R1 L8), and you'll automatically receive the To Emily clue.
Look for the Girl
.webp)
Look for the Girl - Clue
Edward Only: In the Empty Room, open the safe (L6 R9 L2), and you'll automatically receive the Look for the Girl clue.
Closing the Refuge
Closing the Refuge - Clue
When turning on the power in the sealed Medical Ward, head to the opposite end of the room. The Closing the Refuge clue is in the drawer of the right-most desk.
First Meeting - Transcript Clue
First Meeting - Transcript - Clue
After the optional conversations in Dr. Gray's Apartment's secret room, search the large chest at the base of the nearby bed for the First Meeting Transcript clue.
The Snake Dagger
The Snake Dagger - Clue
In the same room as above, you'll find The Snake Dagger clue next to Dr. Gray's wardrobe.
The Greenland Expedition
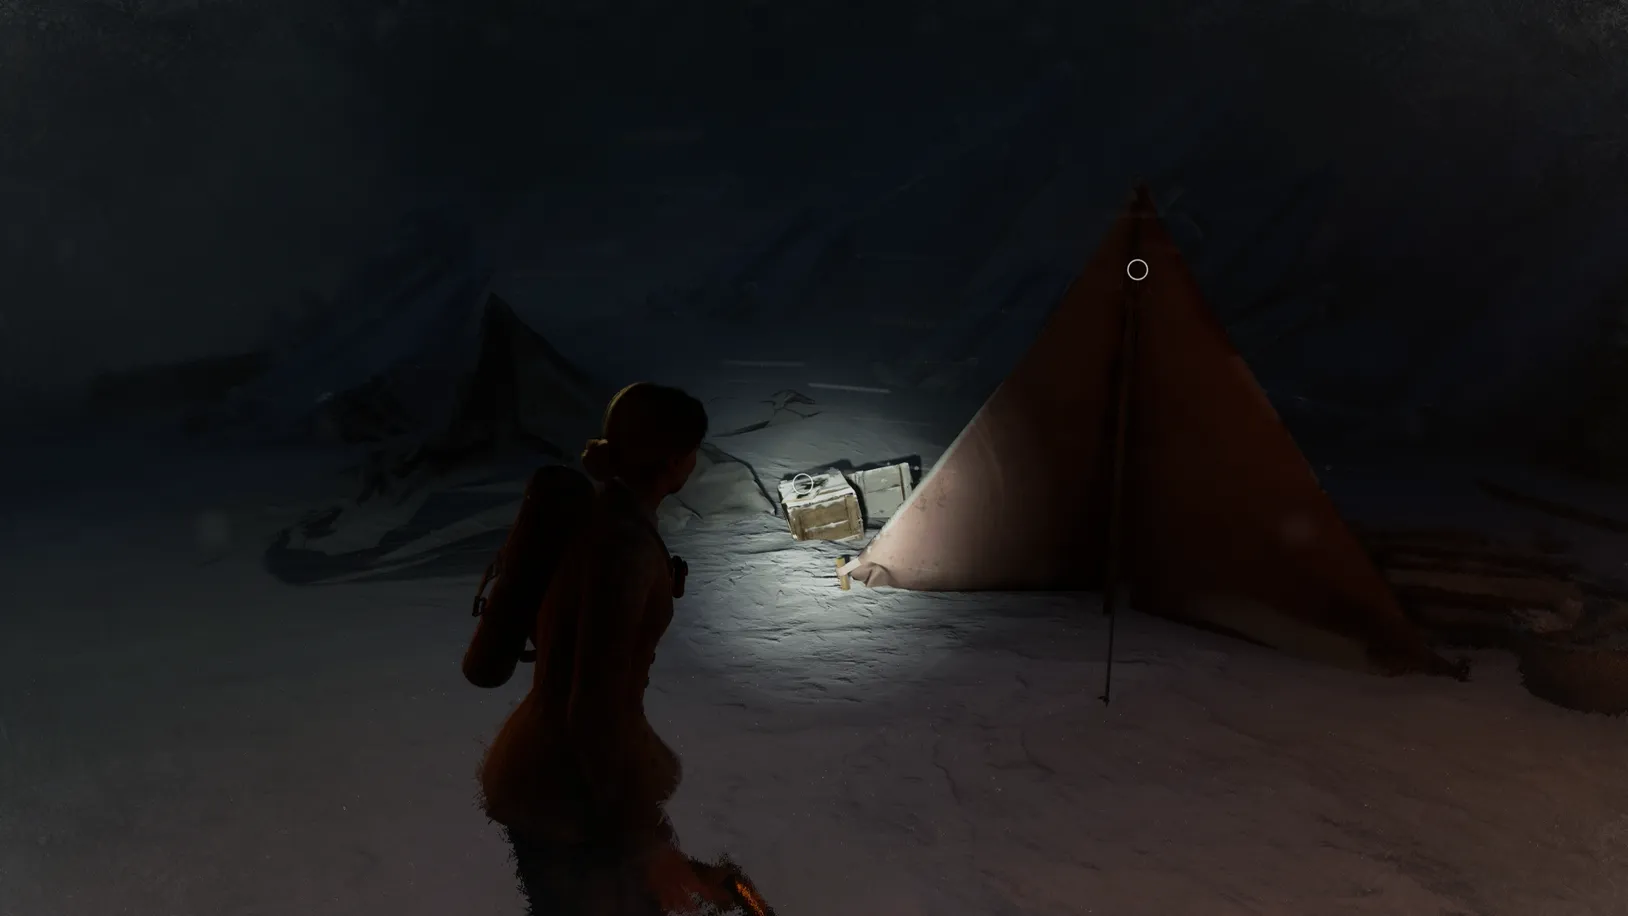
The Greenland Expedition - Clue
When arriving at the camp in Greenland, you'll find The Greenland Expedition clue next to the bright red tent.
Librarian Trophy
Librarian
After collecting all the clues, you'll unlock the Librarian trophy.
All Lagniappe Set Collectibles → All Optional Conversations →