Chapter 4 Walkthrough
Following the escape in Chapter 3, you'll delve into a rather lengthy series of events in this next chapter, which will greatly differ depending on the character you selected at the beginning of the game. This Chapter 4 walkthrough will provide everything you need to know about Emily and Edward's unique puzzles and trauma events.
Important Note
If you want to unlock all secret endings, creating a manual save point at the beginning of Chapter 4 is highly recommended.
Chapter 4 Walkthrough
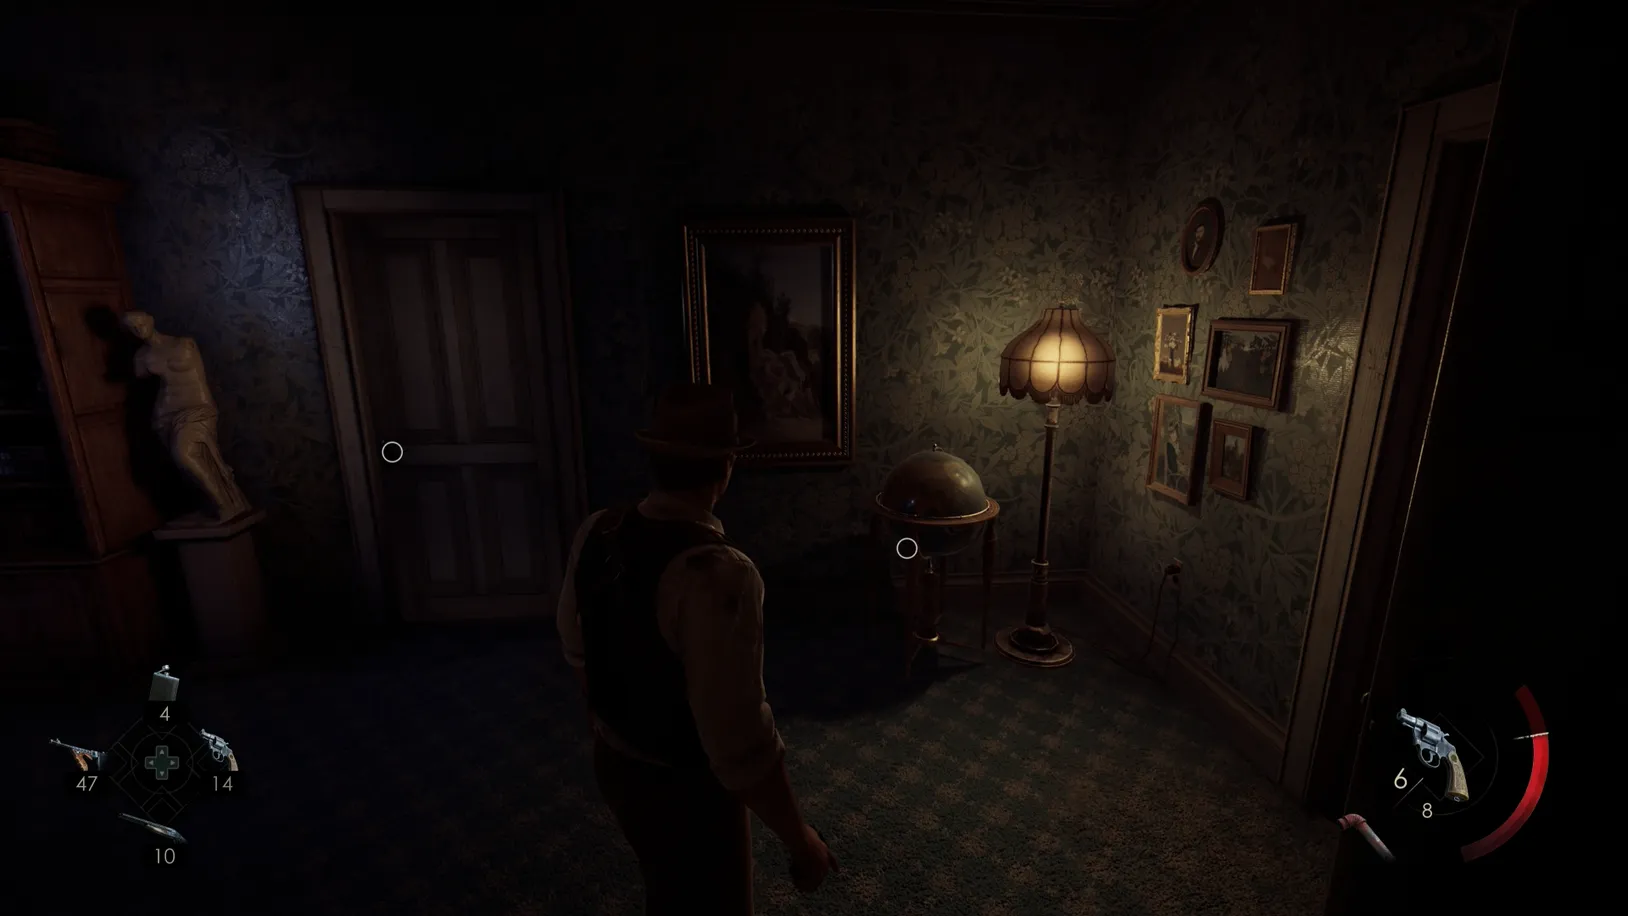
The player starts outside the attic. You now have the option of either completing the puzzle for progressing to Steamboat or one of the respective traumas for Edward (French Quarters revisit & Pearl River Bridge) and Emily (War Photo). They can be done in any order. If you're looking for a particular objective, click the links below to jump to...
- Edward Only - French Quarters & Pearl River Bridge Progression
- Emily Only - War Photo and Closed Off Section Progression
- Escaping the Medical Ward
- Getting to the Steamboat
- Escaping the Steamboat
- Returning from the Steamboat and the Trauma
- Arctic - Temper Manic Behavior
Don't Miss These Clues and Lagniappe Collectibles
Before progressing, you'll have the ability to uncover the following Lagniappes and Clues in Chapter 4. Please note that after climbing up the ladder in the Kitchen Garden to the Piazza, it will fall, locking you out of the previous area. So, be sure to collect everything before continuing.
Broken Spectacles - Death of the Author Set
Broken Spectacles - Death of the Author Set
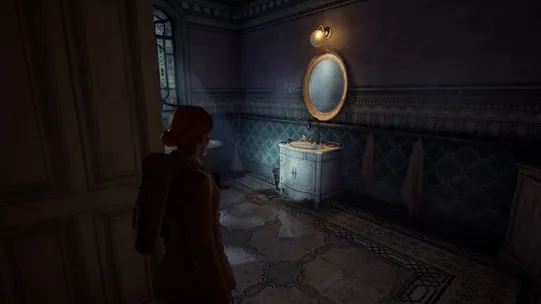
Found in the Water Closet near Lottie's Room, you'll find some Broken Spectacles in the sink.
Preparations for St. John's - Clue
Preparations for St. John's - Clue
Search the table in Lottie's Room to uncover the Preparations for St. John's clue.
Lunacy & the Astarte Artists' Colony - Clue
Lunacy & the Astarte Artists' Colony - Clue
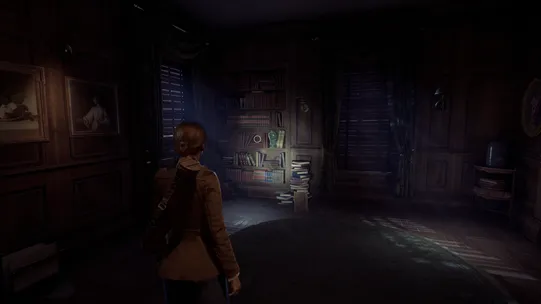
When entering the Library from the Stair Hall, look for the bookcase along the wall to your right. The Lunacy & the Astarte Artists' Colony clue is on the shelf.
Opera Playbill - The Pirates of Pontchartrain Set
Opera Playbill - The Pirates of Pontchartrain Set
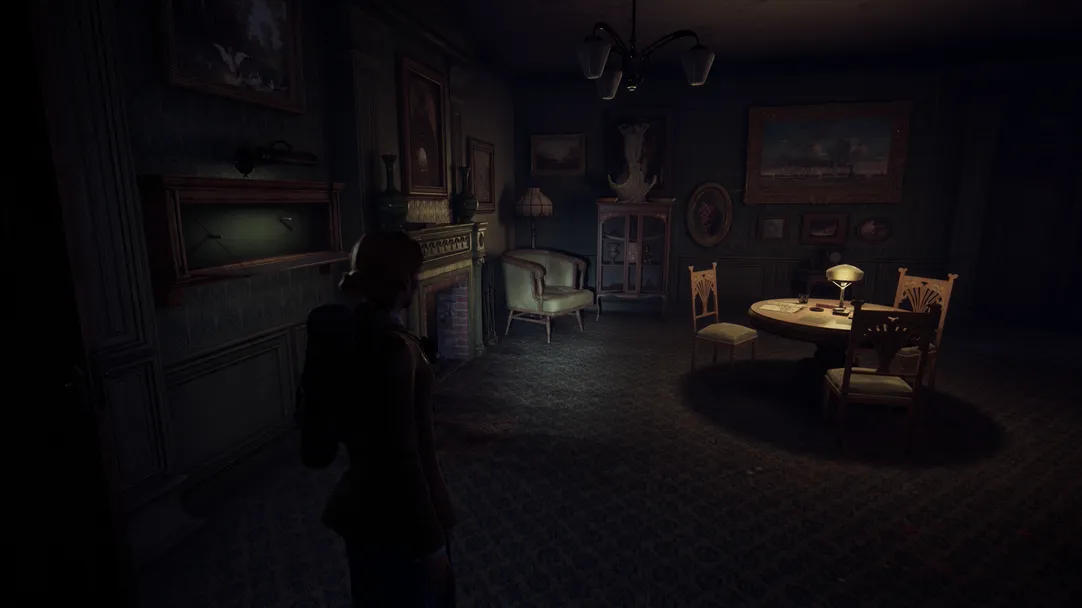
In the Small Parlor, the Opera Playbill is sitting on top of the green chair in the corner of the room, not too far from the Shotgun case.
Keep Our Secrets - Clue
Keep Our Secrets - Clue
In the Conservatory, Dr. Gray left a clue in front of the door leading to the Laundry Room.
To Detective Carnby - Clue
To Detective Carnby - Clue
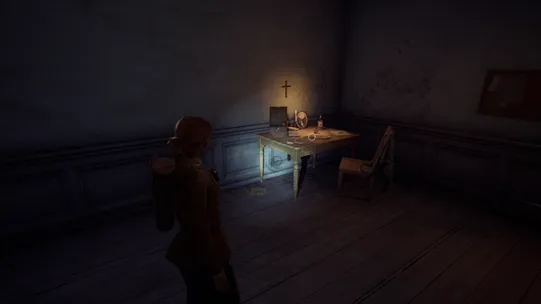
In Jeremy's Room, you'll find a note addressed to Detective Carnby on his workbench.
Trust Me - Clue
Trust Me - Clue
In Batiste's Room, you'll find a note from Lottie on his bed.
Unlocking the One of the Thousand Young Secret Ending
If you are playing as Edward and have completed the A Goat Without Horns Lagniappe set -- which requires a playthrough from both Emily and Edward -- you'll have the chance to provide the large tree in the Conversatory an offering. Doing so will allow you to trigger an event during Chapter 5.
To learn more, see our guide on How to Get All Secret Endings.
French Quarters & Pearl River Bridge Progression - Edward Only
Please note that Edward Only clues and Lagniappe's have been added to this section. For a full list of clues found in Chapter 4, see our Emily walkthrough section below or check out our following collectible guides for a complete list:
How to Solve the Drawing Puzzle
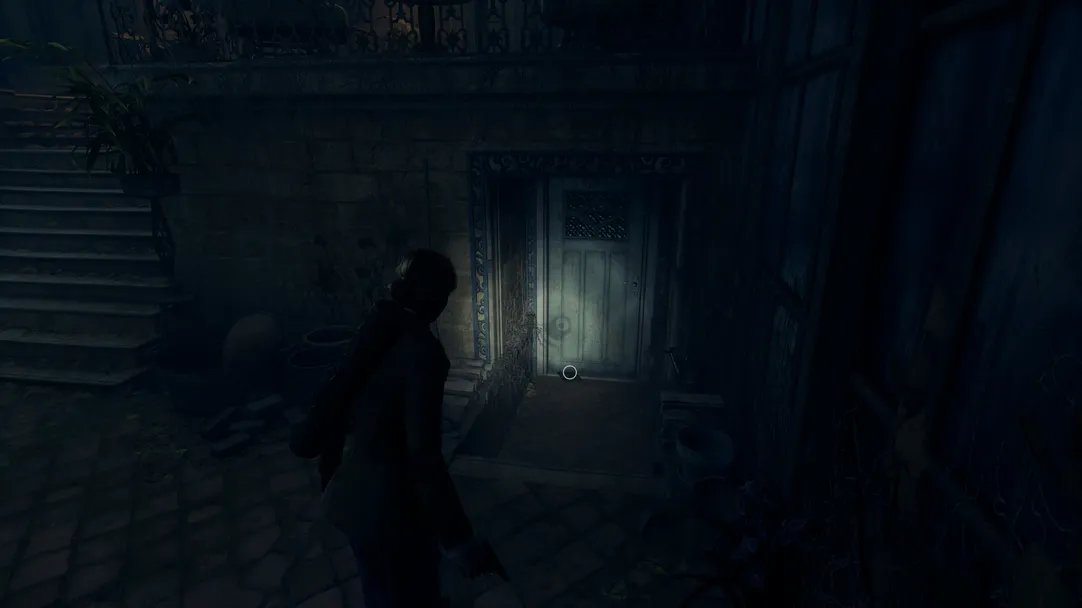
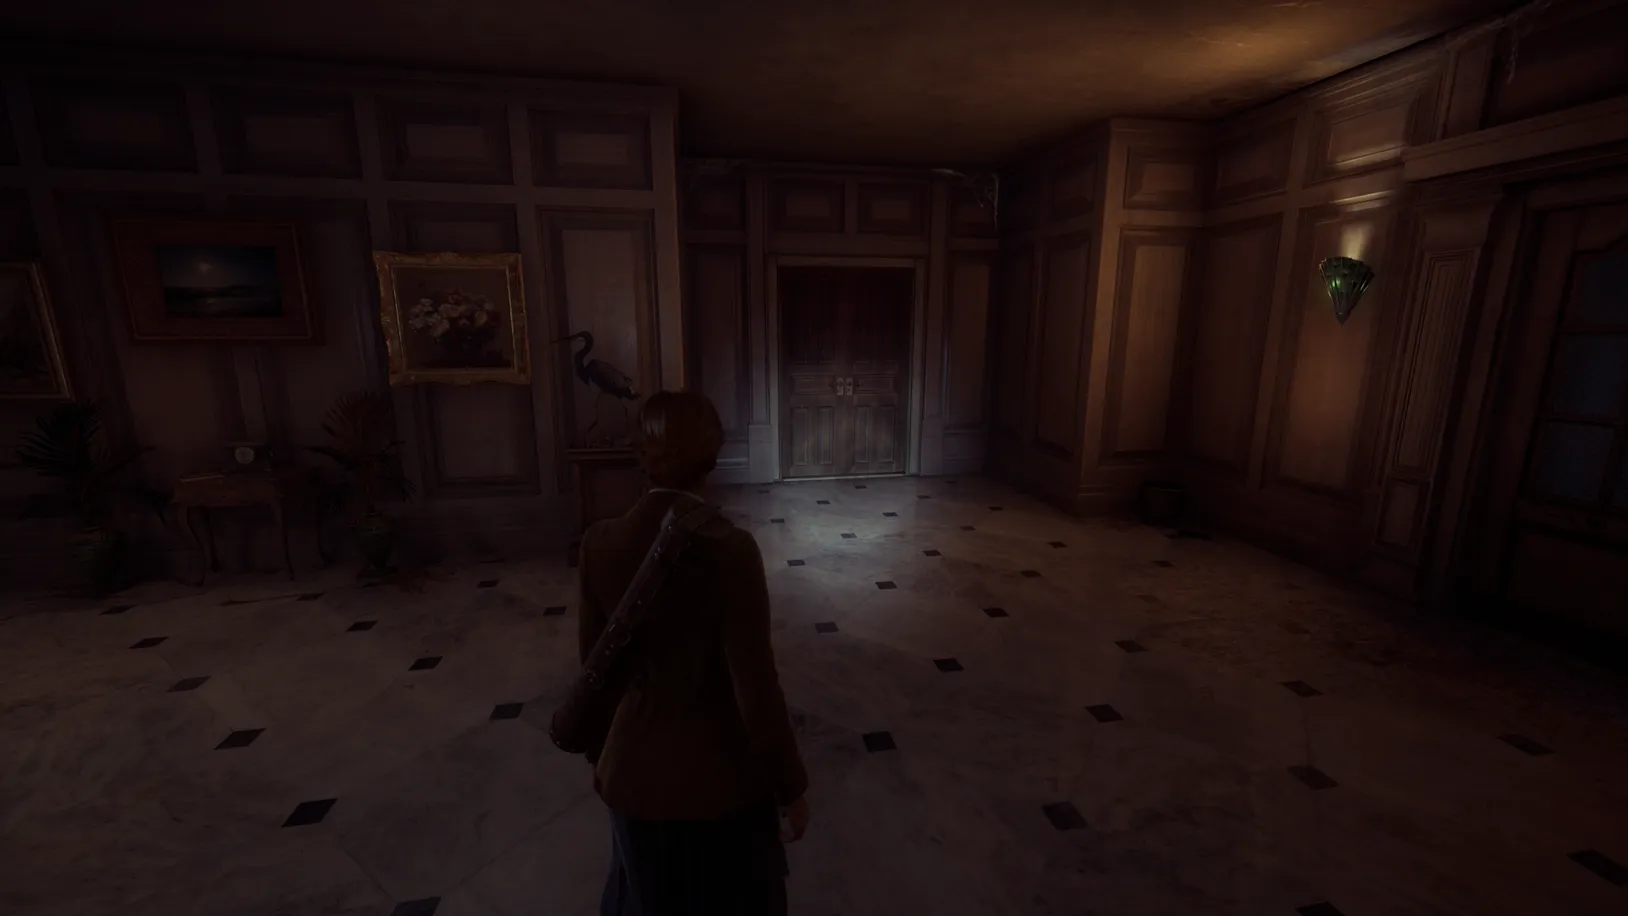
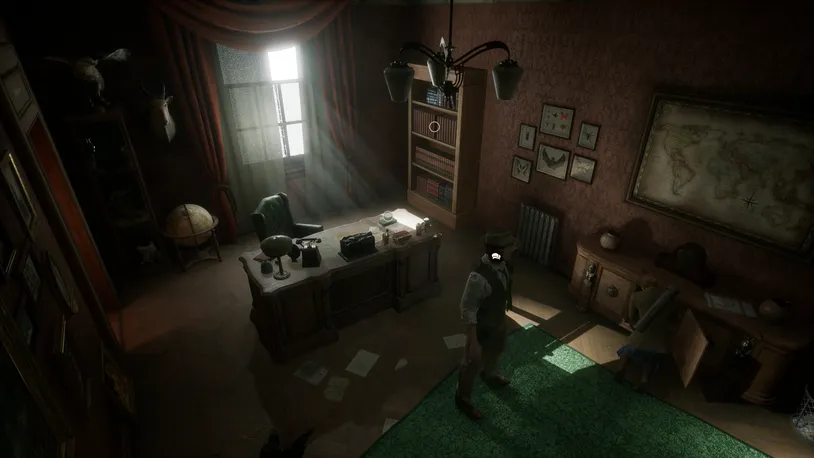
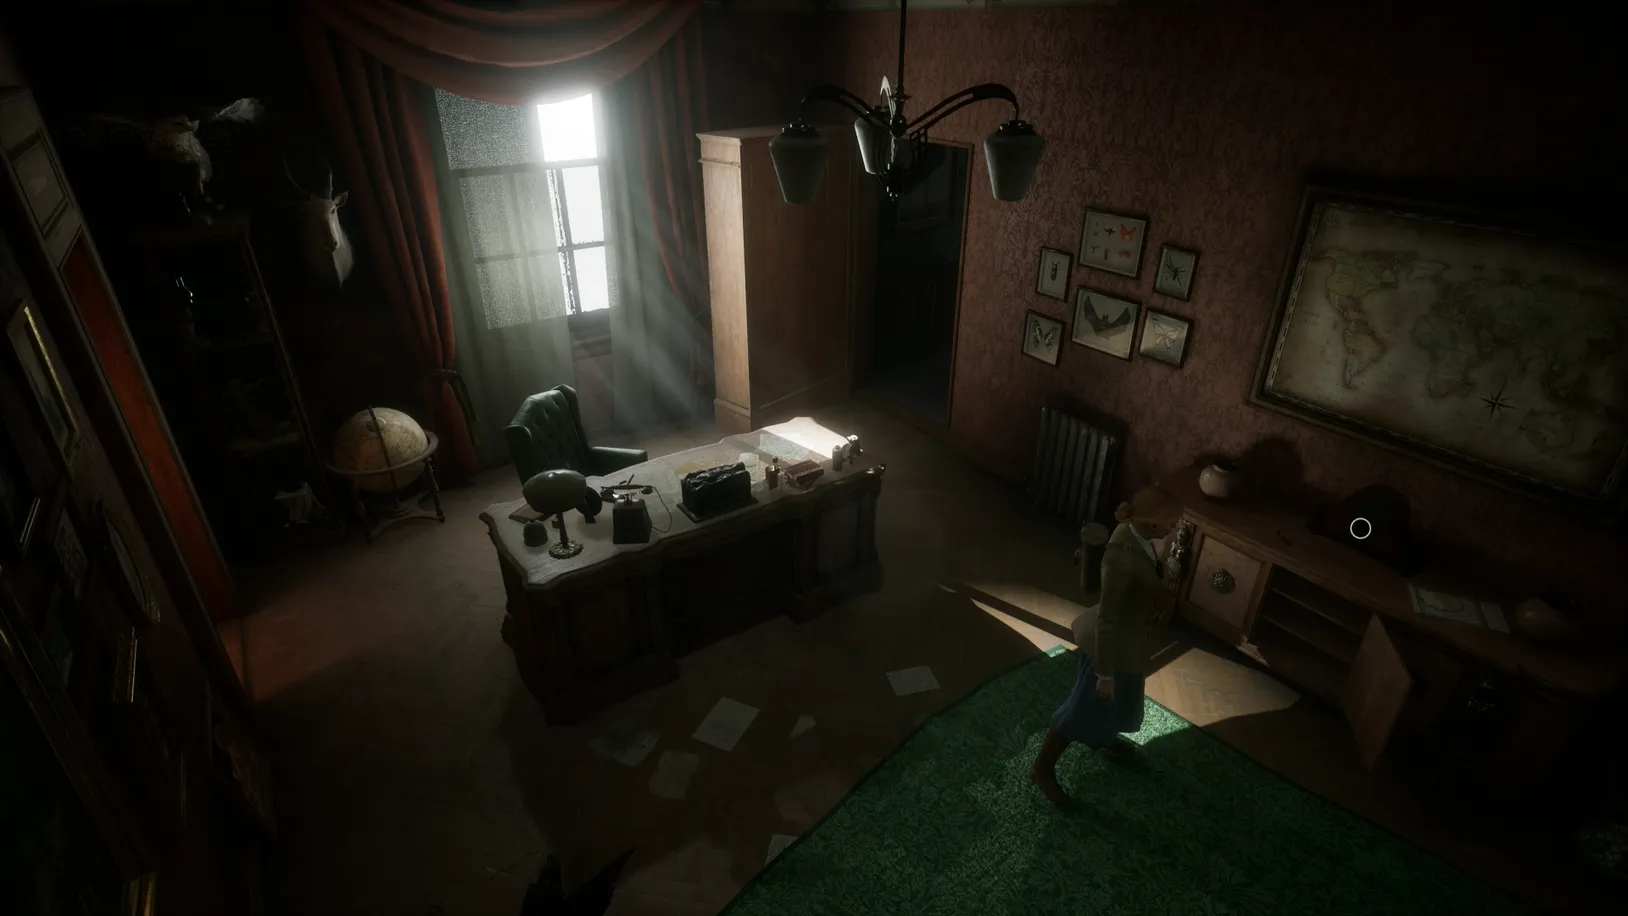
Open the door to the Sitting Room (to reach this room, head through the Grand Parlor -> Dining Room -> Stair Hall -> Library -> Conservatory -> ladder to Piazza -> Foyer and up the stairs to Sitting Room).
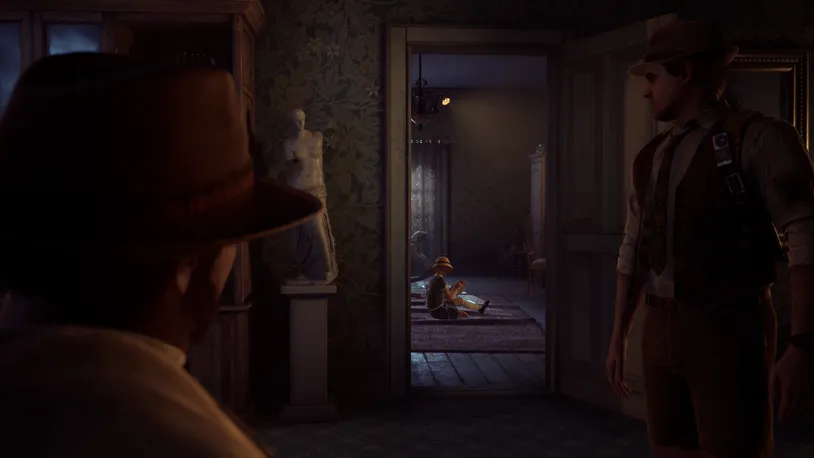
Upon entering the Sitting Room, you will trigger a cutscene with MacCarfey.
After the cutscene, there will be a Vestibule 1st floor key on the floor -- pick it up.
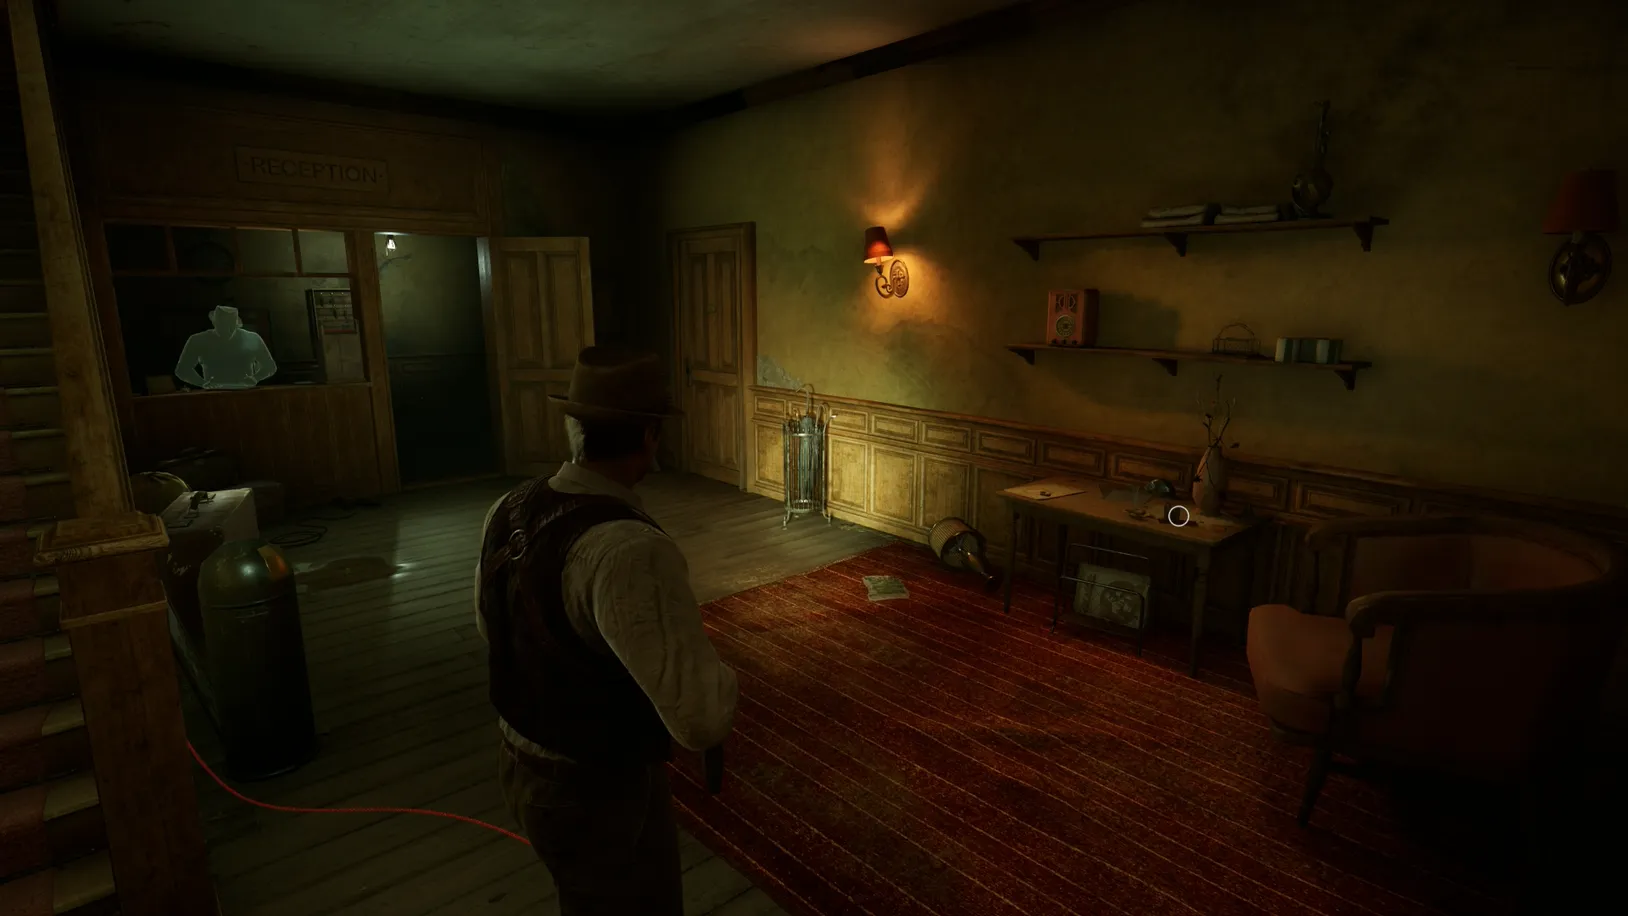
Enter the Vestibule on the first floor, across from the Reception.
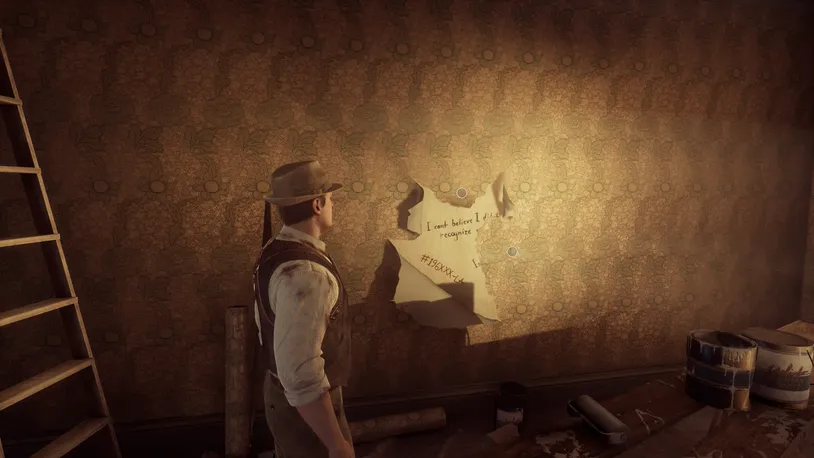
After a short cutscene, enter the Empty Room and open the safe by solving the puzzle by ripping off the wallpaper.
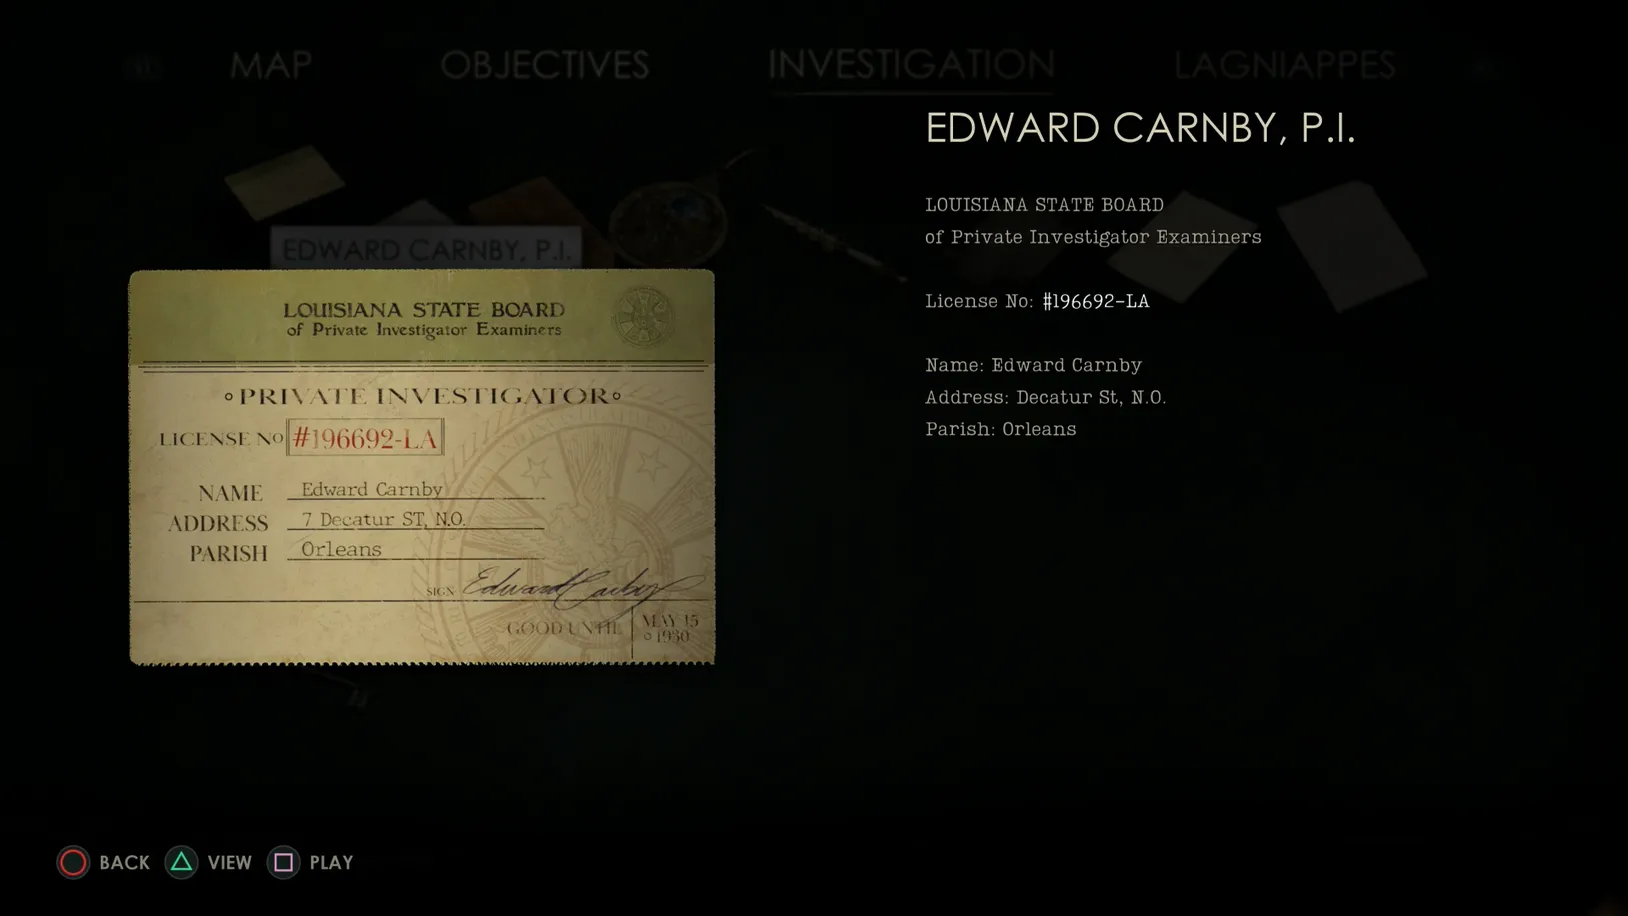
To open the Empty Room safe, match the numbers to Edwards Detective ID () and pick up the Picayune Coin and the Look for the Girl clue.
Picayune Coin - Key Item
Look for the Girl - Clue
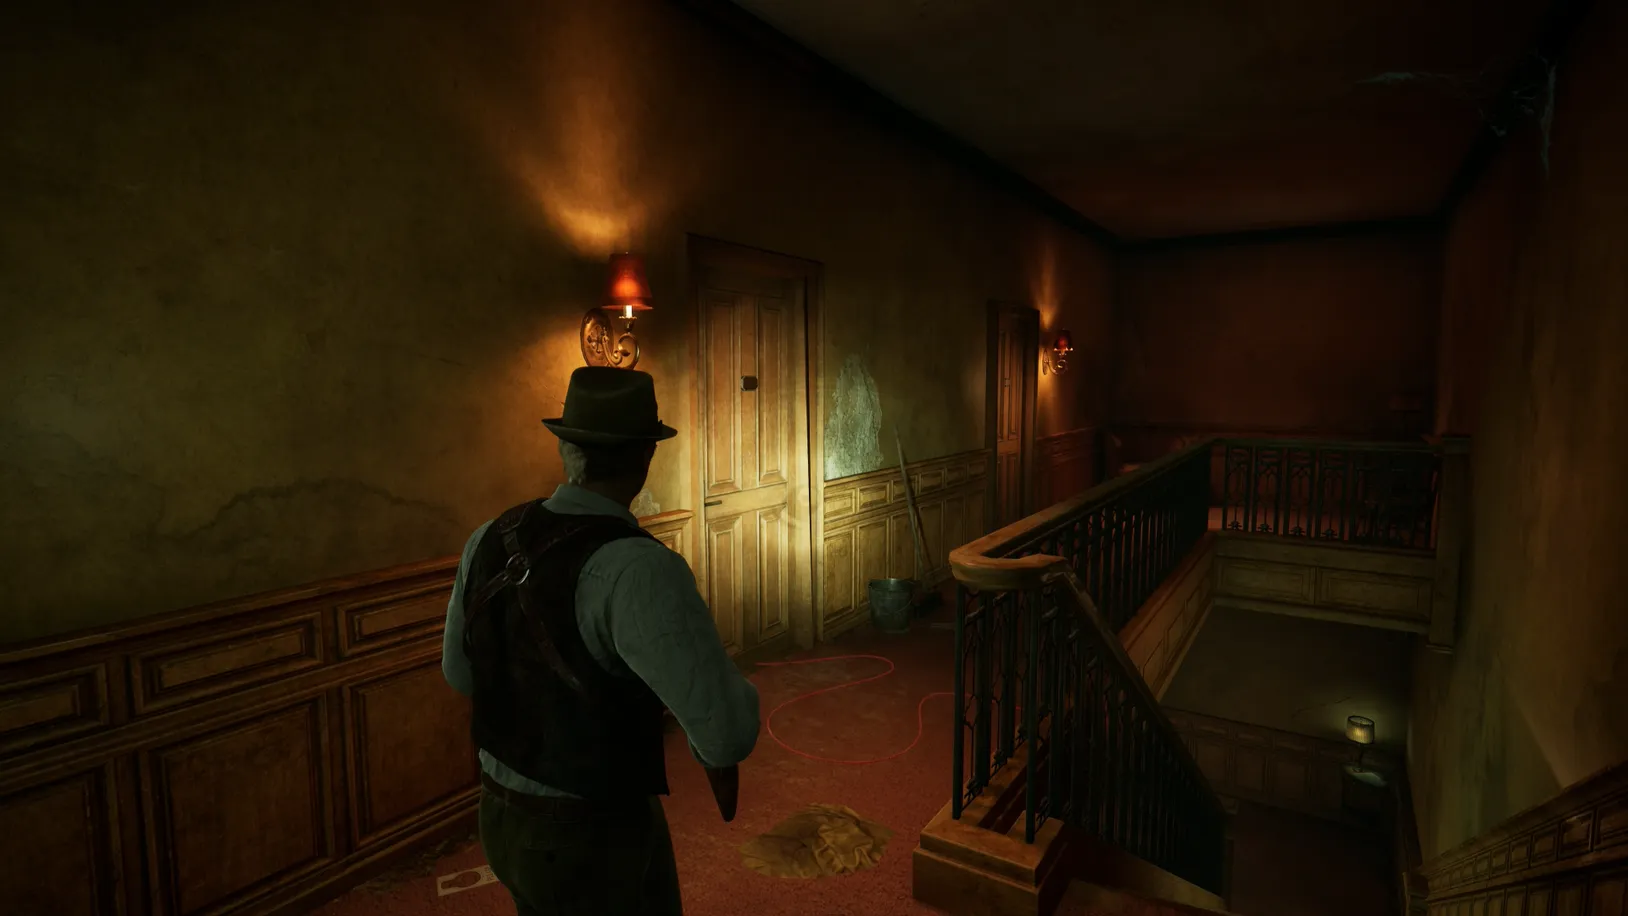
Enter the hallway, unlock the door leading to the Grand Parlor, and continue down the hallway to MacCarfey's Room.
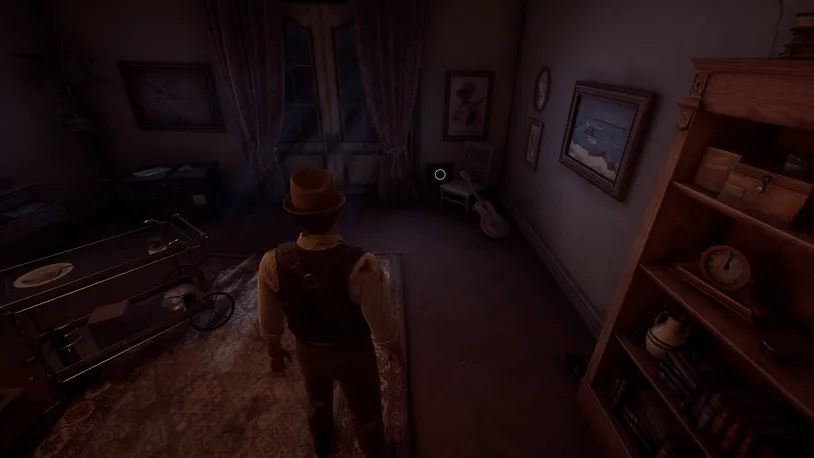
In the back right corner of MacCarfey's Room, use the Picayune Coin to open the vent that's beside the chair and guitar. Here, you'll find a mysterious drawing.
The Missing Picture - Key Item
Leave MacCarfey's Room and attempt to return back to the Reception, only to trigger an anomaly, which you can escape by breaking the barrier blocking the Sitting Room. Once the barrier is broken, enter the Sitting Room.
From here, we'll want to backtrack before continuing with Grace's Drawing Puzzle.
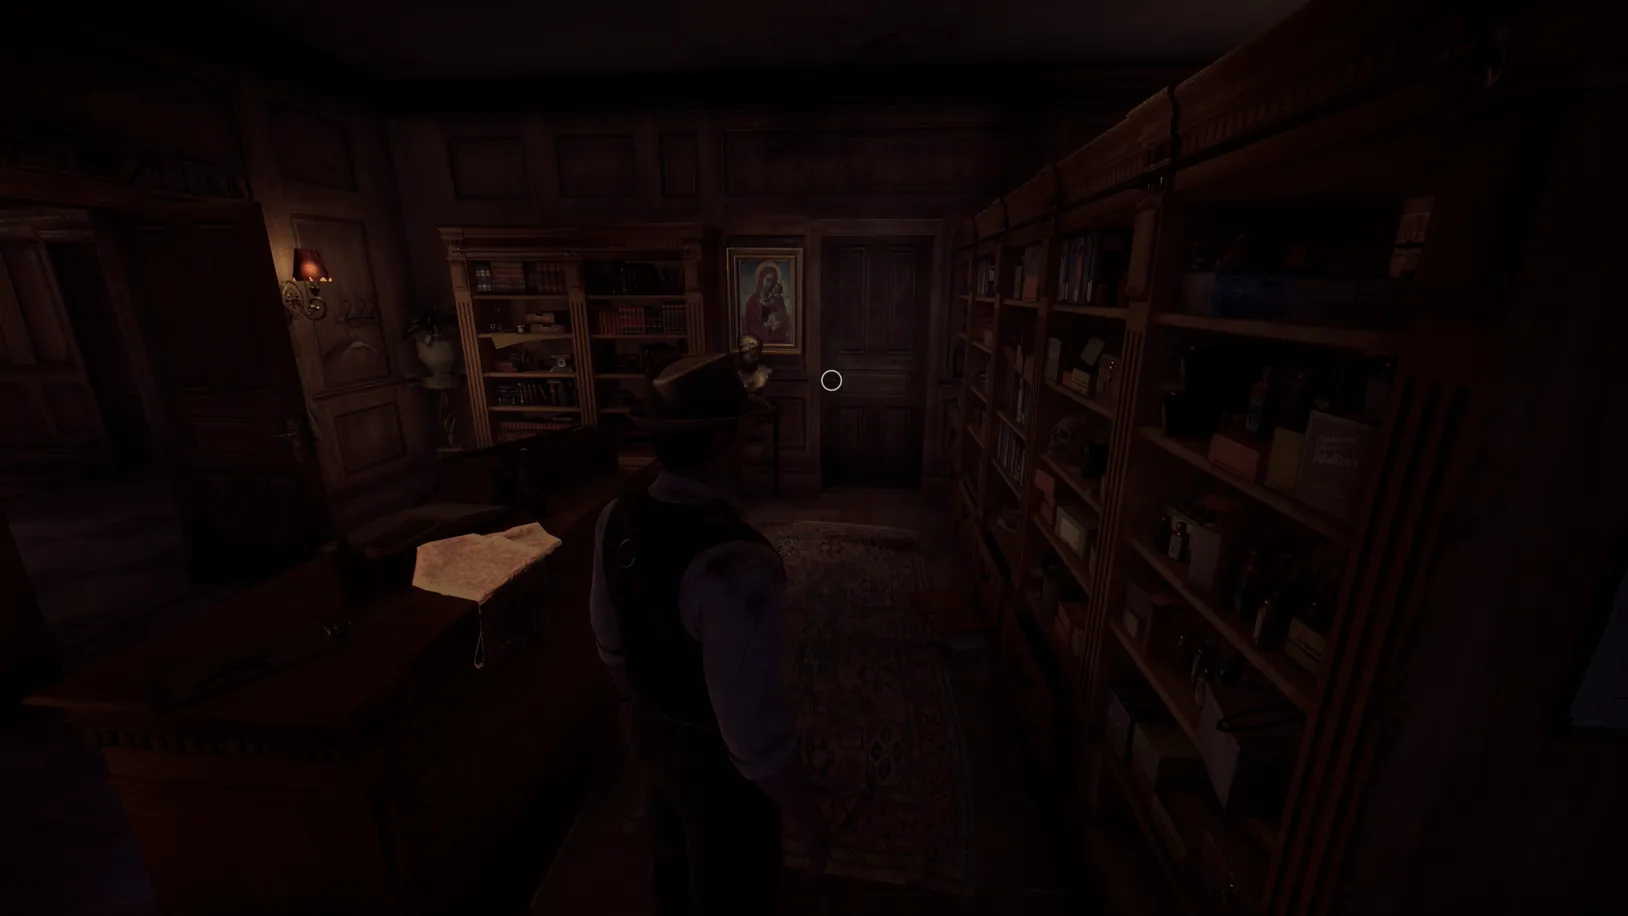
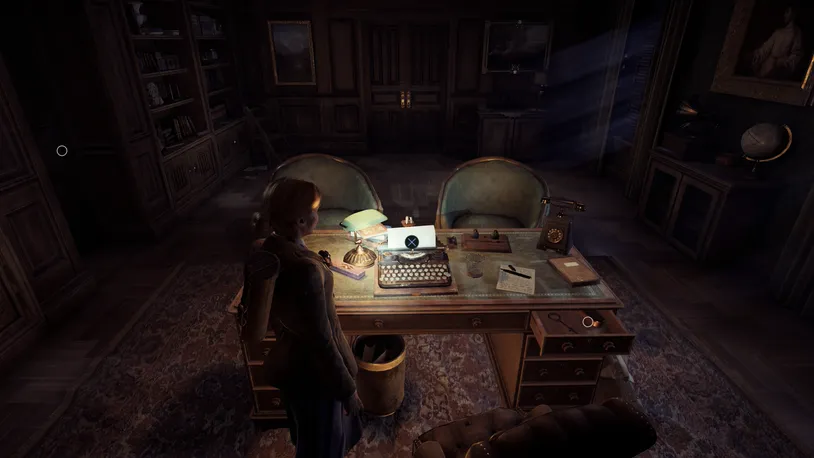
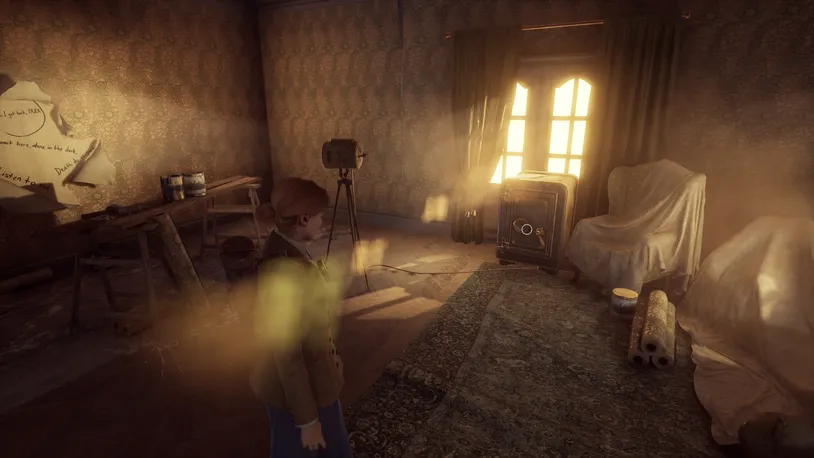
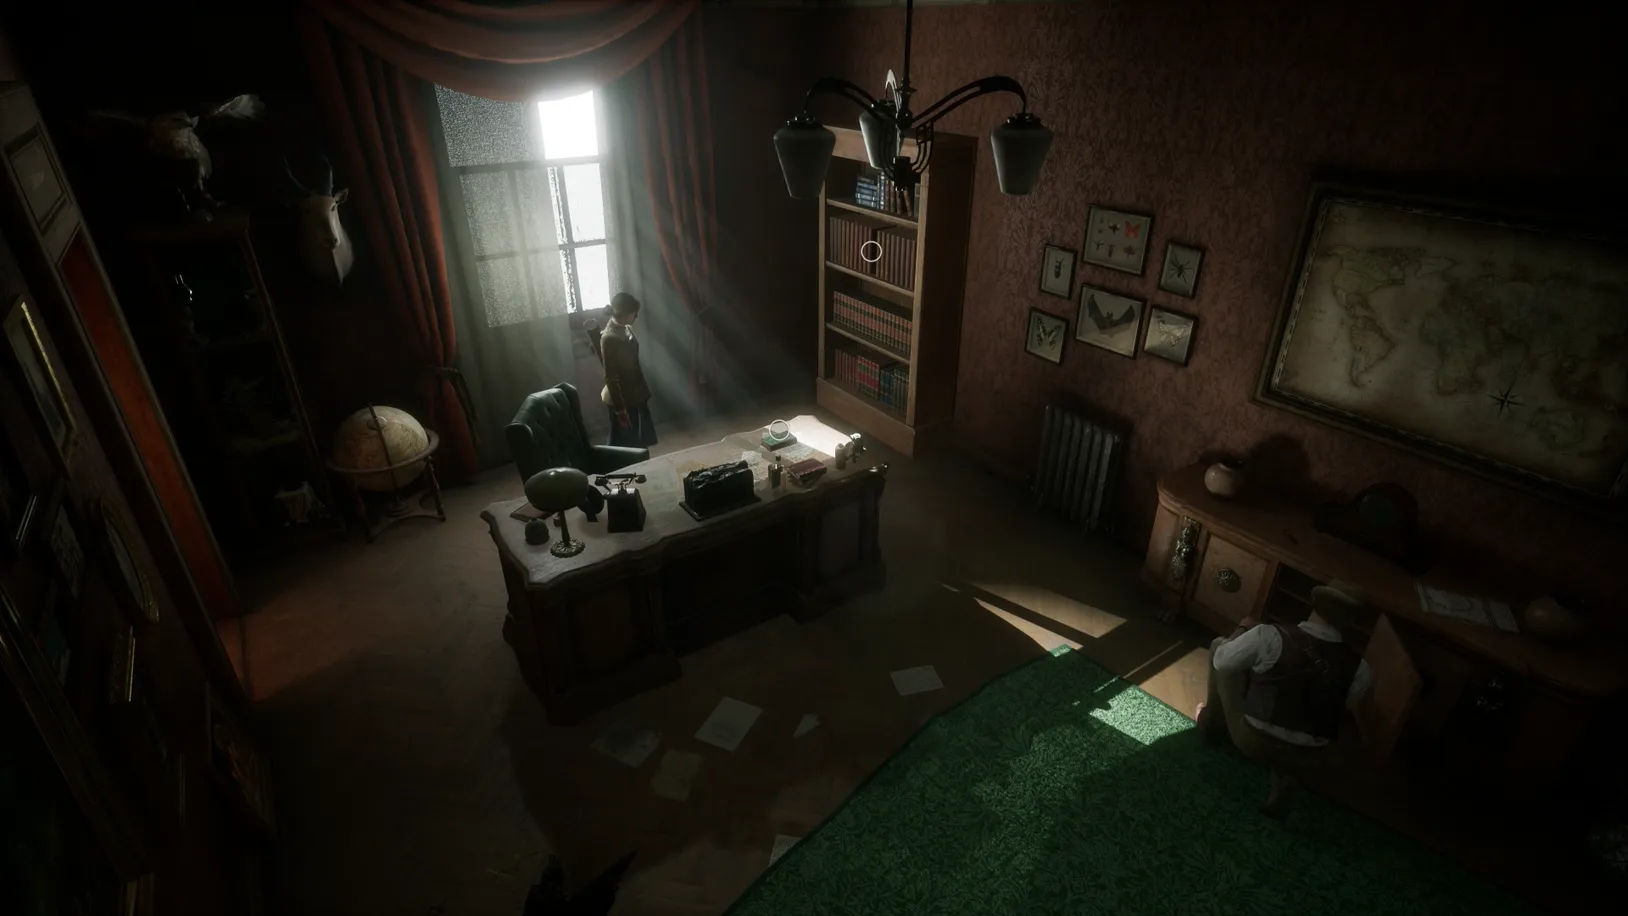
So, leave the Sitting Room and get the key to Gray’s Office from the safe in the Clerk's Office (the code is in the note you received when returning from AW3; it is ).
In Dr. Gray's Office, search the sideboard for MacCarfey's Pirate Treasure clue and the Globe Puzzle piece. You'll also find the spiral stair key in Gray's desk drawer.
Cassandra's Things - Clue
MacCarfey's Pirate Treasure - Clue
France - Key Item
Stairwell Key - Key Item
If you are playing as Edward for your second playthrough, and you managed to nab all other clues as Emily during your first, picking up this clue will pop the Librarian trophy.
Librarian
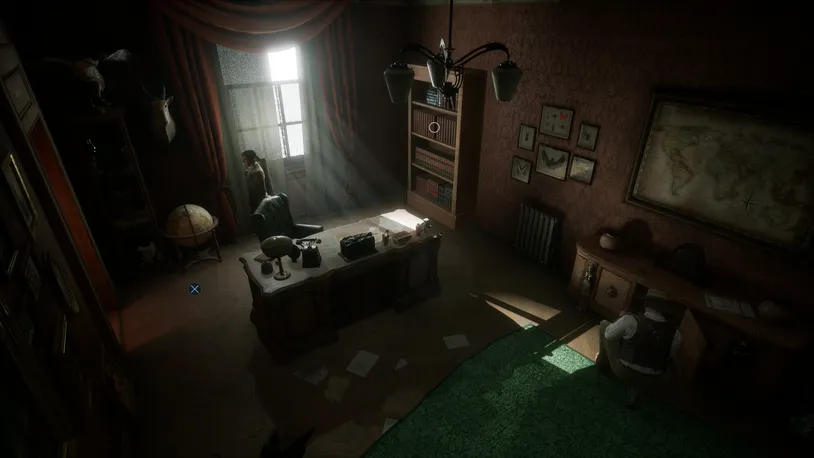
Now, with those collected, return to the Sitting Room and solve the Globe Puzzle to receive the Map of Caribbean Lagniappe. If you already collected this during another playthrough, you'll instead receive a healing bottle.
Map of Caribbean - The Pirates of Pontchartrain Set
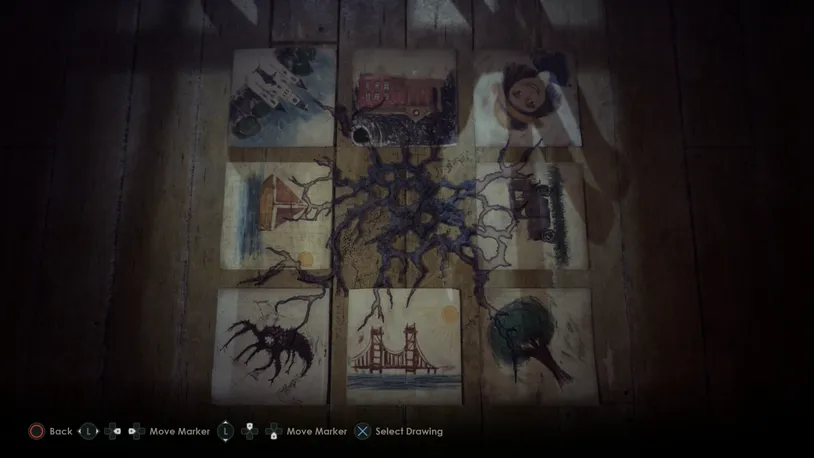
Once solved, enter Grace’s Room and add the drawing you discovered earlier to the others on the floor. To solve Grace's drawing puzzle, rotate and align the dark vines on the pictures with those on the floor. We've provided the correct puzzle solution above.
When solved, your talisman will automatically input some codes and display the location of the next anomaly. Exiting Grace's Room will take you to the French Quarters.
French Quarters Revisit (Edward's Trauma)
Open the door to Edward’s office and pick up the Telegram Key from his desk and the Writing Desk Key from the nearby sideboard.
Telegram - Key Item
Writing Desk Key - Key Item
Once collected, open Edward's desk drawer with the Writing Desk Key. Inside the drawer, pick up the two clues.
Newspaper Clippings - Key Item
Photograph - Key Item

Once you have collected them, add them to the clue board on the wall behind the desk, then flip the clues and proceed through the nearly opened door.
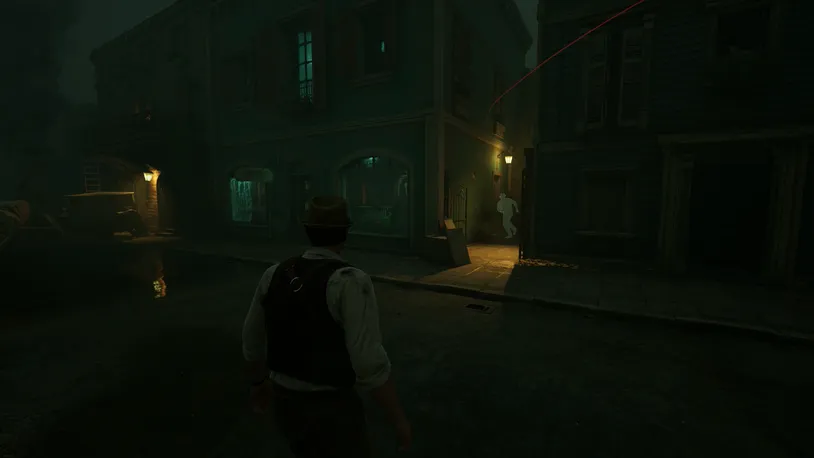
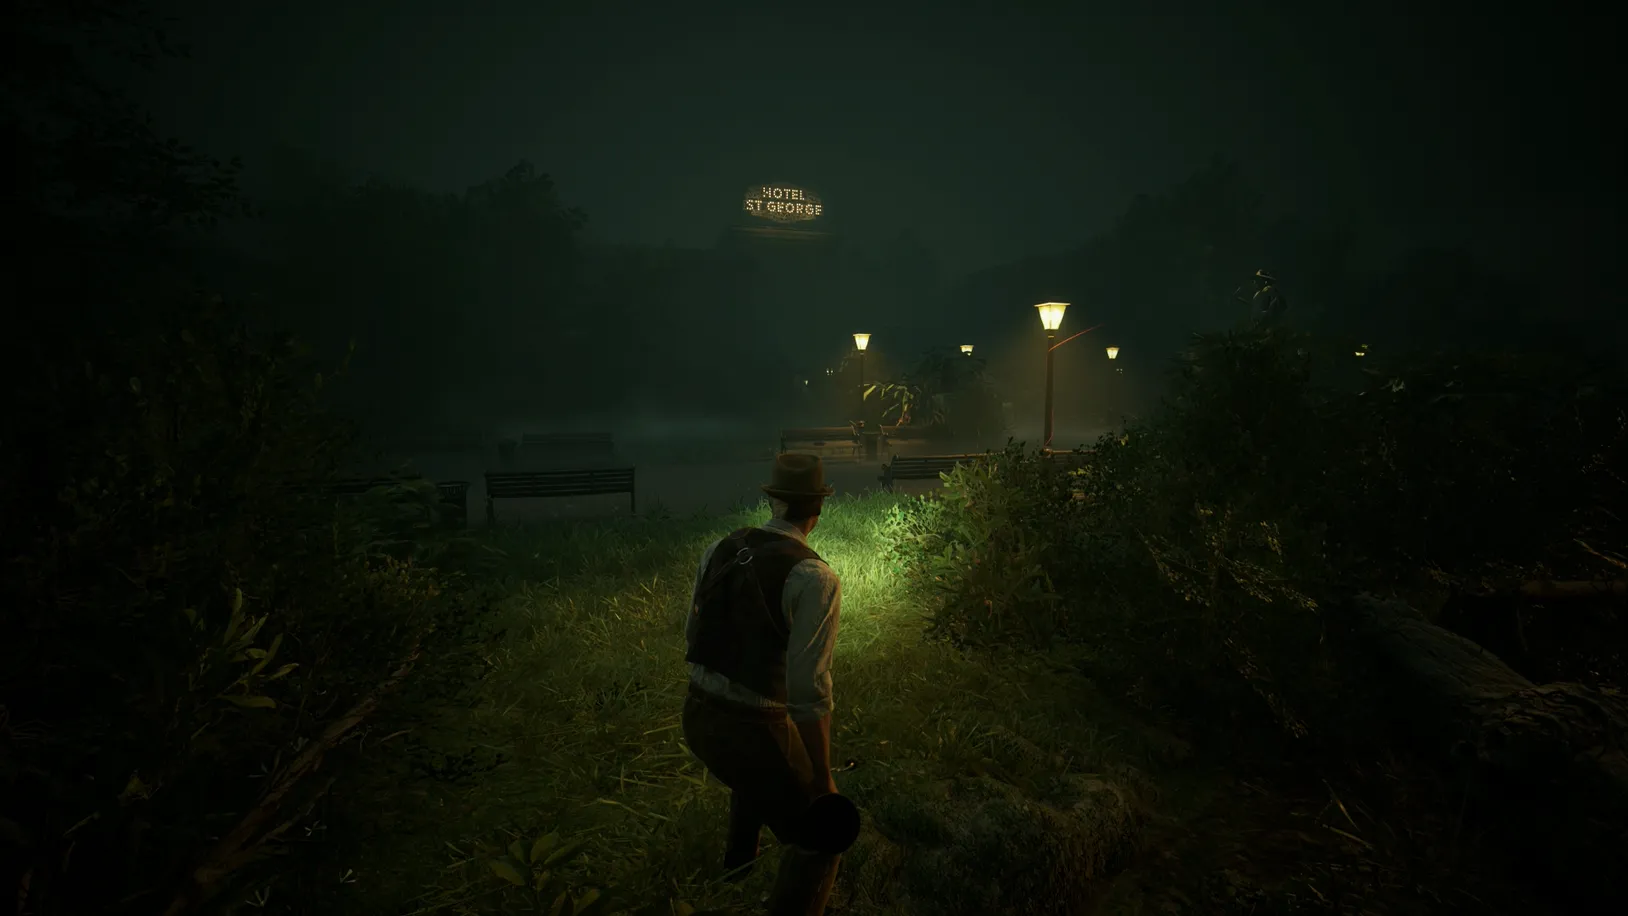
Descend the stairs, exit the building, and follow the red thread to another of Edward’s ghosts. The ghost can be found by going down the street, turning left, and making a right into an alleyway. Interact with it and enter the building.

Head up the stairs and interact with the third ghost.
Enter the hole in the wall from where an enemy burst through. Go out through the balcony, climb down the ladder, and then sneak through the street as you follow the red thread until you reach an open tram.
We avoided the enemies spotting us during this encounter by following the left side path and waiting for the enemies to pass by before following closely behind.
Interact with the tram control inside, pass through the tram, and enter the park in the hole in the fence.
Make your way to the fountain in the middle of the park.
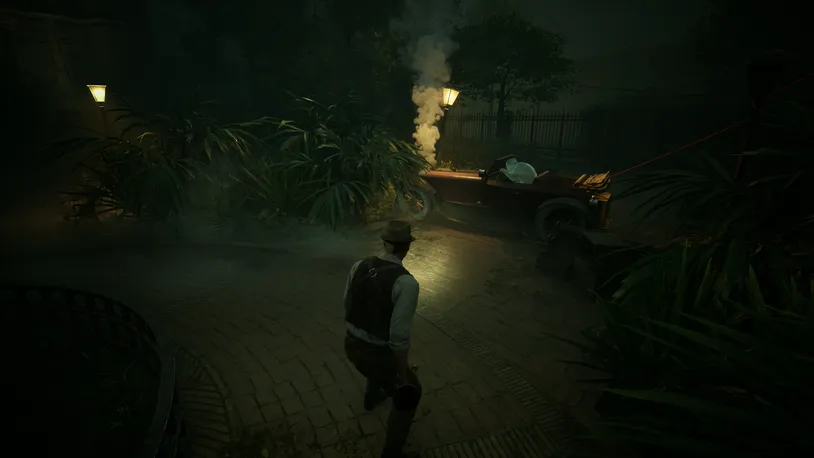
Off to the side, a car will be crashed with a ghost in it. Interact with the ghost to open a gate on the other side of the park leading to St. George Hotel.
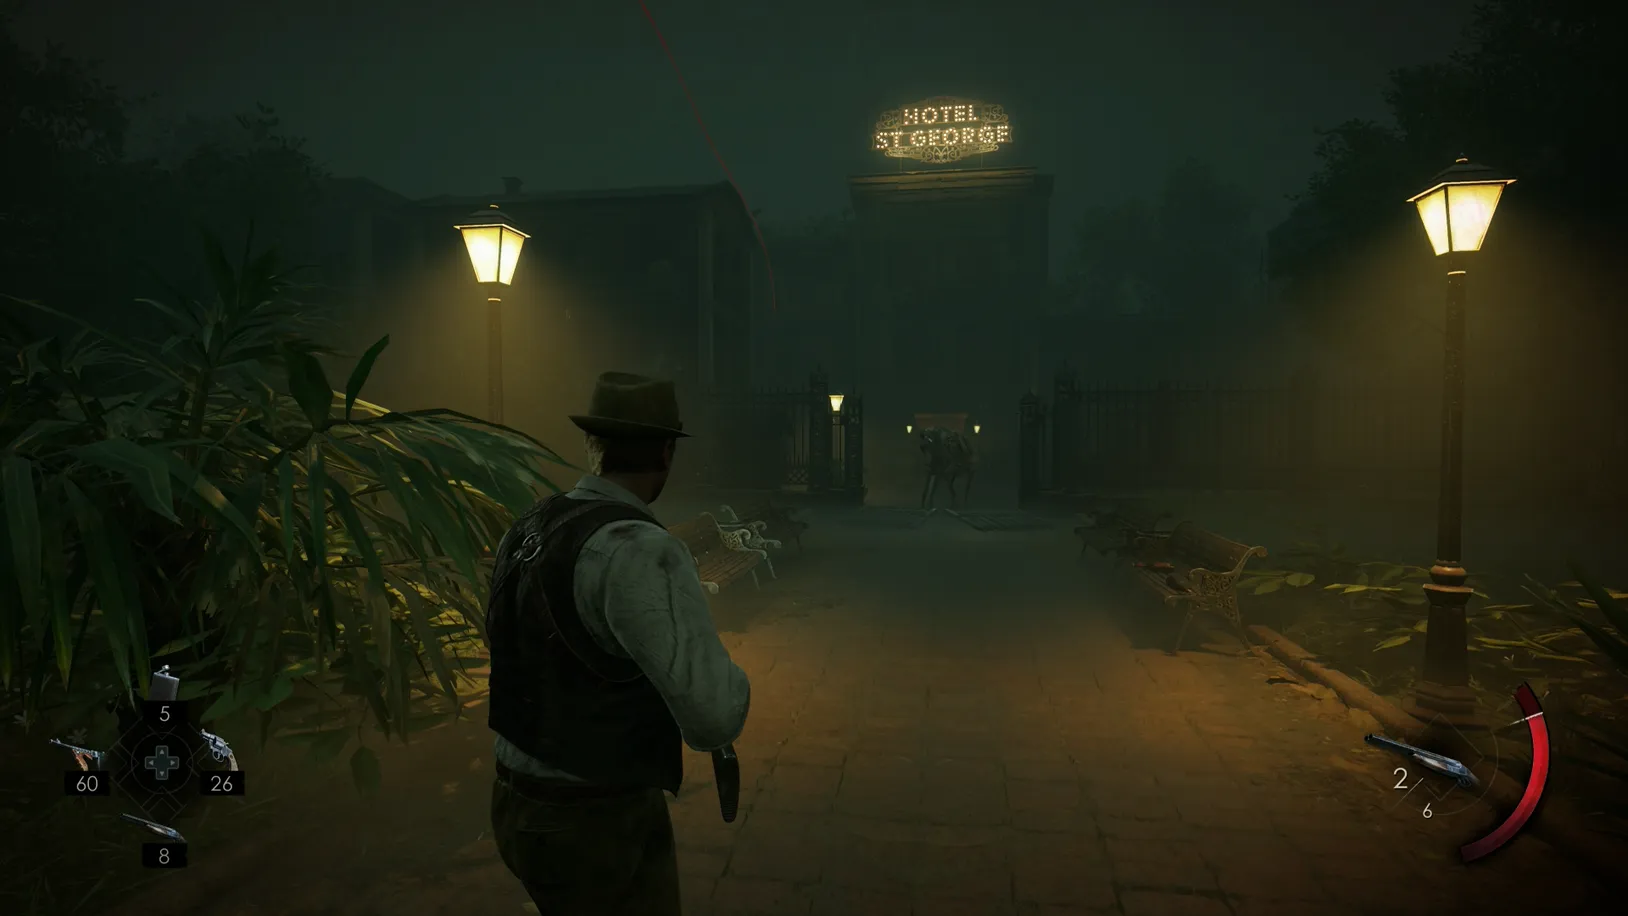
Upon doing so, you'll need to defeat three patrolling enemies along the way.
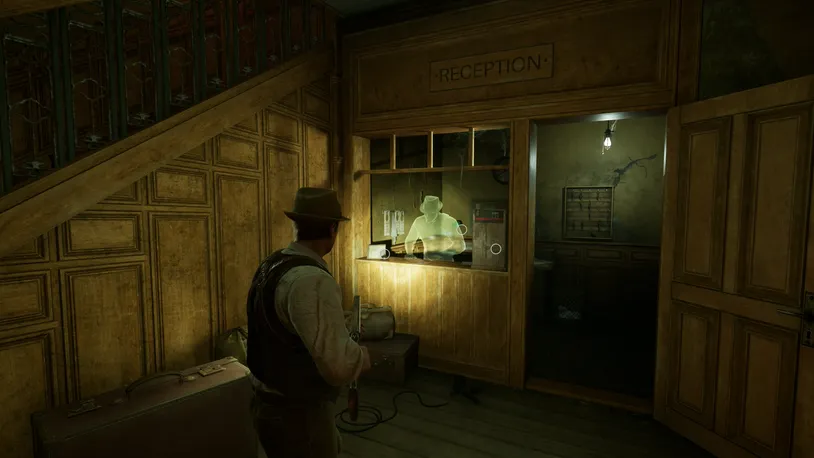
Enter the hotel and interact with Edward’s ghost by the reception. The Hotel Bill can also be picked up at the counter -- you'll need this later.
Hotel Bill - Key Item
Before continuing, by the door you entered, you'll find the Curious Napkin Lagniappe on top of a wooden table along the wall.
Curious Napkin - All the World's a Stage Set
Now, follow the red thread to the top floor (two stairs up) and enter the room behind the first door. Pick up the two clues in the room and put them on the map on the bed.
The Business Card can be found on the table, and the Telephone Directory can be found on the floor beside the bed.
Business Card - Key Item
Telephone Directory - Key Item

Now, to solve the map puzzle, insert all the clues onto the map found on the bed. Flip all the notes and place the Business Card in the bottom left corner, the Hotel Bill in the top left corner, and the Telephone Directory in the bottom right corner.
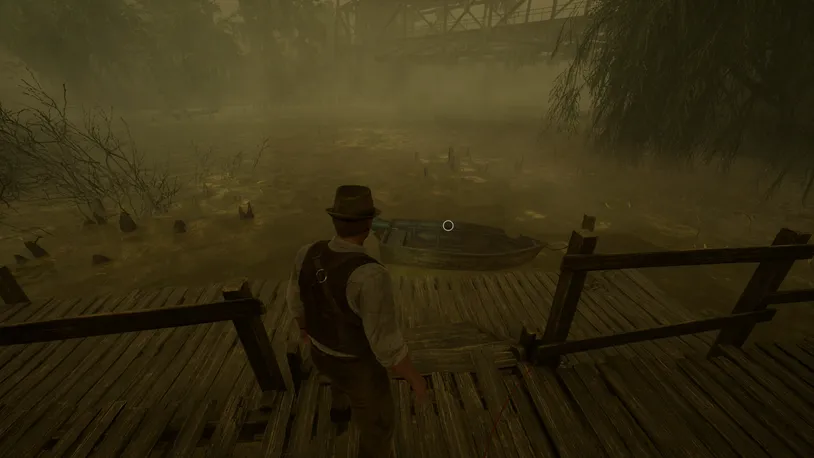
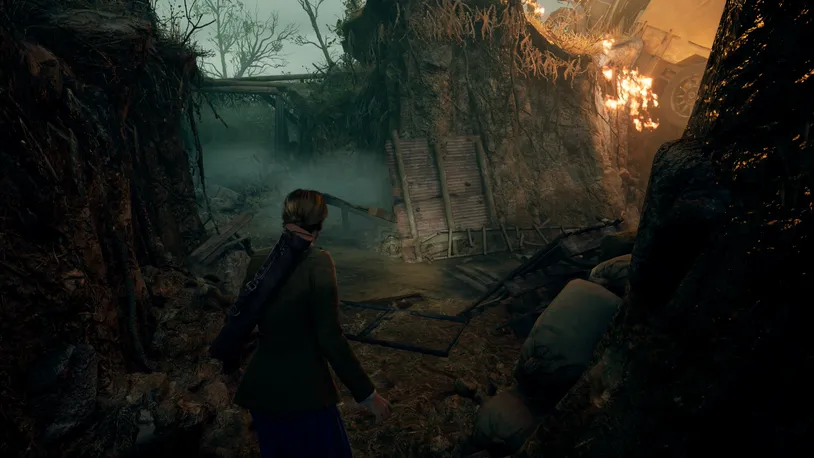
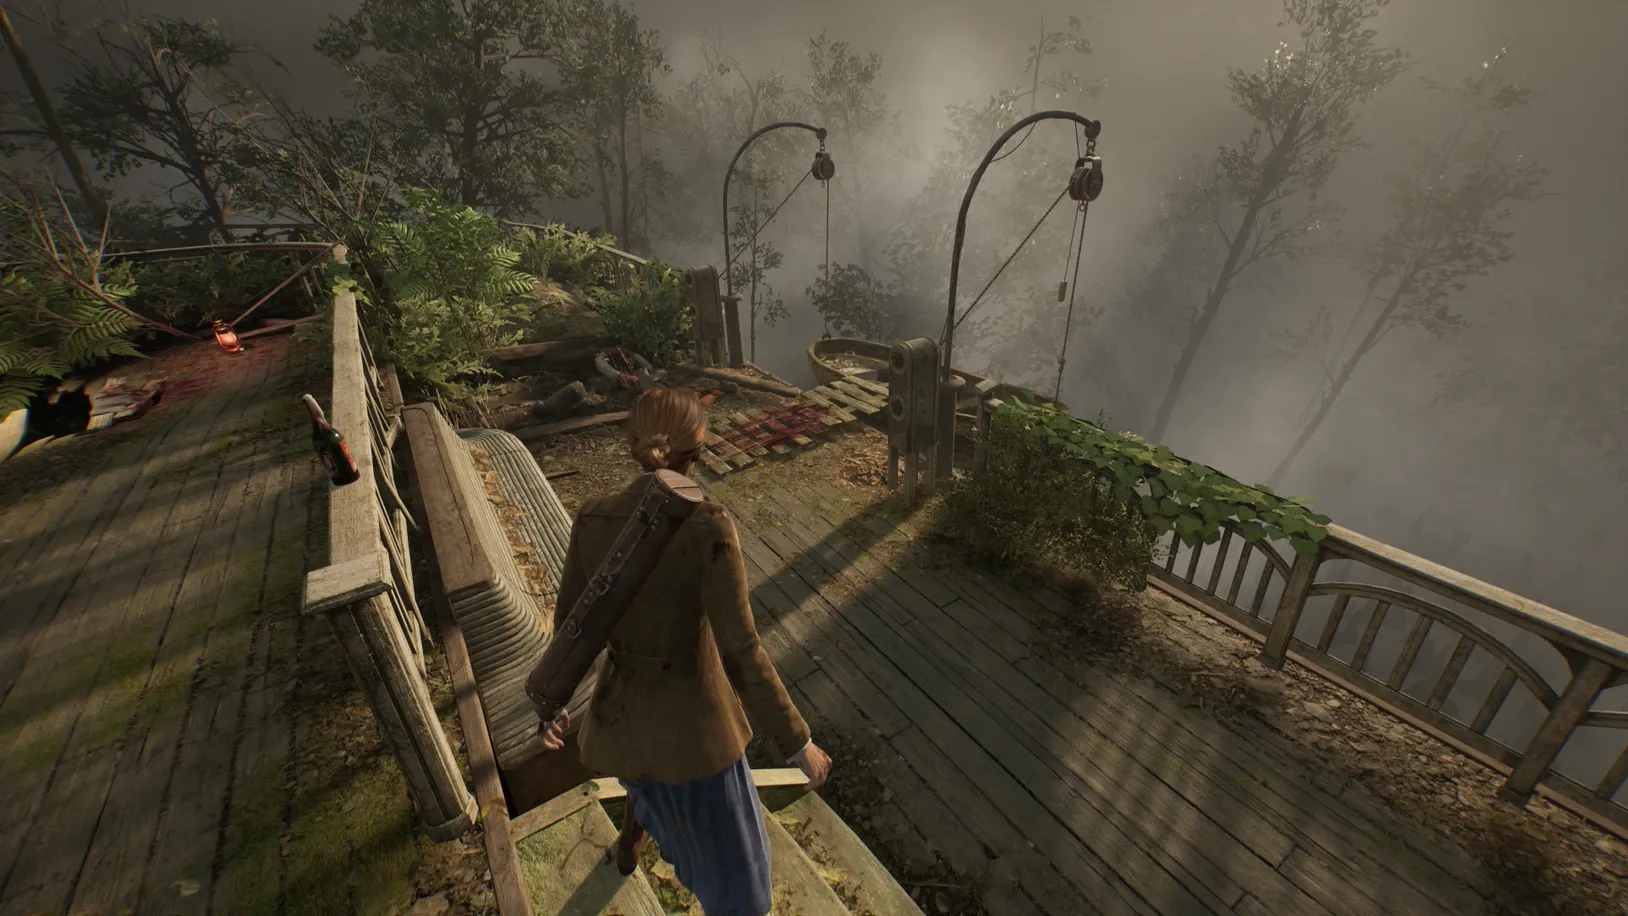
Pearl River Bridge (Edward's trauma)
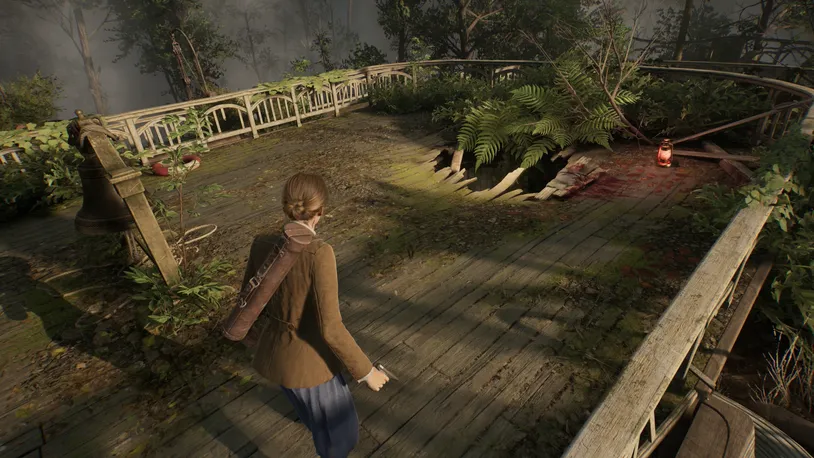
Exit the hotel room, and you will see that you have arrived at the Pearl River Bridge.
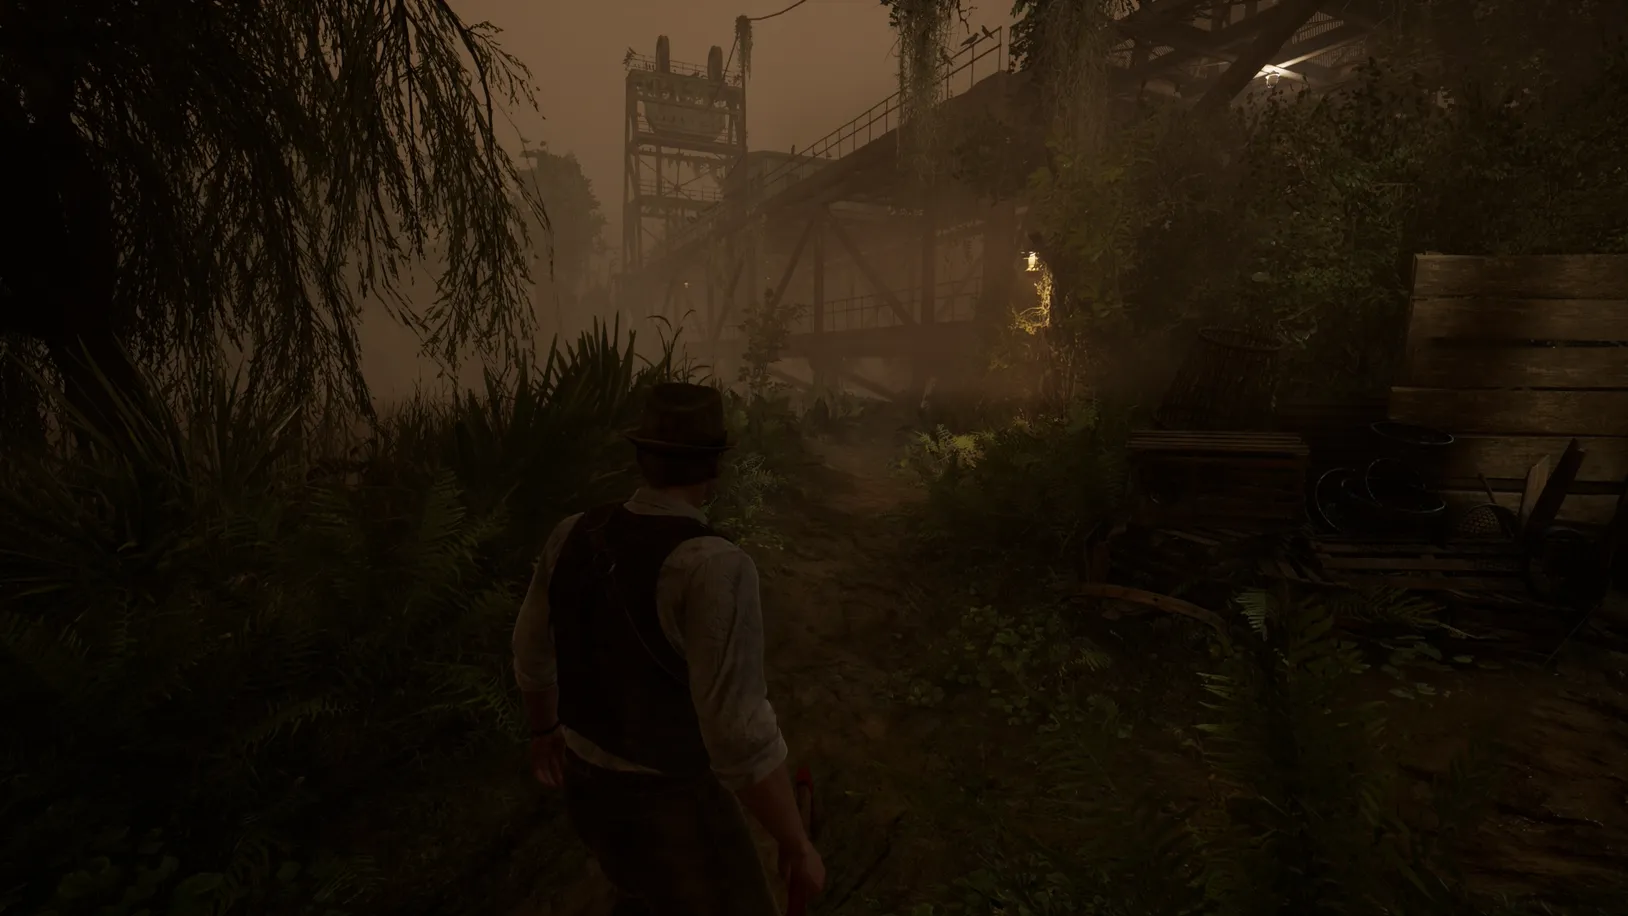
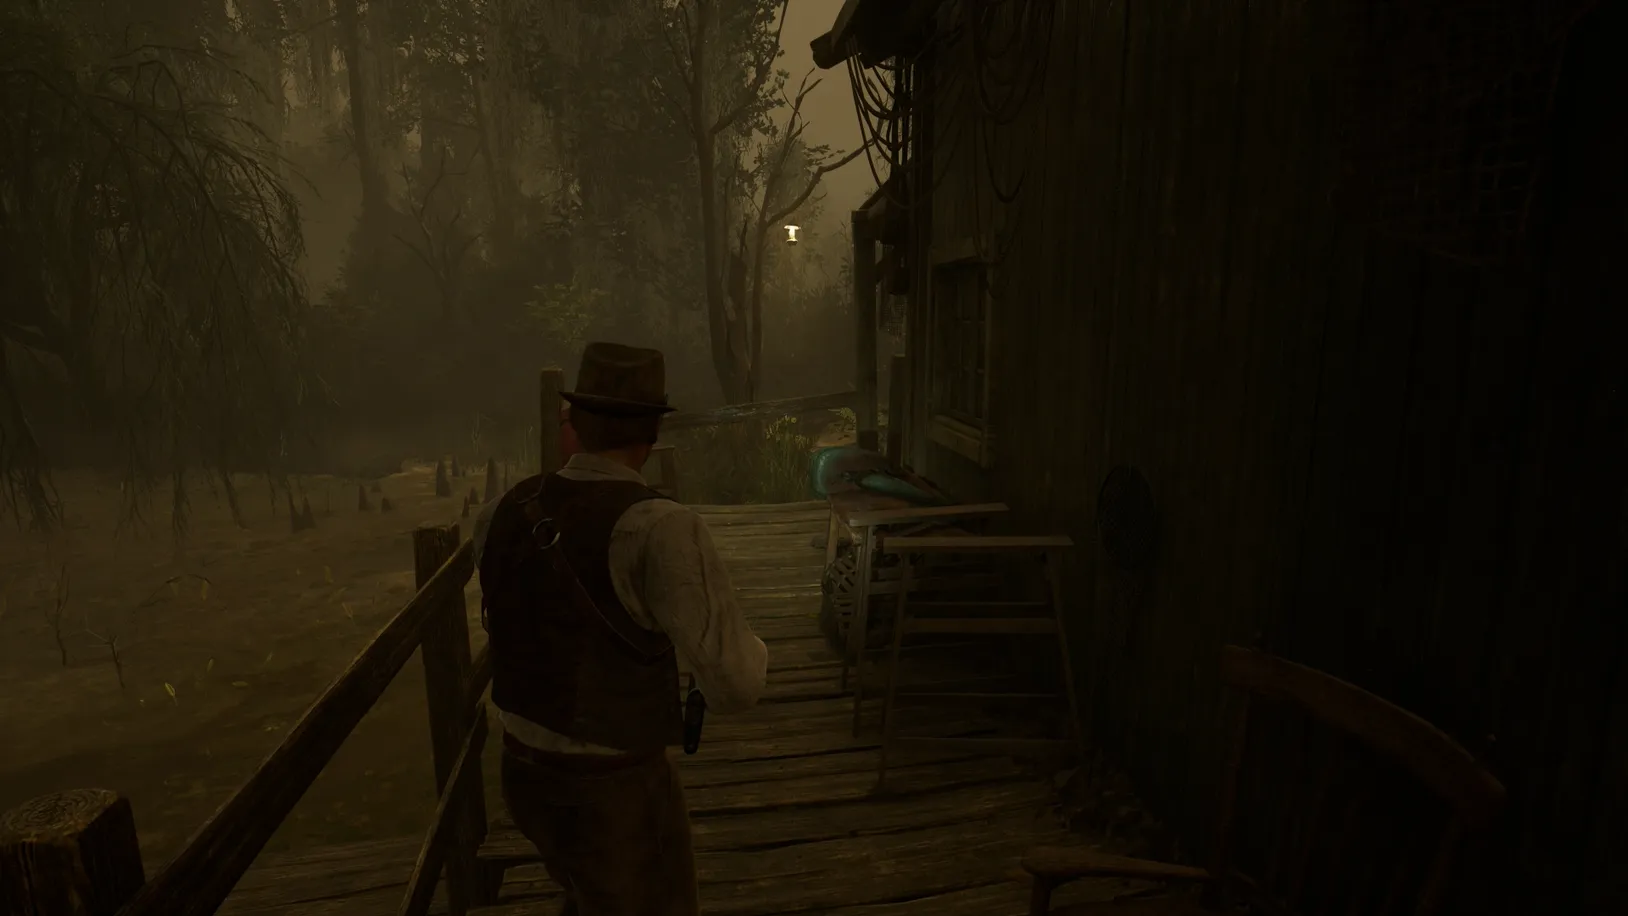
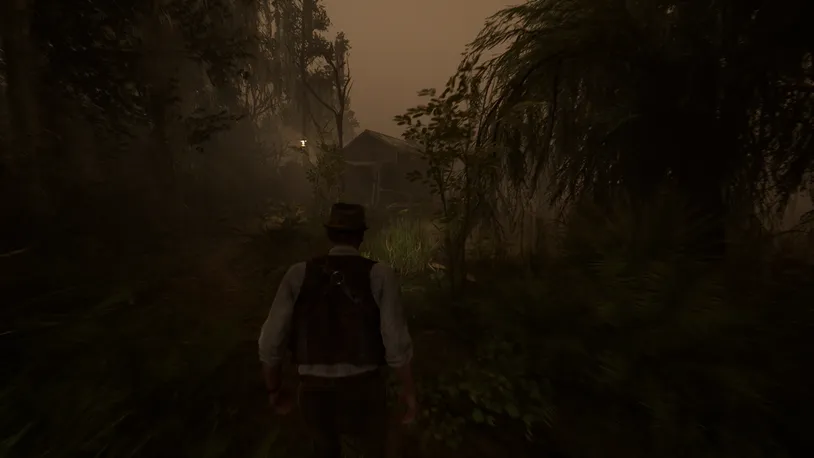
Now, turn left and follow the path under the bridge, turning left when you reach the fork in the path.
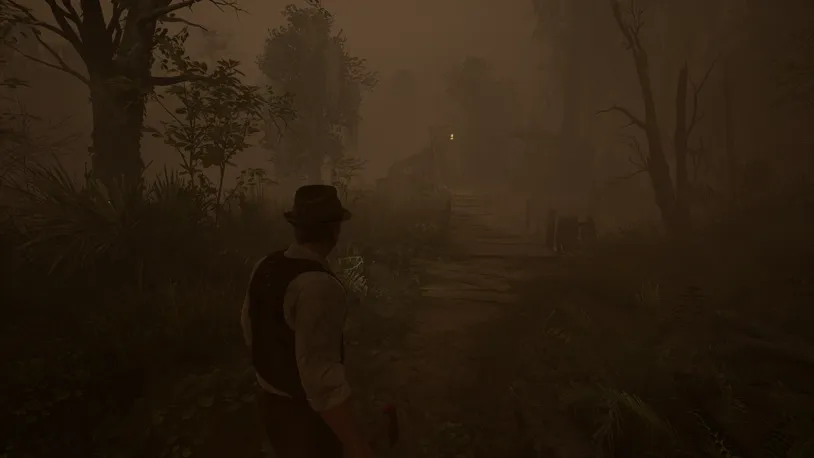
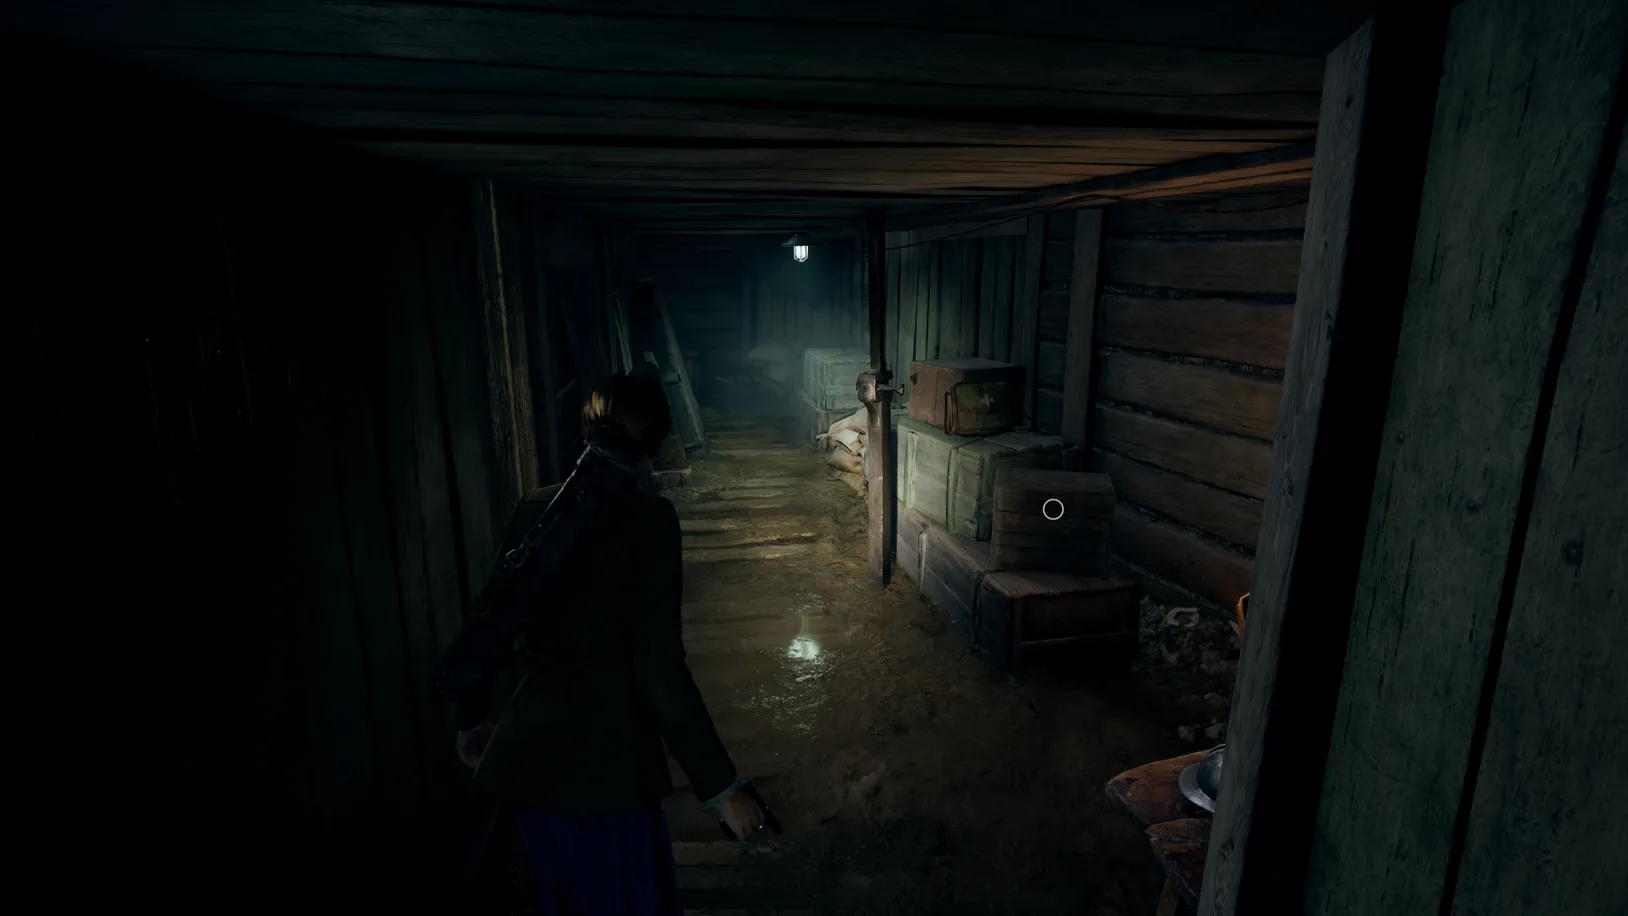
At the end of the path, you'll find an old abandoned building, where you'll find the Profane Totem Lagniappe inside, on the ground beside the chest.
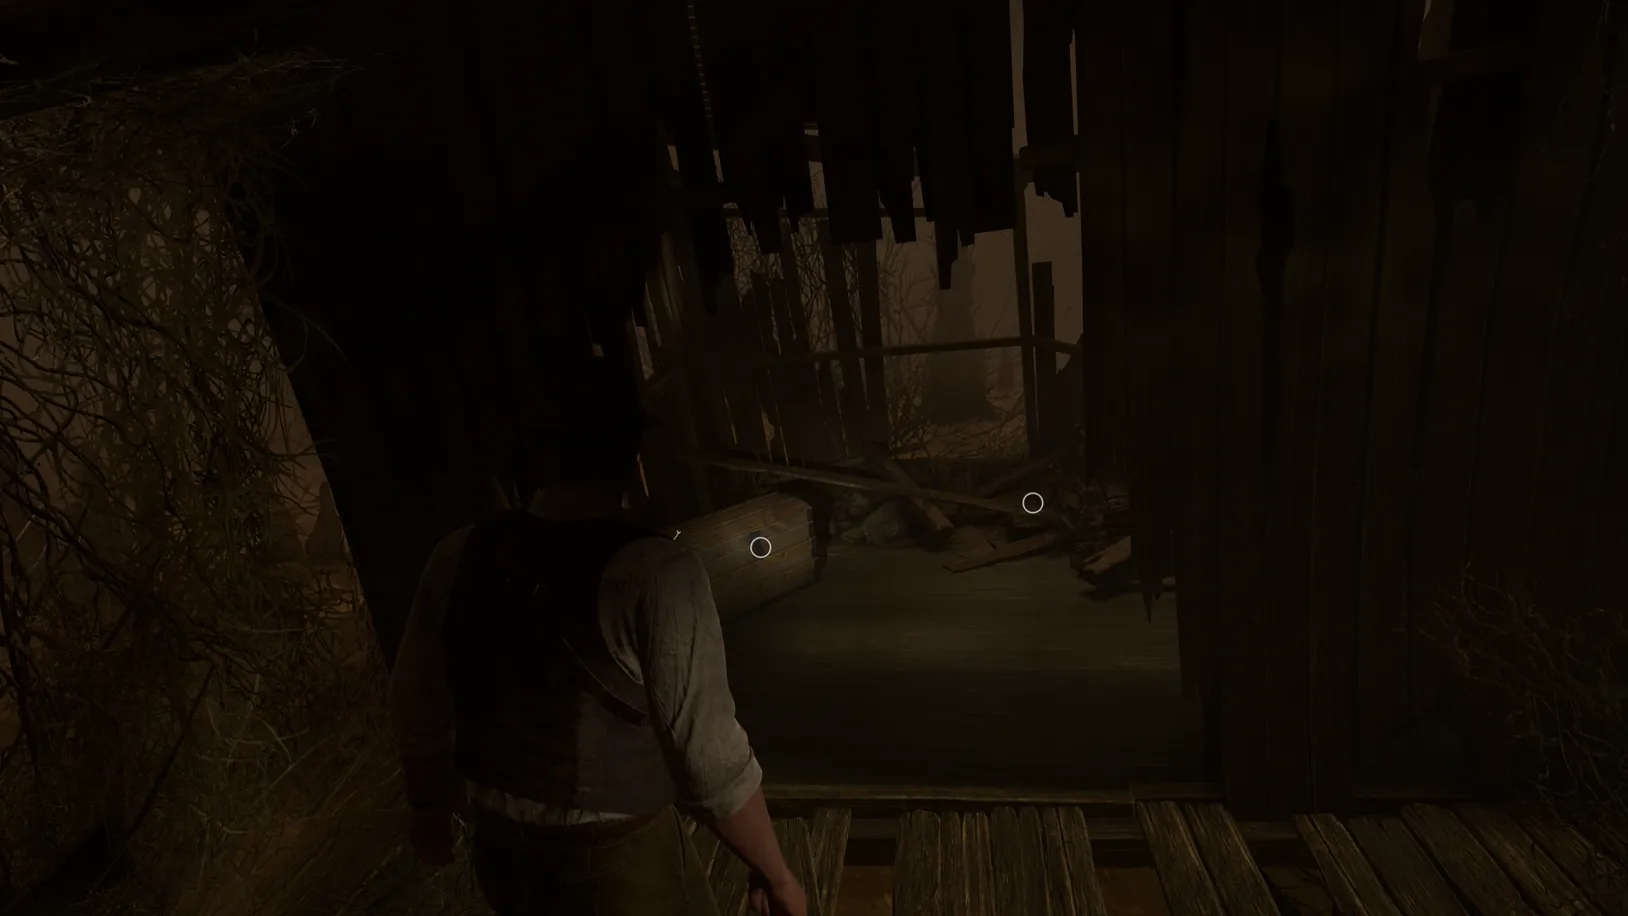
Profane Totem - A Goat Without Horns Set
Upon picking up the collectibles, you'll
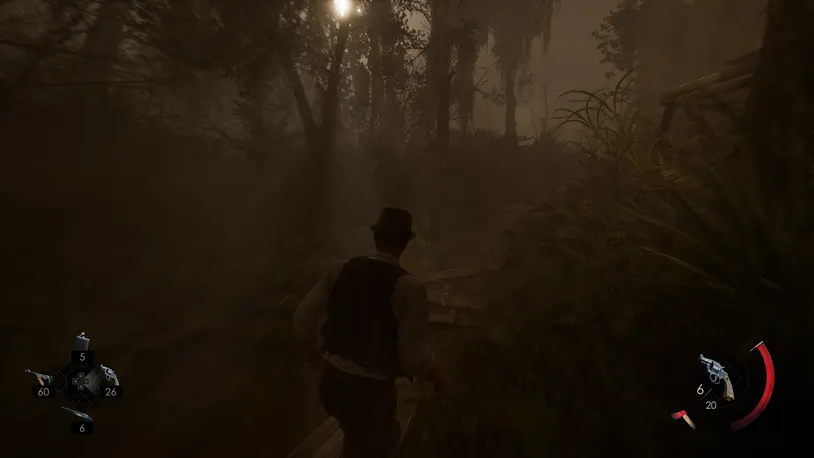
When you're ready, follow the path back through the fork, and eventually, turn right as you head towards the bridge.
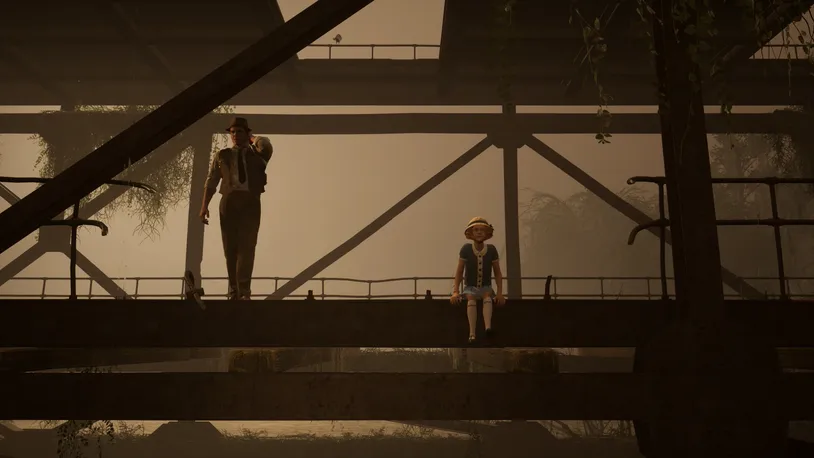
Here you can approach the middle of it to trigger a cutscene with Grace. Following the cutscene, you'll have the opportunity to speak with Grace twice.
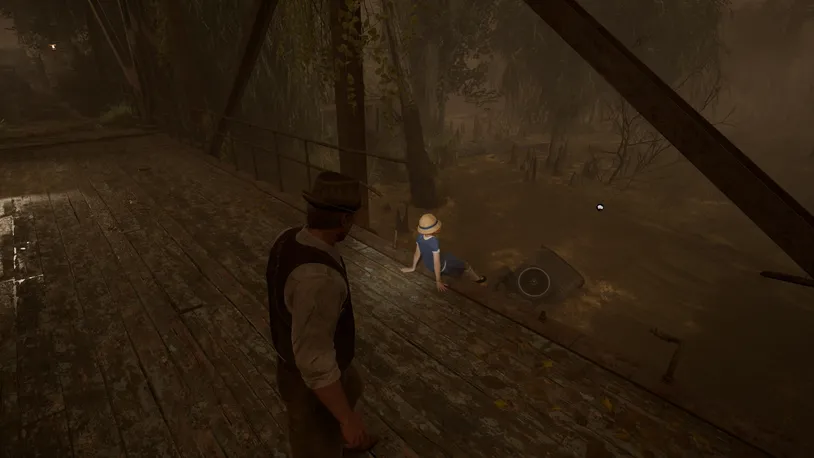
Grace - Optional Conversation 01
Grace - Optional Conversation 02
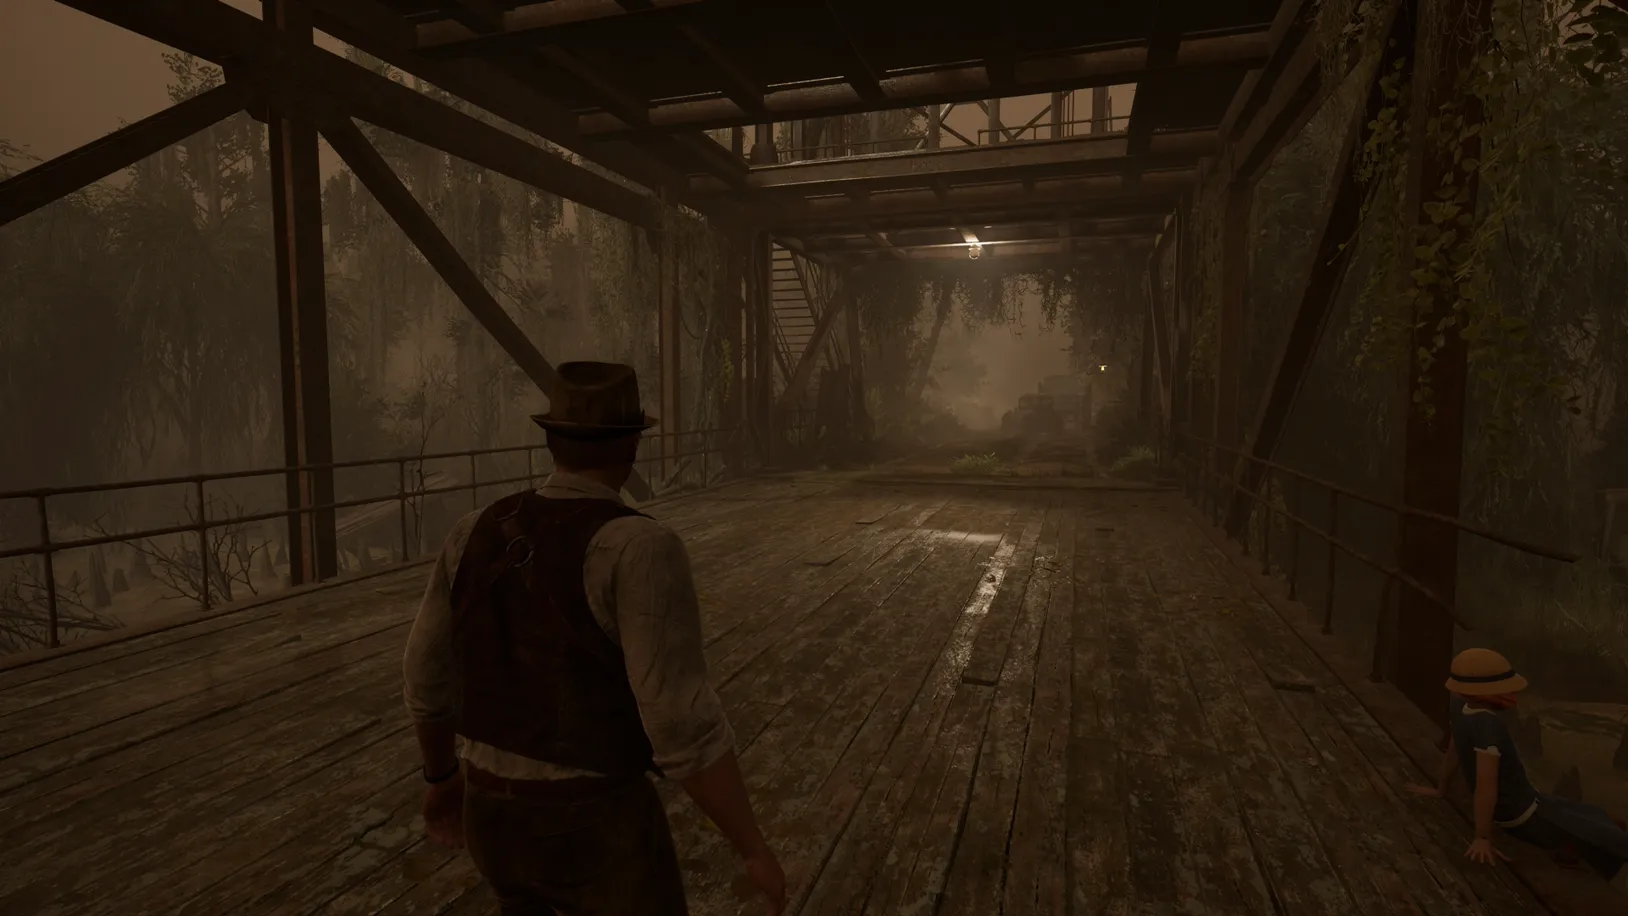
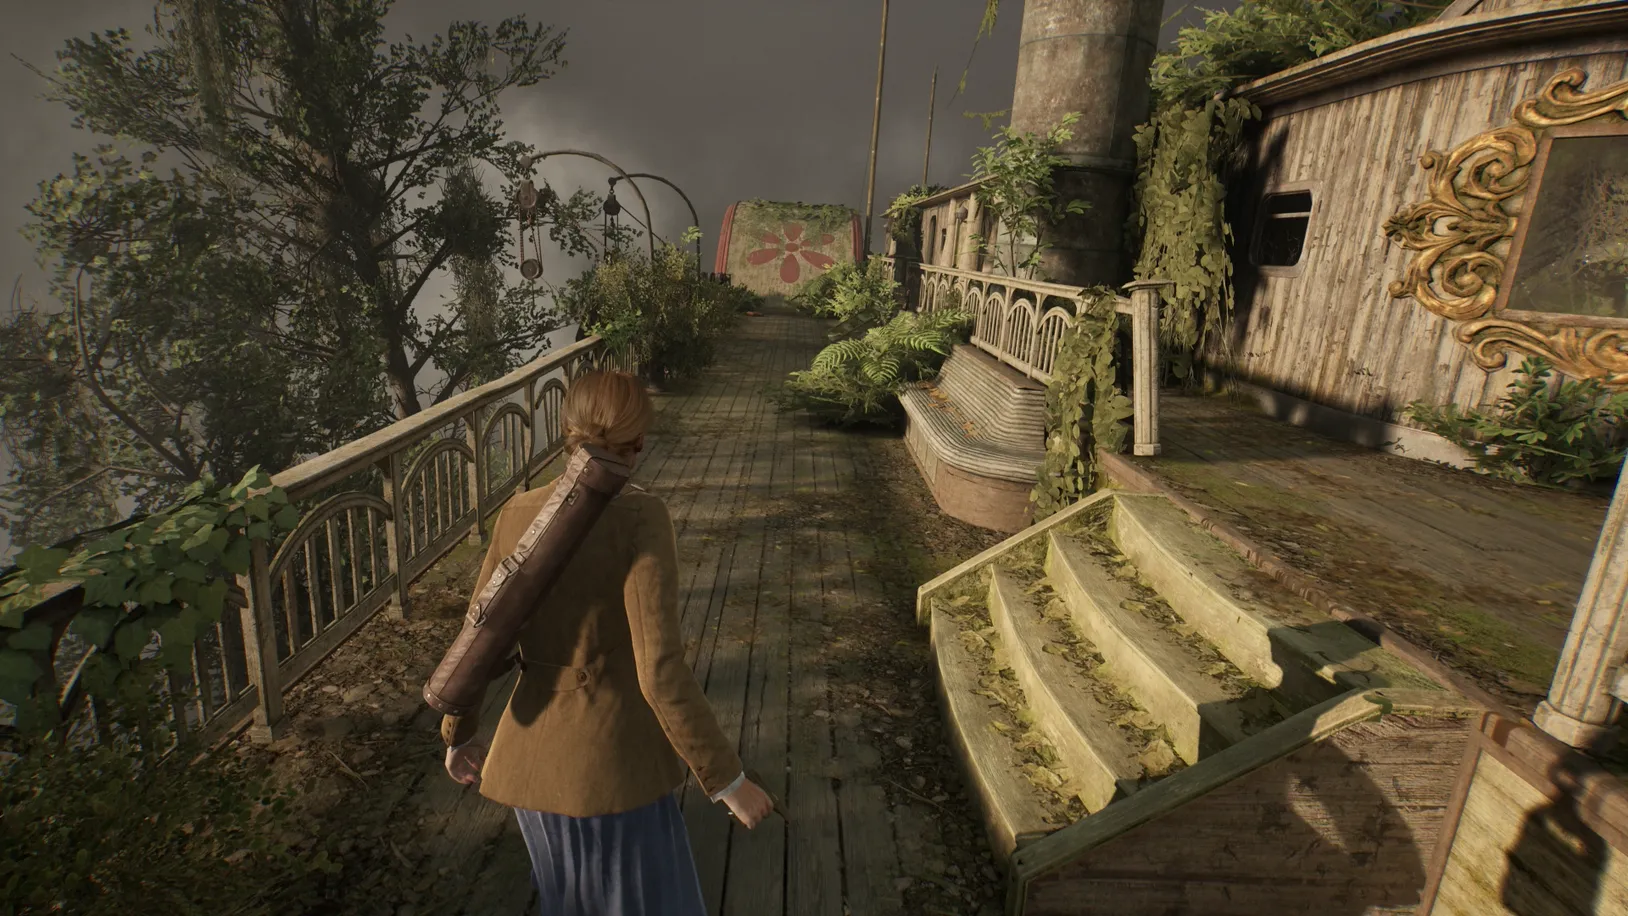
Cross the bridge and ascend the stairs on the left-hand side.
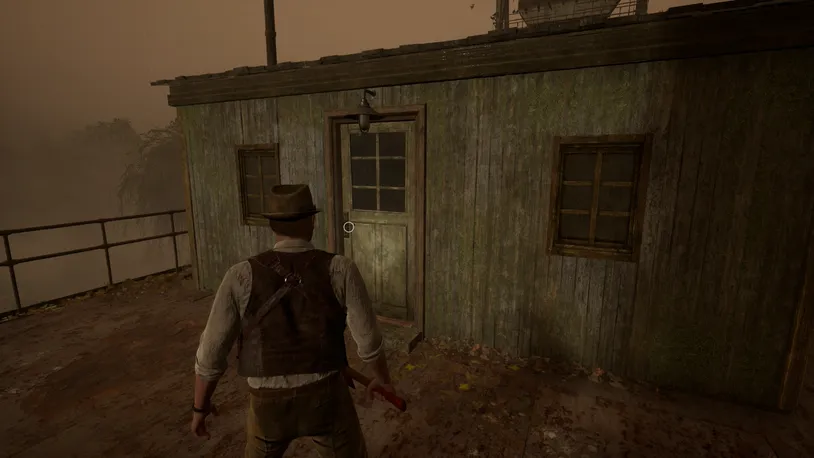
Make your way into the shed in the middle of the bridge.
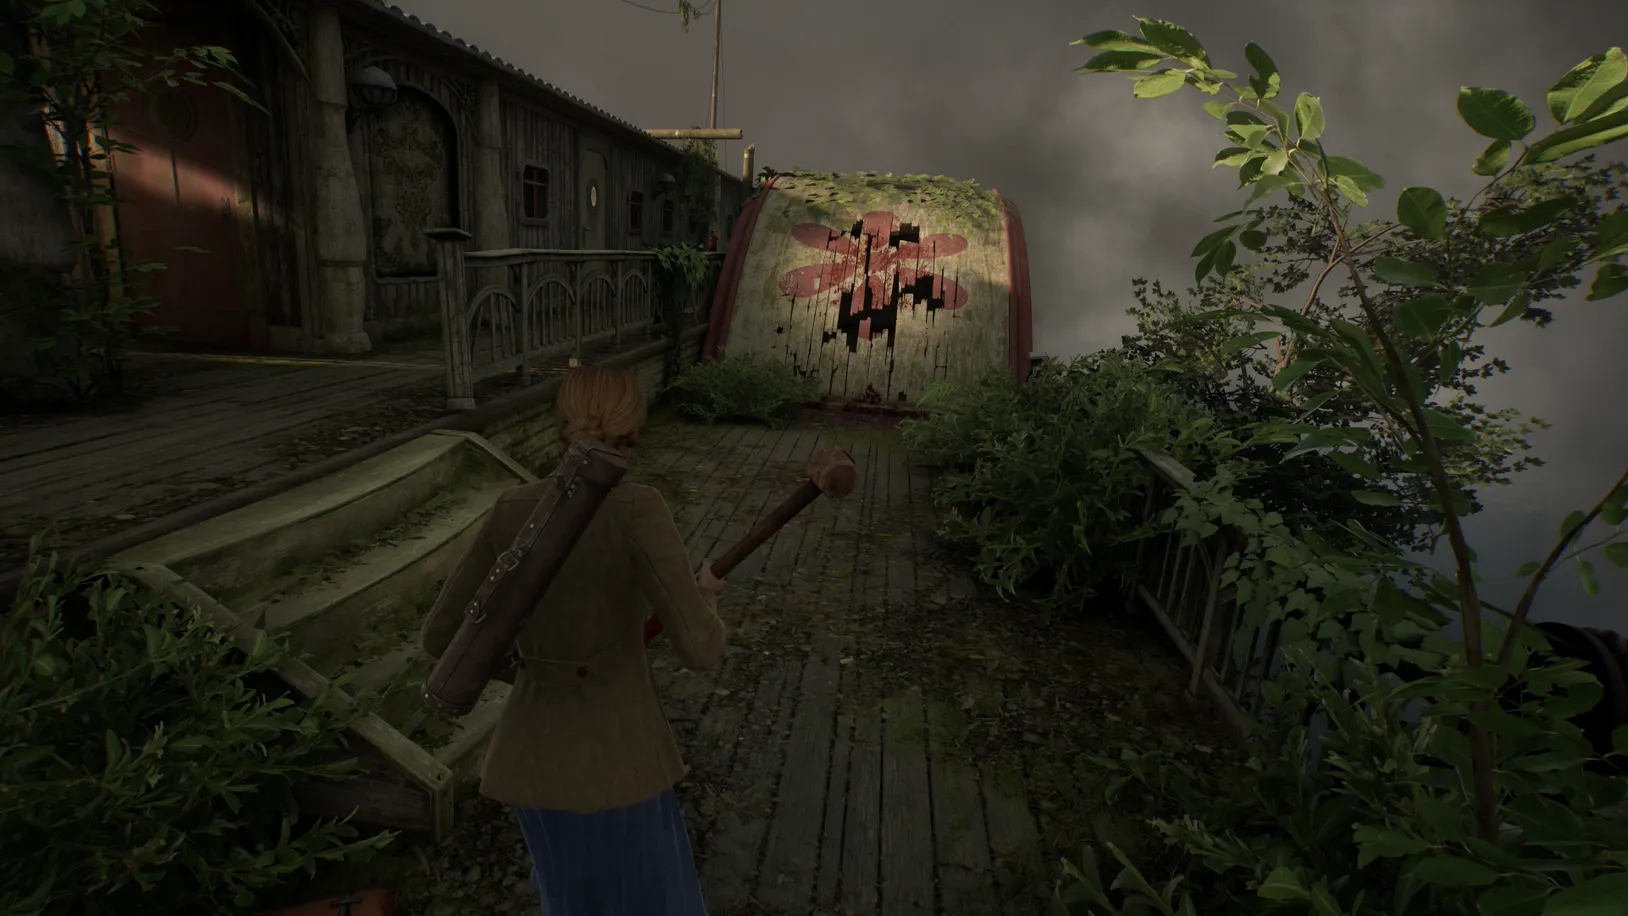
Pull the lever, and you will notice that the bridge is being held down by something.
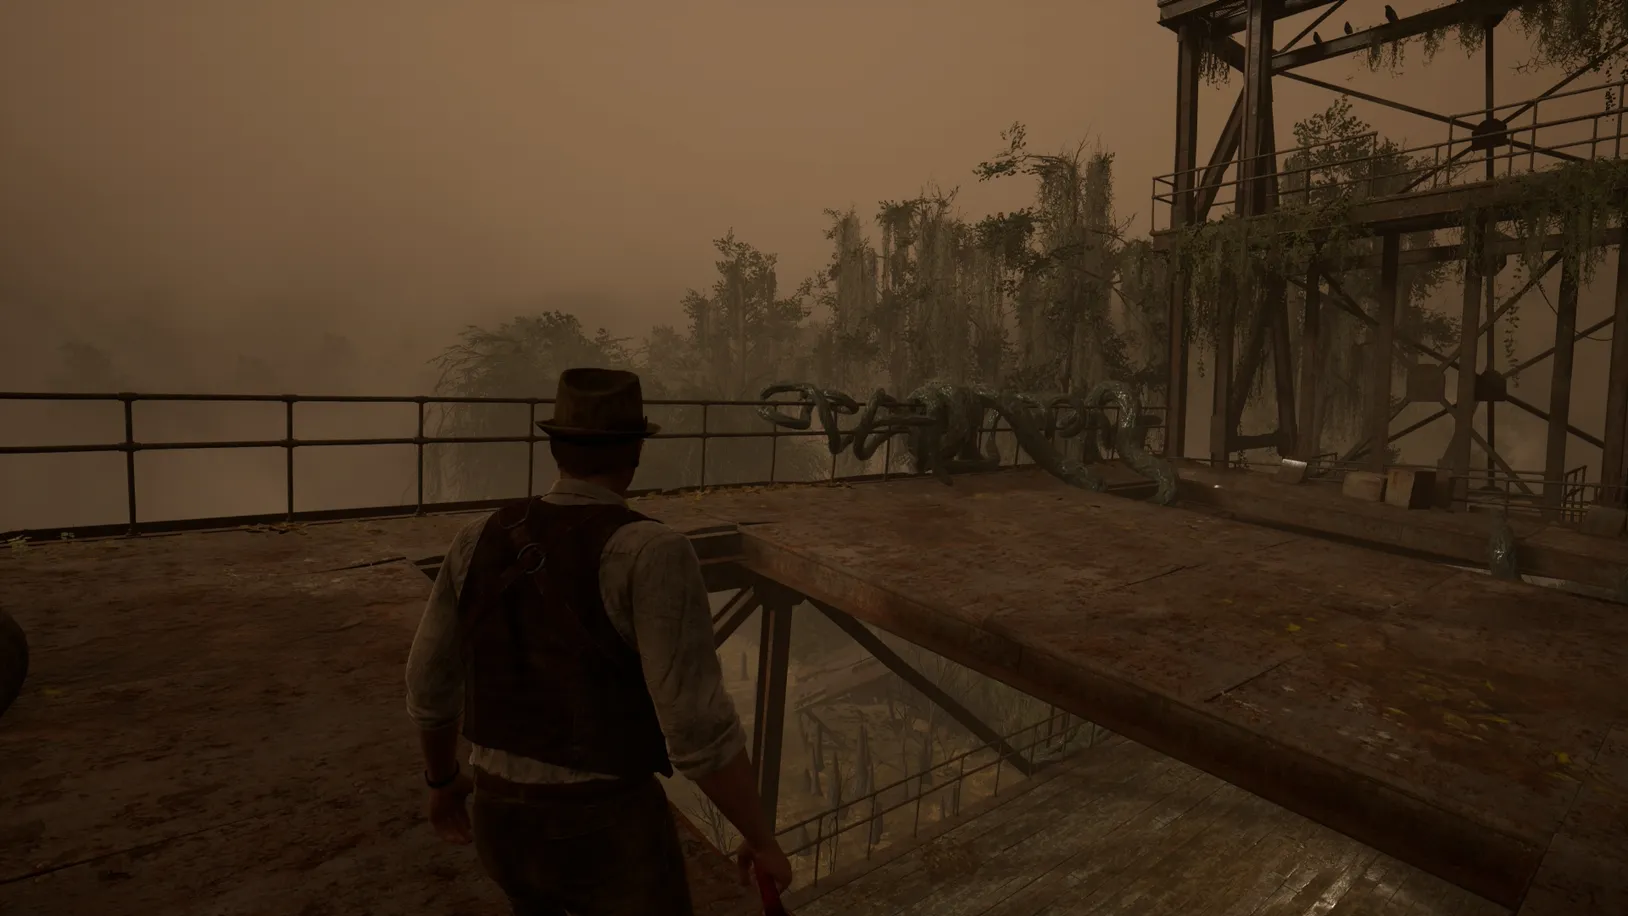
Exit the building and make your way around to the other side of the shed, where there will be a hatchet on the left side. Note the vines growing on the bridge railings. Hit them three times with the hatchet to retract them. There are vines on every corner of the bridge, and enemies will spawn whenever a vine cluster is destroyed.
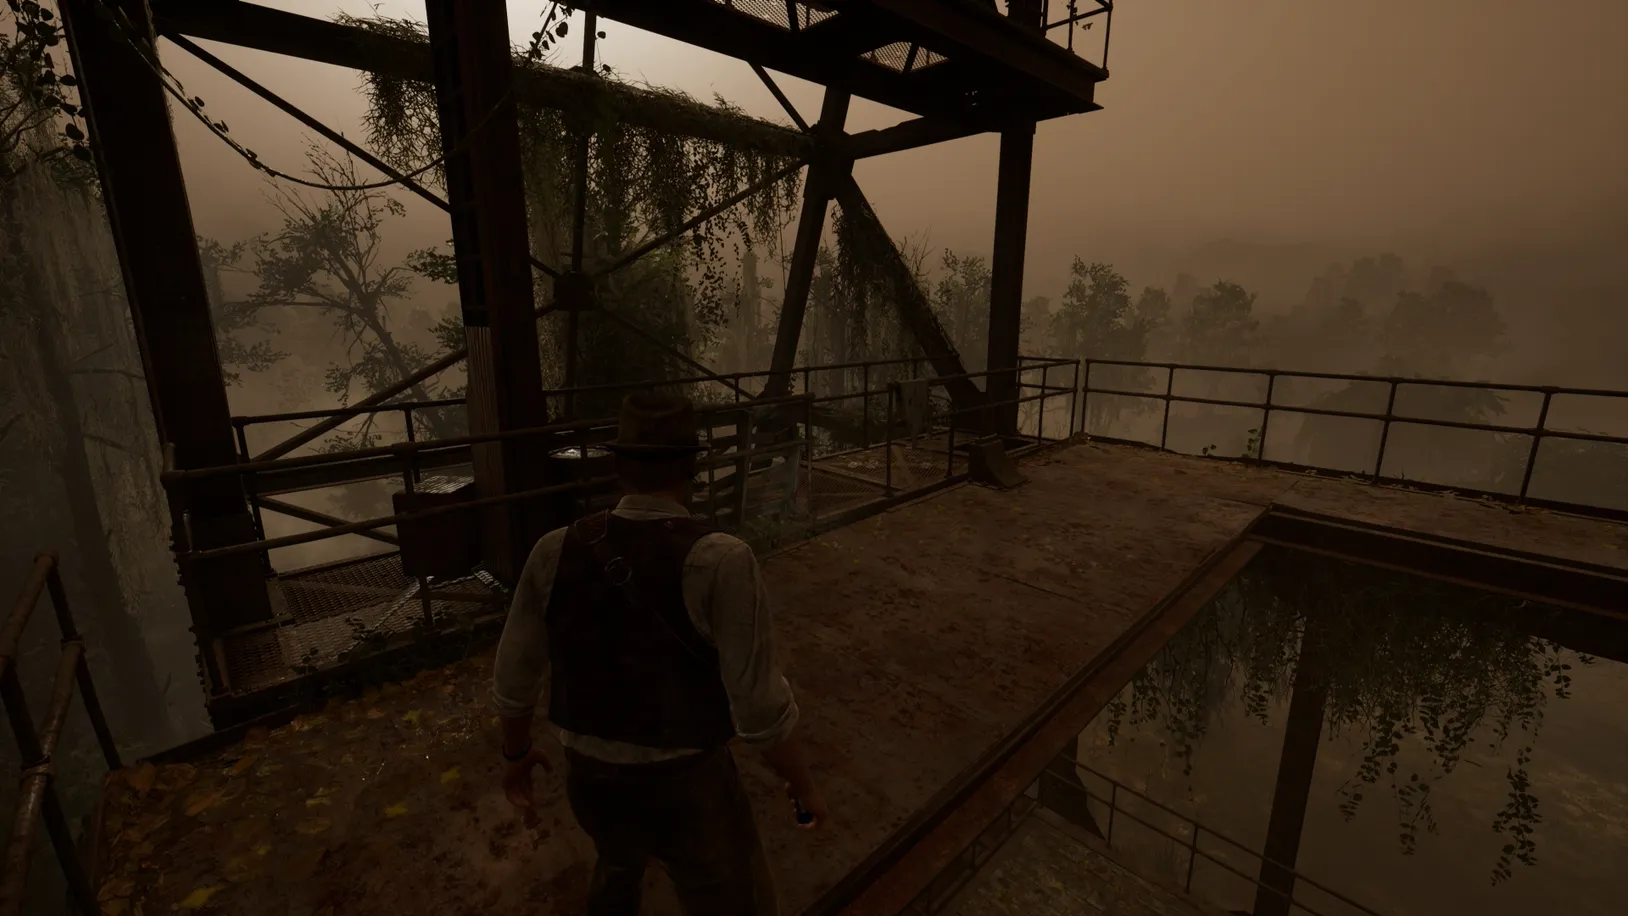
Once all the vines are gone, the bridge will rise. Descend the stairs at the far end of the bridge (the same side as the shed door is facing).
Now, defeat the two monsters that appear at the bottom and then head across the path to find a shortcut back to your level starting location—this shortcut is marked with yellow paint. Interacting with the boat again will trigger a cutscene, and you'll return to Derceto.
It's now time to continue the investigation into Jeremy's whereabouts.
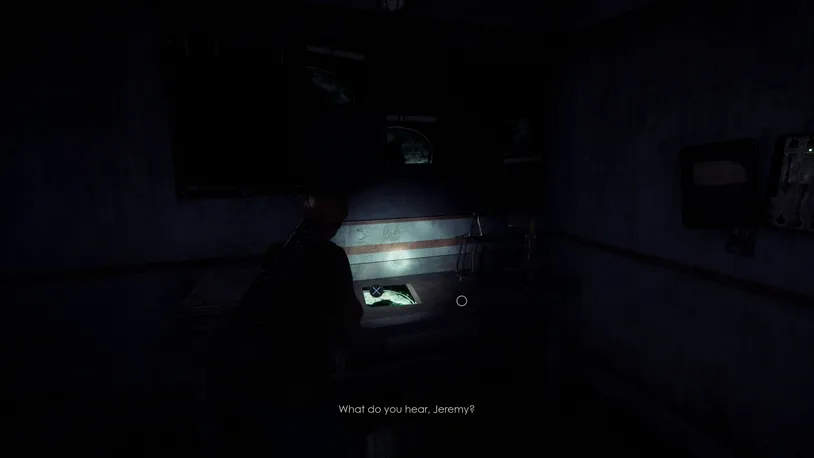
Look for Jeremy's X-ray Plates
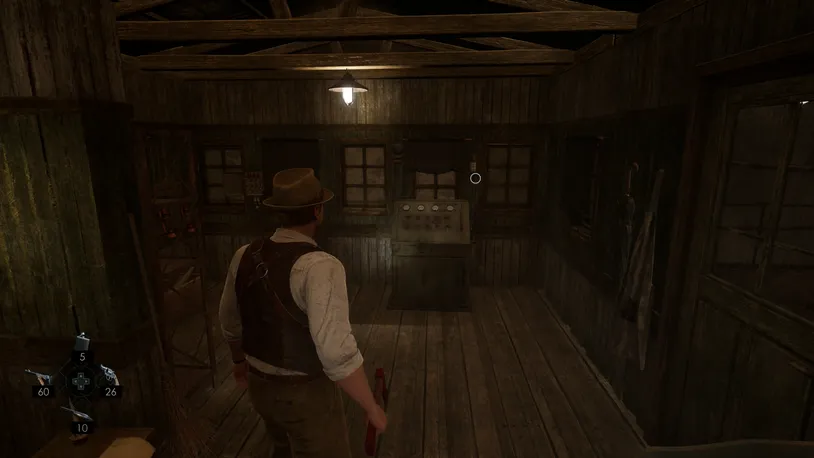
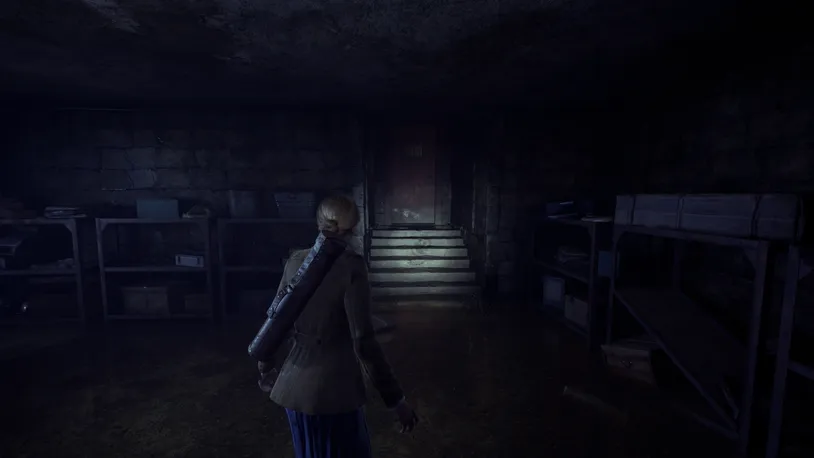
Make your way to the Infirmary, which can be accessed via the door to the Grand Parlor opposite the Empty Room. When you enter, it will look totally different from earlier.
Enter the bar section, and you'll find the Jangling Shaker Lagniappe on the ground behind the counter.
Jangling Shaker - A Goat Without Horns Set
Now, exit the Grand Parlor from the opposite side of the room and go to the Infirmary at the bottom of the Spiral Stairs.
Once inside, turn right, and you'll find the Scapegoat Lagniappe on the medical trolley.
Scapegoat - Unspeakable Cults Set
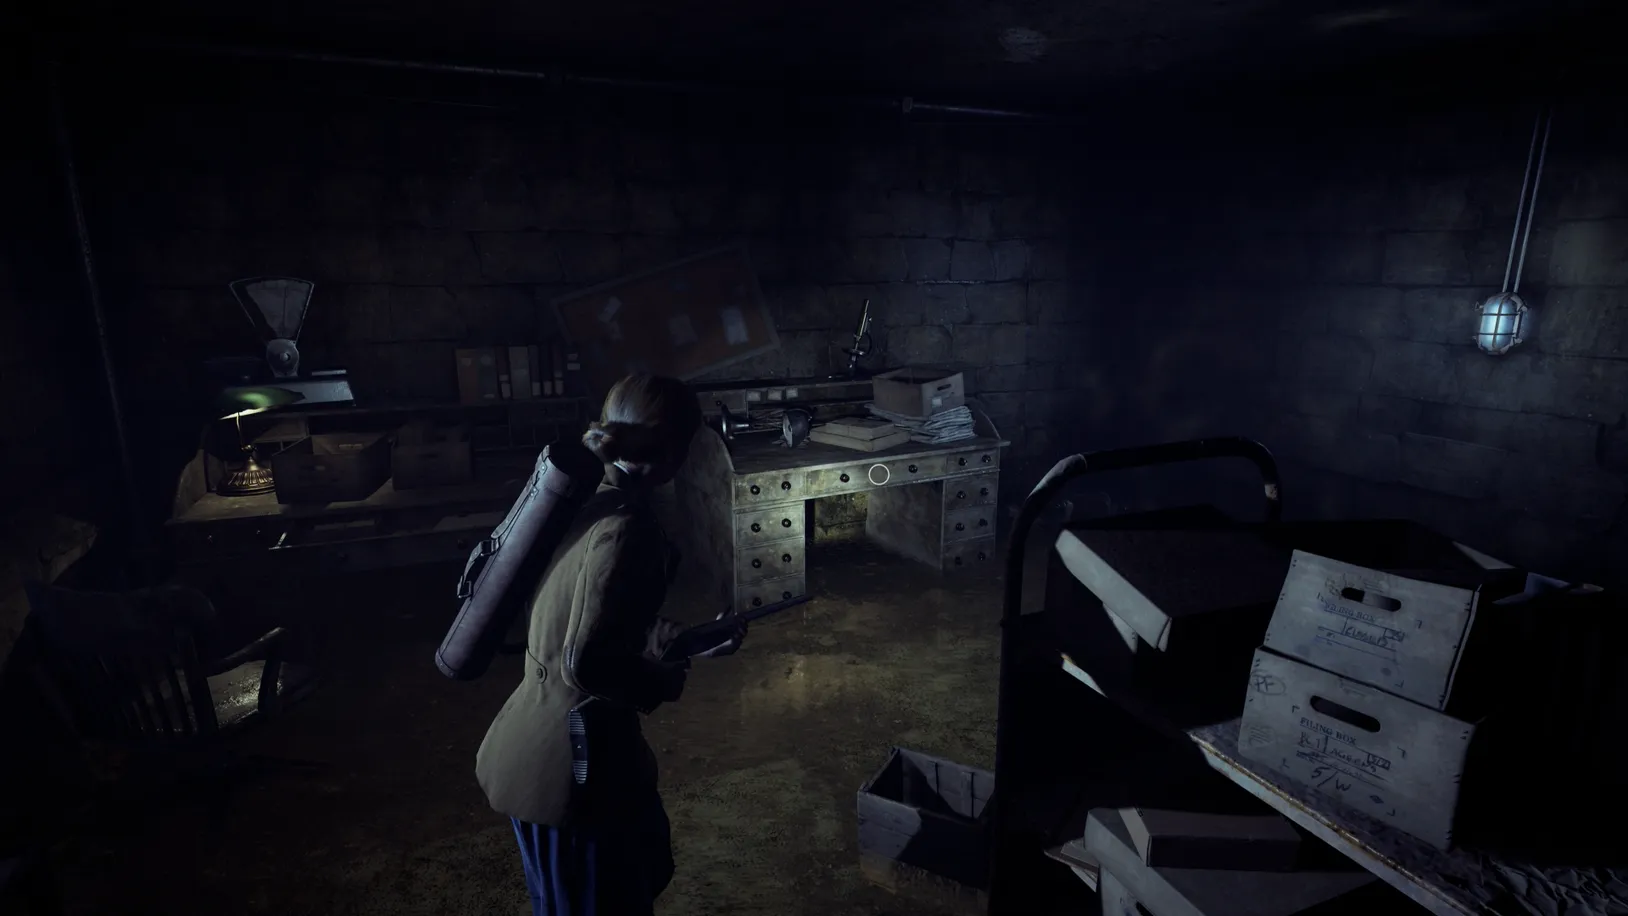
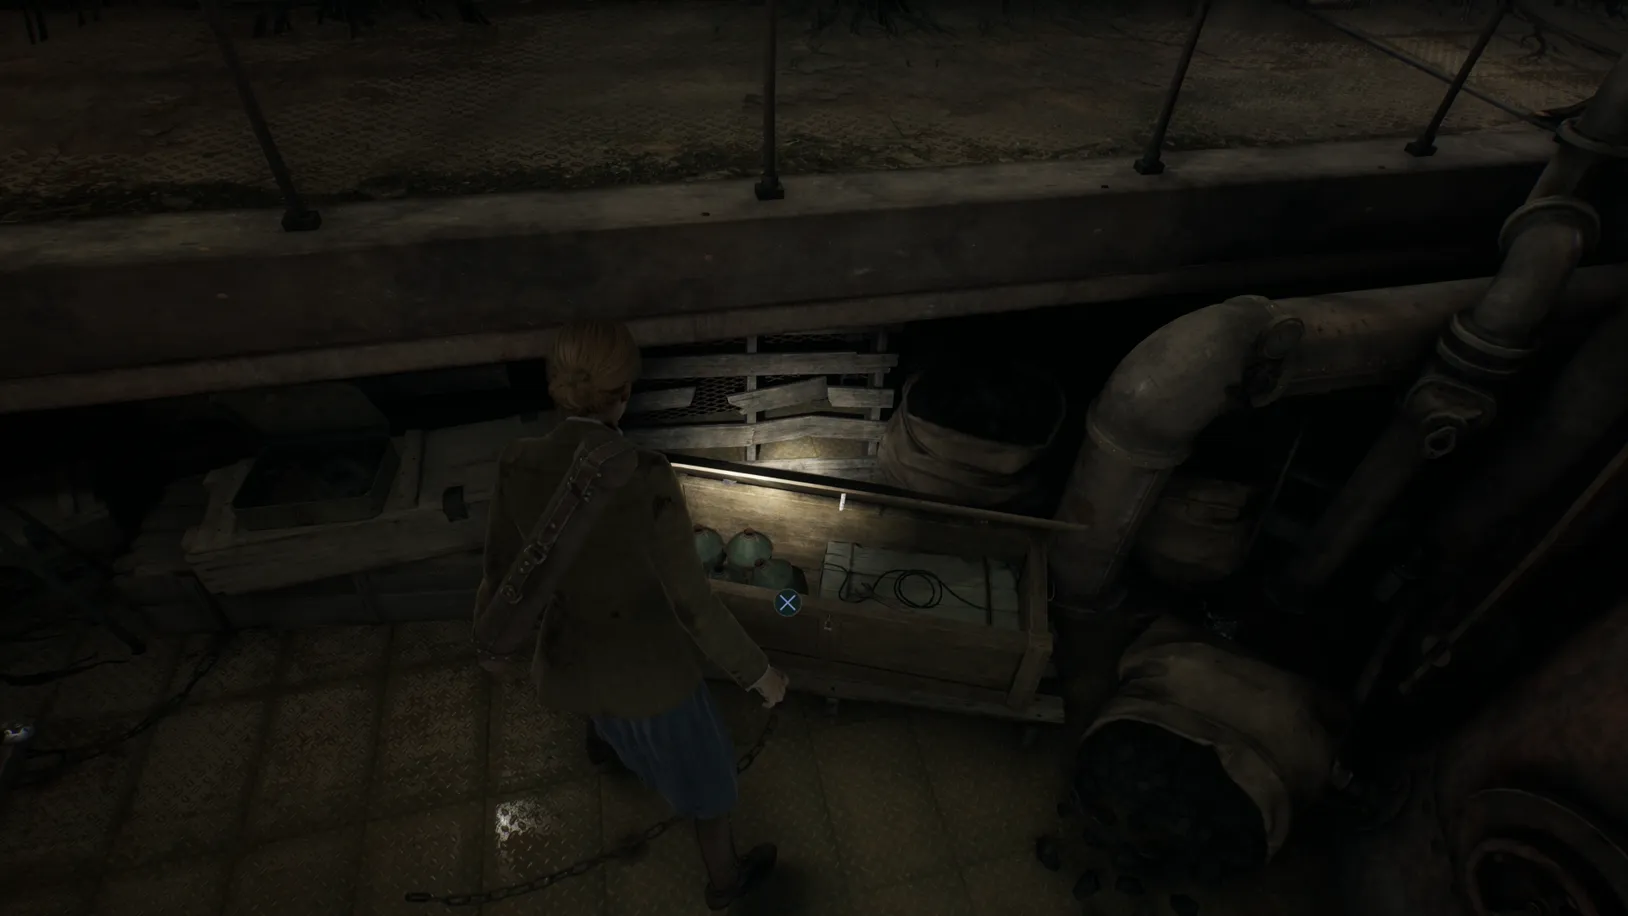
When collected, enter the Laboratory. The Radiography Notes and the If All Else Fails Note are on the workbench at the back of the room.
Radiography Notes - Clue
If All Else Fails - Clue
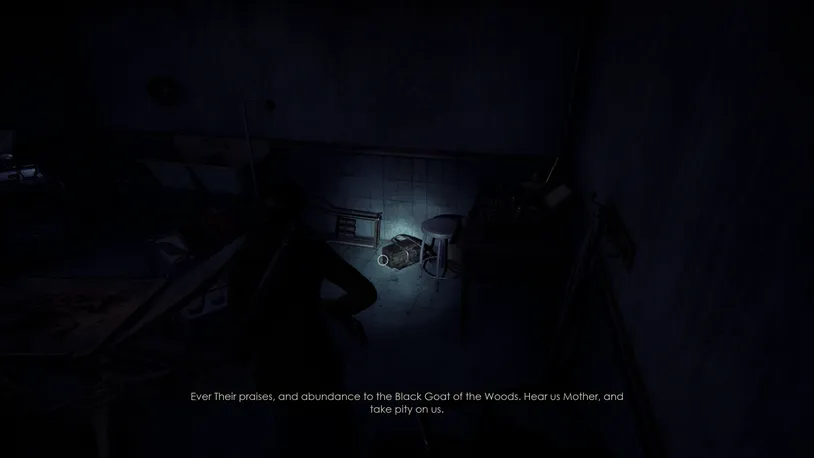
In the smaller room attached to the Laboratory, you'll find Radiography #2 and the Surgery Room Key on the workbench.
Near the fuse box on the wall, you'll also find the Electrical Fuse on a small bench along the wall.
Radiograph #2 - Key Item
Surgery Room Key - Key Item
Electrical Fuse #1 - Key Item
Now, enter the Surgery Room across the hall and pick up the fuse from the flashing device on the ground.
Electrical Fuse #2 - Key Item
If you followed our walkthrough and played as Emily during your first playthrough, you'll pop the You Can't Keep Me Out! trophy when opening the Surgery Room door.
You Can't Keep Me Out!
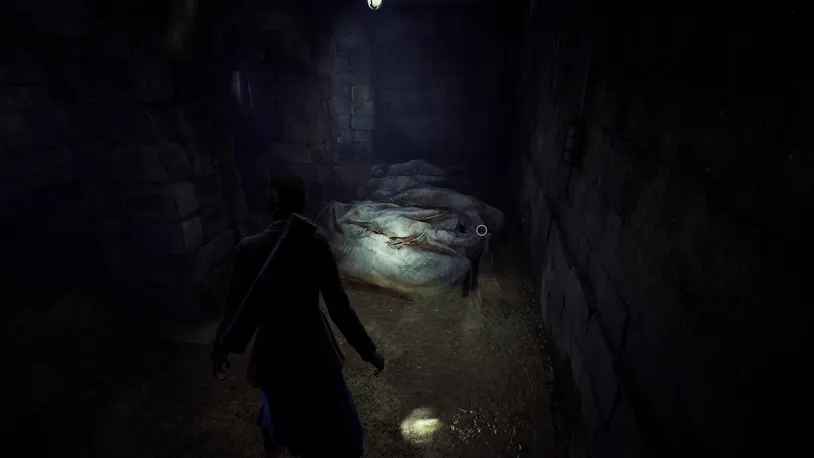
Now, open the Quarantine Room, the last room on the right, and approach the item on the bed to trigger an anomaly—.
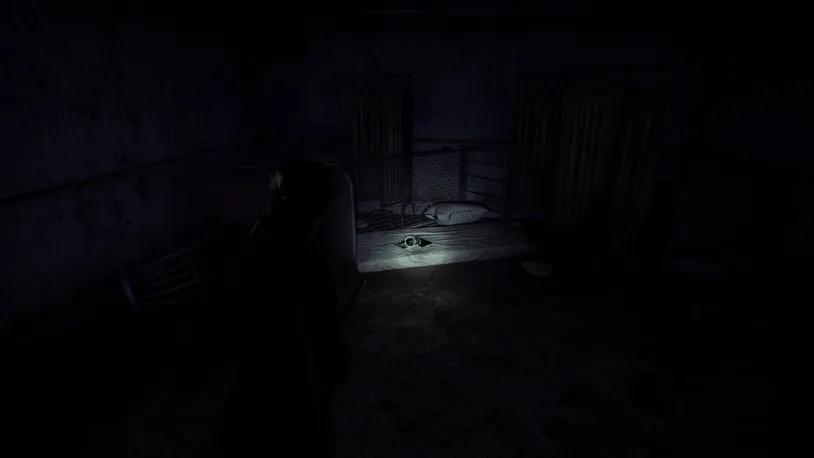
After the short-lived anomaly, pick up Radiography #1 off the bed.
Radiograph #1 - Key Item
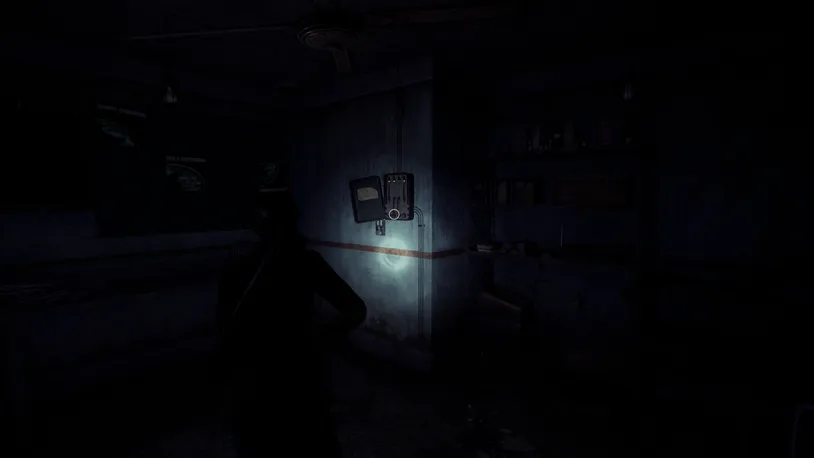
After collecting all the items, return to the fuse box on the wall in the Labortory and insert the two fuses. Once inserted, flip all the switches so they face downwards.
To solve the fuse box puzzle, you'll first want to flip switch #4, then switch #2, and then switch #1.
With the lights turned back on, approach the X-rays on the nearby wall and place both Radiograph #1 and #2 onto the board.
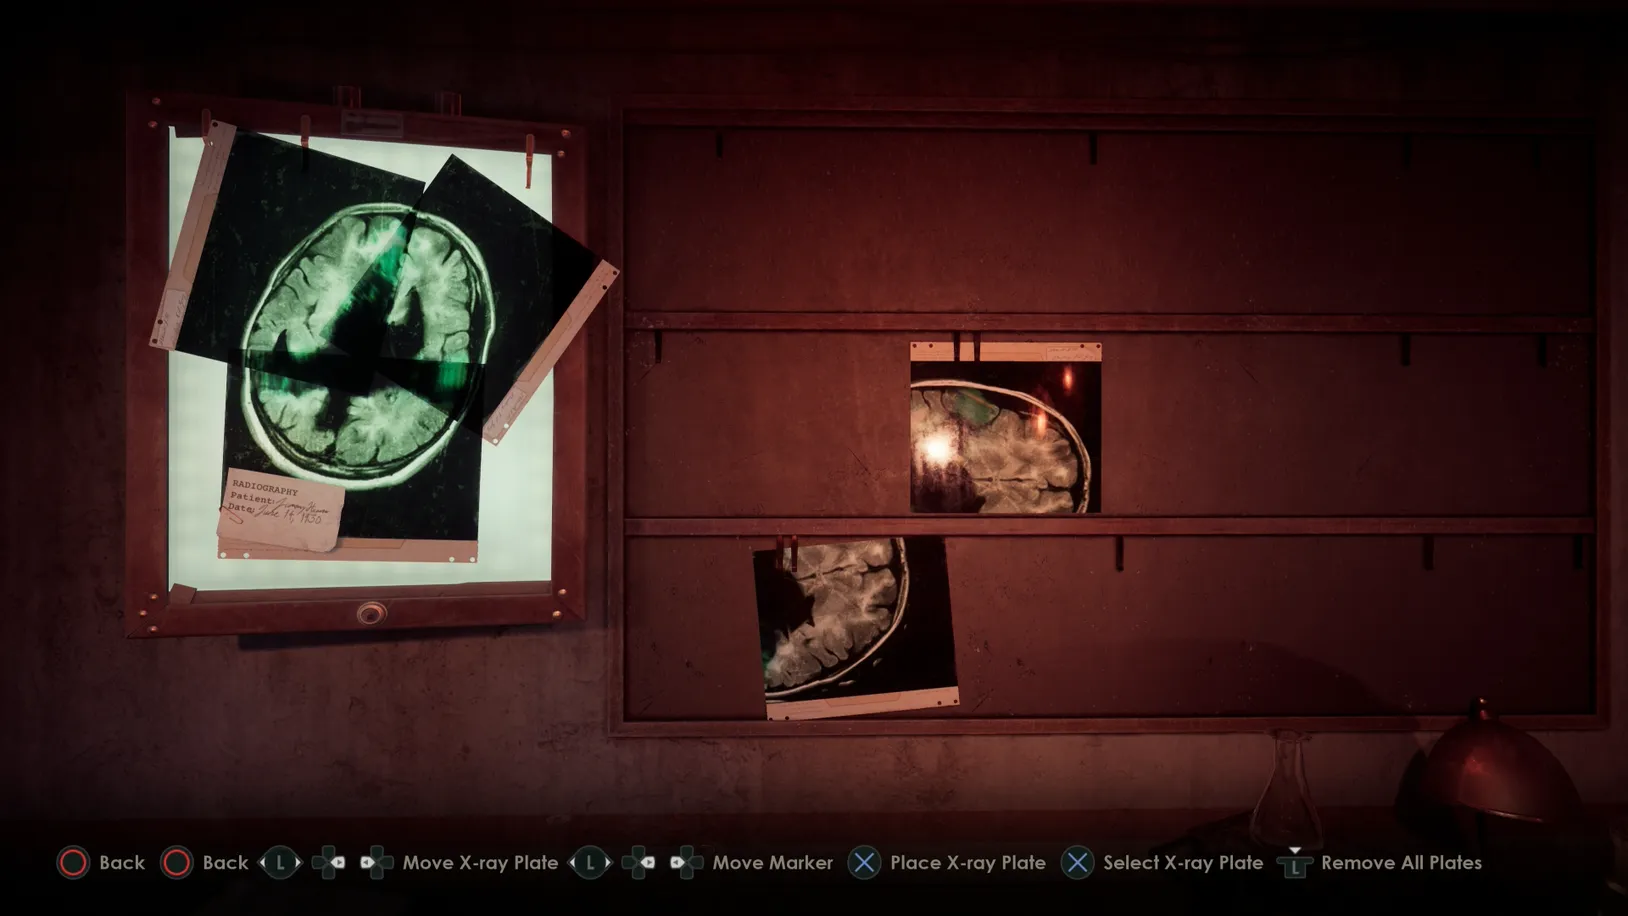
Now, rearrange the X-ray plates to match the images above and receive Jeremy's Darkness.
Jeremy's Darkness - Key Item
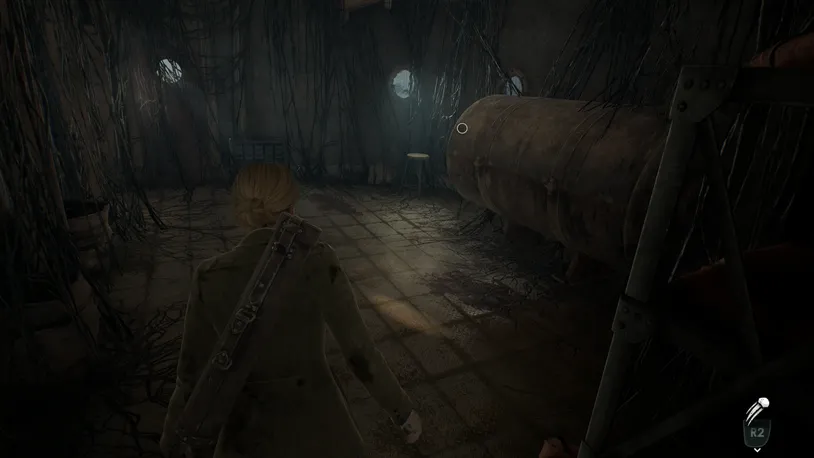
Now, leave the Infirmary through the Stairwell, and you'll enter an anomaly that sees the Derceto flooding.
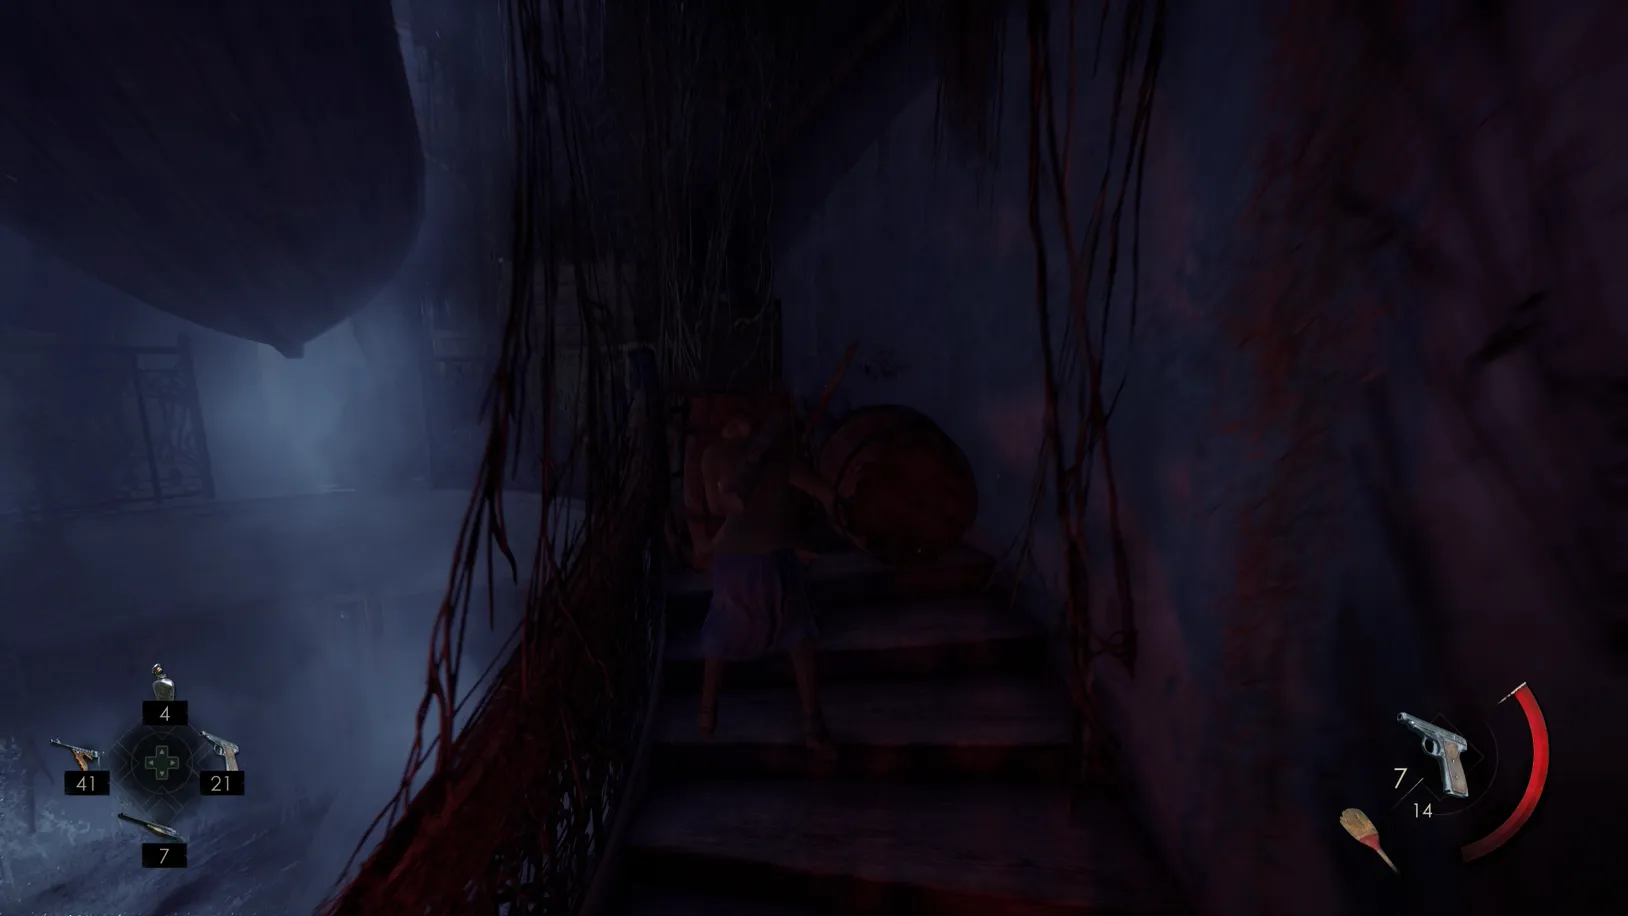
To escape, continue up the stairwell, grabbing the melee weapon off the ground and breaking through the barrels blocking your path up. Once you reach the top, leave through the door, and you'll arrive at the top of the Stairwell by the Attic Door.
It's now time to continue with the investigation. To do so, jump to the following section below: Getting to the Steamboat.
War Photo and Closed Off Section Progression - Emily Only
Acknowledge Psychological Trauma - Find and Assemble Jeremy's Brain Scans
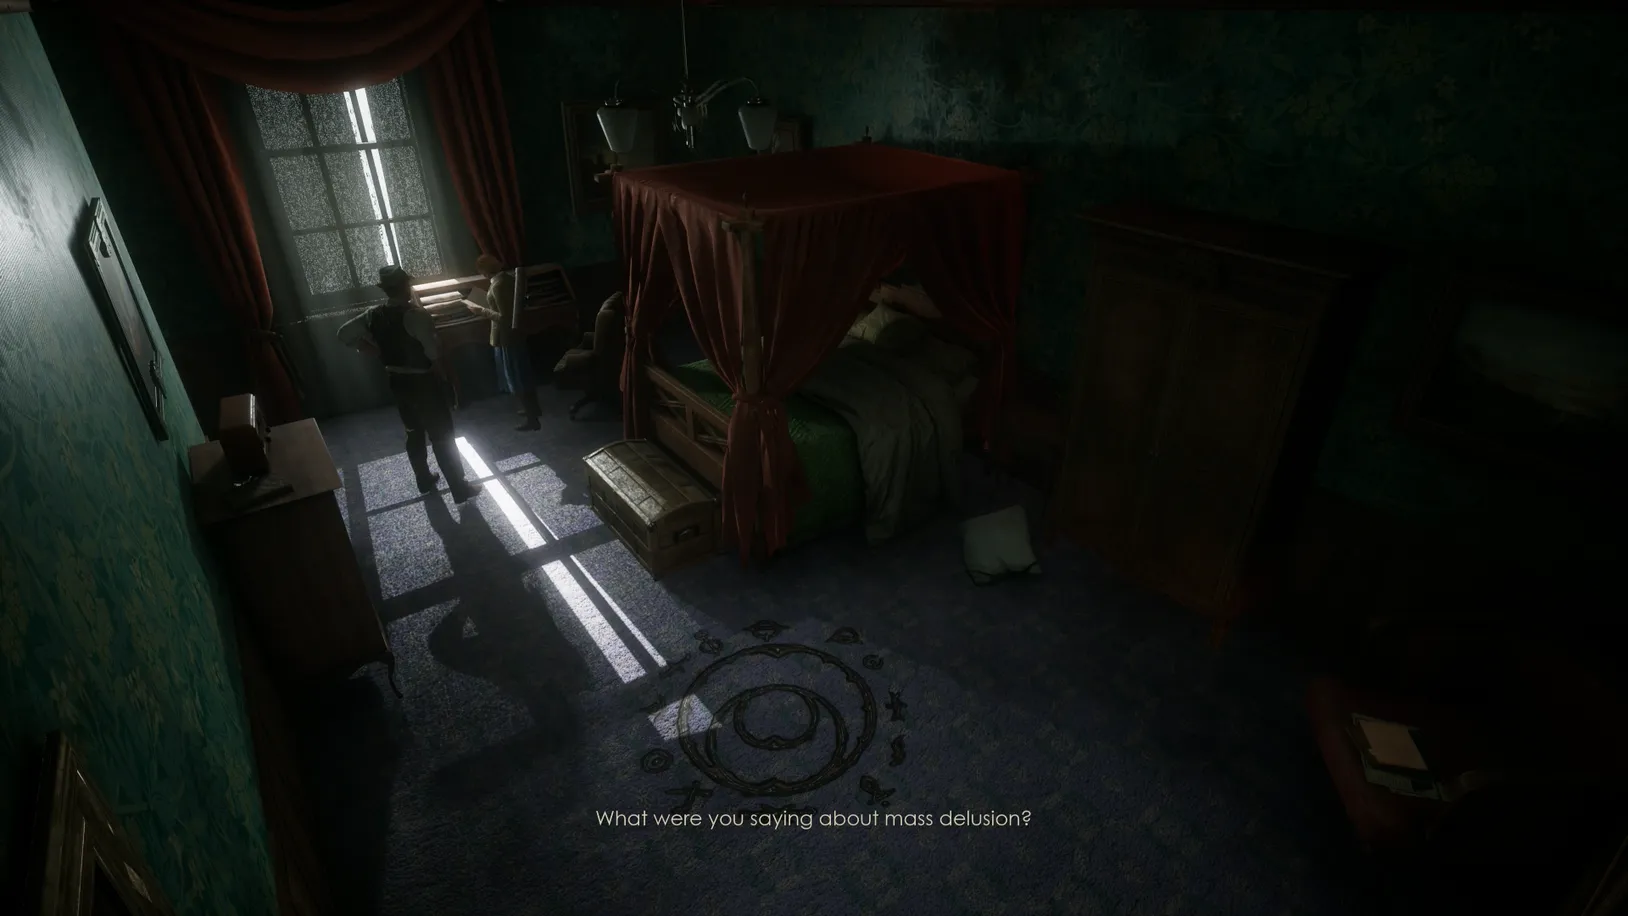
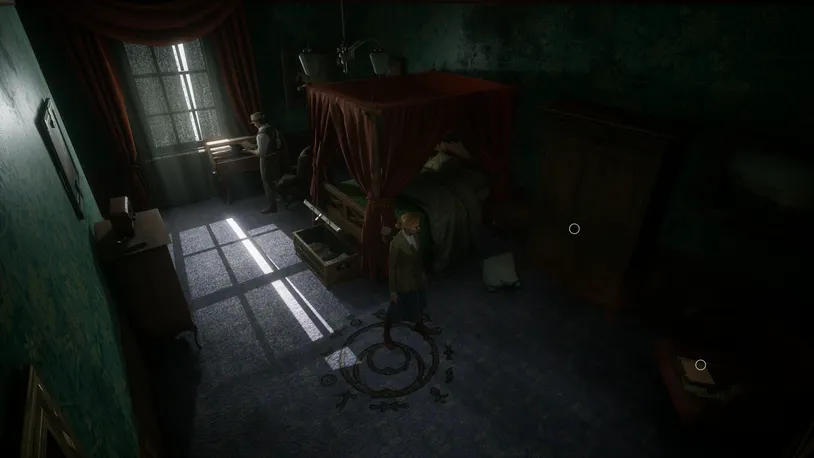
Open the door to the Sitting Room (walk through Grand Parlor -> Dining Room -> Stair Hall -> Library -> Conservatory -> ladder to Piazza -> Foyer and up the stairs to Sitting Room). This will trigger a cutscene with MacCarfey and Grace.
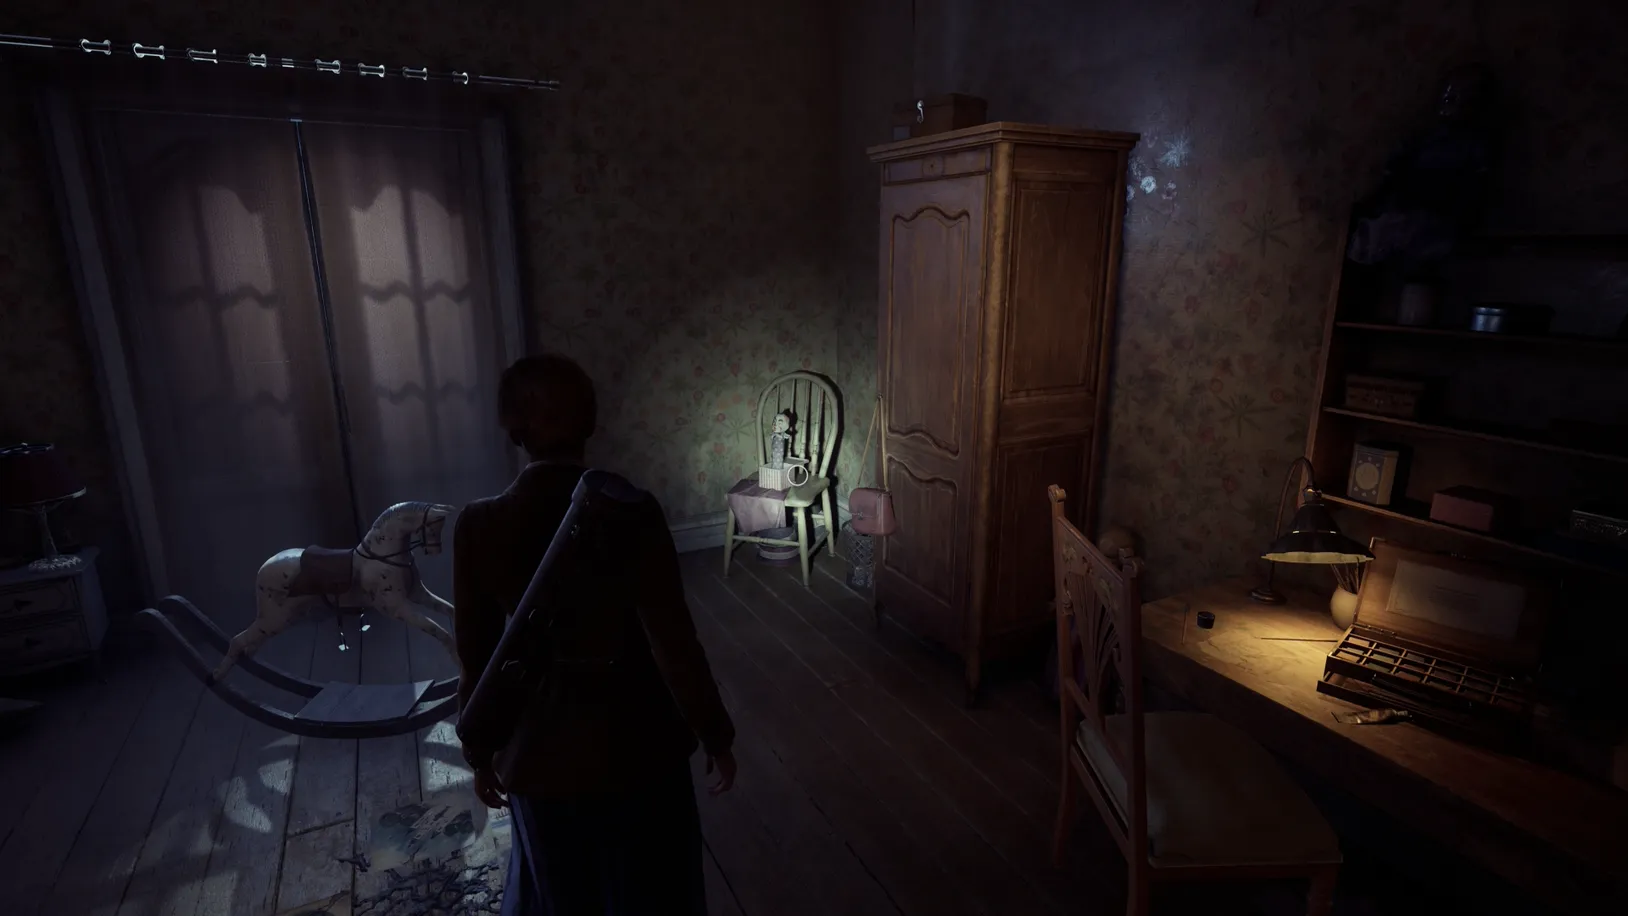
After the cutscene, you'll be in Grace's room. Pick up the Jack in the Box from the chair in the corner and then leave the room.
Grace's Jack in the Box

Here, you'll find MacCarfey on the floor and the Vestibule 1st-floor key next to him.
1st Floor Hall Key - Key Item
After picking up the key, attempt to speak with MacCarfey for an optional conversation.
MacCarfey - Optional Conversation 01
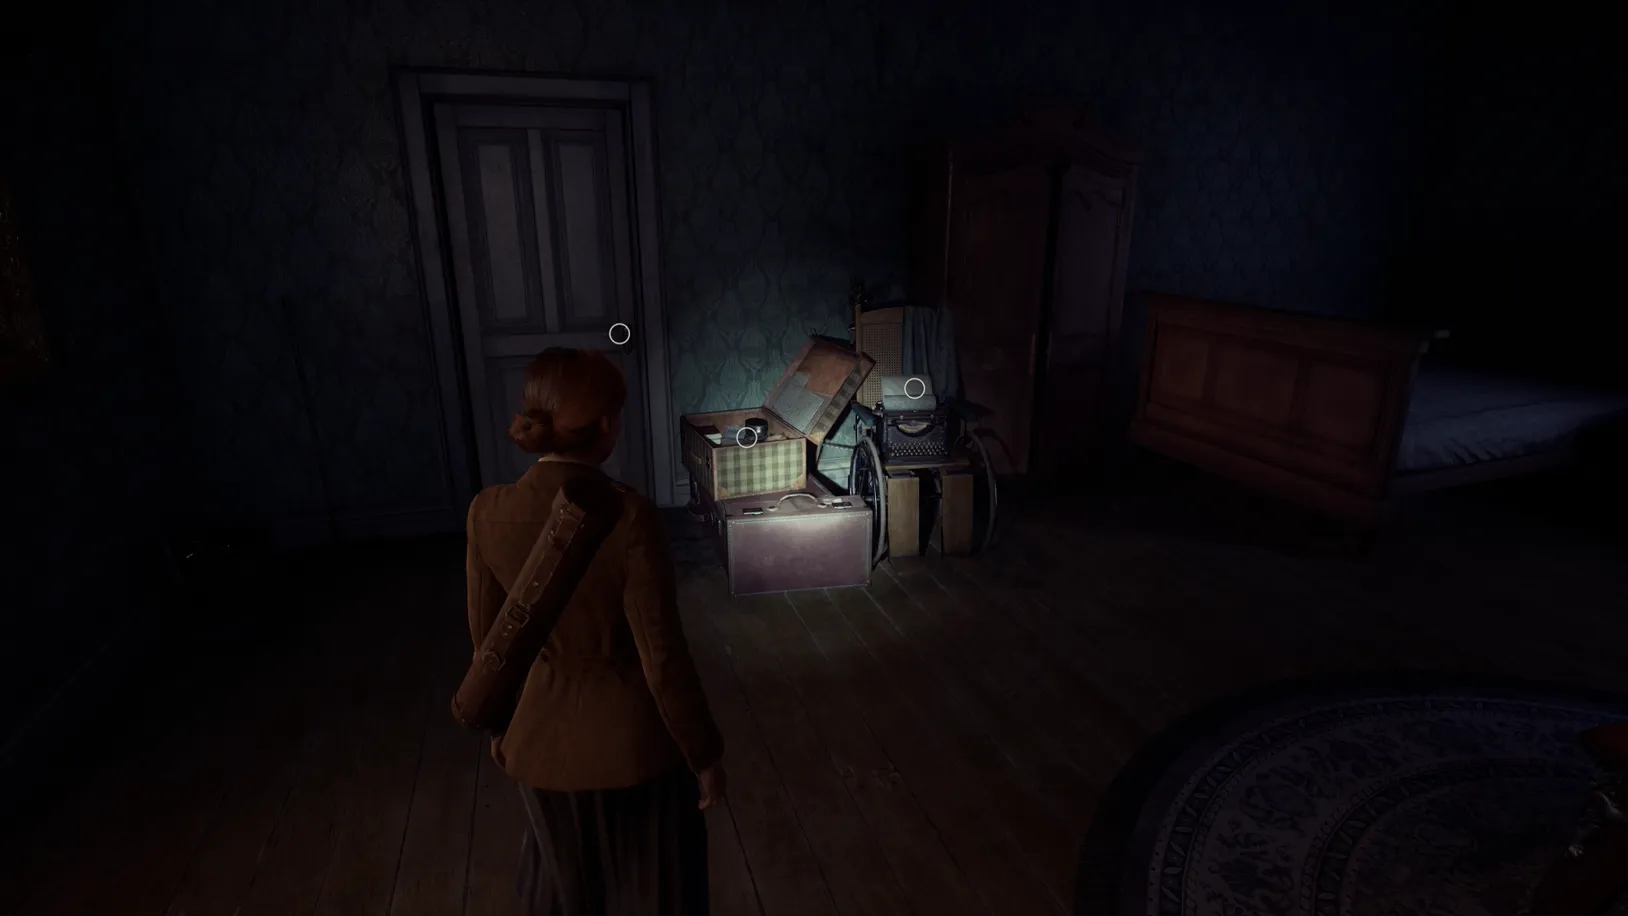
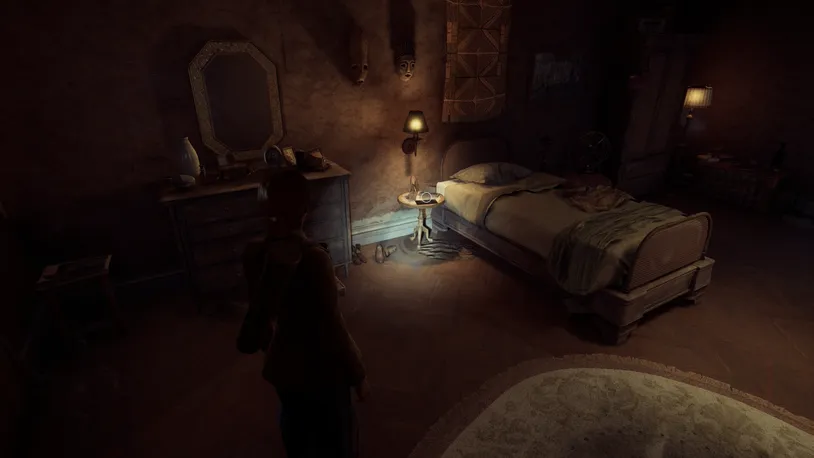
After speaking with MacCarfey—or at least trying to—enter Cassandra's room. There, you'll find the Movie Script Lagniappe inside a suitcase beside her door. Next to the suitcase, on top of the wheelchair, you'll also find Cassandra's Last Page clue.
Movie Script - Death of the Author Set
Cassandra's Last Page - Clue
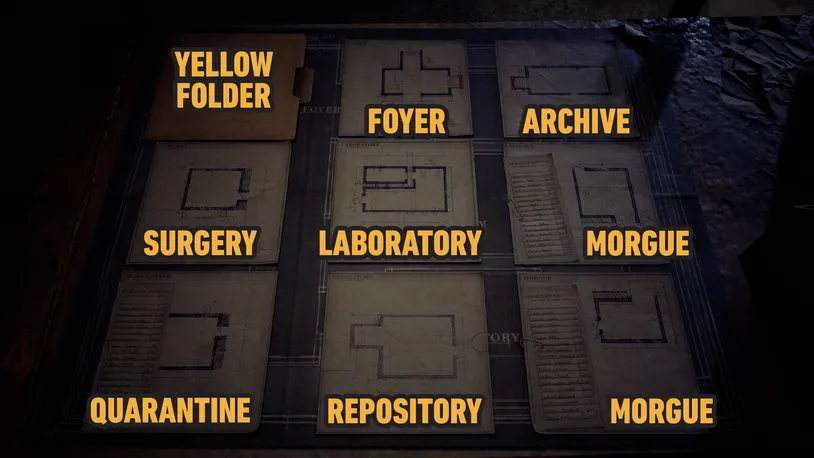
OBS Anomalies: To experience Emily's trauma anomaly (body pile event), you need to first go to the Administration in the foyer.
The safe in the back of the Clerk's Room can be opened with the code L9 R1 L3.
Clerk’s Room Safe
The Empty Room - Clue
Inside the Clerk's Room Safe, you'll also find The Empty Room clue.

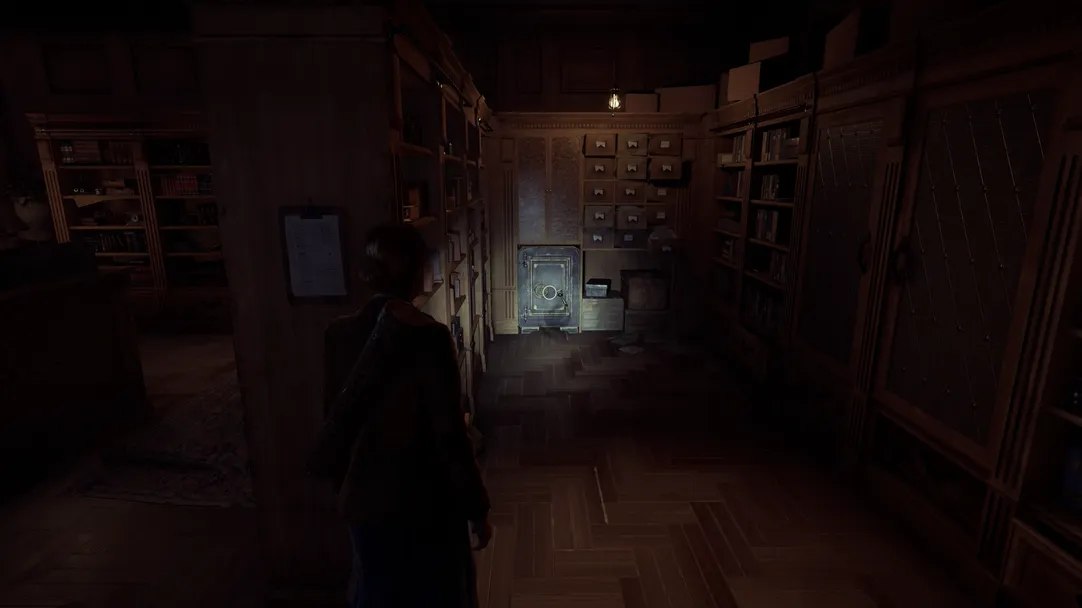
Enter Dr. Gray's office with the key from the safe, and pick up the spiral stair gate key from inside his desk drawer.
On the desk, you'll find a note in the Typewriter regarding Jeremy's Treatment.
Jeremy's Treatment - Clue
Stairwell Key - Key Item
Also, in Dr. Gray's Office, you'll find the Cassandra's Things clue on the small sideboard along the wall, along with the France puzzle piece, which can be used to solve the Sitting Room globe puzzle.
Cassandra's Things - Clue
France - Key Item
Once those are collected, leave Dr. Gray's Office via the Treatment Room. Here, you'll find The Flying Dutchman Lagniappe on the green lounge chair.
The Flying Dutchman - When It Makes You Worse Set
Head to the waiting room to activate the Steamboat anomaly, which will be short-lived.
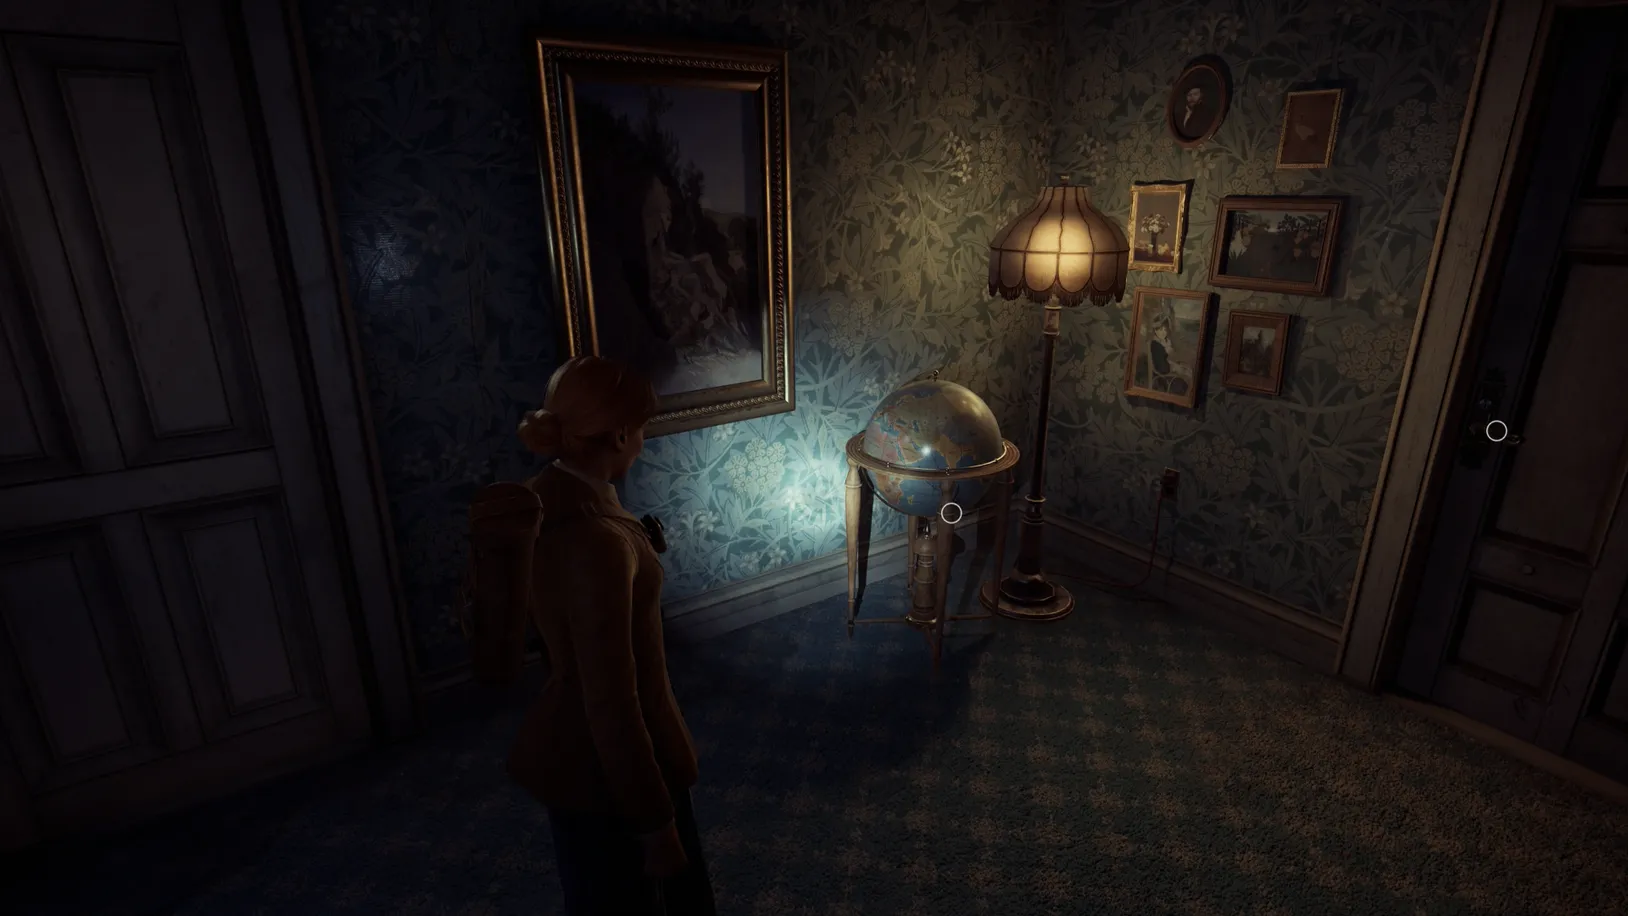
Before continuing to the Medical Ward, return to the Sitting Room and solve the Globe Puzzle to receive the Map of Caribbean Lagniappe.
Map of Caribbean - The Pirates of Pontchartrain Set
Now, enter the Vestibule on the first floor with the 1st Floor Hall Key -- this door leads off from the Stair Hall. Upon opening the door, you'll enter a short cutscene featuring the .
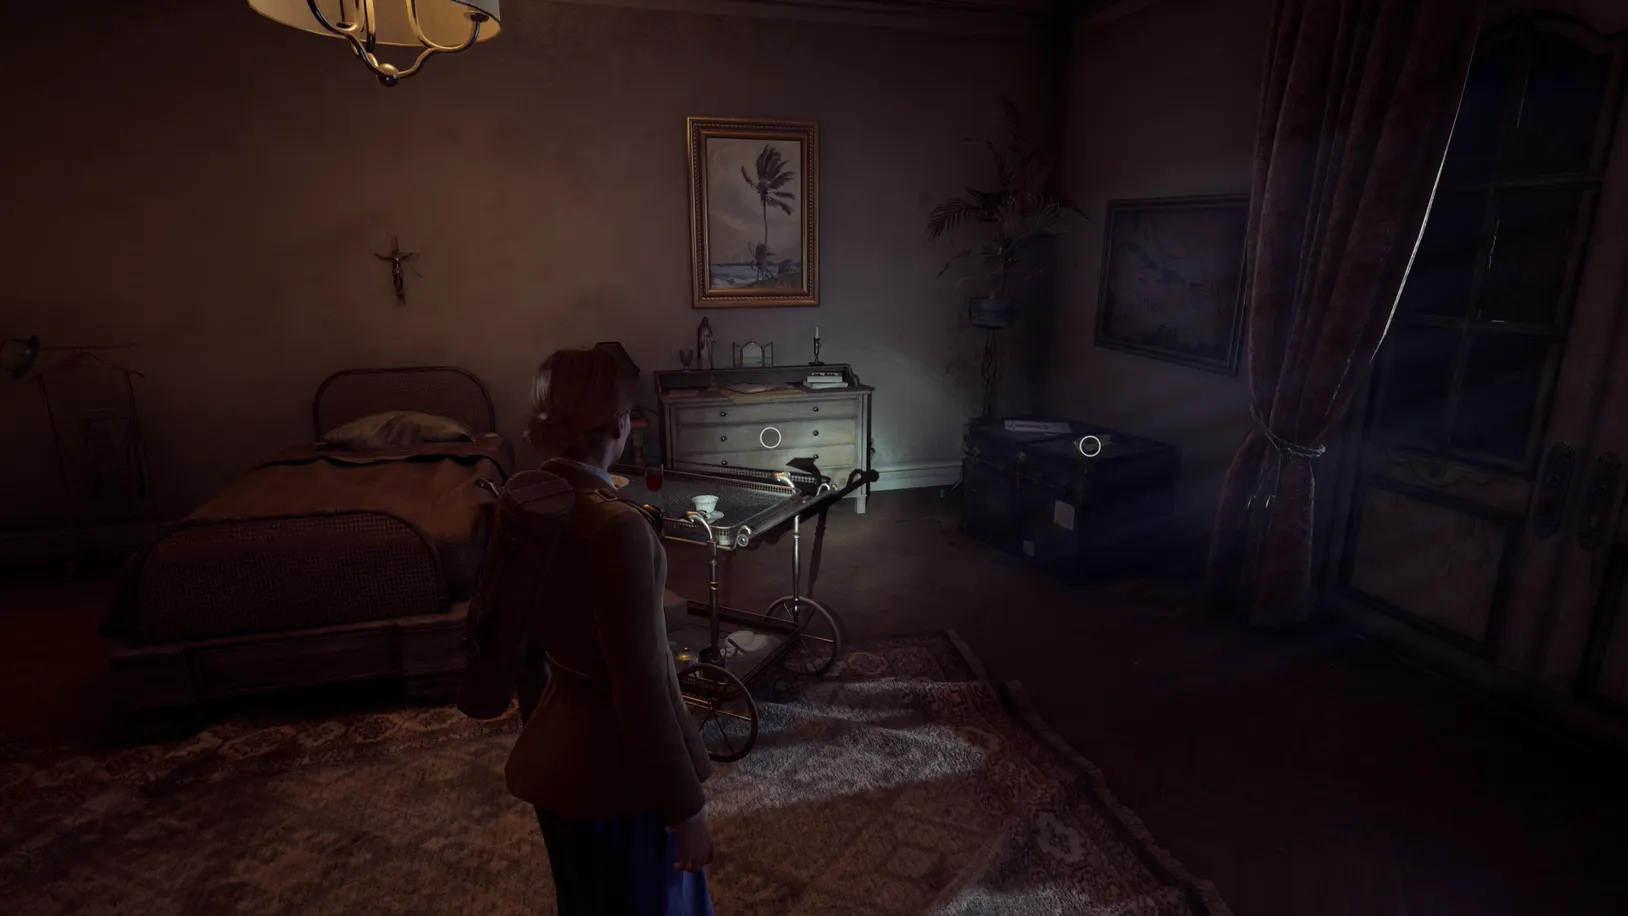
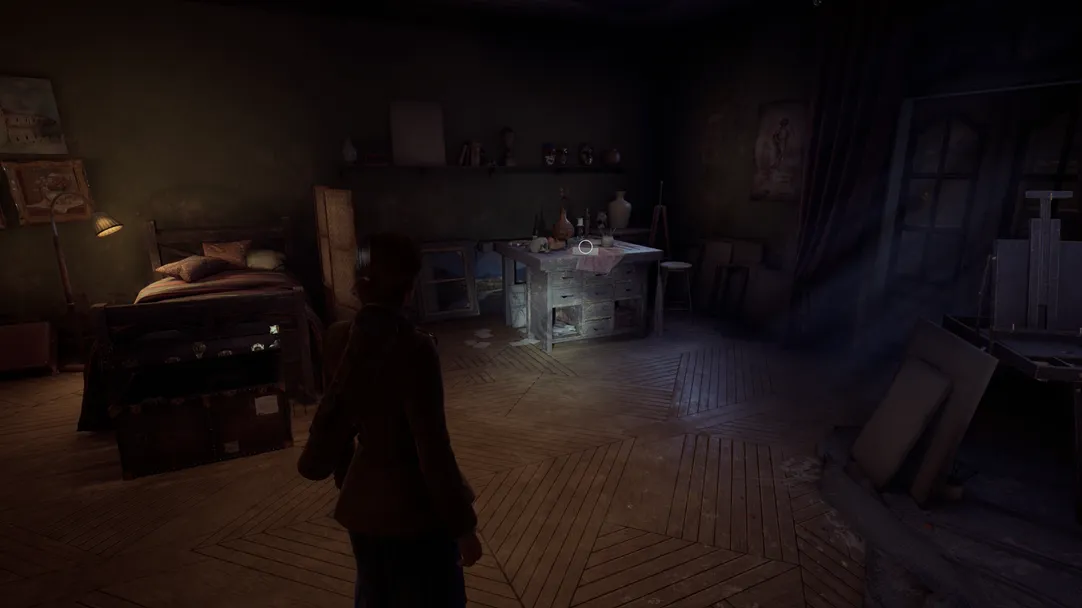
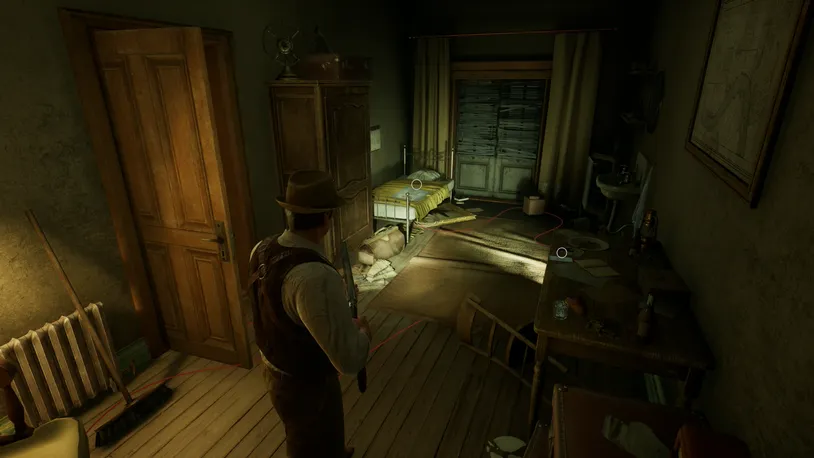
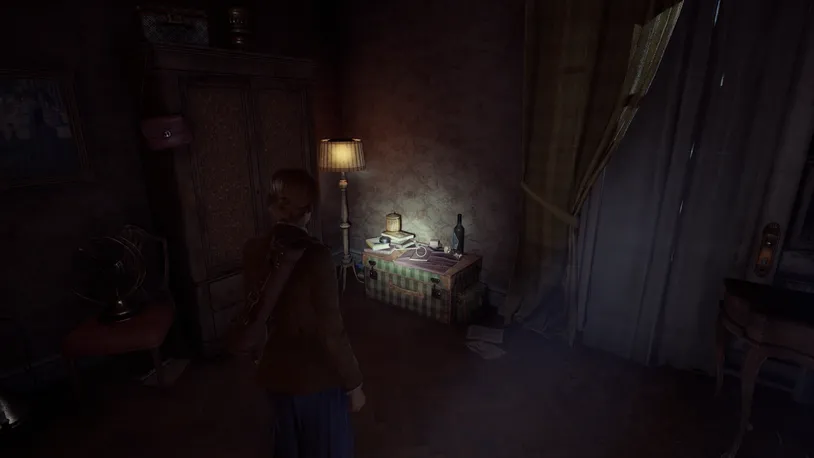
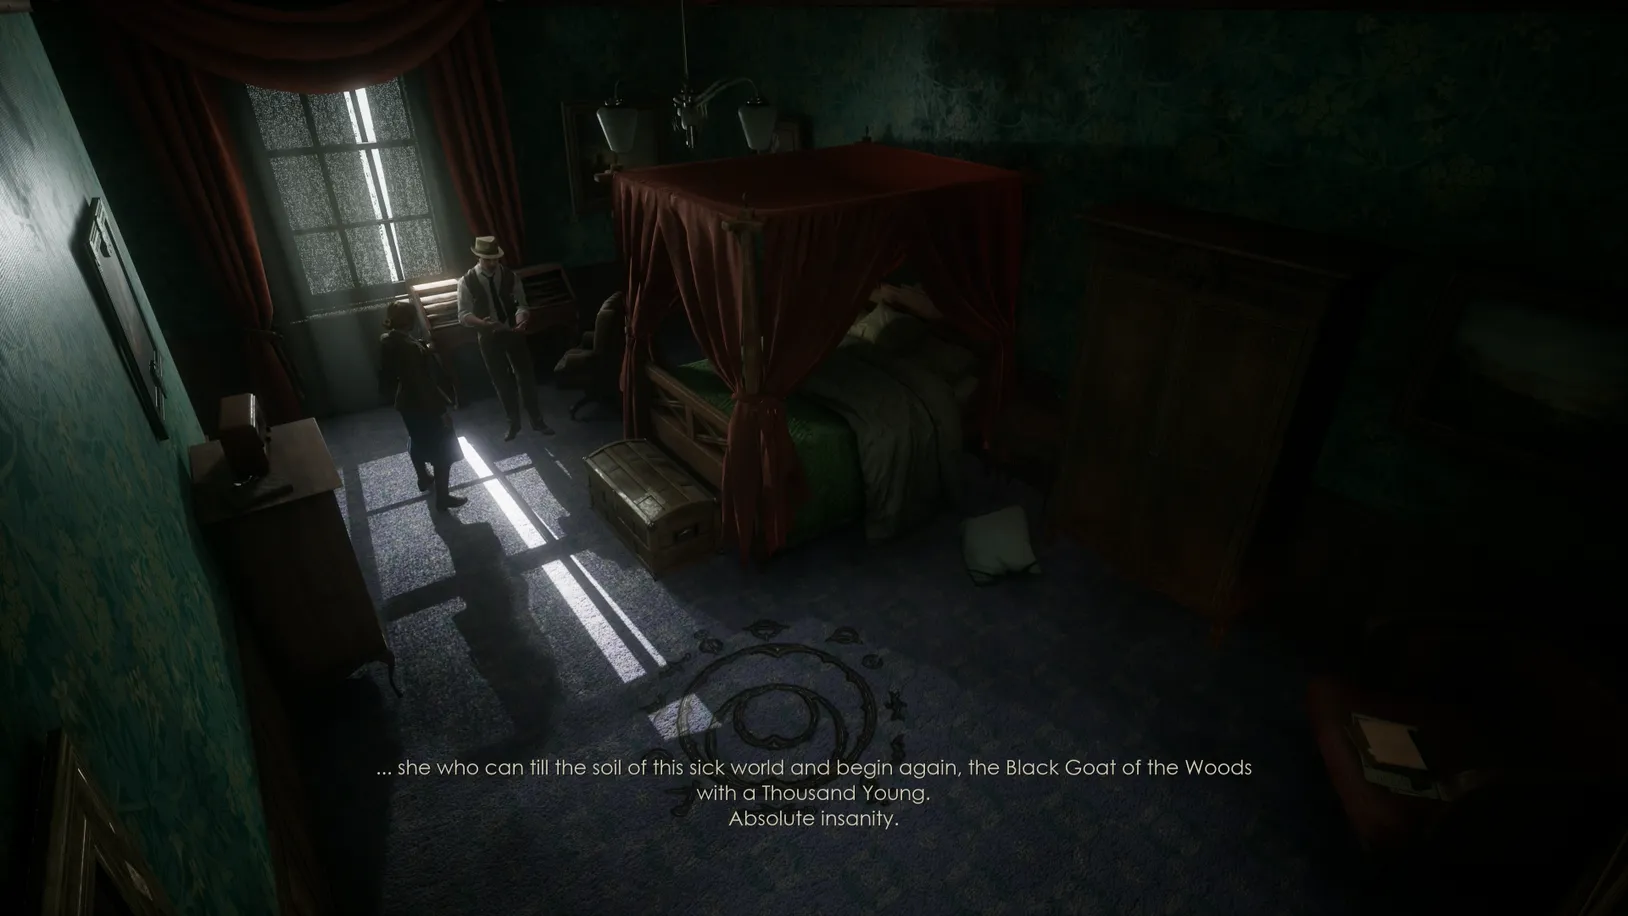
Before heading to the Empty Room, let's explore. Enter MacCarfey's Room, where the Moment of Clarity clue is on top of a large chest in the back corner.
Moment of Clarity - Clue
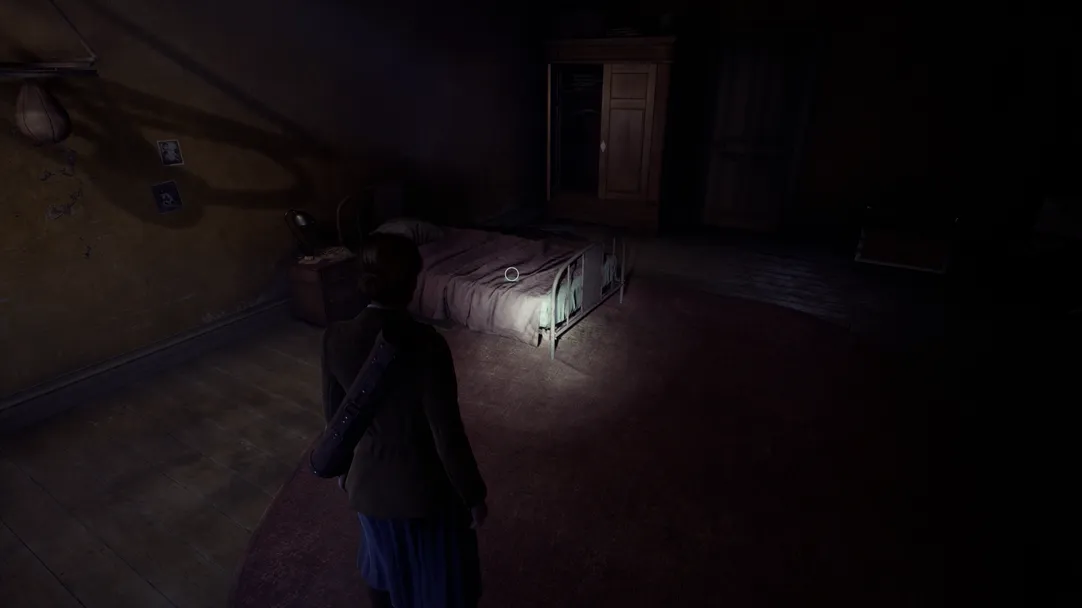
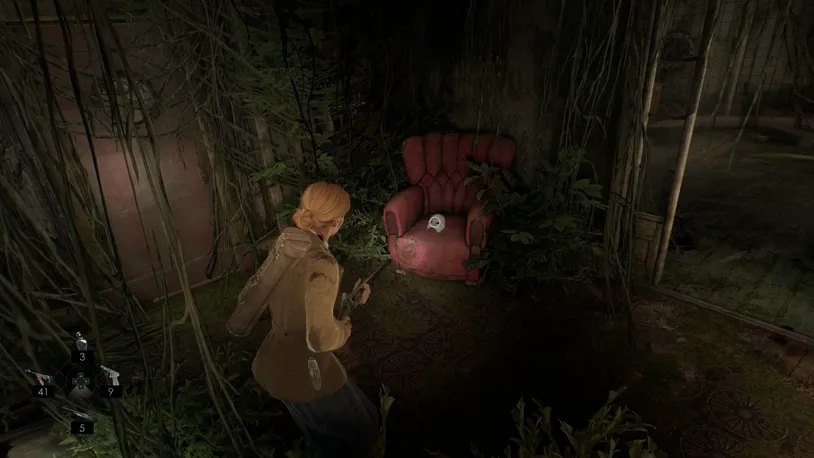
Leave MacCarfey's Room and enter Ruth's Room. Here, you'll find the War Photo Lagniappe on her bedside table.
War Photo - Dying With Dignity Set
In the back corner, on top of an old trunk, you'll also find the Henry Cassel's Zoetrope notebook clue.
Henry Cassel's Zoetrope - Clue
Unable to enter the Empty Room, turn right at the end of the hallway and enter the Grand Parlor, which looks totally different from earlier.
Enter the bar section, and you'll find the Jangling Shaker Lagniappe on the ground behind the counter.
Jangling Shaker - A Goat Without Horns Set
Now, exit the Grand Parlor from the opposite side of the room and go to the Infirmary at the bottom of the Spiral Stairs.
Once inside, turn right, and you'll find the Scapegoat Lagniappe on the medical trolley.
Scapegoat - Unspeakable Cults Set
When collected, enter the Laboratory. The Radiography Notes and the If All Else Fails Note are on the workbench at the back of the room.
Radiography Notes - Clue
If All Else Fails - Clue
In the smaller room attached to the Laboratory, you'll find Radiography #2 and the Surgery Room Key on the workbench.
Near the fuse box on the wall, you'll also find the Electrical Fuse on a small bench along the wall.
Radiograph #2 - Key Item
Surgery Room Key - Key Item
Electrical Fuse #1 - Key Item
Now, enter the Surgery Room across the hall and pick up the fuse from the flashing device on the ground.
Electrical Fuse #2 - Key Item
Now, open the Quarantine Room, the last room on the right, and approach the item on the bed to trigger an anomaly—.
After the short-lived anomaly, pick up Radiography #1 off the bed.
Radiograph #1 - Key Item
After collecting all the items, return to the fuse box on the wall in the Labortory and insert the two fuses. Once inserted, flip all the switches so they face downwards.
To solve the fuse box puzzle, you'll first want to flip switch #4, then switch #2, and then switch #1.
With the lights turned back on, approach the X-rays on the nearby wall and place both Radiograph #1 and #2 onto the board.
Now, rearrange the X-ray plates to match the images above and receive Jeremy's Darkness.
Jeremy's Darkness - Key Item
Now, leave the Infirmary through the Stairwell, and you'll enter an anomaly that sees the Derceto flooding.
To escape, continue up the stairwell, grabbing the melee weapon off the ground and breaking through the barrels blocking your path up. Once you reach the top, leave through the door, and you'll arrive at the top of the Stairwell by the Attic Door.
How to Solve Ruth’s Camera Puzzle
Now that we are free to explore Derceto once again, let's solve Ruth's Camera puzzle before entering the Attic. So, make your way down the stairs and return to the Empty Room.
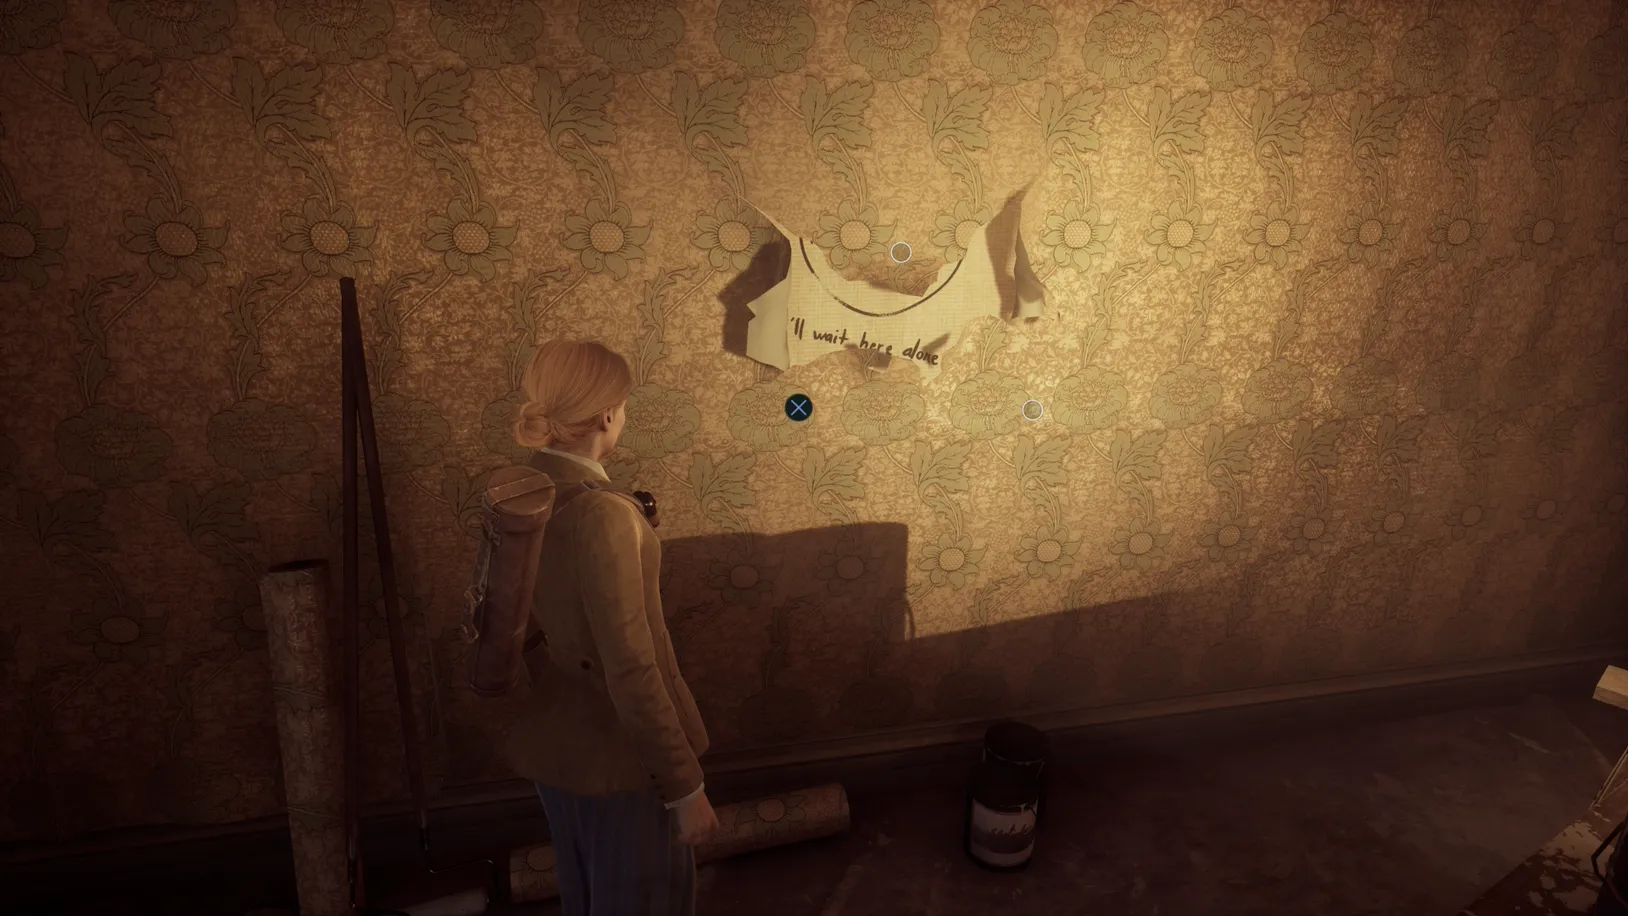
Inside, pull back the wallpaper to your left to reveal some writing on the wall. The writing provides a small hint about the safe code, which seems familiar to Emily. This is a reference to .
Knowing the code (), , open the safe and pick up the Flash Bulb and To Emily clue.
Flash Bulb - Key Item
To Emily - Clue

Once you've opened the safe, head to the right side of the room and pick up the Ashes of Indigo Lagniappe off the top of the sheeted furniture by the window.
Ashes of Indigo - Unspeakable Cults Set
Now, enter Ruth’s Room, add the Flash Bulb to the camera, and interact with it again to progress to the Warphoto anomaly.
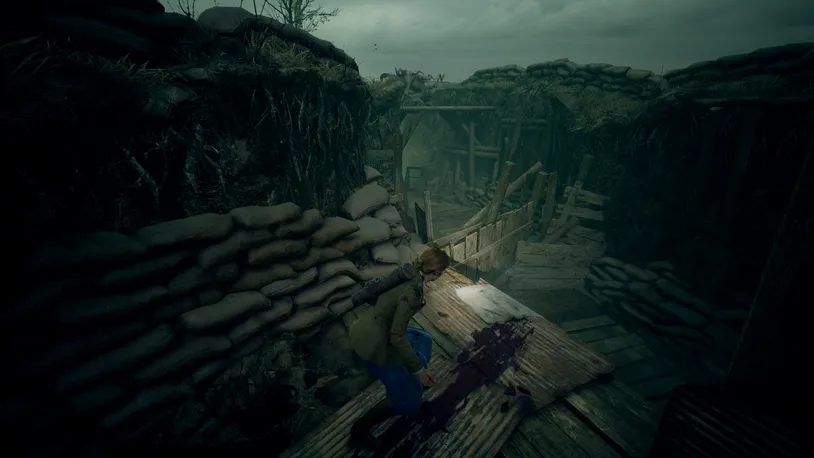
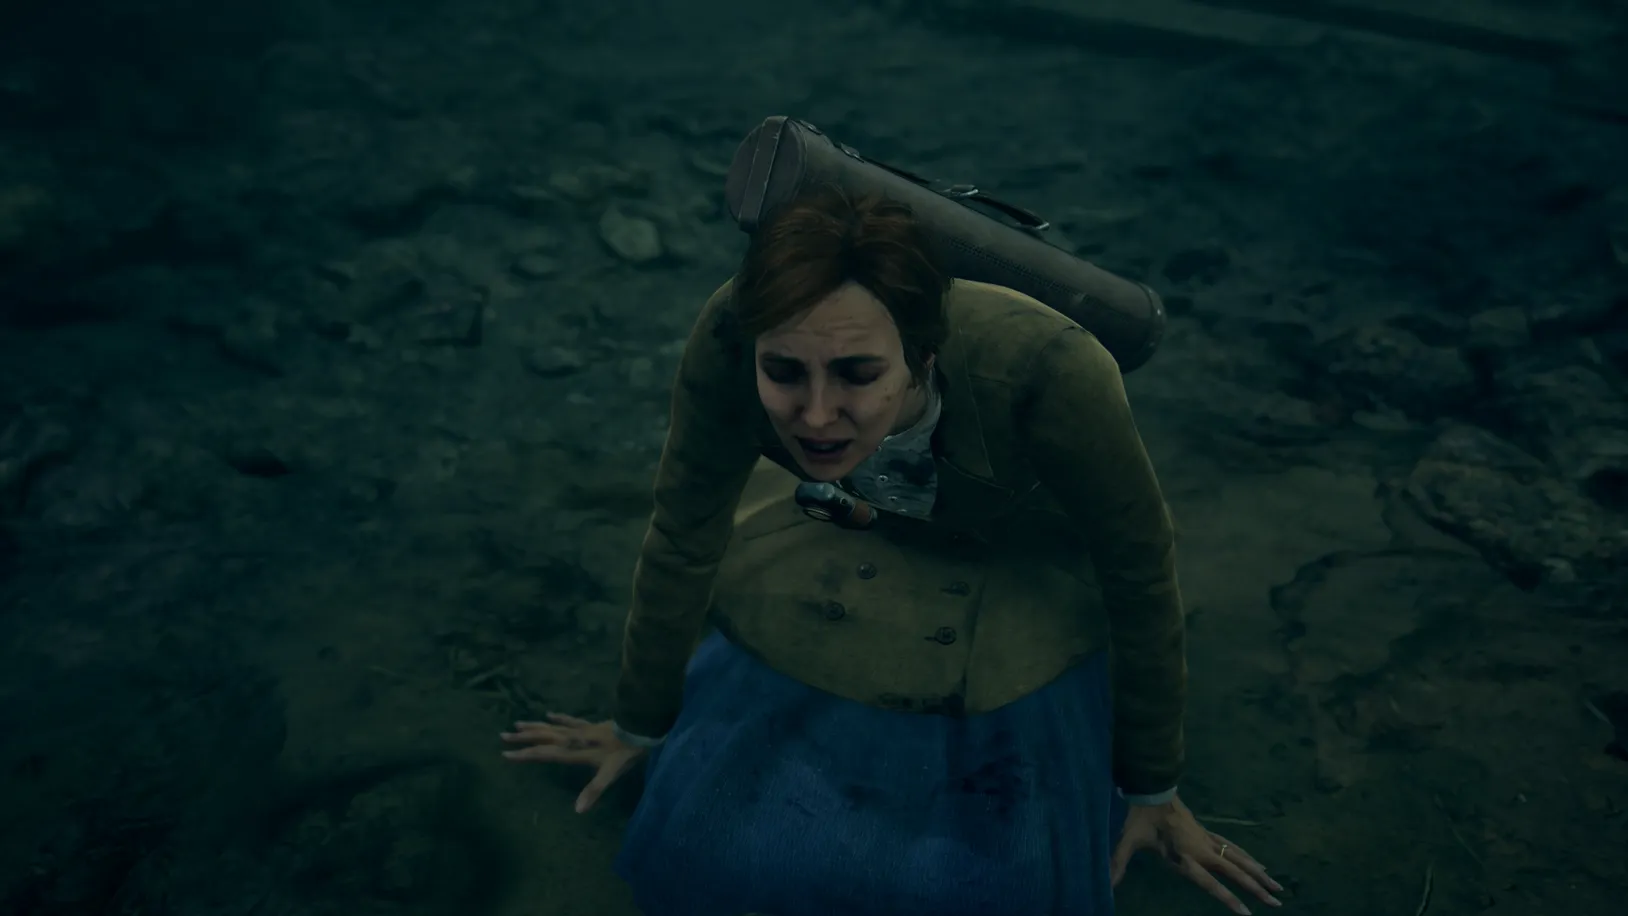
Warphoto (Emily's Trauma) - Find Your Fiance
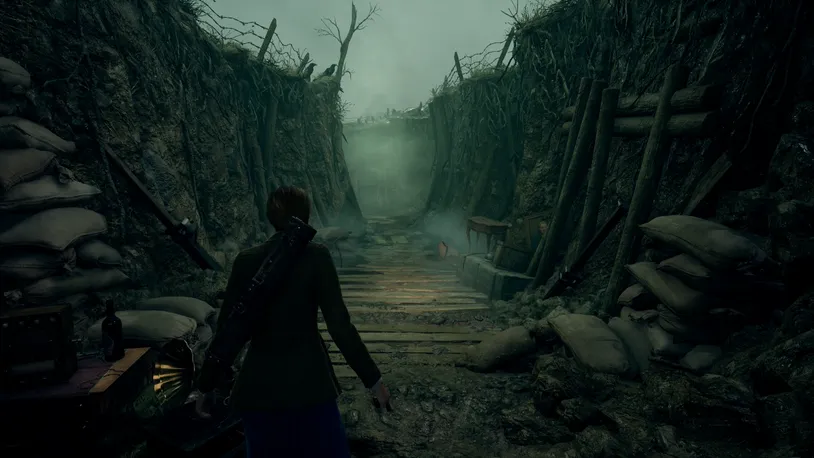
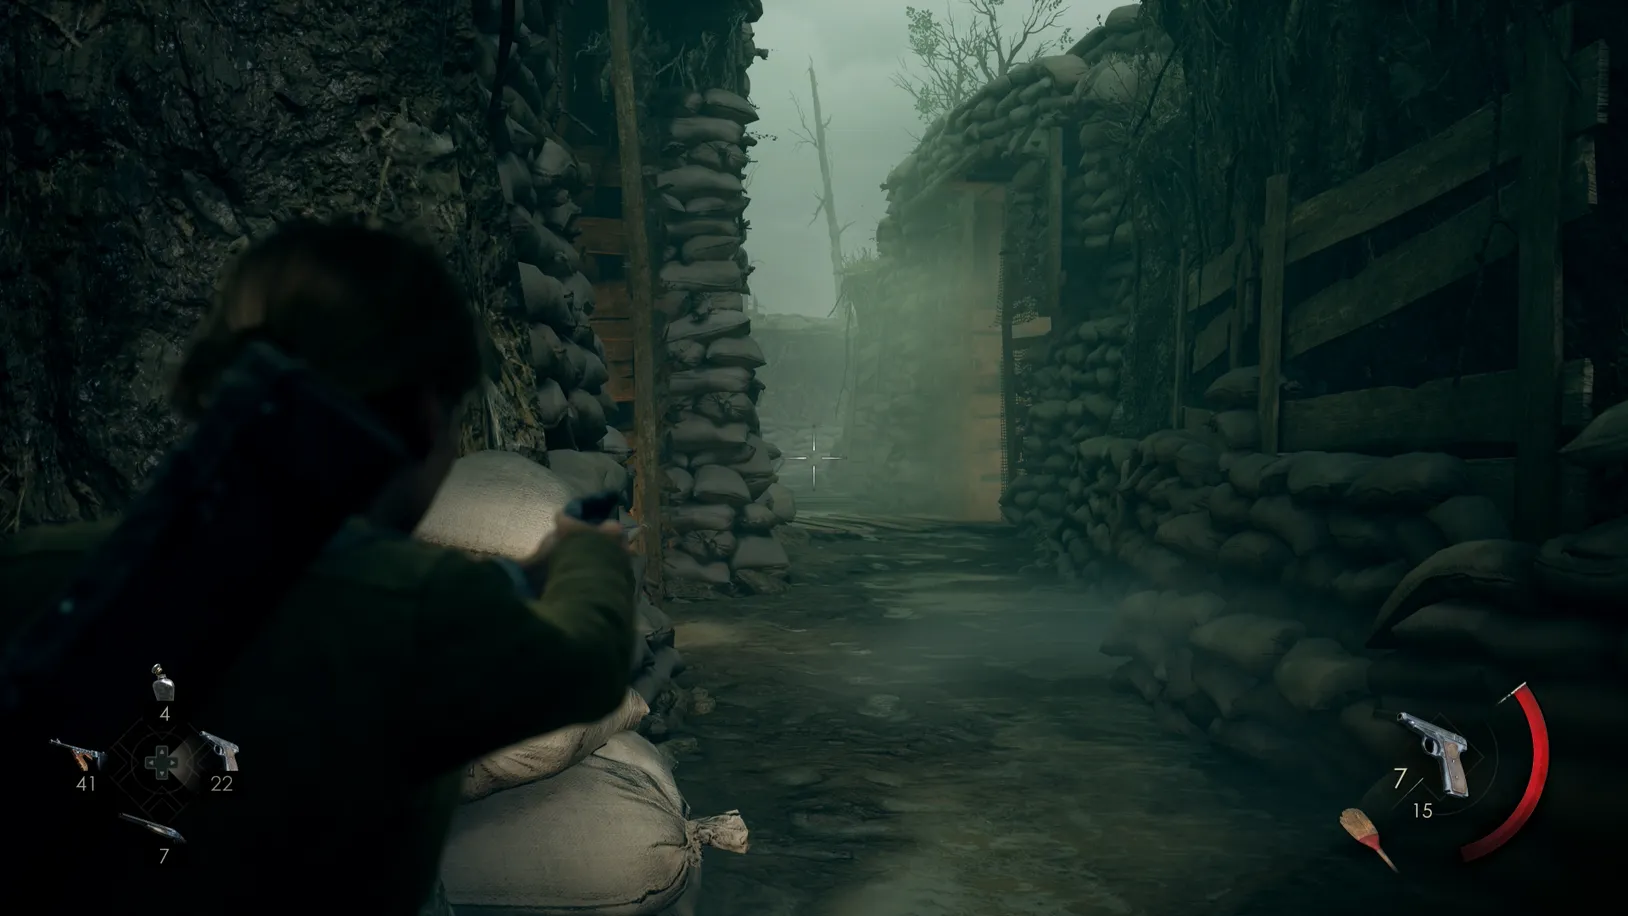
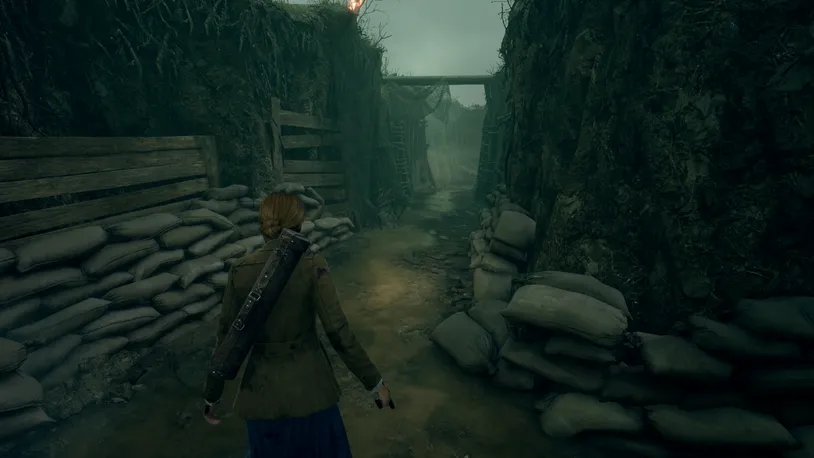
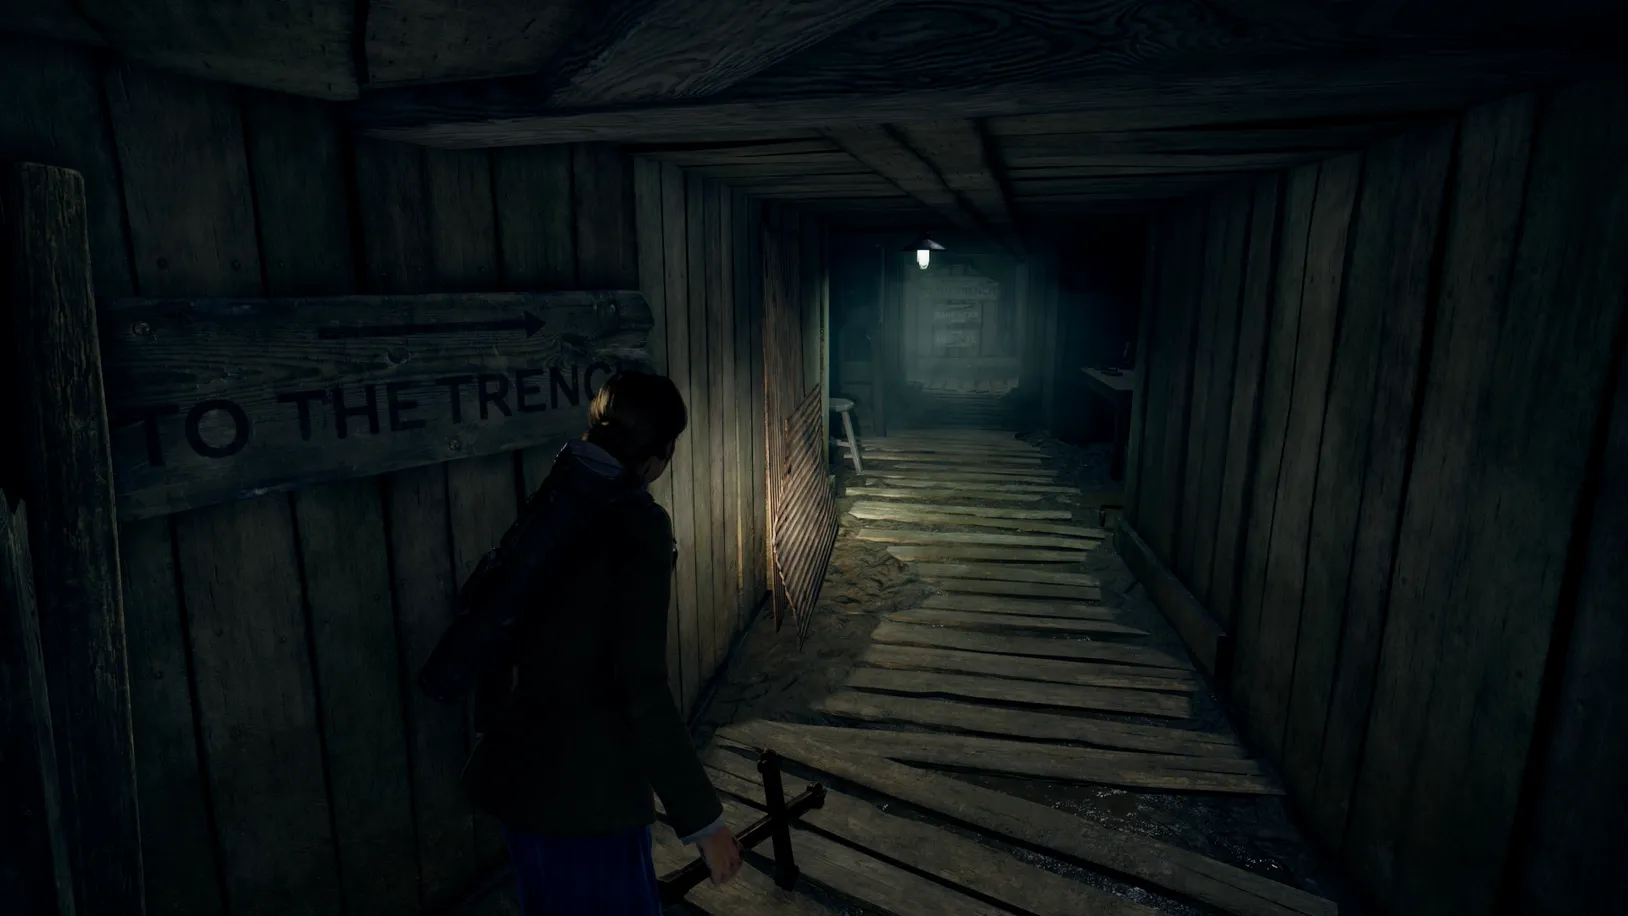
Finding yourself in the trenches of France during World War 1, make your way out of Ruth's room and follow the trench until you reach a crawl traversal.
On the other side, turn left and continue following the trenches.
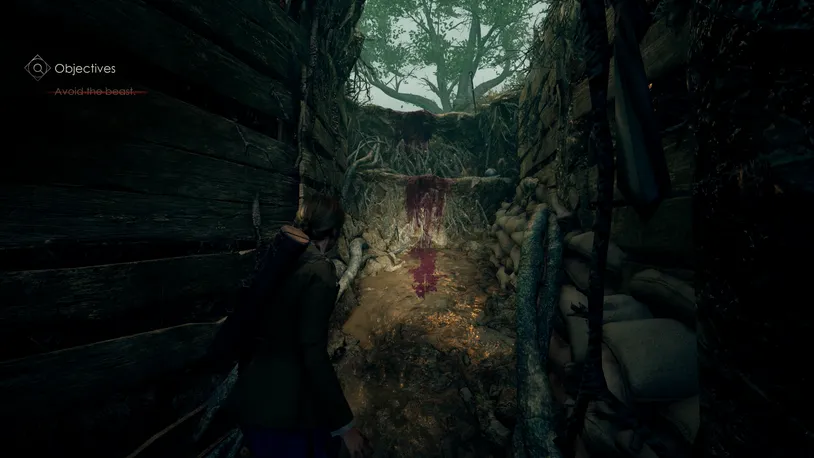
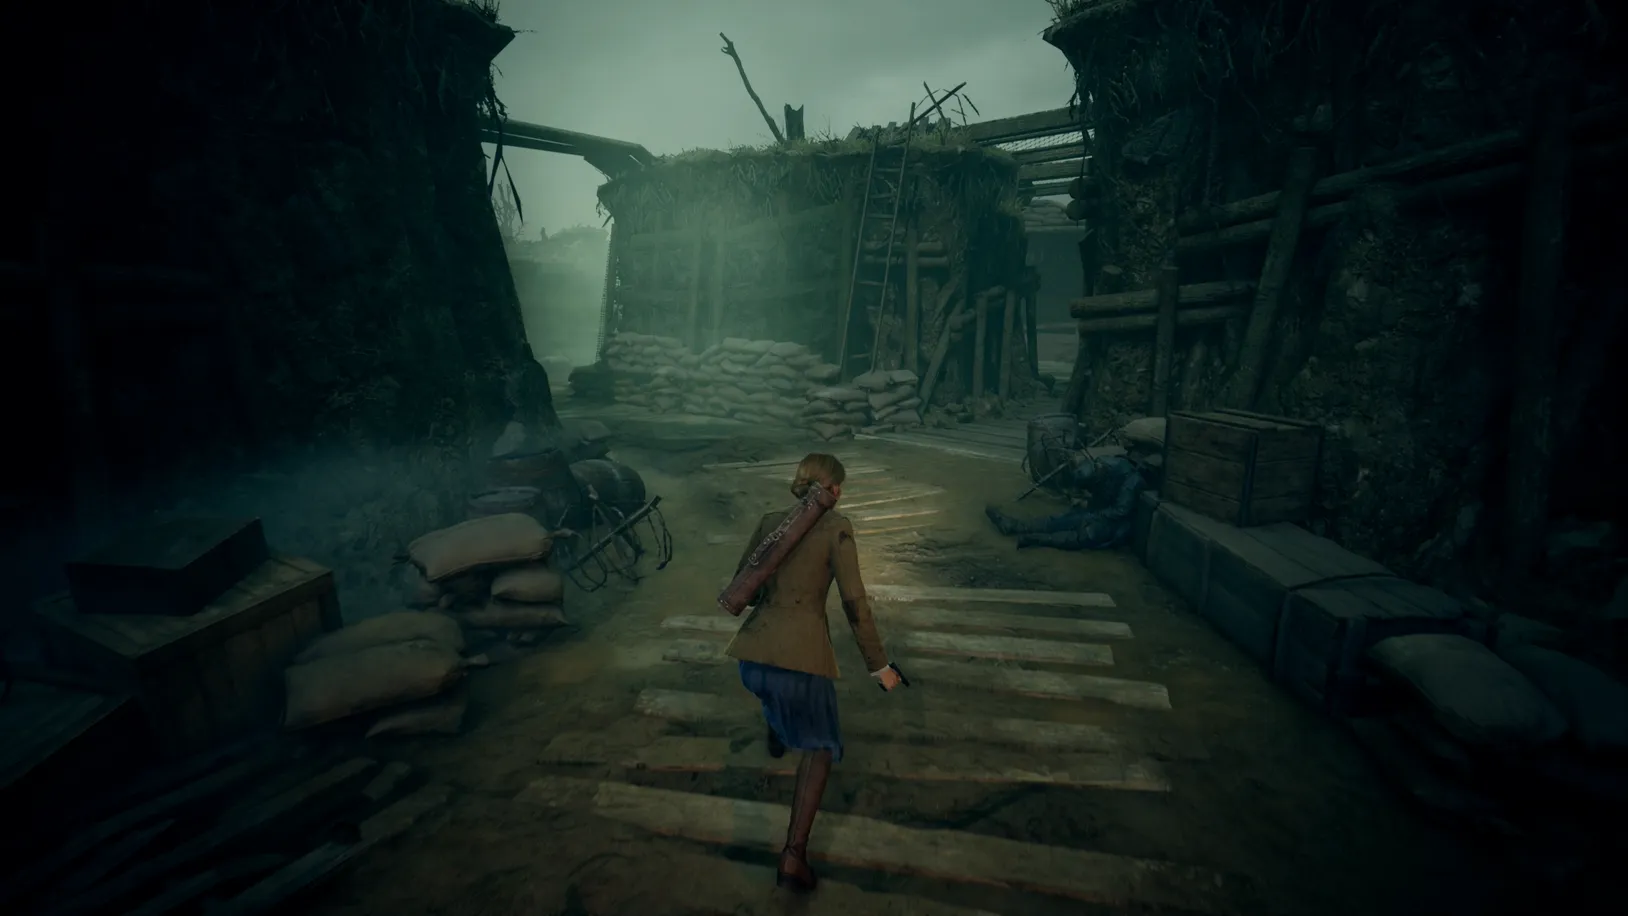
When reaching the building just beyond the flaming car, continue following the path right, past the makeshift barracks -- there's nothing inside -- and inside a tunnel. Apart from the odd bullets, there's nothing to find here, either.
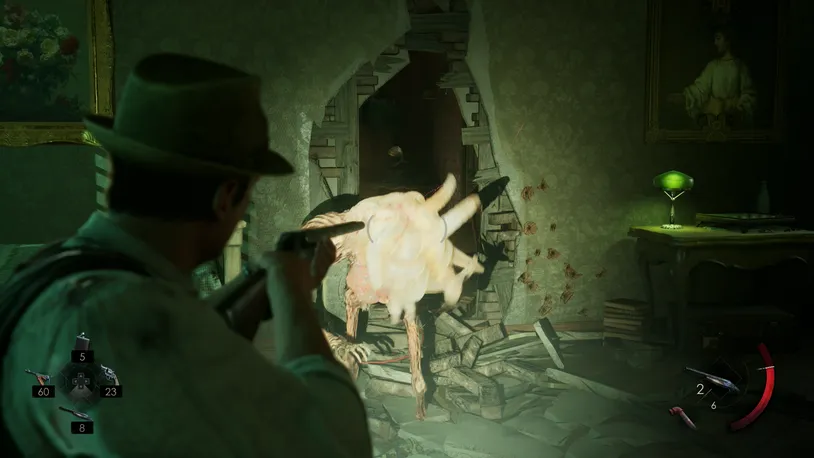
Upon exiting, the mound beast will appear at the end of the trench and will begin walking towards you, so make sure you quickly sneak into the first lit space to your left.
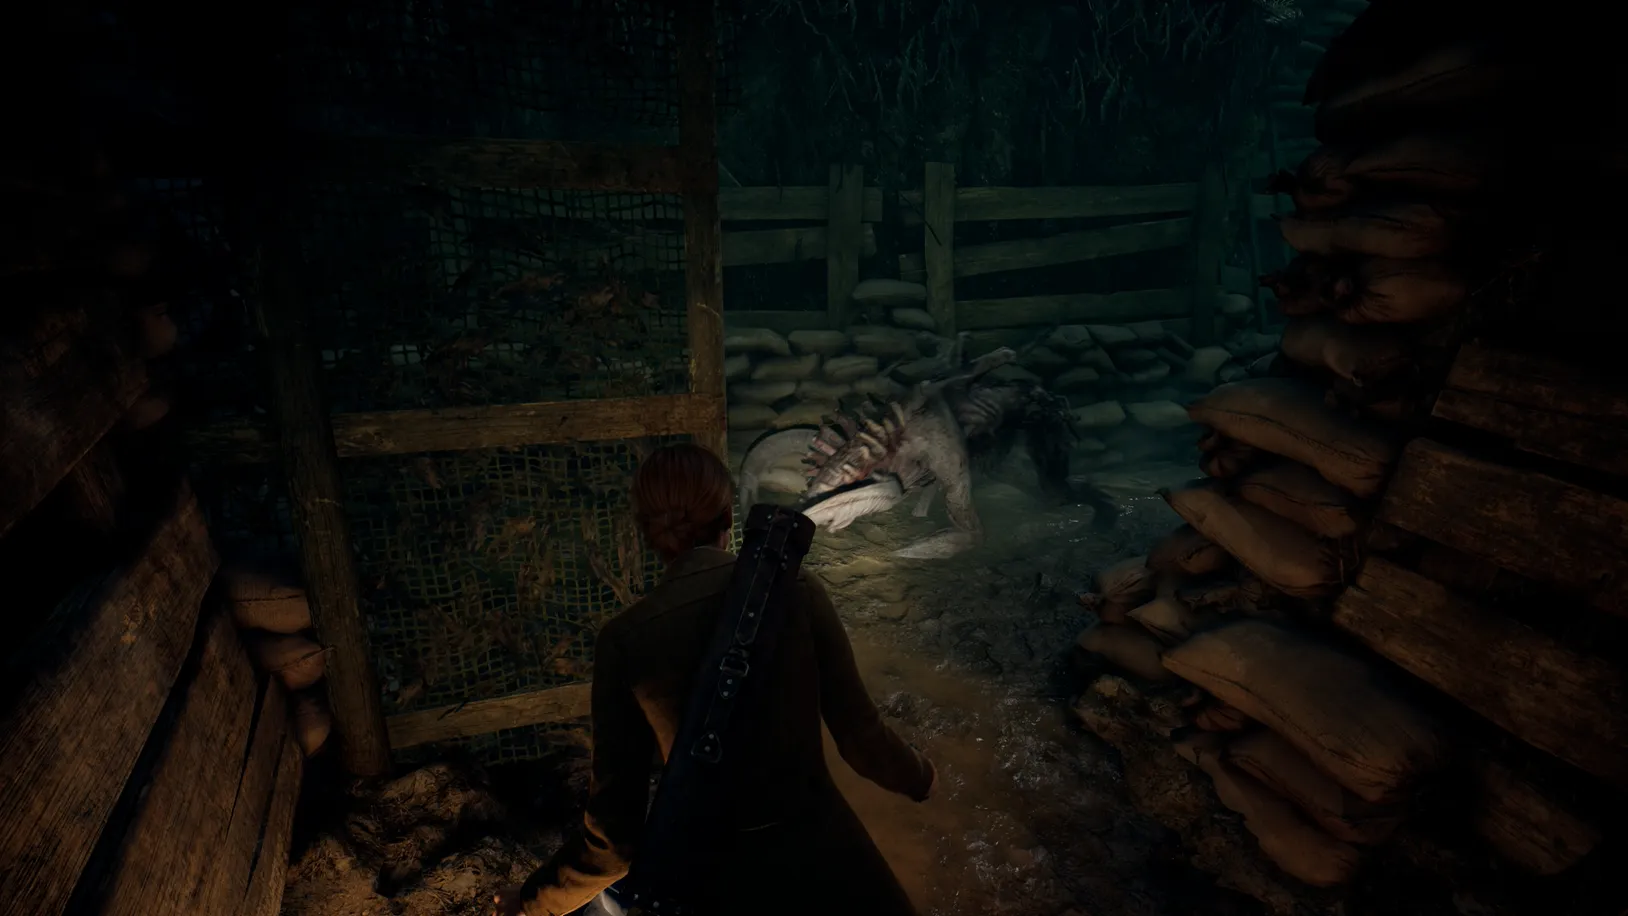
If you remain in the sneak position along the back wall of the small space, the monster will walk straight past you.
Once the Mound Beast has walked past your location, exit the small space and run for it.
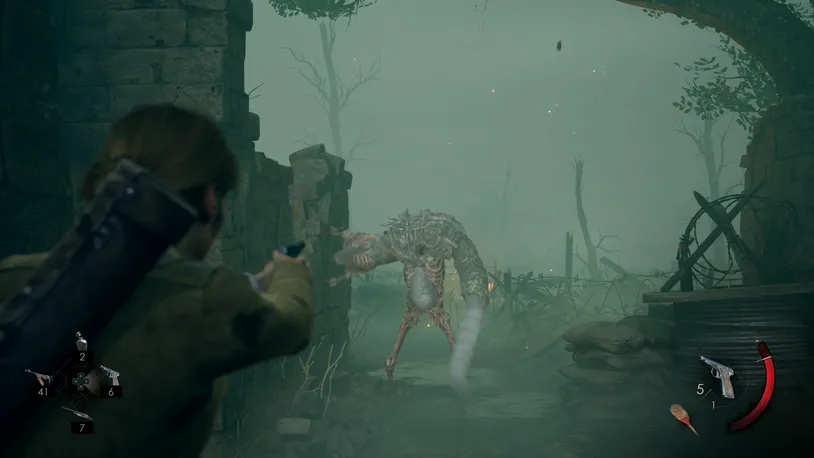
 If you're like us, we got spotted and needed to unload several rounds into the Mound Beast until it eventually retreated out of the trenches.
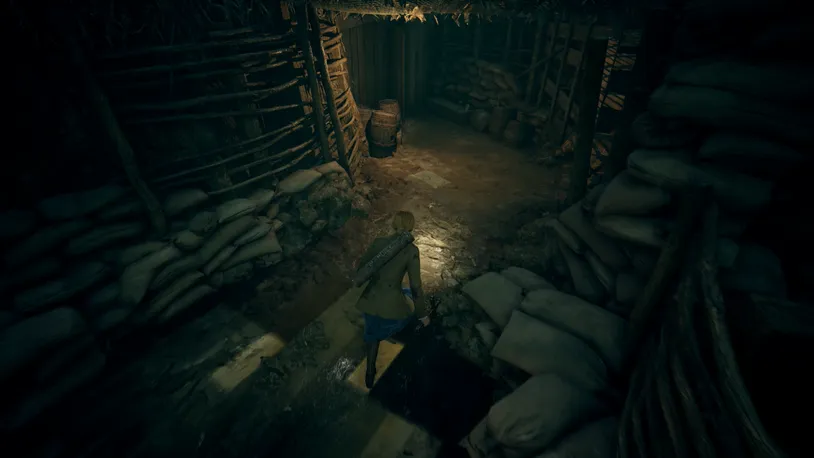
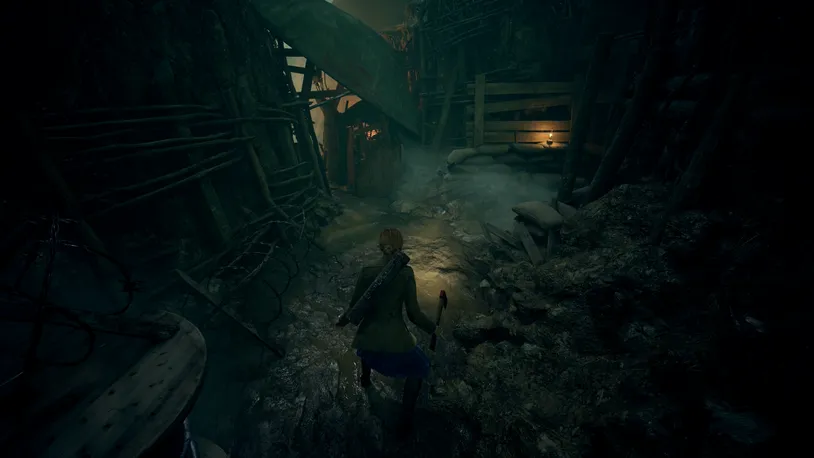
Follow the path, squeeze through the gate, and climb the makeshift steps to the top of the trenches.
Walk straight ahead, defeat the monster you'll encounter, and then find a jump down to the right.
Sneak past the Mound Beast once more and follow the path right, where you'll find a tunnel.
Enter the tunnel, turn right, and then left. Signs on the wall can help guide you to the trenches.
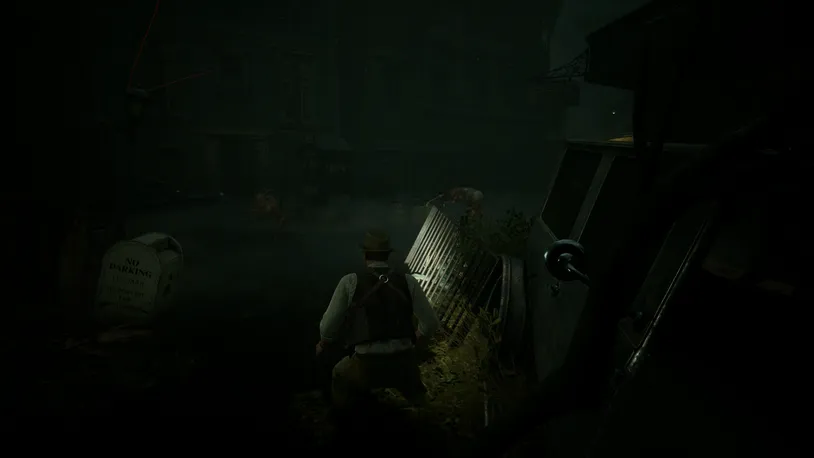
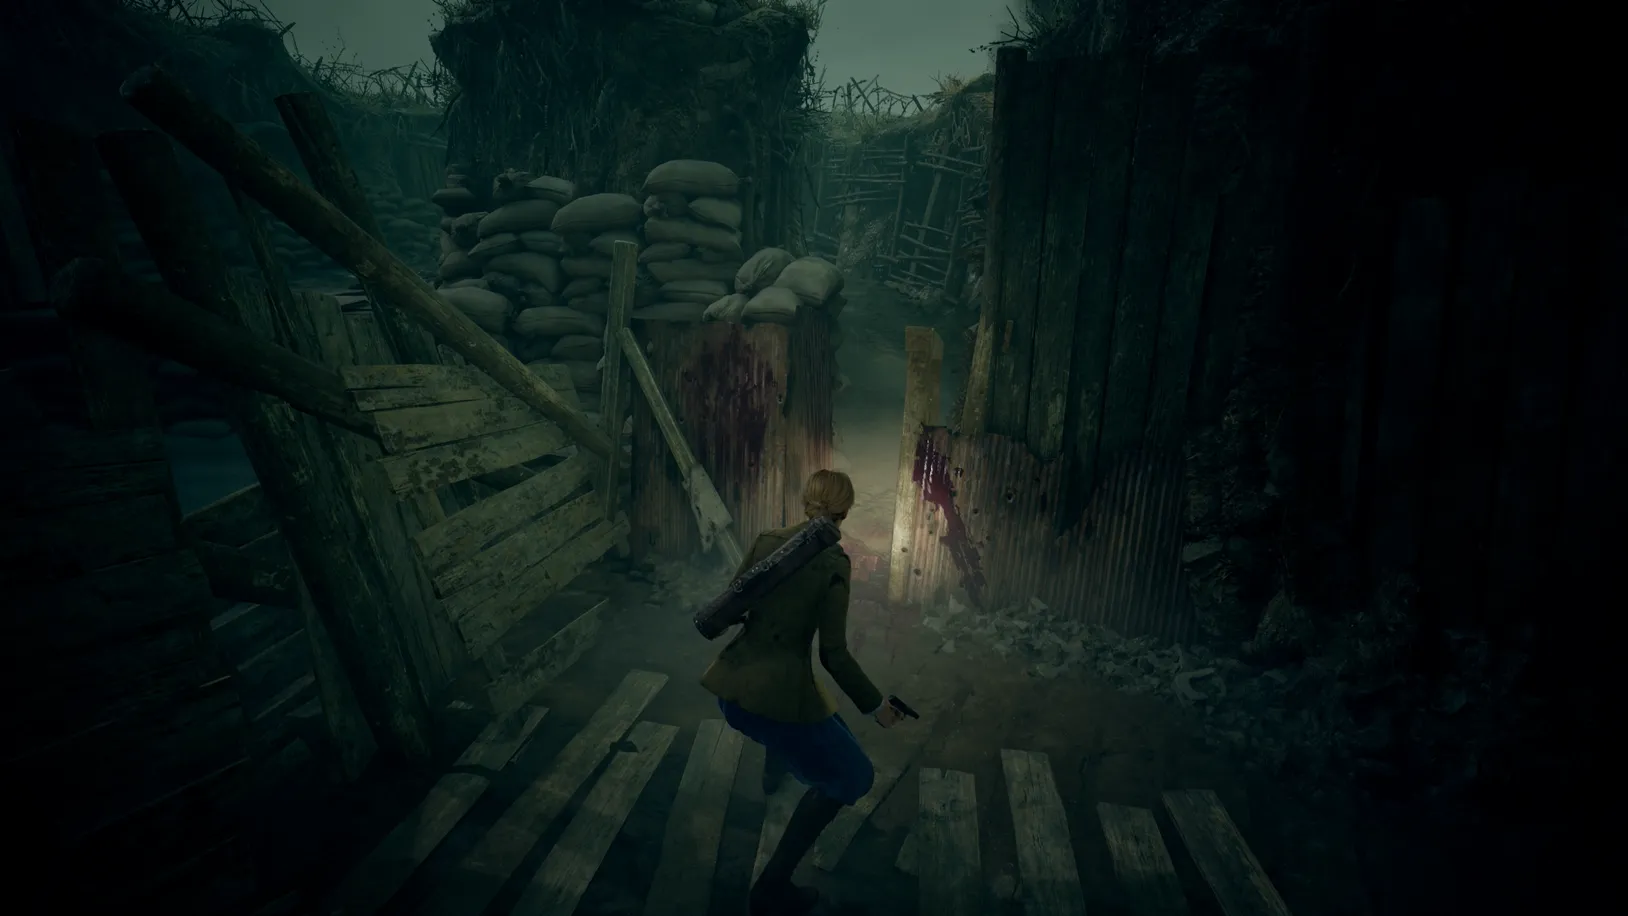
Exit the tunnels and follow the path around for some time (sneaking to avoid the Moundbeast) until you reach a wooden barrier that you'll need to break through.
Once broken through, squeeze the collapsed path ahead, and you'll enter another section of the trenches.
Continue following the path and squeeze through the gap to your right.
Then follow the path around, jump down the ledge, and head into the nearby tunnel to your right. Upon trying to enter, the Mound Beast will chase you, so quickly race through the tunnel until you reach a dead end.
Just as the Mound Beast reaches you, an airstrike will occur, and the screen will fade to black.
Crawling out from the debris, continue forward towards the frozen explosion, and you'll enter a cutscene.
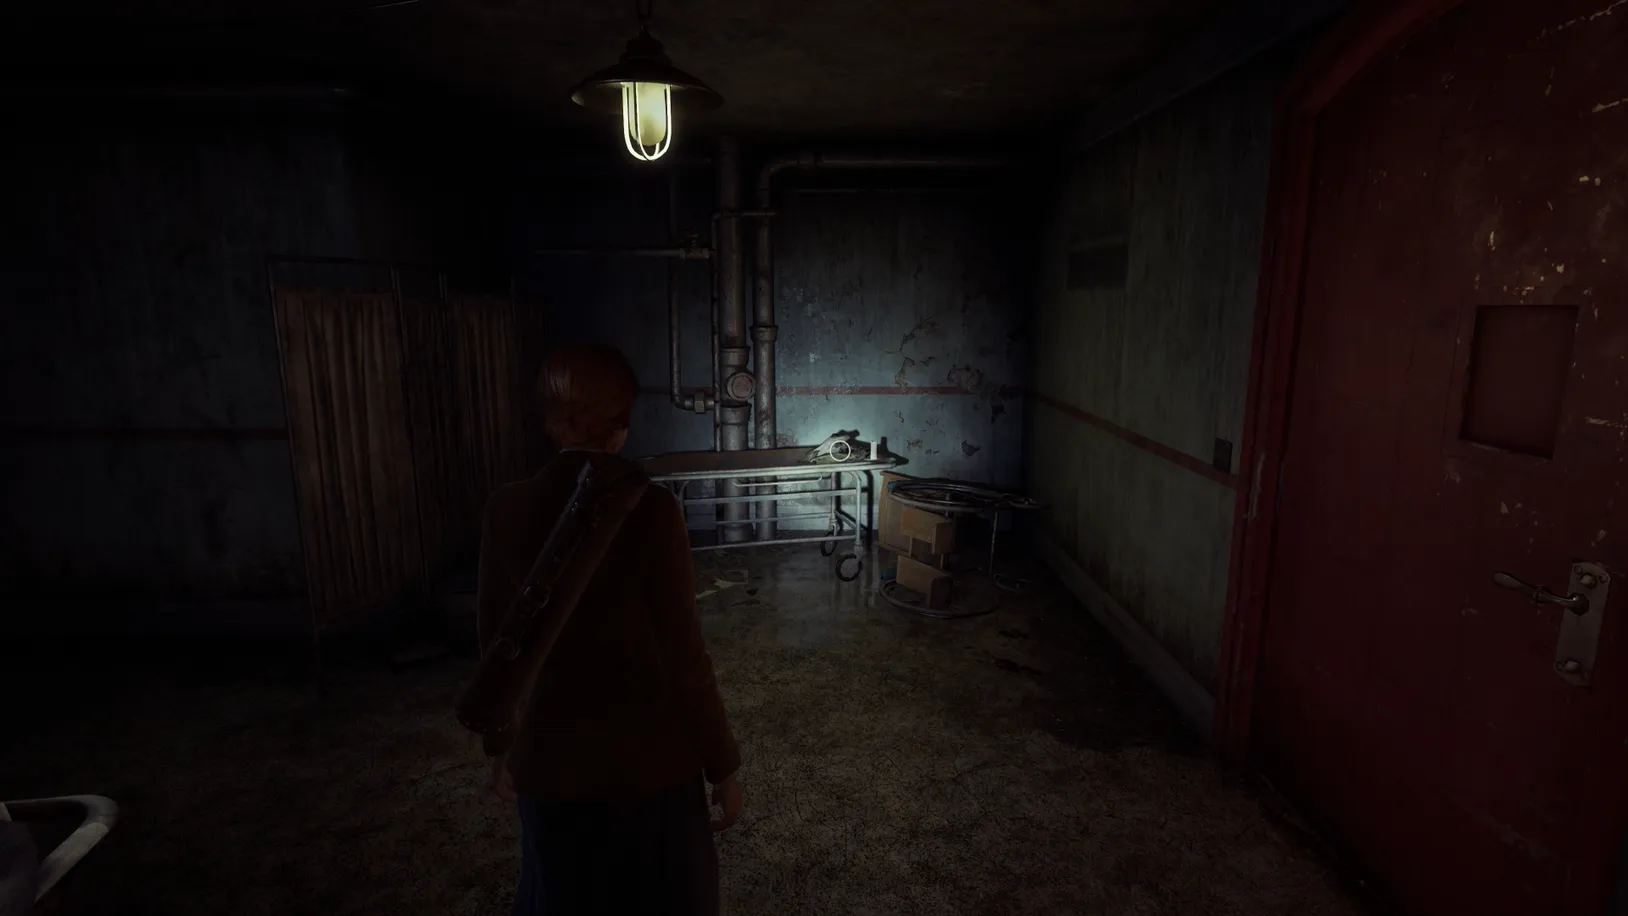
Escaping the Medical Ward
Returning from the Warphoto anomaly, you'll find herself in the Medical Ward—. Before you can make sense of anything, you'll need to turn on the power so you can read the floor plan.
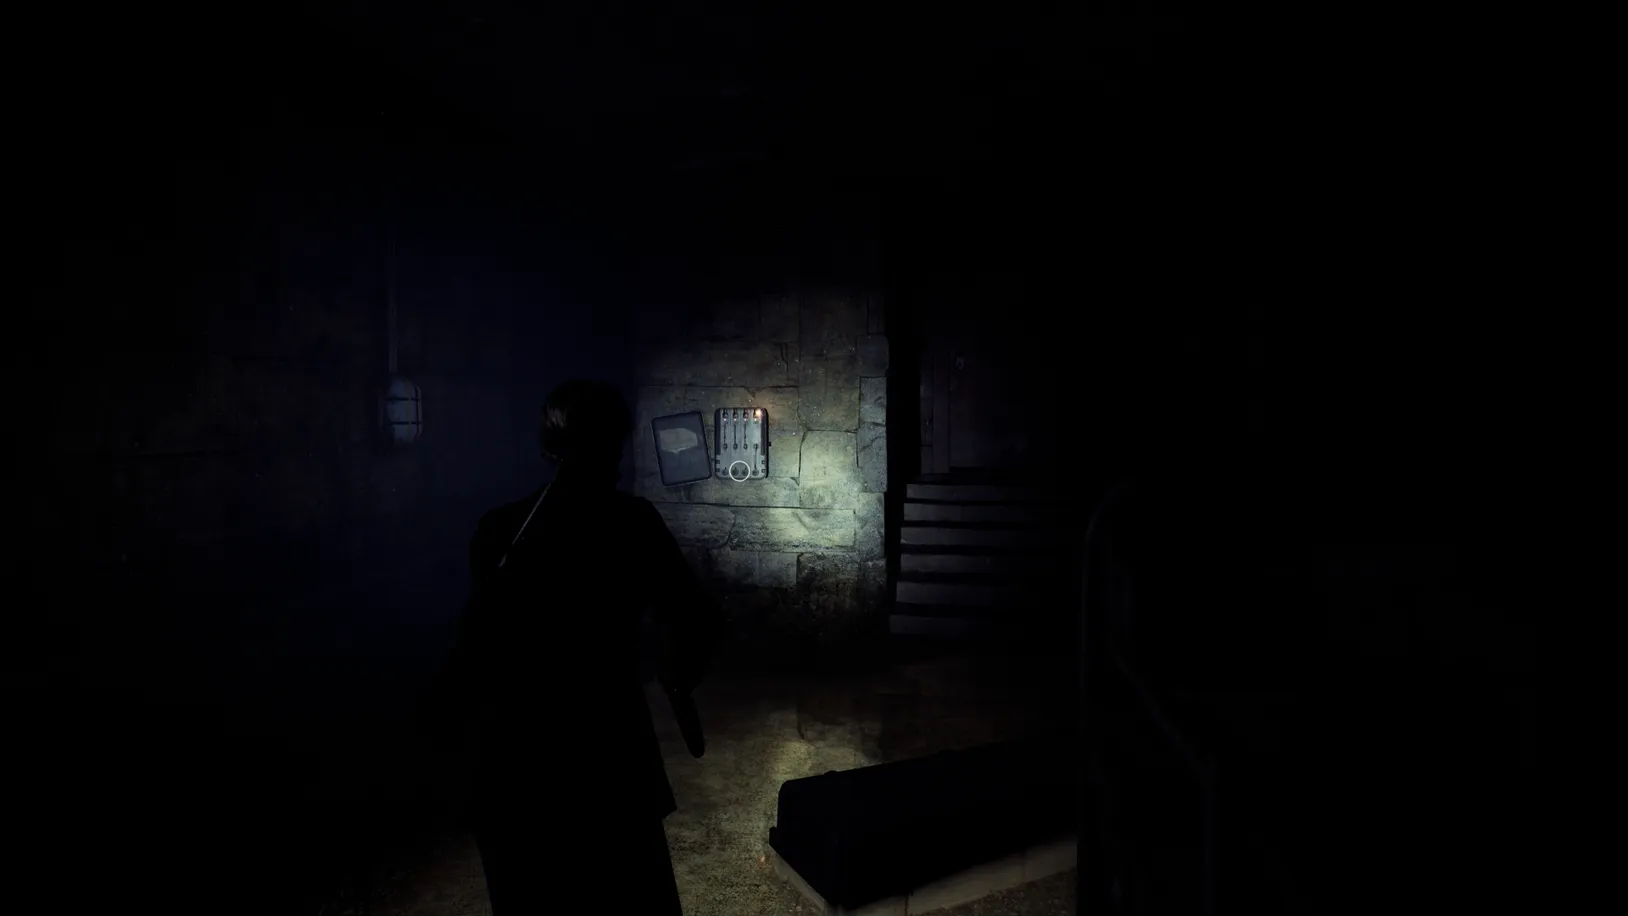
To do so, continue through the next two rooms until you come across a breaker box in the back left corner of the furthest room.
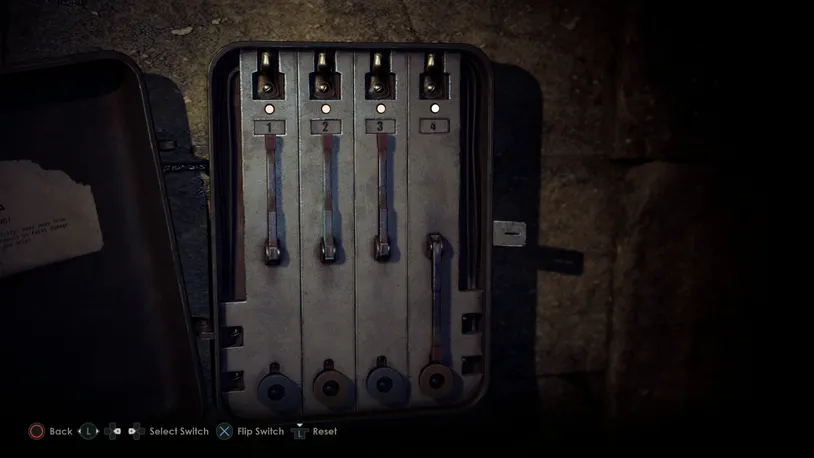
To turn on the power, pull down only the second switch.
With the lights turned on, you'll need to find some clues to where you are. The Derceto Entombment Plans B are in the broken cabinet to your right.
Derceto Entombment Plans B - Key Item
Continue to the opposite end of the room, and you'll find a Box of Biscuits on the desk.
Box of Biscuits - All the World's a Stage Set
From the above desk, turn right and open the drawer to the next desk, which contains the Closing the Refuge clue.
Closing the Refuge - Clue

Once you have those collected, you'll find the Derceto Entombment Plans A on the center bench, next to the blueprint plans that are laid out.
Derceto Entombment Plans A - Key Item
With both plans collected, place them on top of the blueprints on the central table, where you'll then need to rearrange them.
After solving the blueprint puzzle, you'll enter a cutscene that will see the Dark Man giving Emily The Truth key.
Truth Key - Key Item
Before leaving, be sure to pick up John's Toe Tag Lagniappe from where he's lying on the ground.
Toe Tag - Dying With Dignity Set
With everything collected, leave the room via the door connected to the Infirmary, where you originally awoke.
Getting to the Steamboat
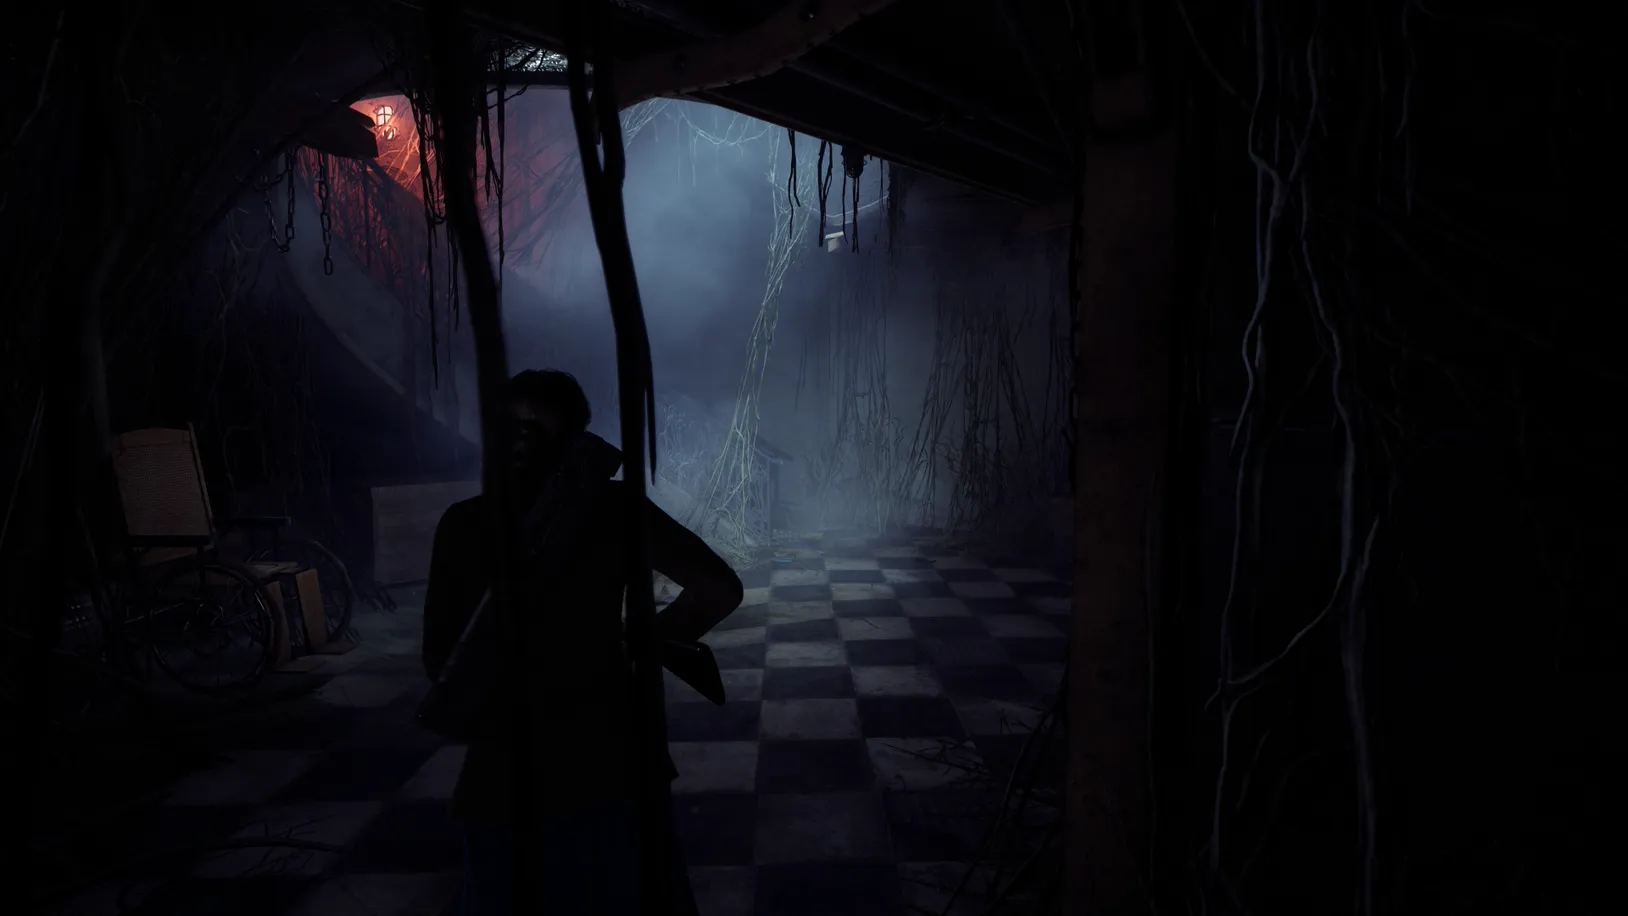
Once you're ready, enter the Attic.
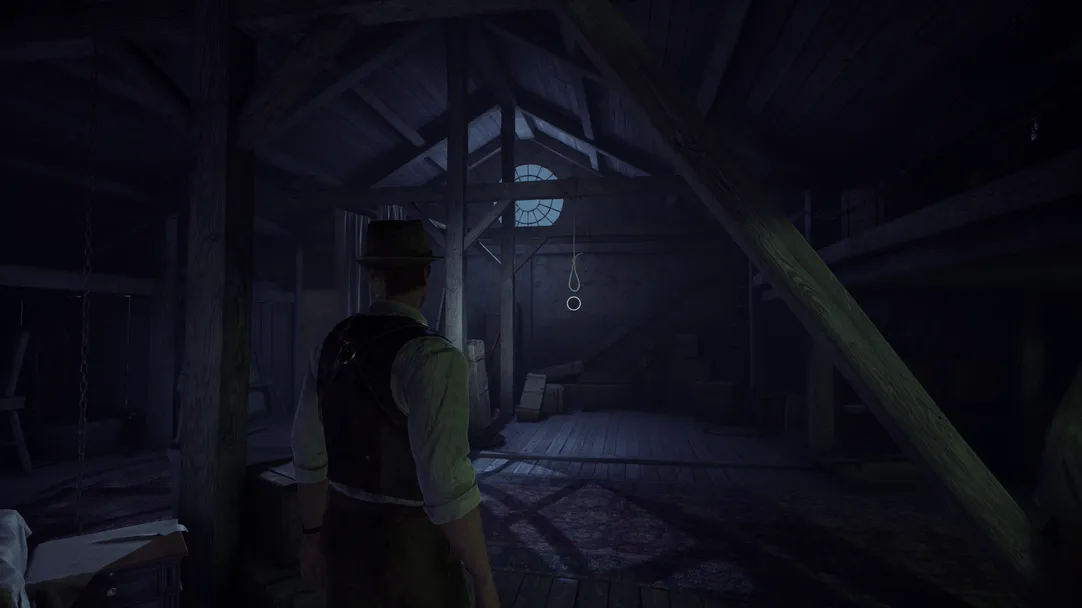 If you have completed The Hartwood Curse Lagniappe set—which requires a playthrough as both Emily and Edward—you'll unlock a secret cutscene with Jeremy if you interact with the hanging noose. This will pop the Nobody Knows What Happened trophy.
Nobody Knows What Happened
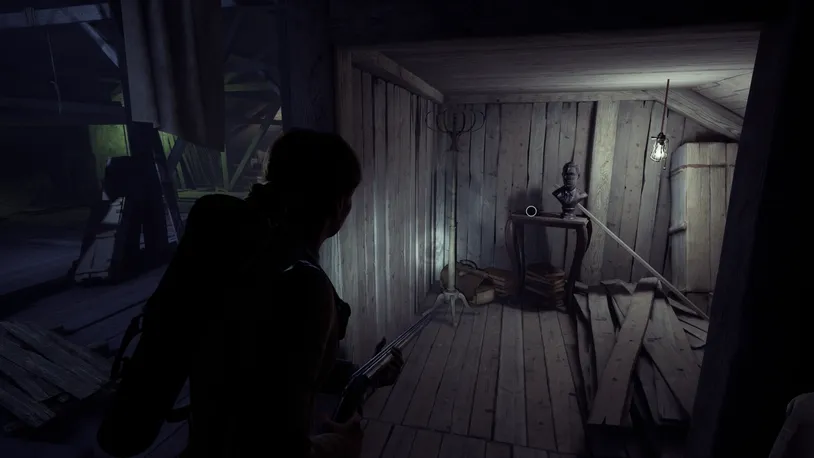
Here, you'll also find the Tessellated Shard Lagniappe on a table that's hidden inside a small room, not too far from the hanging noose.
Tessellated Shard - Prisoner of Ice Set
Once collected, open the box that's on the ground in the main area of the Attic, and add the Jeremy's Darkness piece.
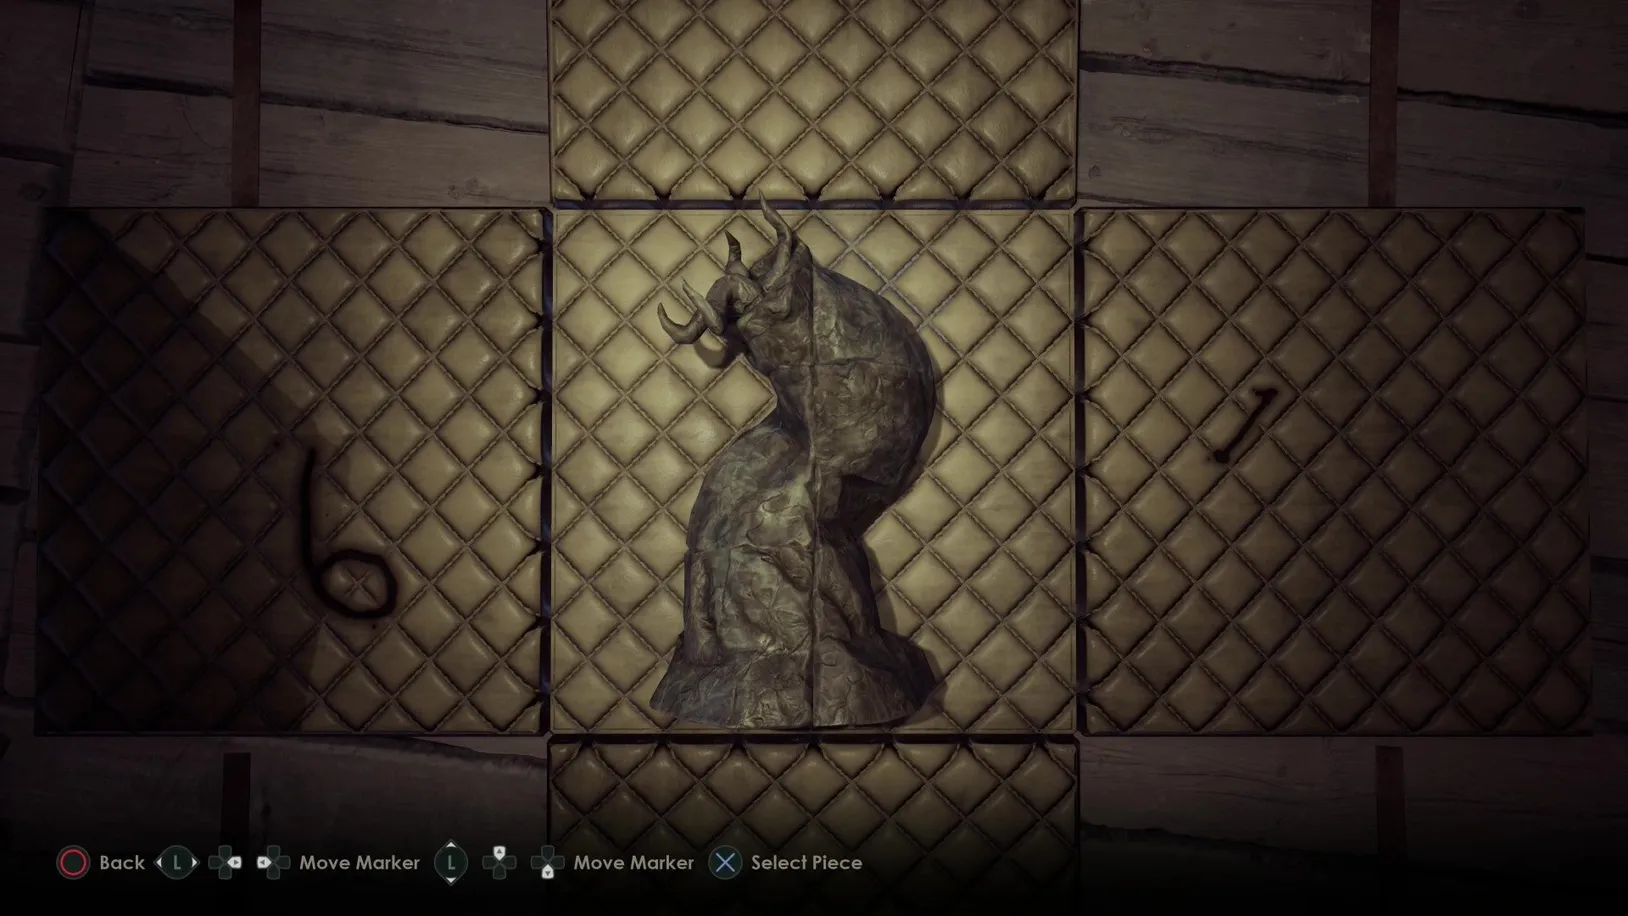
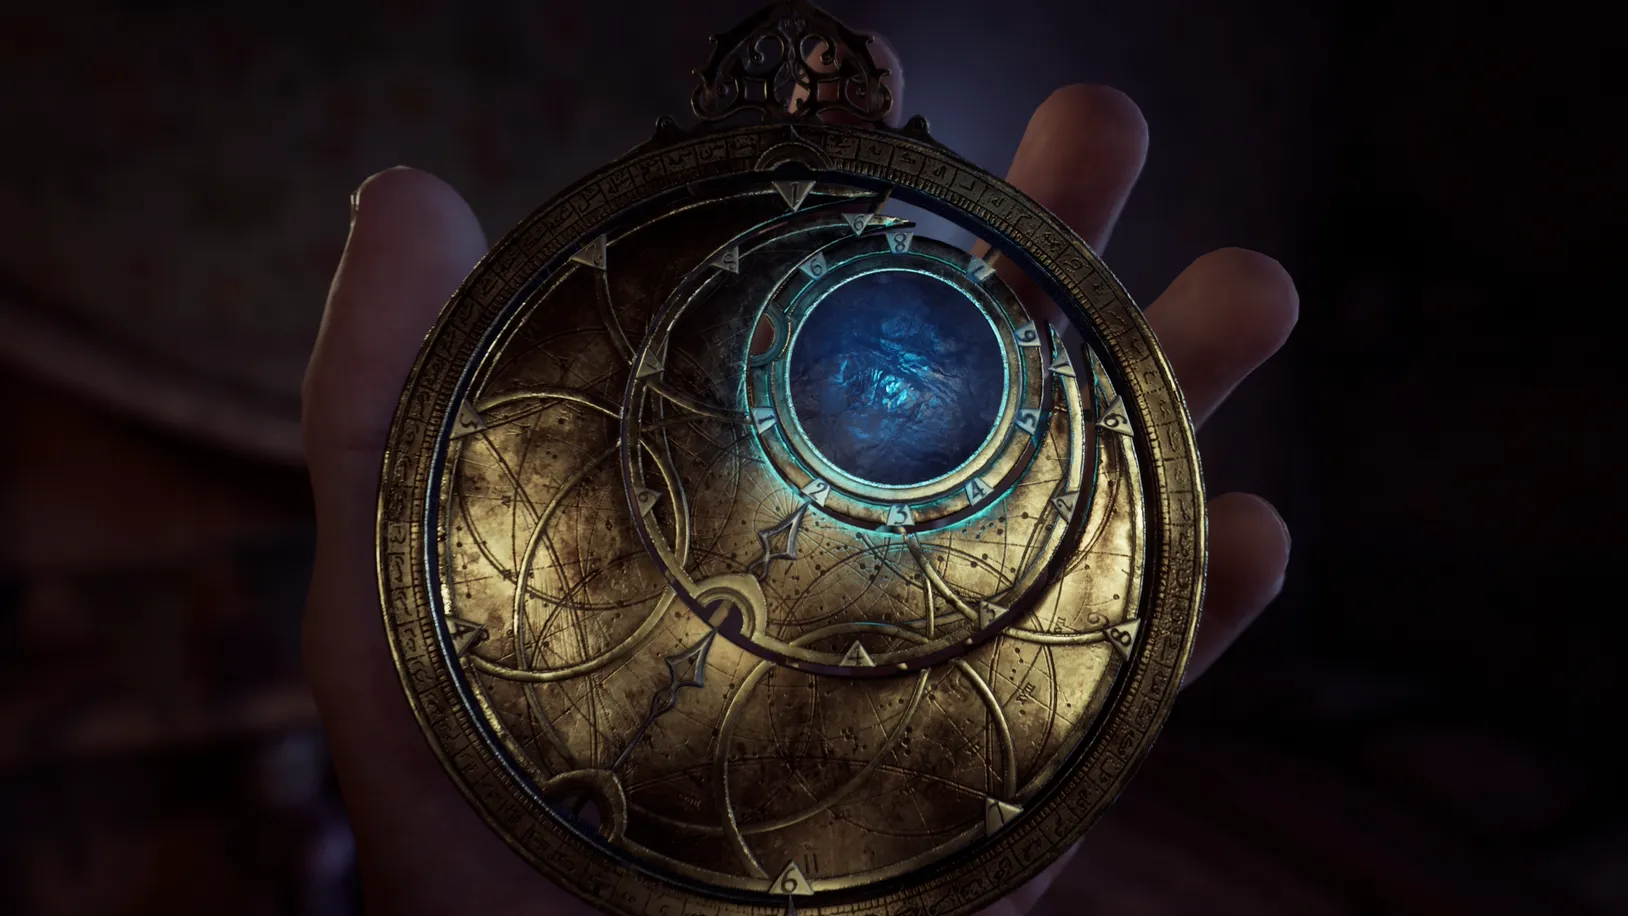
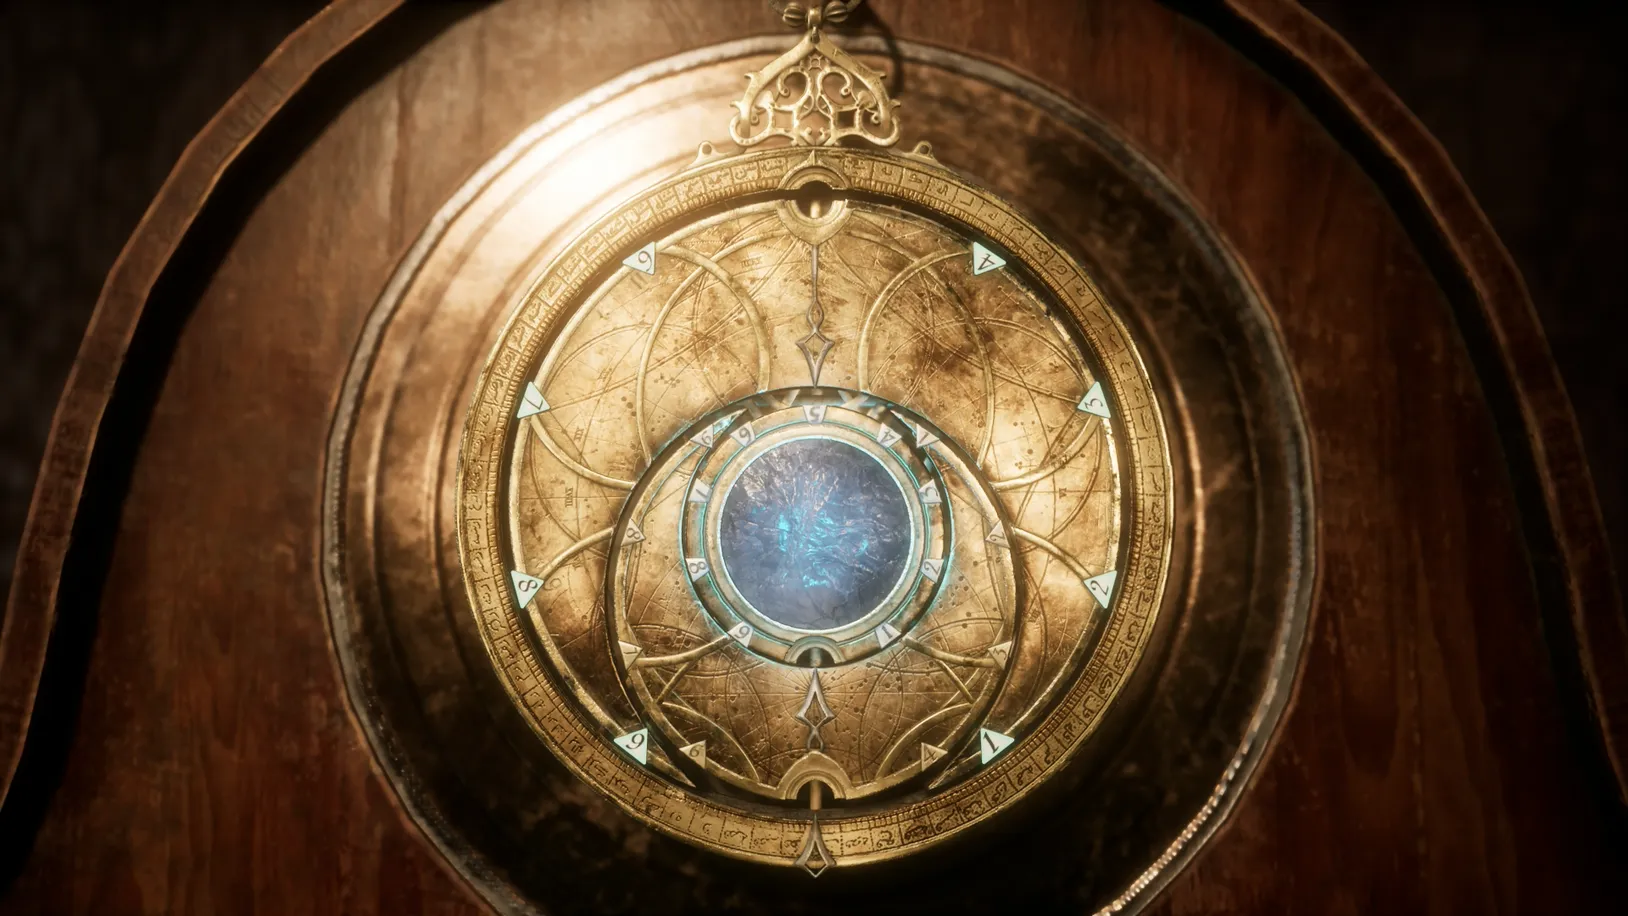
Solve the statue puzzle by forming the statue into a worm-like shape. To progress with the story and travel to the Steamboat Anomaly, add the talisman to the statue and enter the numbers (from top to bottom) into it.
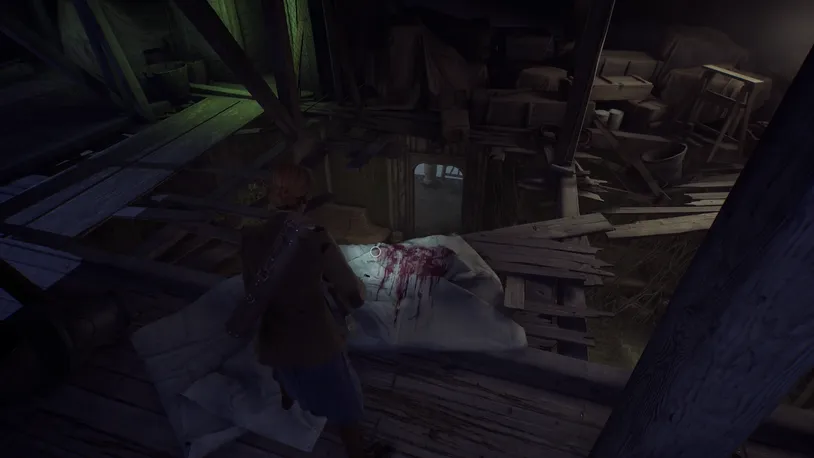
Then, you can jump down the broken floor in the attic to enter the Steamboat.
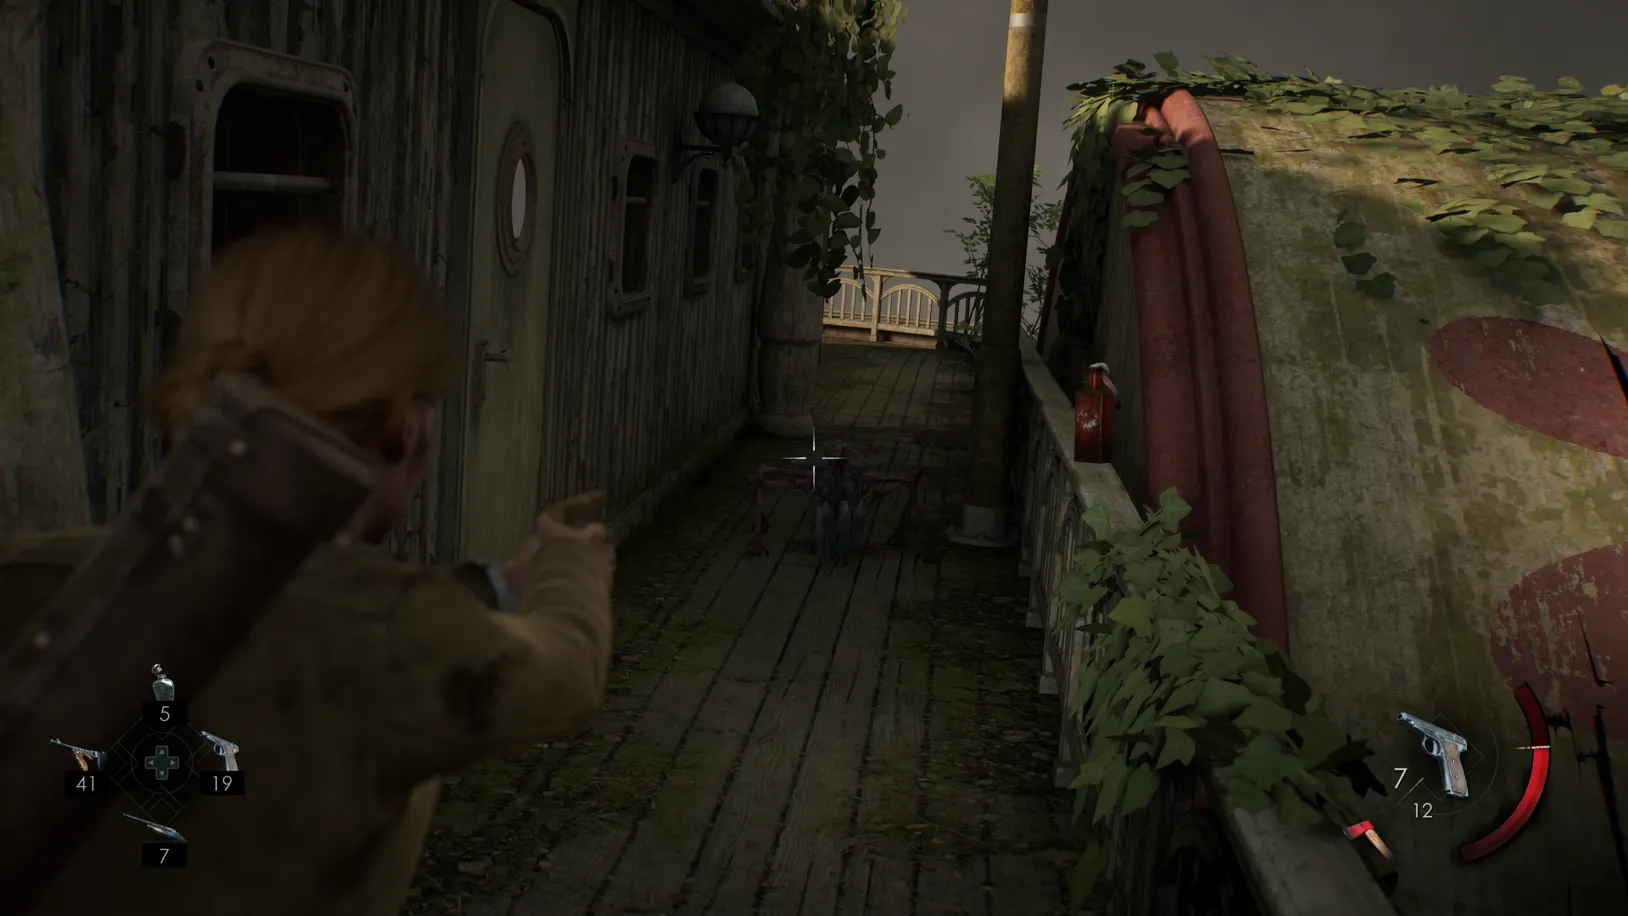
Escaping the Steamboat
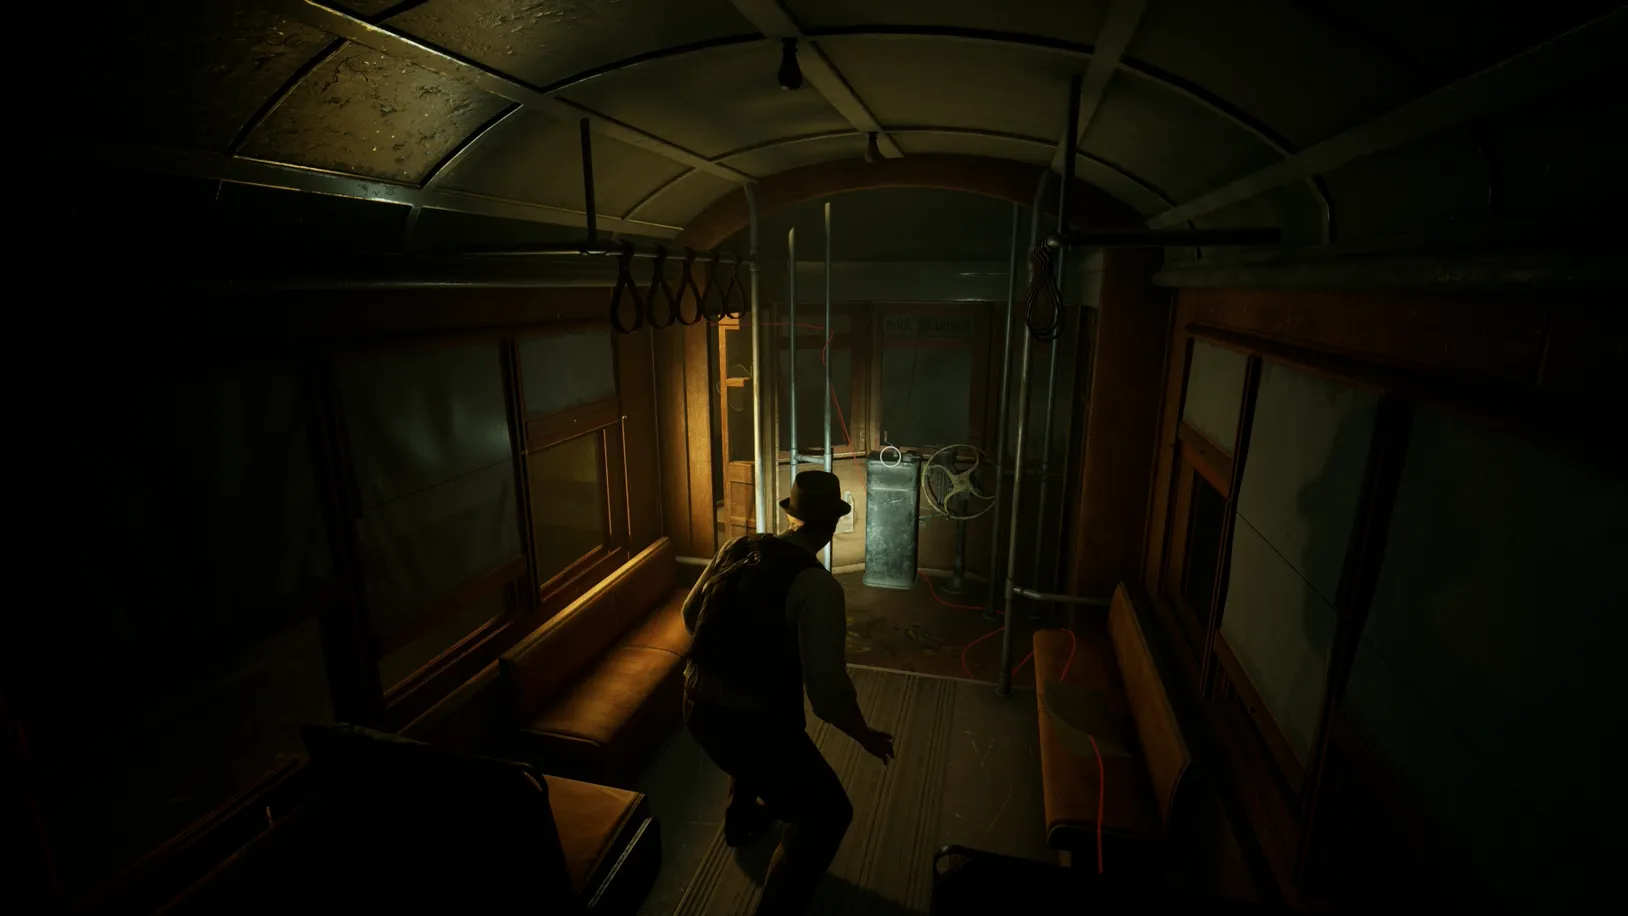
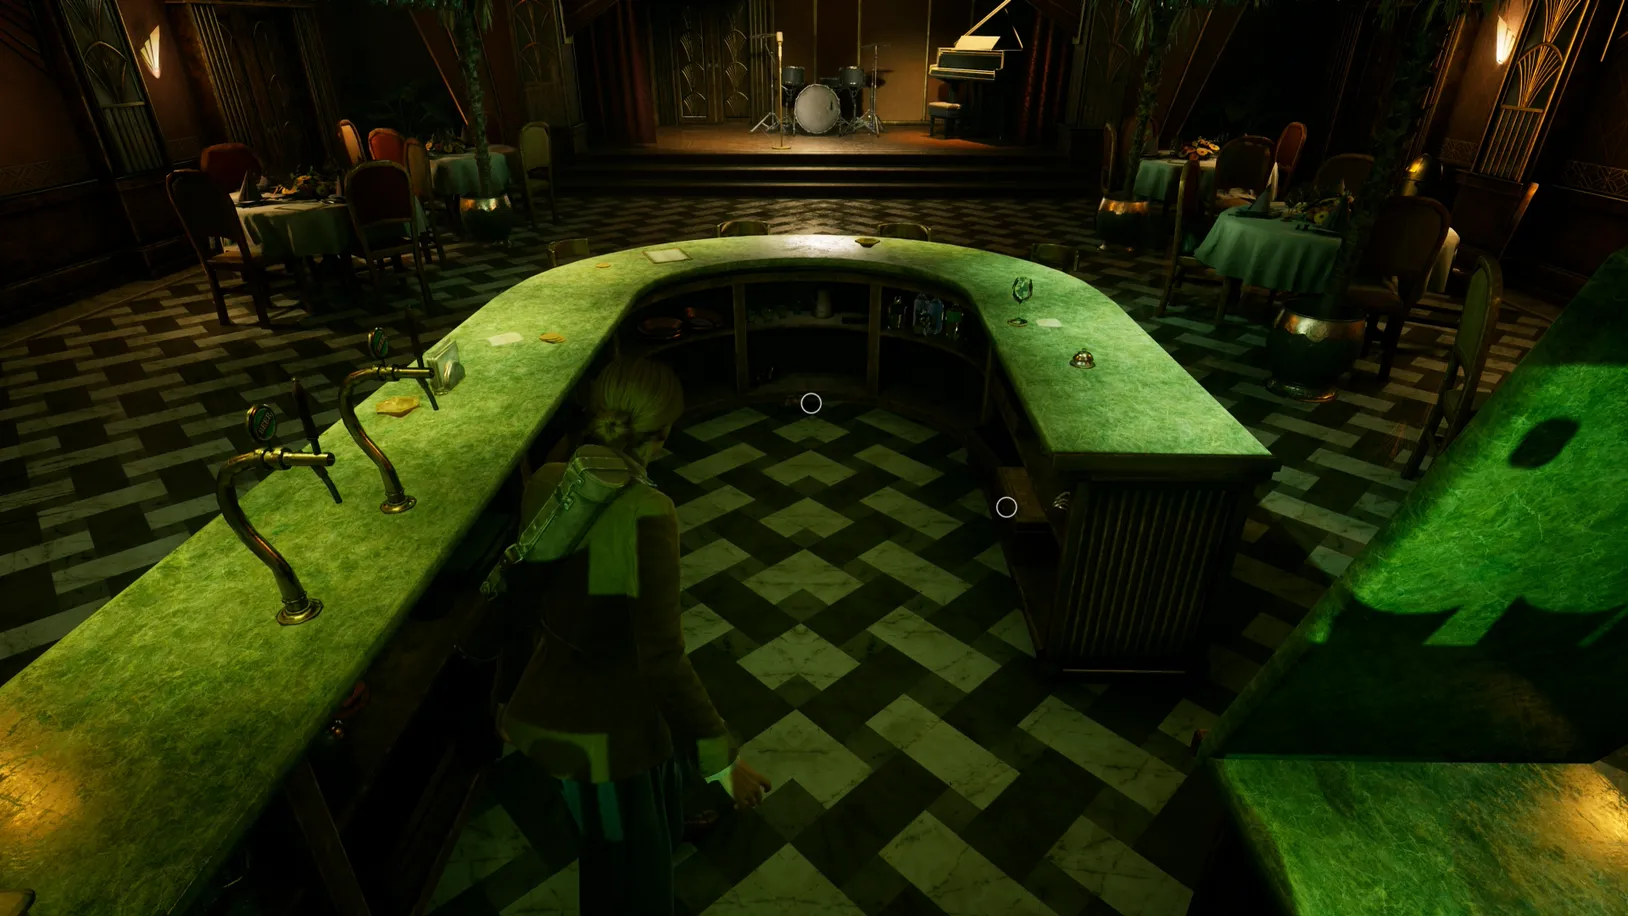
Walk through the double glass door and make your way across the room. Exit the room through the door on your right, which will take you outside.
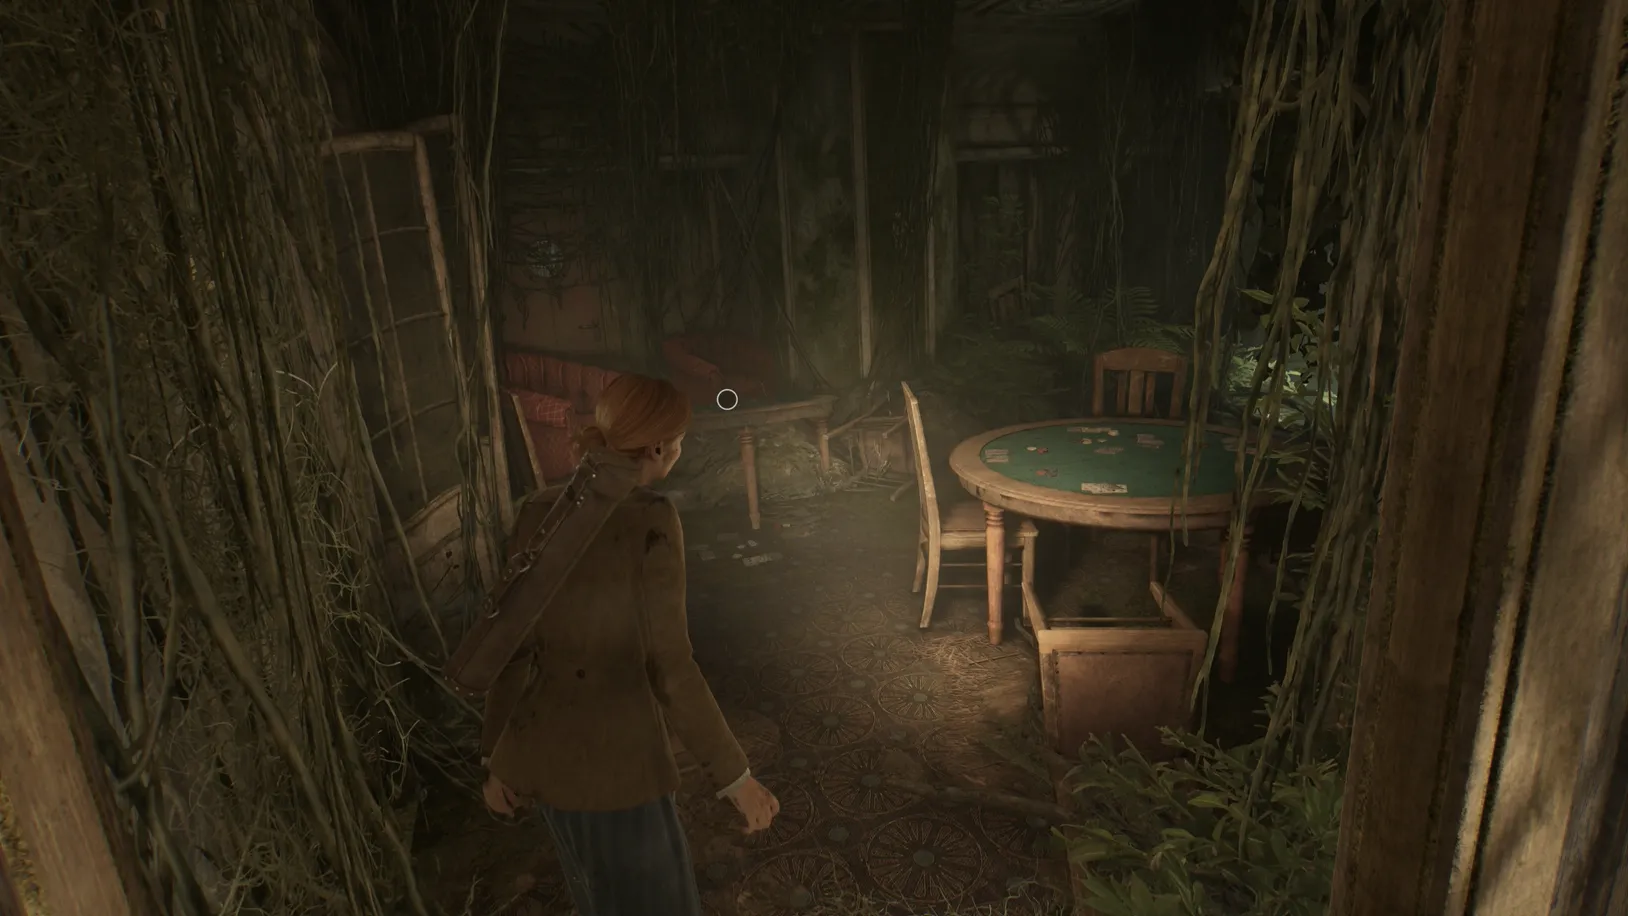
Enter the room with the poker tables. Here, .
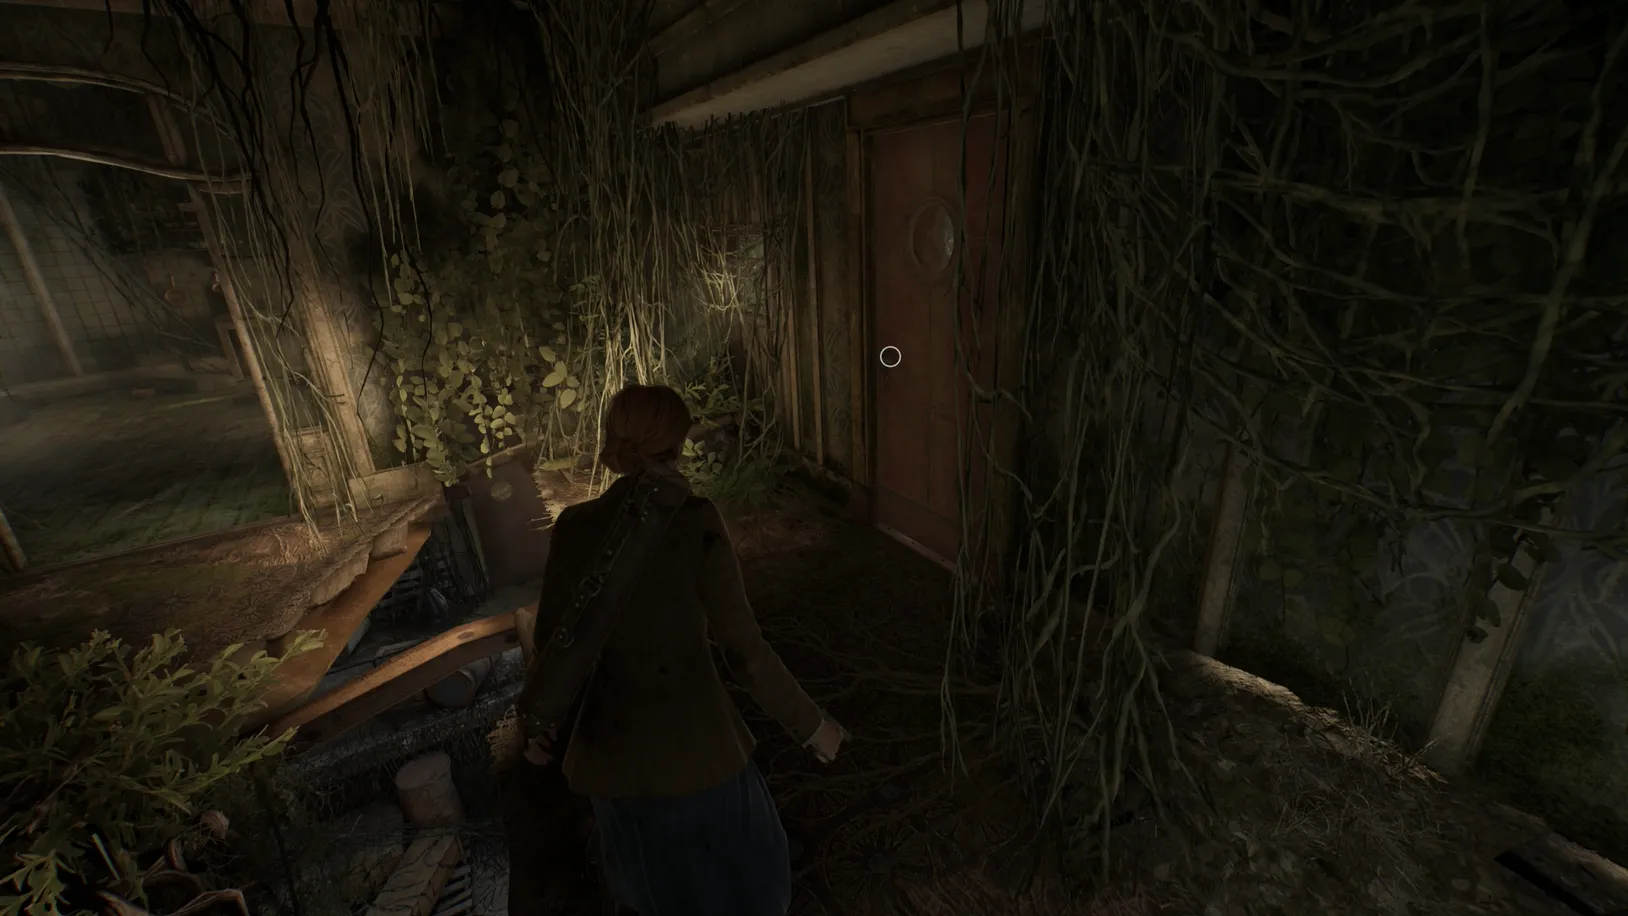
Now, walk past the big hole in the floor and through the next door to the outside. Now, before continuing to the top deck, descend down the nearby stairs until you reach the bottom floor.
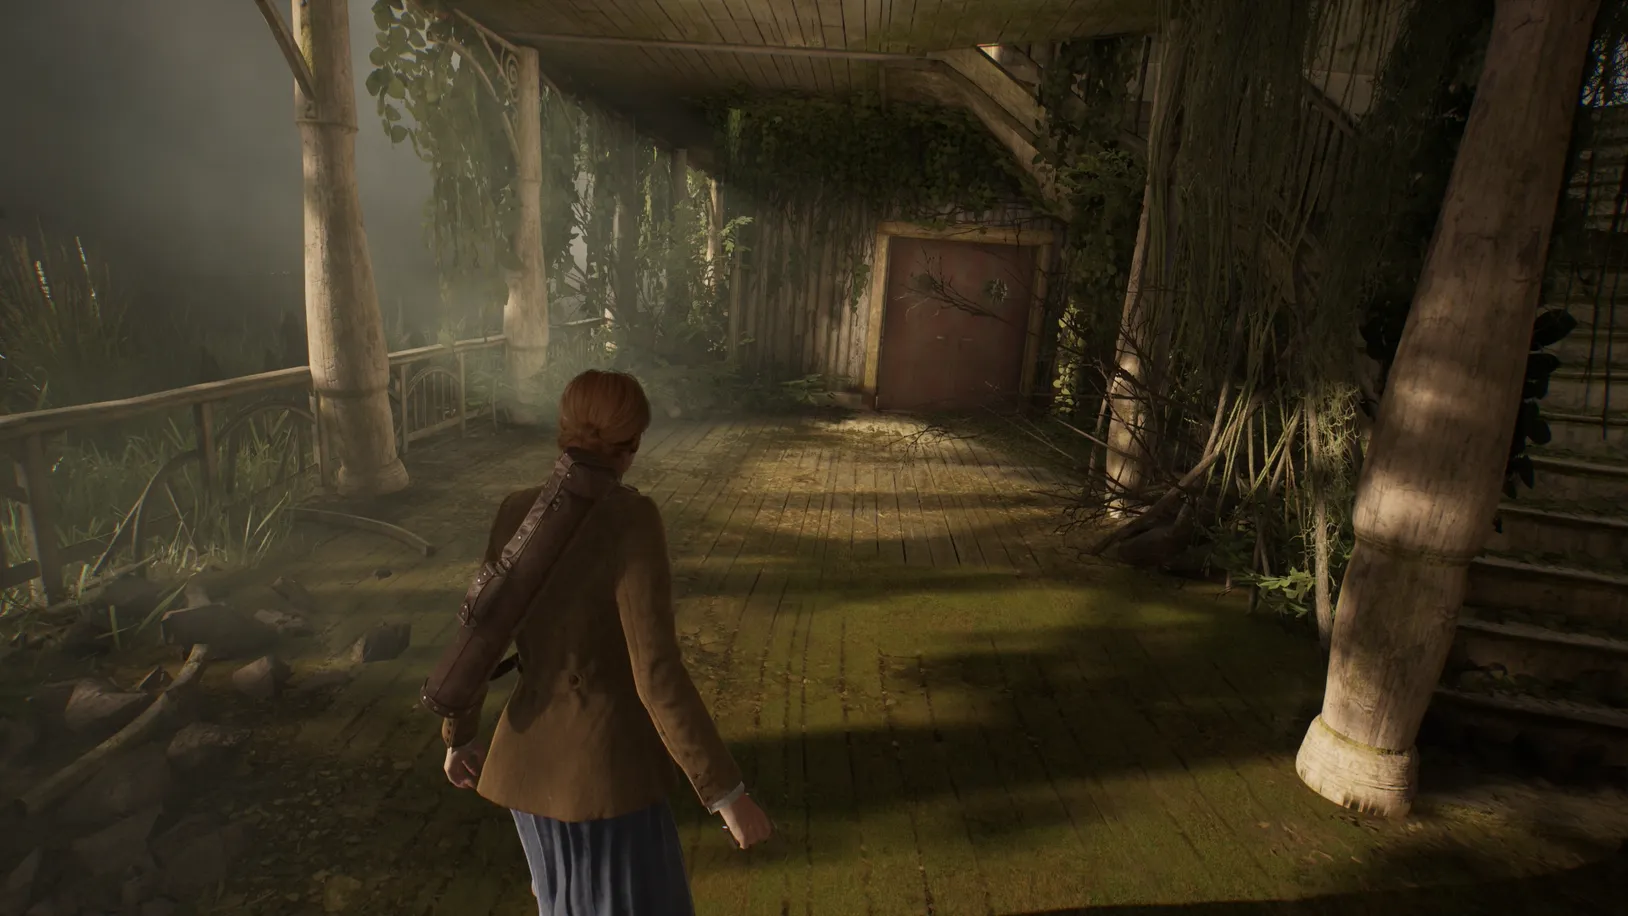
Turn right, and head through the double red doors, where you'll find the Broken Compass Lagniappe on top of a wooden crate when entering.
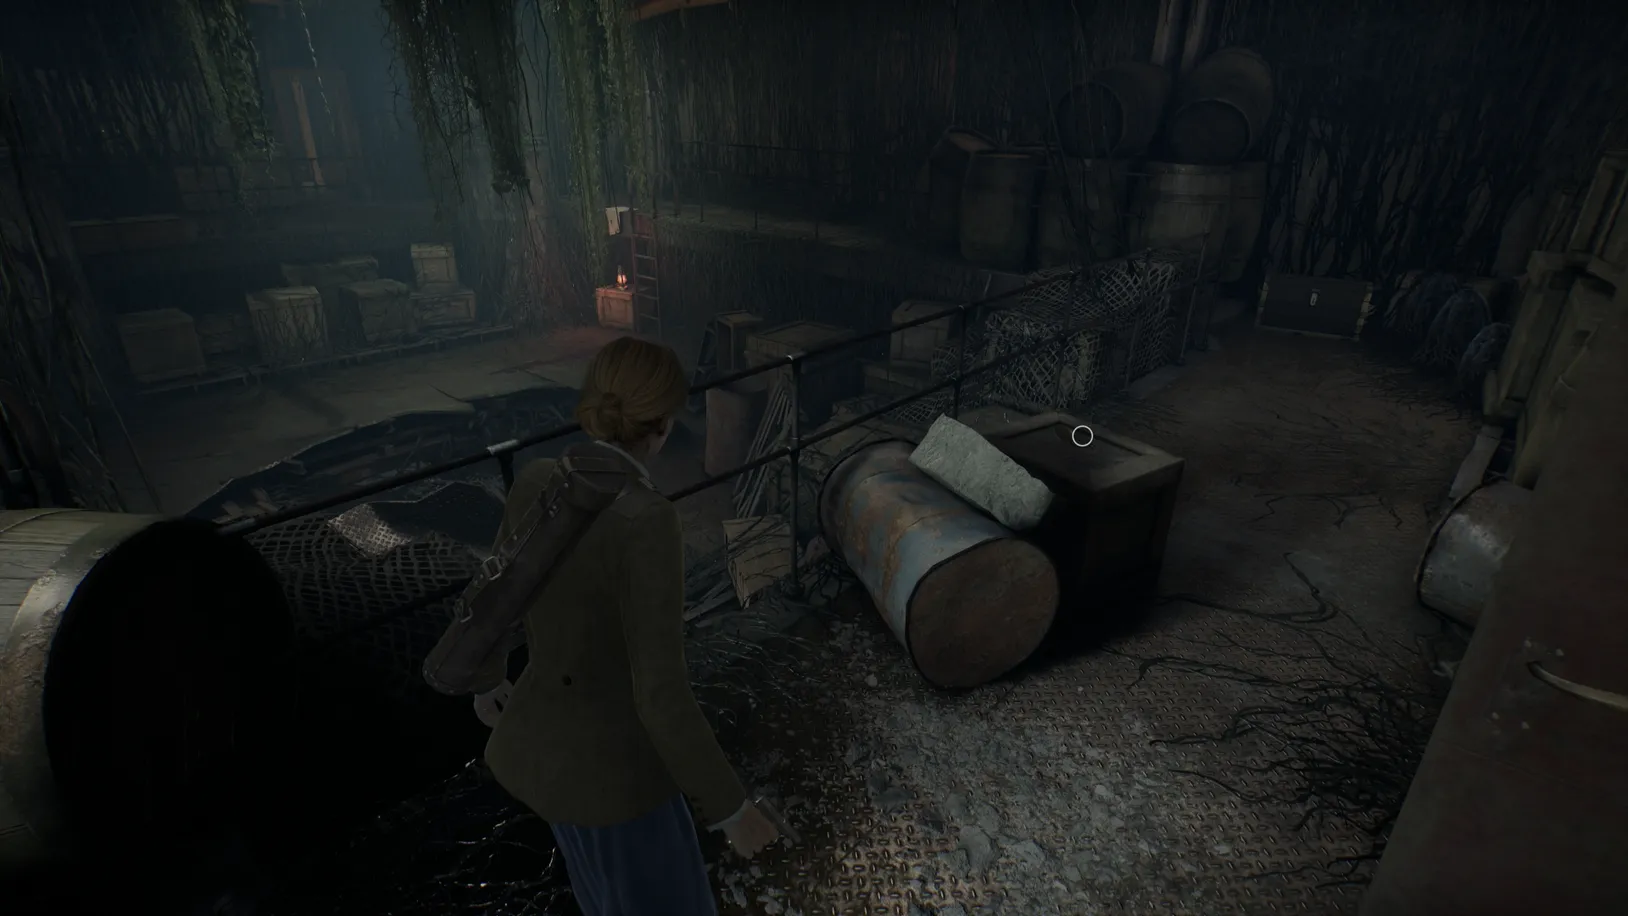
Broken Compass - Vagabonds Set
Once you have that collected, make your way up to the top deck. On the top deck, you'll find a hole in the floor.
Jump down, and you'll find the Pallid Mask Lagniappe on a red chair just through the kitchen doorway, around the corner.
Pallid Mask - The Pirates of Pontchartrain Set
Return to the top deck, and when you enter the first room, you'll encounter another Steamboat monster. However,
Do note that there is a door you can unlock in the last cabin. Whether this is required for the trophy is hard to say, as there's no way to track this.
When you're finished exploring, travel all the way around to the left side of the Steamboat, where you'll find a destructible wall that leads to the Wheelhouse.
Destroy it with a melee weapon -- there's an axe stuck in the wall nearby, if you don't have one already --and take the ladders down to reach the lower deck. Go through the squeeze-through at the bottom to reach the engine room.
Here, you can pick up an Empty Gas Can from the large wooden crate on the ground.
Empty Gas Can - Key Item
After picking up the Gas Can, head towards the nearby stairs and turn the valve to remove the steam from the stairs. Up the stairs, approach the Fuel Tank and use it to fill up the Gas Can.
Filled Gas Can - Key Item

Then, use it on the generator down the stairs to turn on the power.
Return to the top deck, where you'll encounter several Steamboat monsters that have overrun it.
After fighting your way through the monsters, go to the lifeboat on the starboard side. You can now use the lifeboat to descend to a separate area of the lower deck.
Head into the engine room, climb down the ladder, and up the other side. Take out the two nearby monsters, and then loot the area for any bullets since you've likely used most of them throughout this entire encounter.
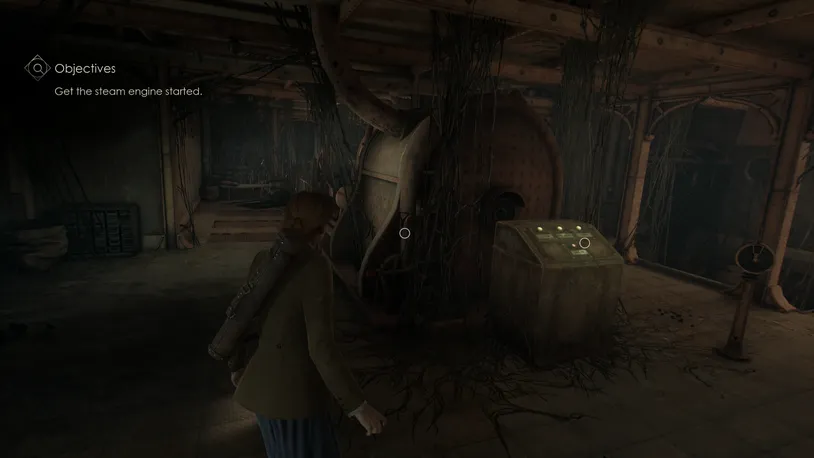
Once looted, power up the boat engine with the control panel in the middle of the room.

A cutscene will play that will take you back to Derceto.
Returning from the Steamboat and the Trauma
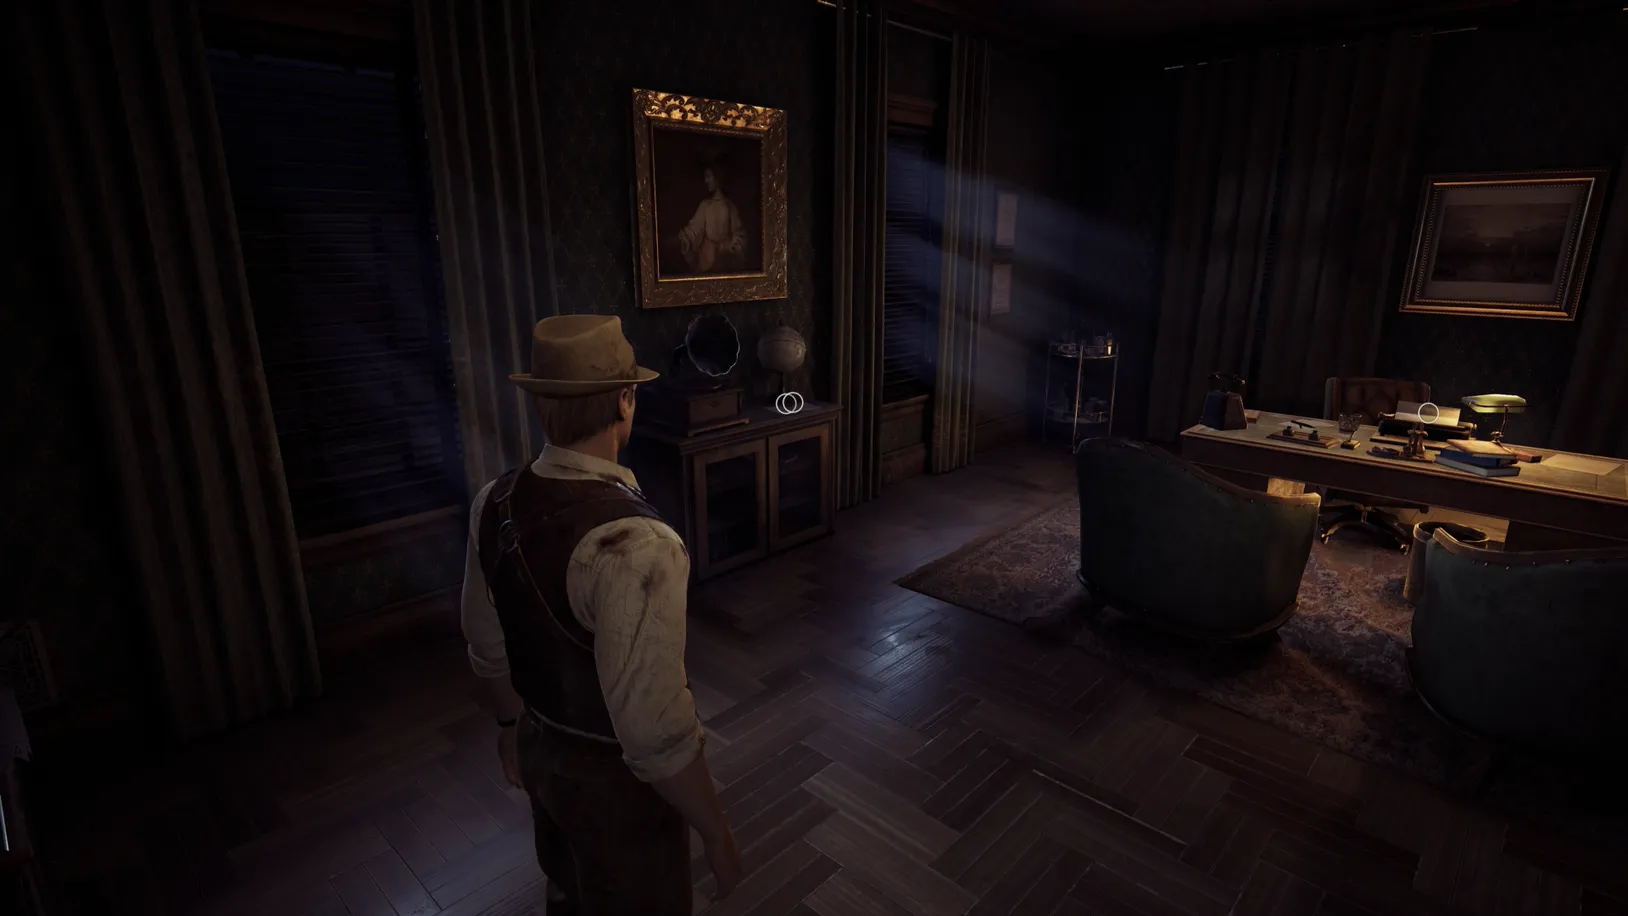
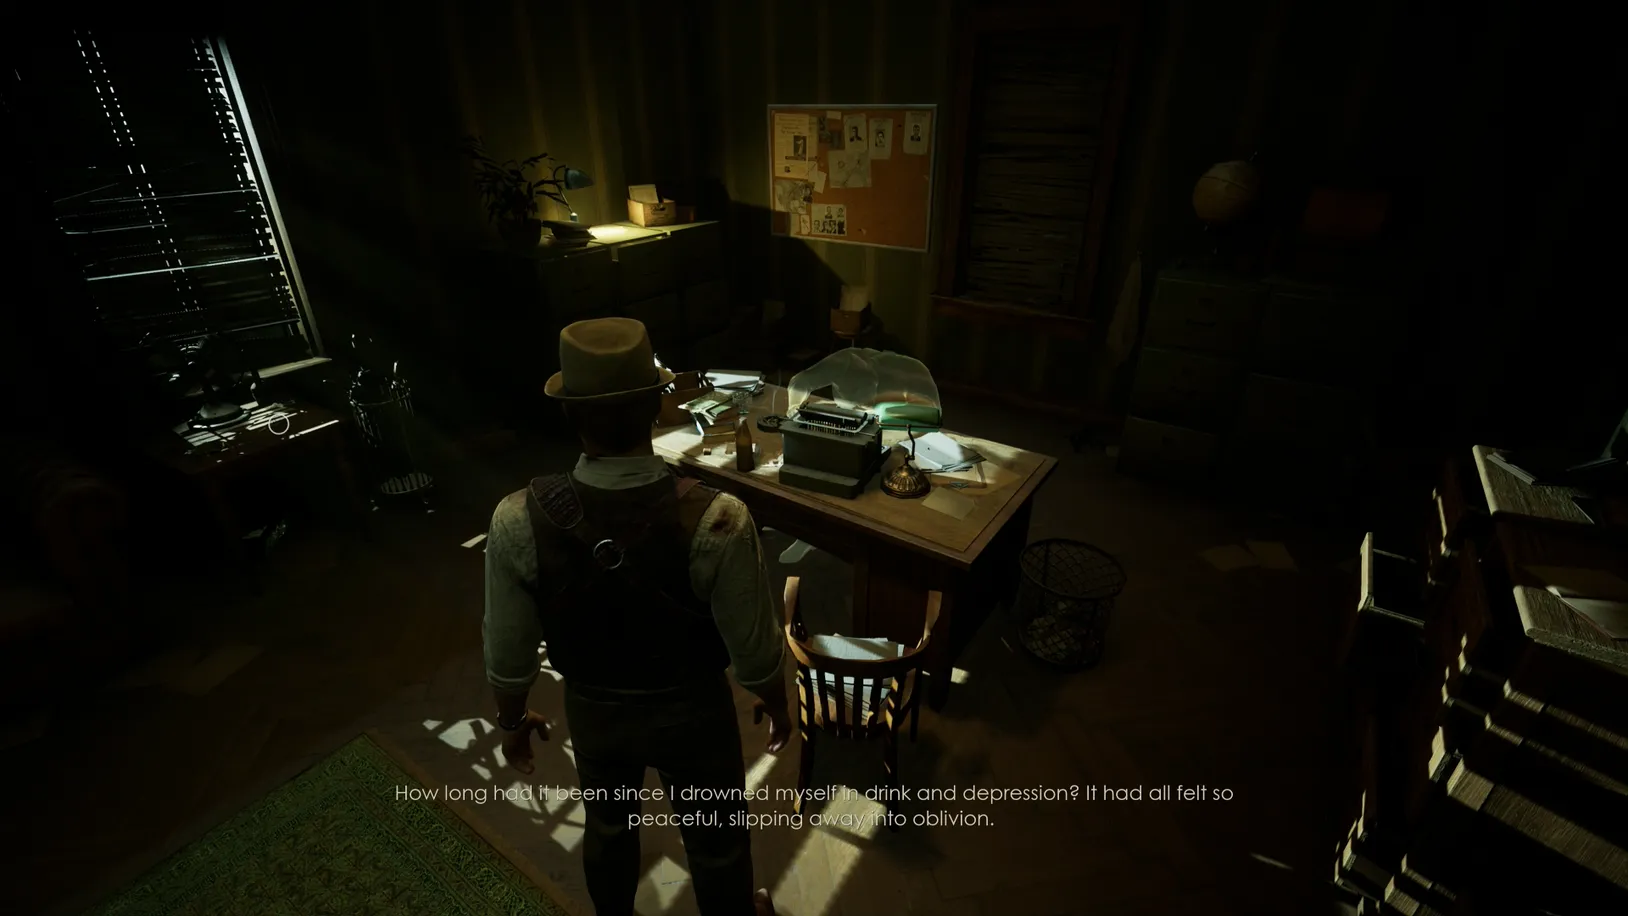
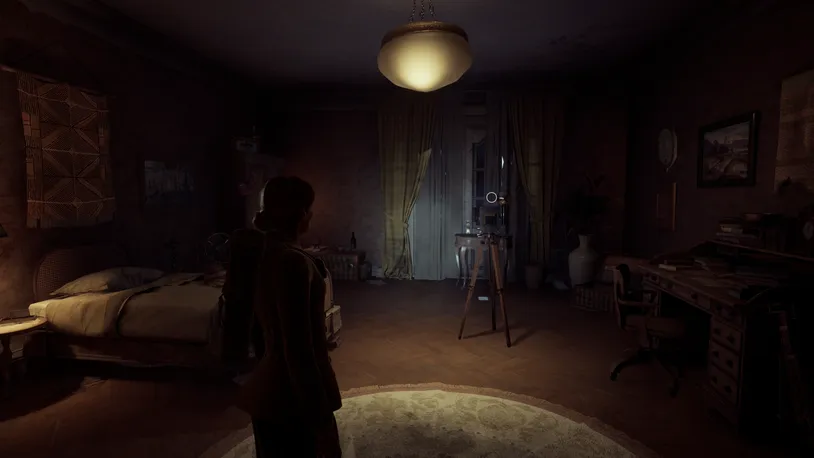
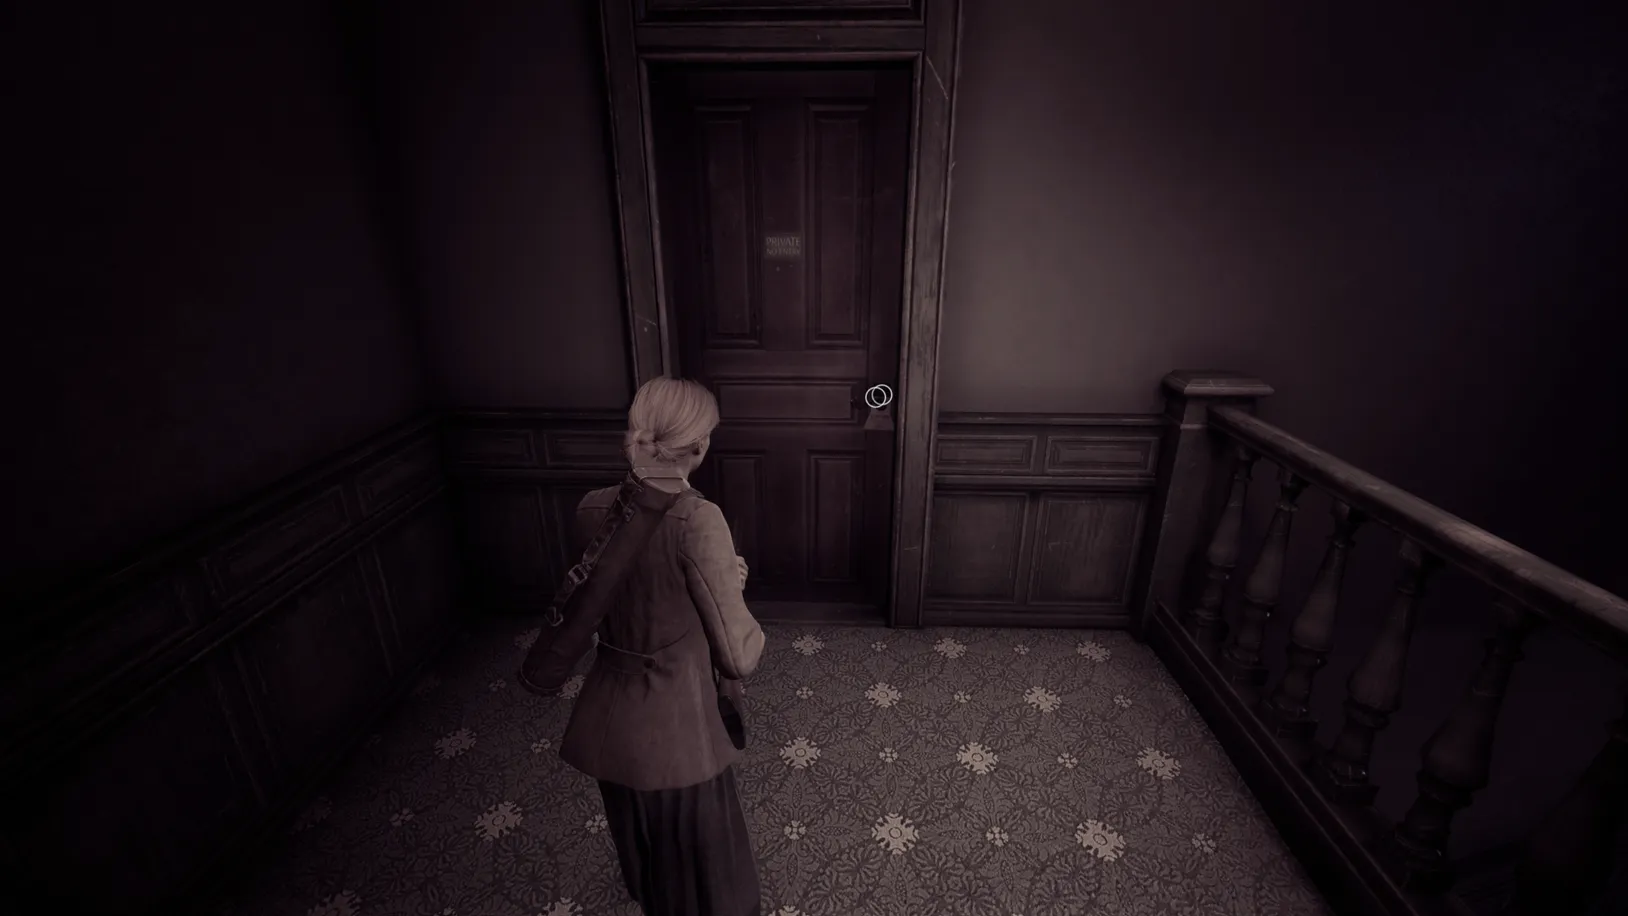
After the cutscene, you'll need to visit Dr. Gray in his apartment. Like earlier, you'll be funneled to Gray’s Apartment, as most doors are now inaccessible.
To reach Dr. Gray's Apartment, head to the Gallery and take the door on your left. Continue forward down the hallway, turn right, and head through the door at the end of that hallway. Here, you'll arrive in the Servants Stairs, where you can enter Dr. Gray's Apartment.
Before entering Dr. Gray's Apartment, you'll find the Do Not Disturb Lagniappe on his door handle.
Do Not Disturb - Prisoner of Ice Set
Inside Gray's Apartment, speak with Detective Carnby or Emily for three optional conversations.
Detective Carnby - Optional Conversation 04
Detective Carnby - Optional Conversation 05
Detective Carnby - Optional Conversation 06
Emily Hartwood - Optional Conversation 04
Emily Hartwood - Optional Conversation 05
Emily Hartwood - Optional Conversation 06
After speaking with the other character, pick up the False Book from Dr. Gray's desk, and then pick up the nearly appeared Toy Talisman Lagniappe that's now on the ground beside Dr. Gray's Apartment door.
Toy Talisman - All the World's a Stage Set
After picking up the Lagniappe, place the book from Dr. Gray's desk on the bookshelf to discover a hidden door.
Head inside and converse with Detective Carnby or Emily for three more optional conversations.
Detective Carnby - Optional Conversation 07
Detective Carnby - Optional Conversation 08
Detective Carnby - Optional Conversation 09
Emily Hartwood - Optional Conversation 07
Emily Hartwood - Optional Conversation 08
Emily Hartwood - Optional Conversation 09

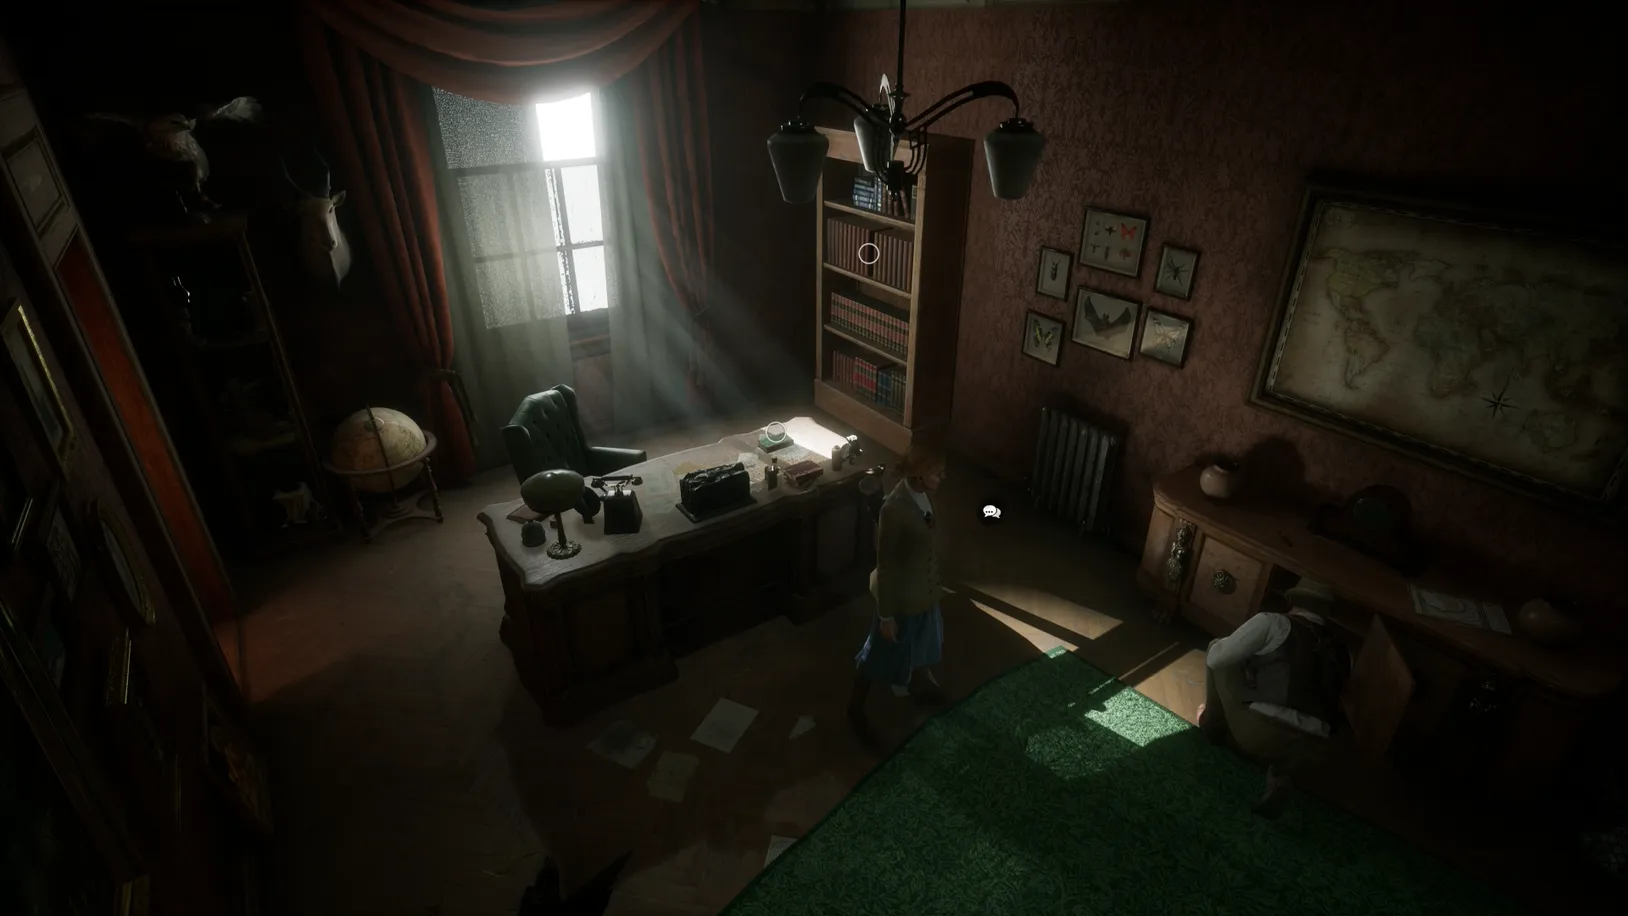
After the optional conversations, search the large chest at the base of the nearby bed for the First Meeting Transcript clue. Next to Dr. Gray's wardrobe, you'll also find The Snake Dagger clue.
First Meeting - Transcript - Clue
The Snake Dagger - Clue
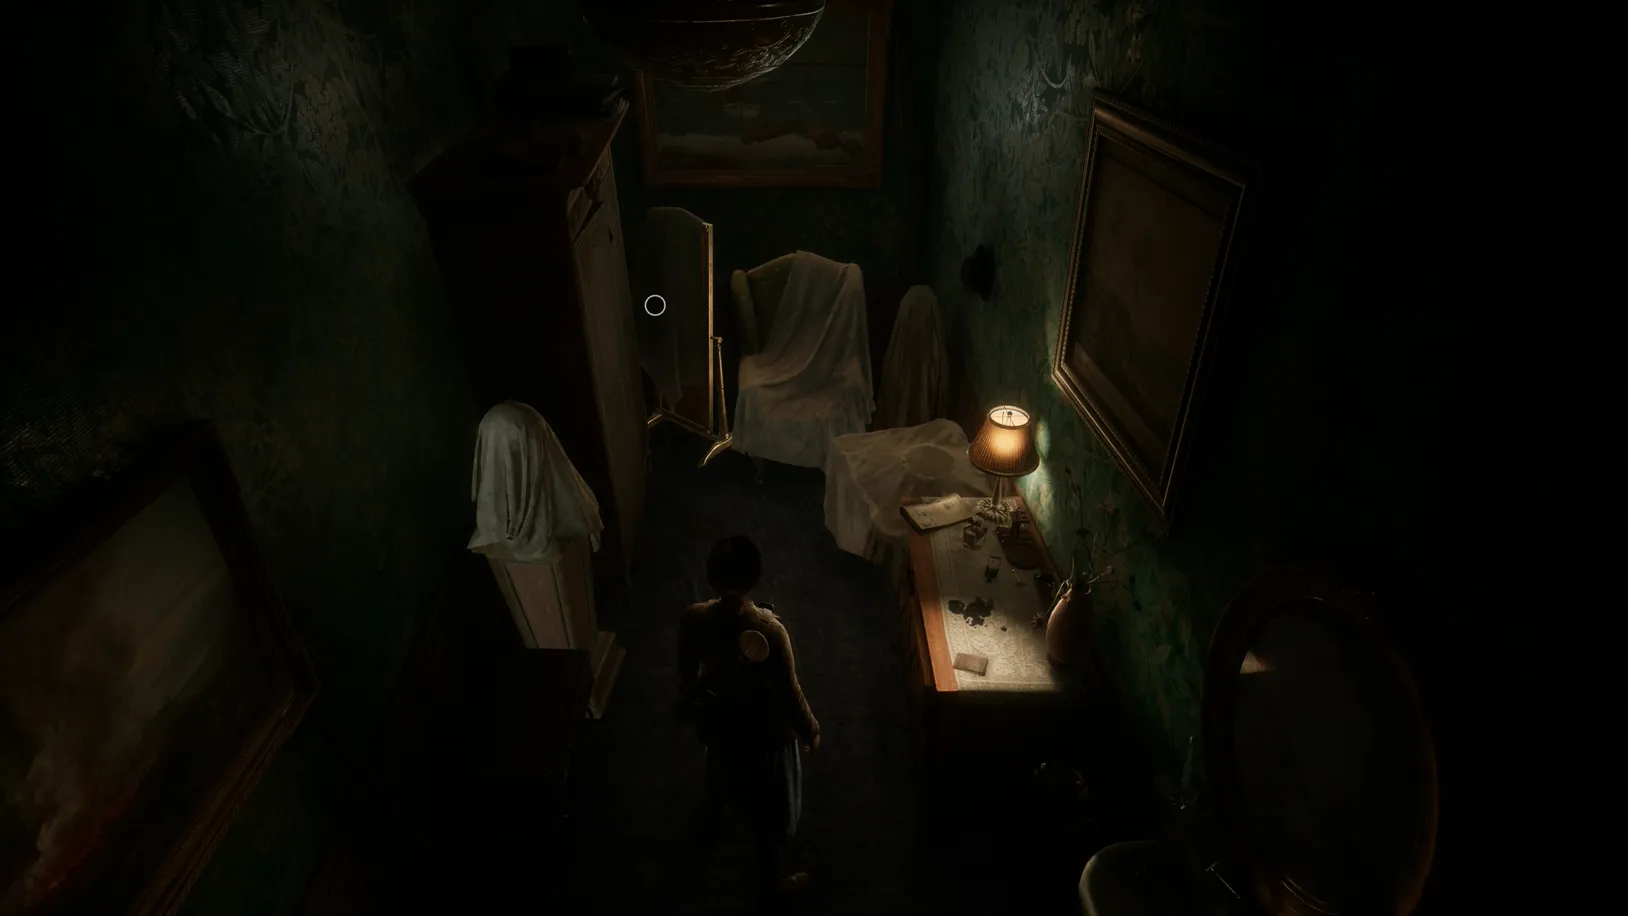
Now, return to the secret door. Before going back into the office of Dr. Gray's Apartment, you'll find a small room to your left. Here, you'll want to remove the cloth from the mirror and pick up the Furniture Key from the shelf.
Furniture Key - Key Item
Emily Only - Radical Acceptance Ending
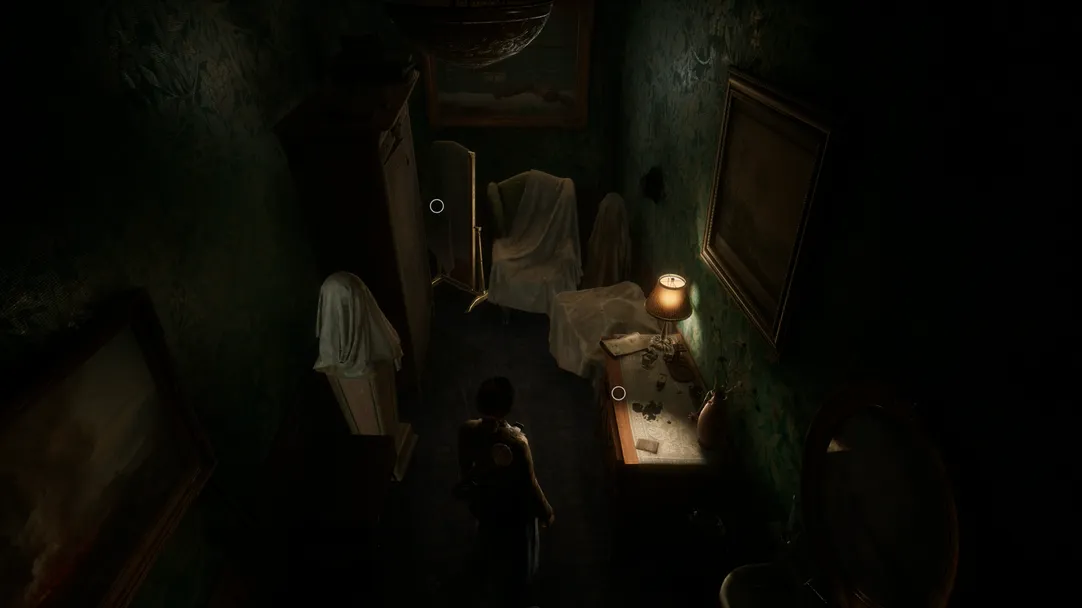 If you have completed the Dying with Dignity Lagniappe set, which requires a playthrough with both Emily and Edward, you can use Paint Thinner on your uncle's painting. It can be found on the wooden sideboard opposite the wardrobe in the small room behind the secret door in Dr. Gray's office.
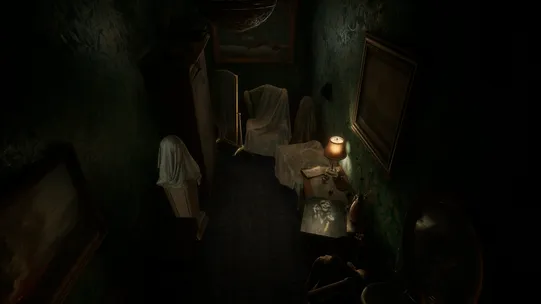
After you've wiped away the painting, continue the story until you've defeated . Once defeated, you'll enter a cutscene in which the Dark Man approaches you.
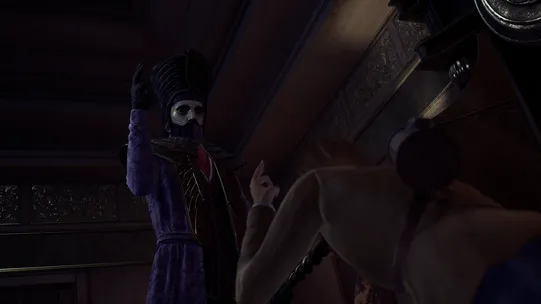
Now, once Emily draws her gun and utters the sentence, "What else can I do?!", you'll want to push the Left Stick Down and the Right Stick Up. This will see Emily lowering her weapon and raising her other hand as she kneels submits to the Dark Man before her.
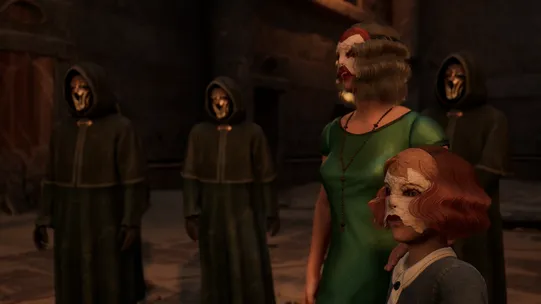
The cutscene that follows implies that Emily survived the Dark Man and must now undergo therapy, as when she closes her eyes, she finds herself in the Dark Man's temple, surrounded by Ruth, Grace, and several other hooded figures.
Despite the distrubing scene, Emily shares that she's no longer afraid of him.
Radical Acceptance

Now, leave the room and use the key to open the closet in Gray's Bedroom.

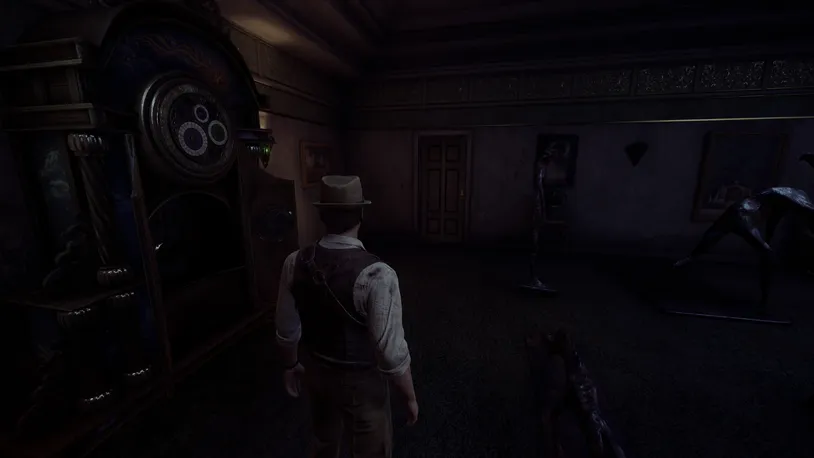
Upon opening the wardrobe, the telephone in the office will start ringing.
When you pick it up, the glass on the nearby clock will smash to pieces.
Add the talisman to the socket on the clock and set it to the same position as seen on the markings on the floor in Gray's Bedroom (Code: ). This will allow you to enter the Arctic through the closet in Gray’s Bedroom.
Arctic - Temper Manic Behavior
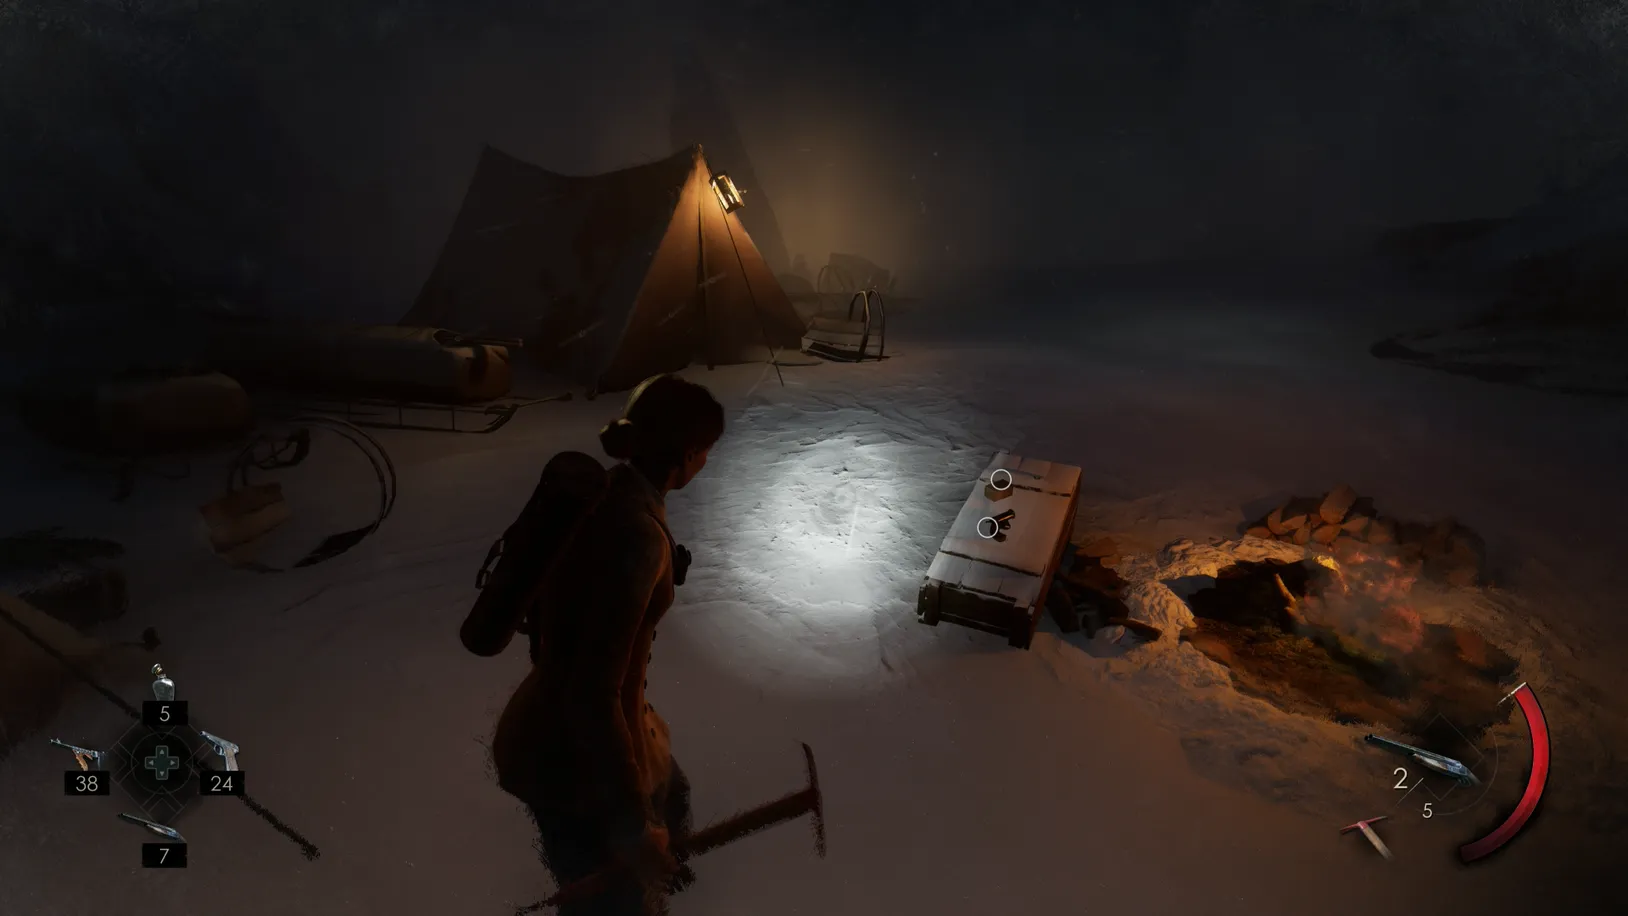
Make your way through the wrecked ship and crawl out. Here, you will find a little camp with an Ice Pick and a Flare Gun—pick them up.
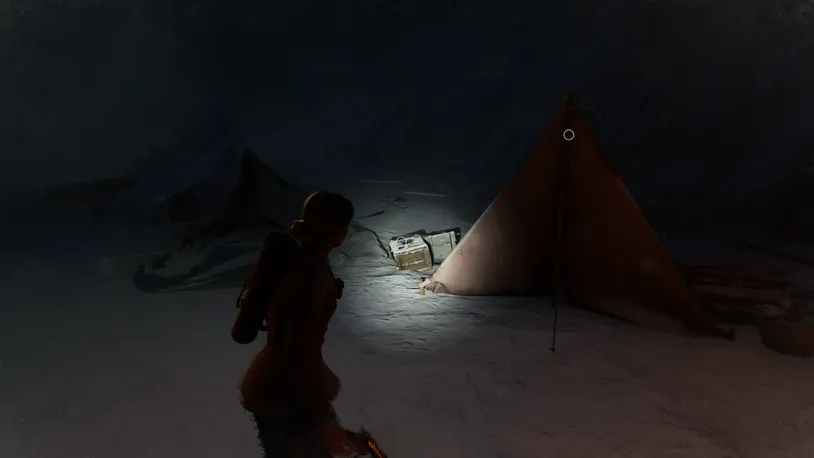
To your right, you'll also find the Sallow Offering Lagniappe on top of the bright red tent. Next to the tent, you'll also find The Greenland Expedition clue.
Sallow Offering - Prisoner of Ice Set
The Greenland Expedition - Clue

Your goal is to use the flare gun to locate flags in the blizzard.
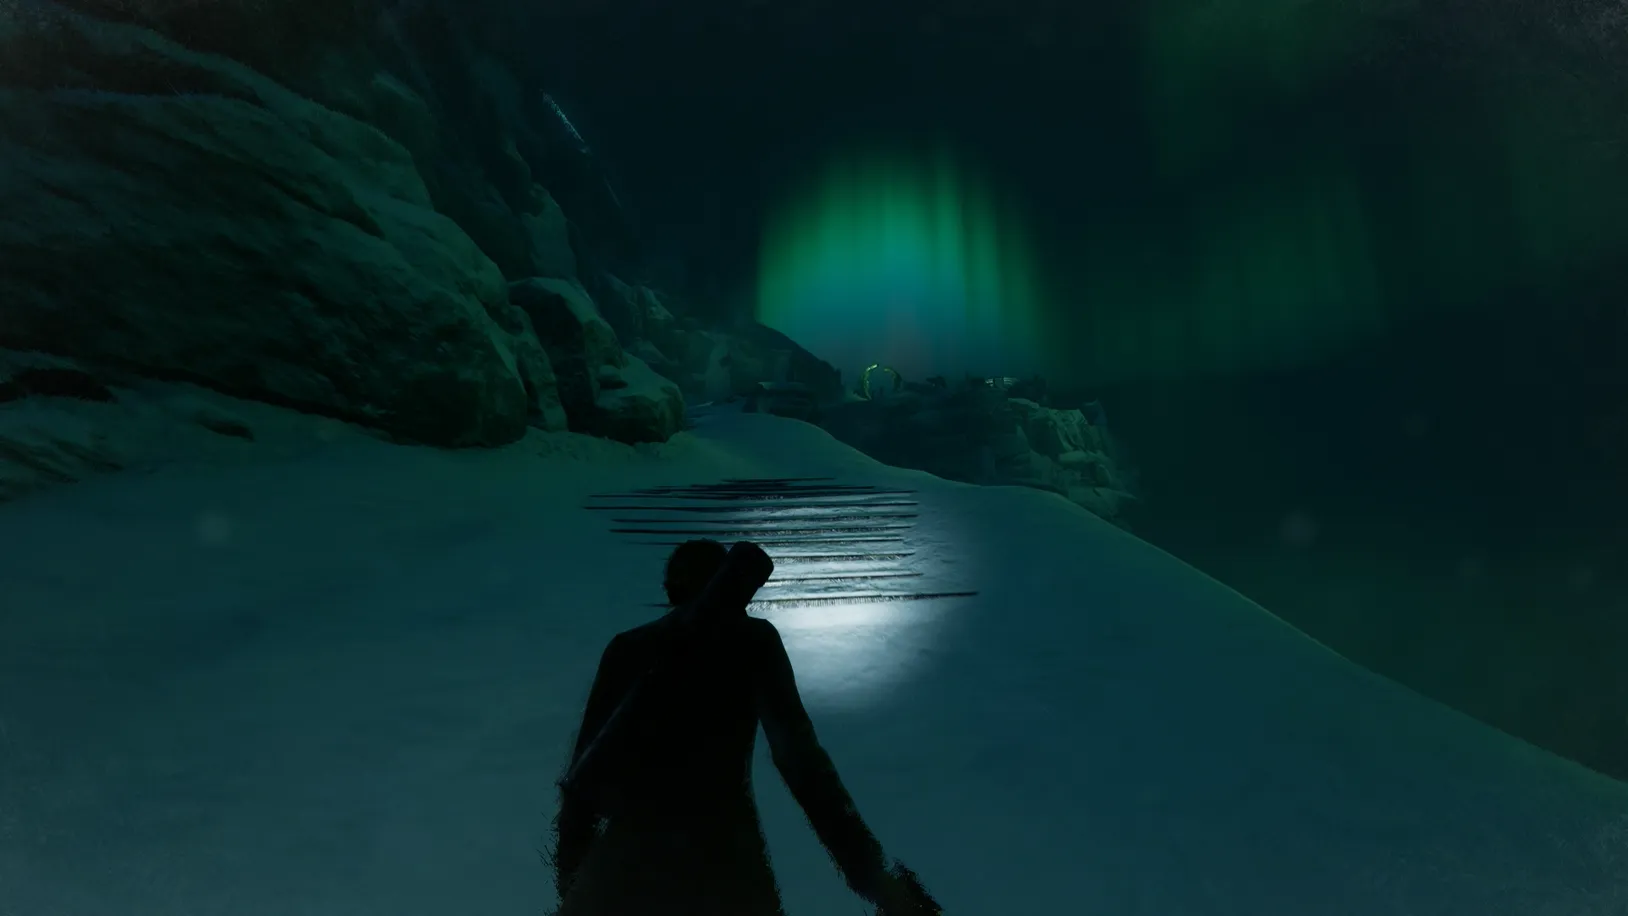
Following the wind, move between the flags until you reach a long set of stairs leading up a mountain with a structure on top.
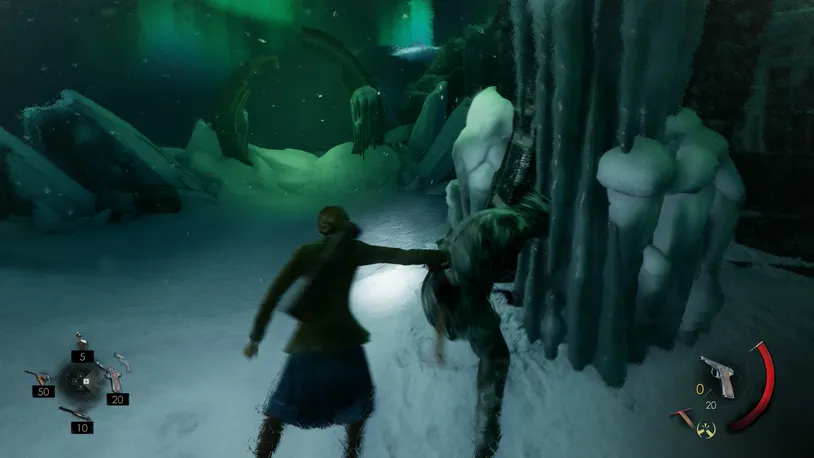
When entering it, Jacob’s first form will attack you and you'll need to kill him. Jacob hit's quite hard and swings his ice pick faster than other enemies we have encountered thus far. So, you'll need to utilize your dodge ability to avoid taking hefty damage from Jacob's attacks. Upon defeating Jacob, move inside the giant globe.
There, insert the Sacrificial Dagger and Talisman into the floor to the right of the entrance and line up the pattern on the floor.

The outer disc also needs to be rotated until the structure starts rotating. This will grant you access to the final fight with Jacob.
Defeating Jacob

Following the cutscene, you'll need to defeat Jacob once more—actually, three more times. Unlike before, Jacob has mutated and features long tentacle-like arms that he uses to hit you.
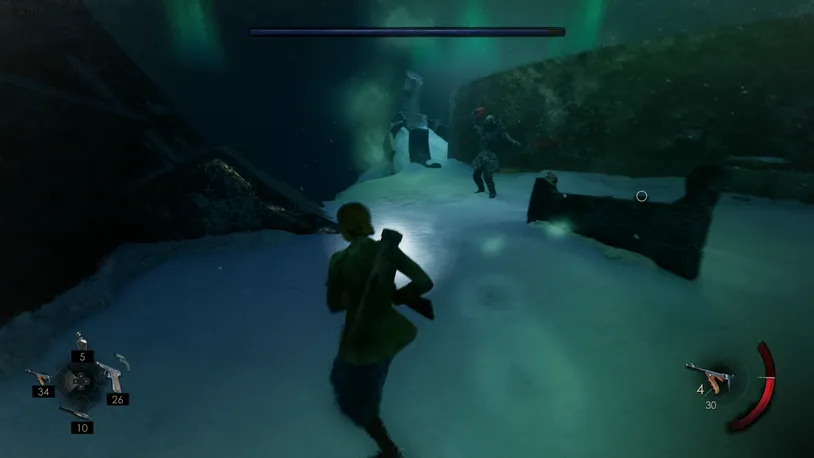
These arms have quite a bit of range to them, so you'll want to keep him at a distance, as getting hit by his flurry of melee attacks will deal considerable amounts of damage. Similar to before, moving will be key to your success in this battle, so be sure to time your dodges, as you'll need to move quickly to avoid his swinging tentacles.
At each quarter of health, Jacob will go down, and you'll need to use the Sacrificial Dagger on him. You'll need to do this three times before he is defeated, and the final cutscene of the chapter will begin.