Chapter 3 Walkthrough
After speaking to Jeremy at the Cemetery and learning of the Dark Man, you encounter another anomaly as you attempt to save Jeremy and Derceto by finding more answers in the Grand Library. With the Dark Man always watching, dangers lurk ahead, so proceed with caution.
Chapter 3 Walkthrough
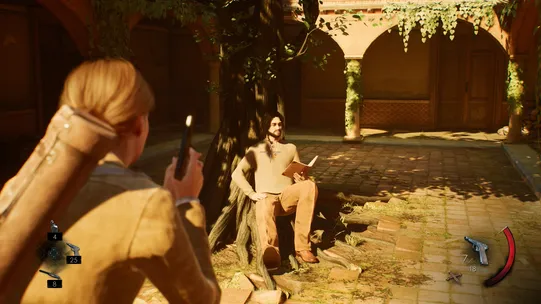
After the initial cutscene, if you haven’t already done so, pull out your gun and aim it at Juan. This will unlock the Watch Out Where You’re Waving That Thing trophy.
Convent of Taroella
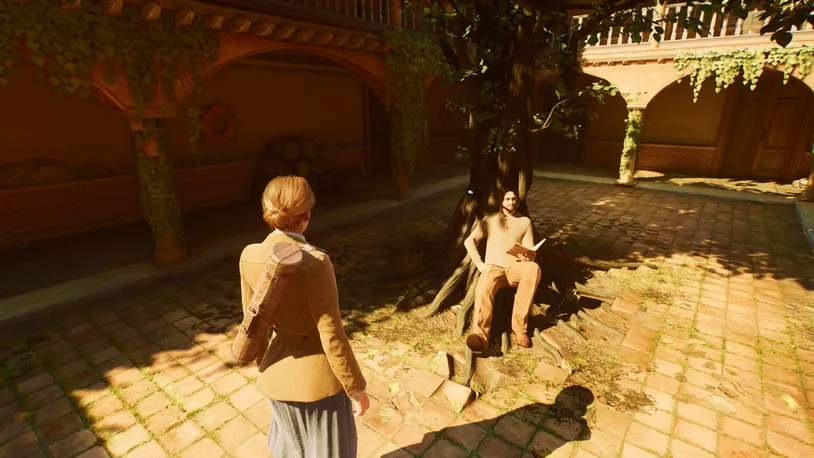
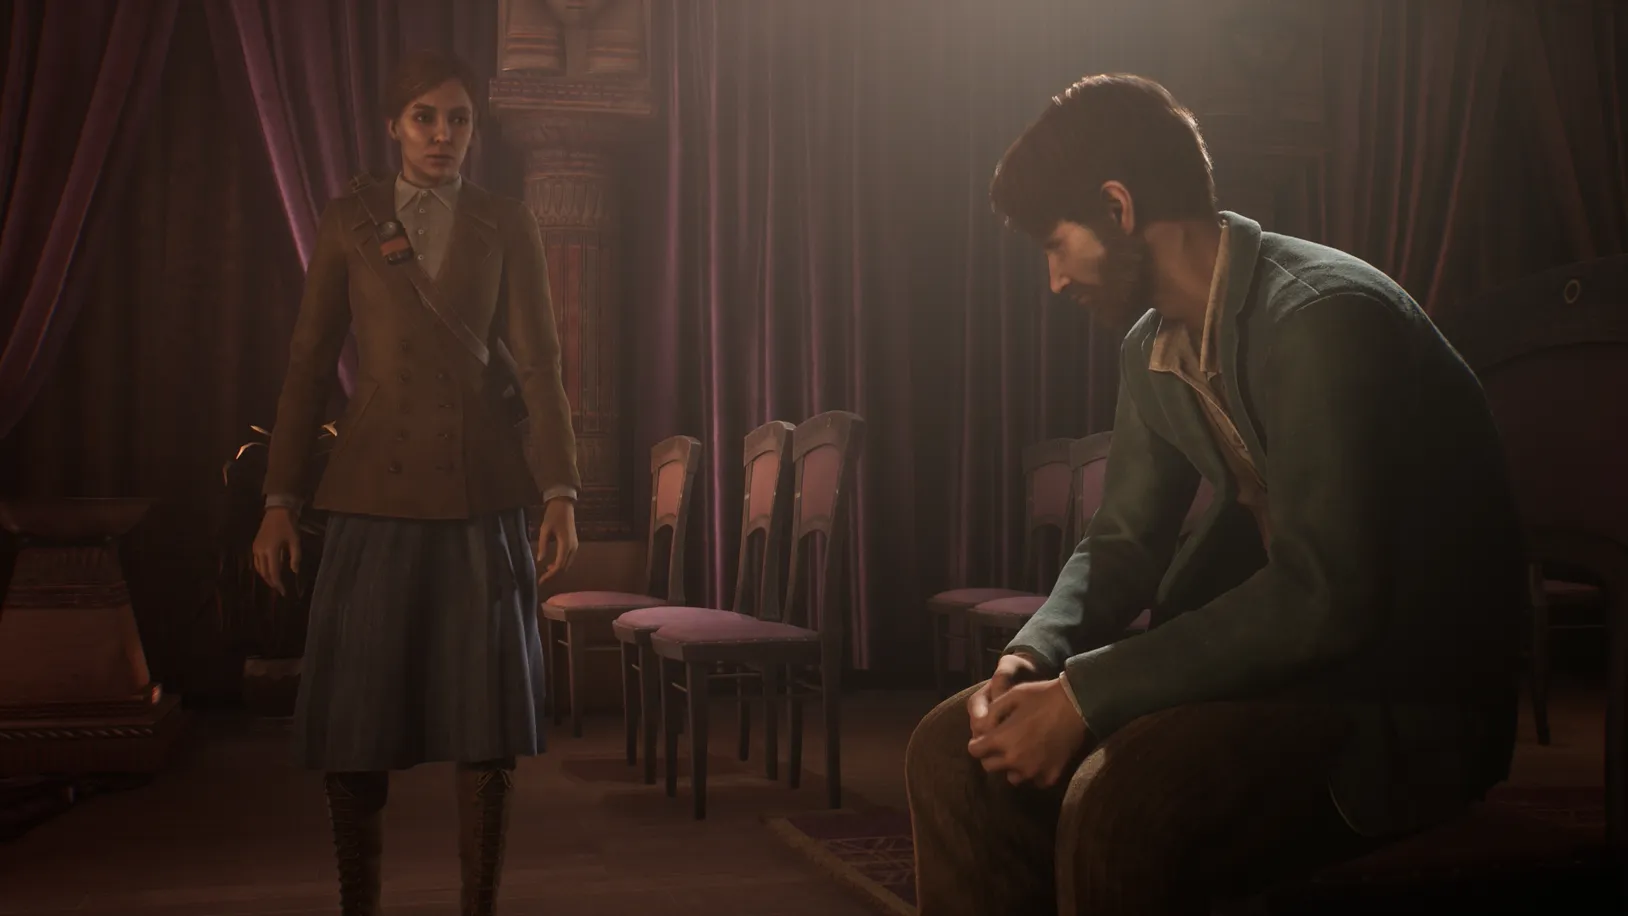
Following the initial cutscene that leads into Chapter 3, you'll have the opportunity to speak with Juan, who is reading by the tree in the courtyard's center. Speaking of Jeremy and the Dark Man, Juan will have three conversations, with the last ending with a goodbye.
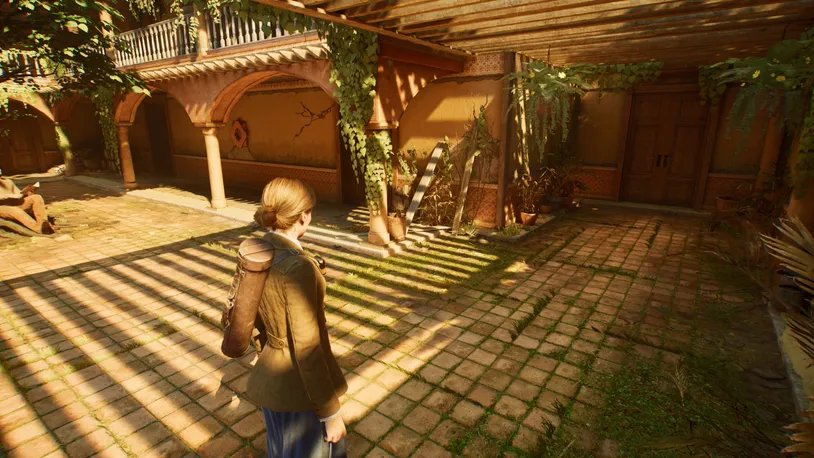
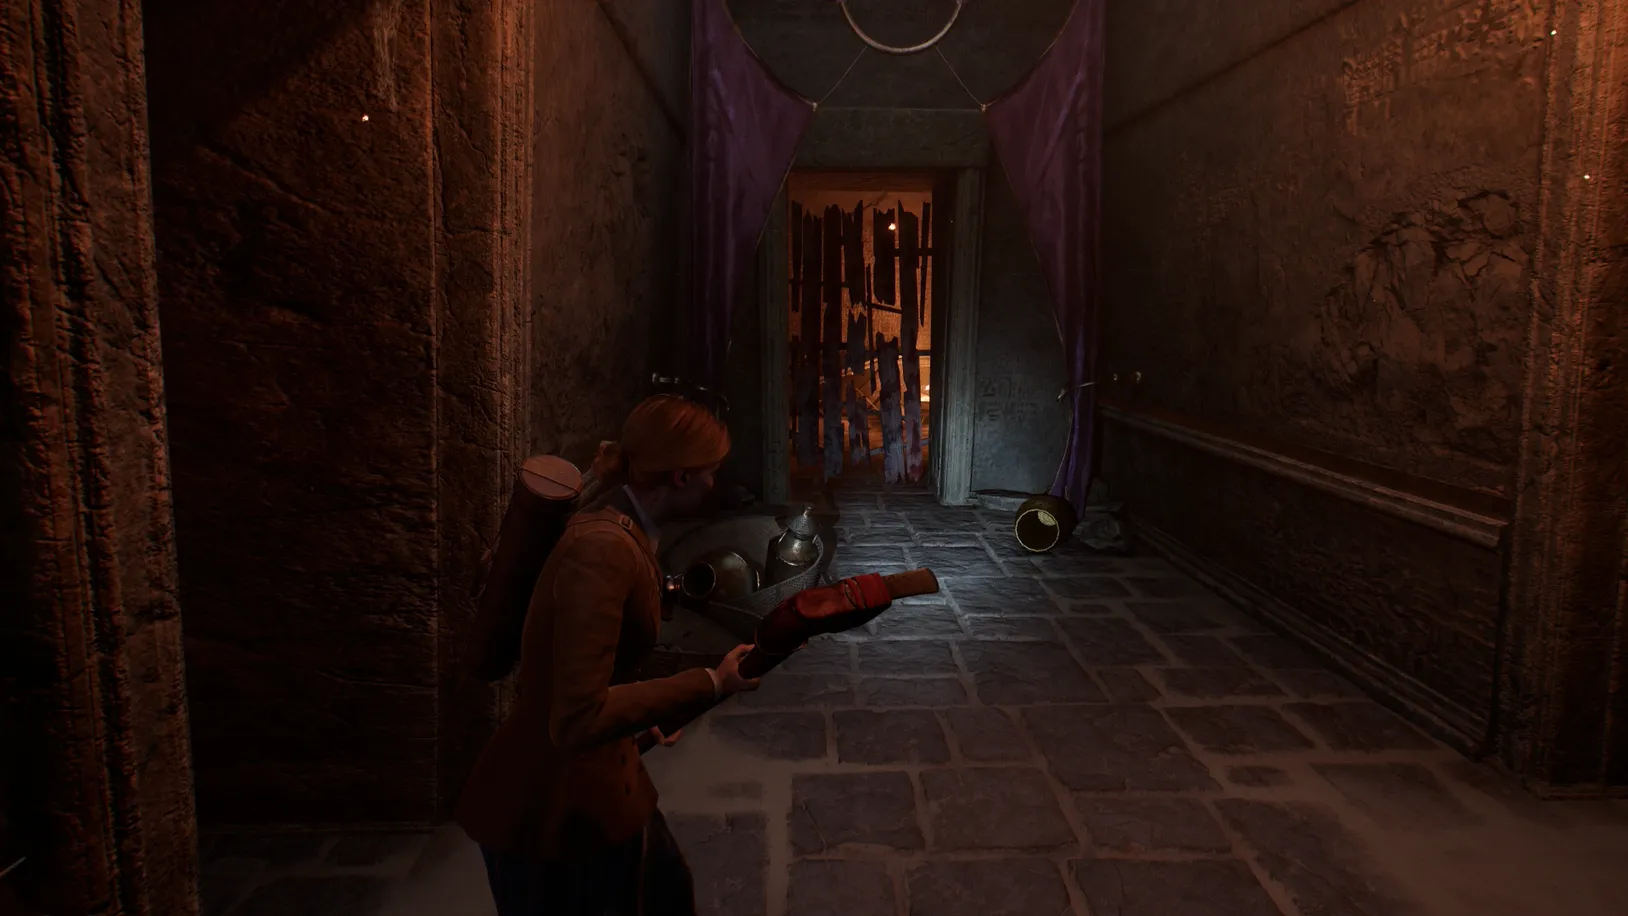
With those out of the way, walk past Juan and into the small library to the left.
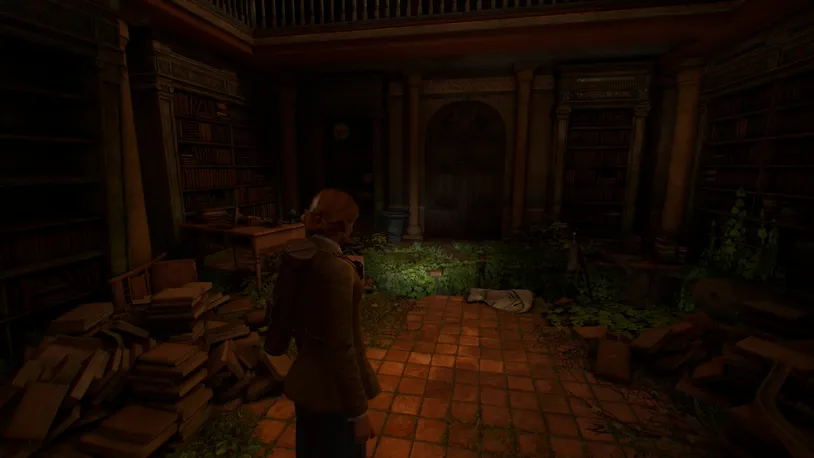
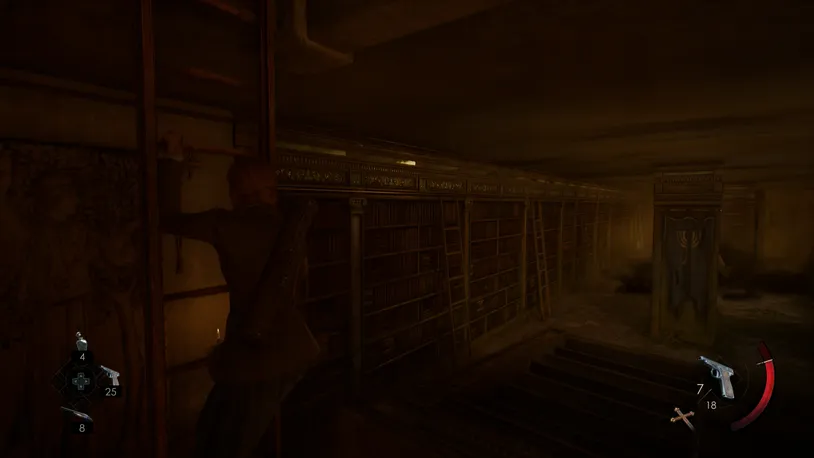
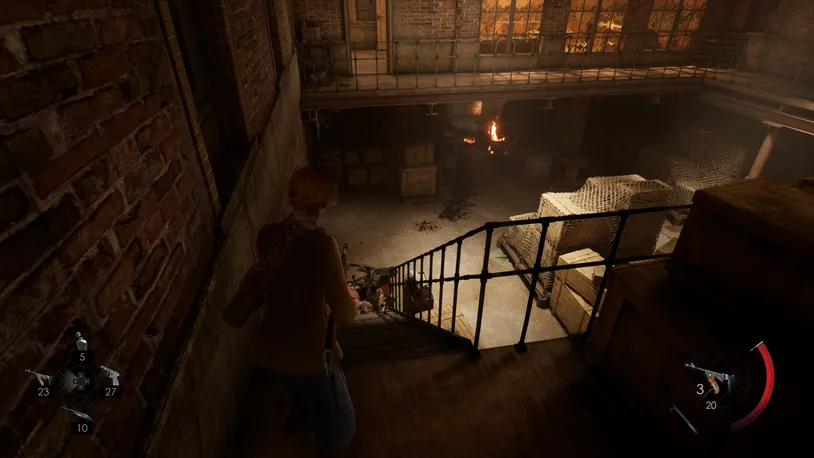
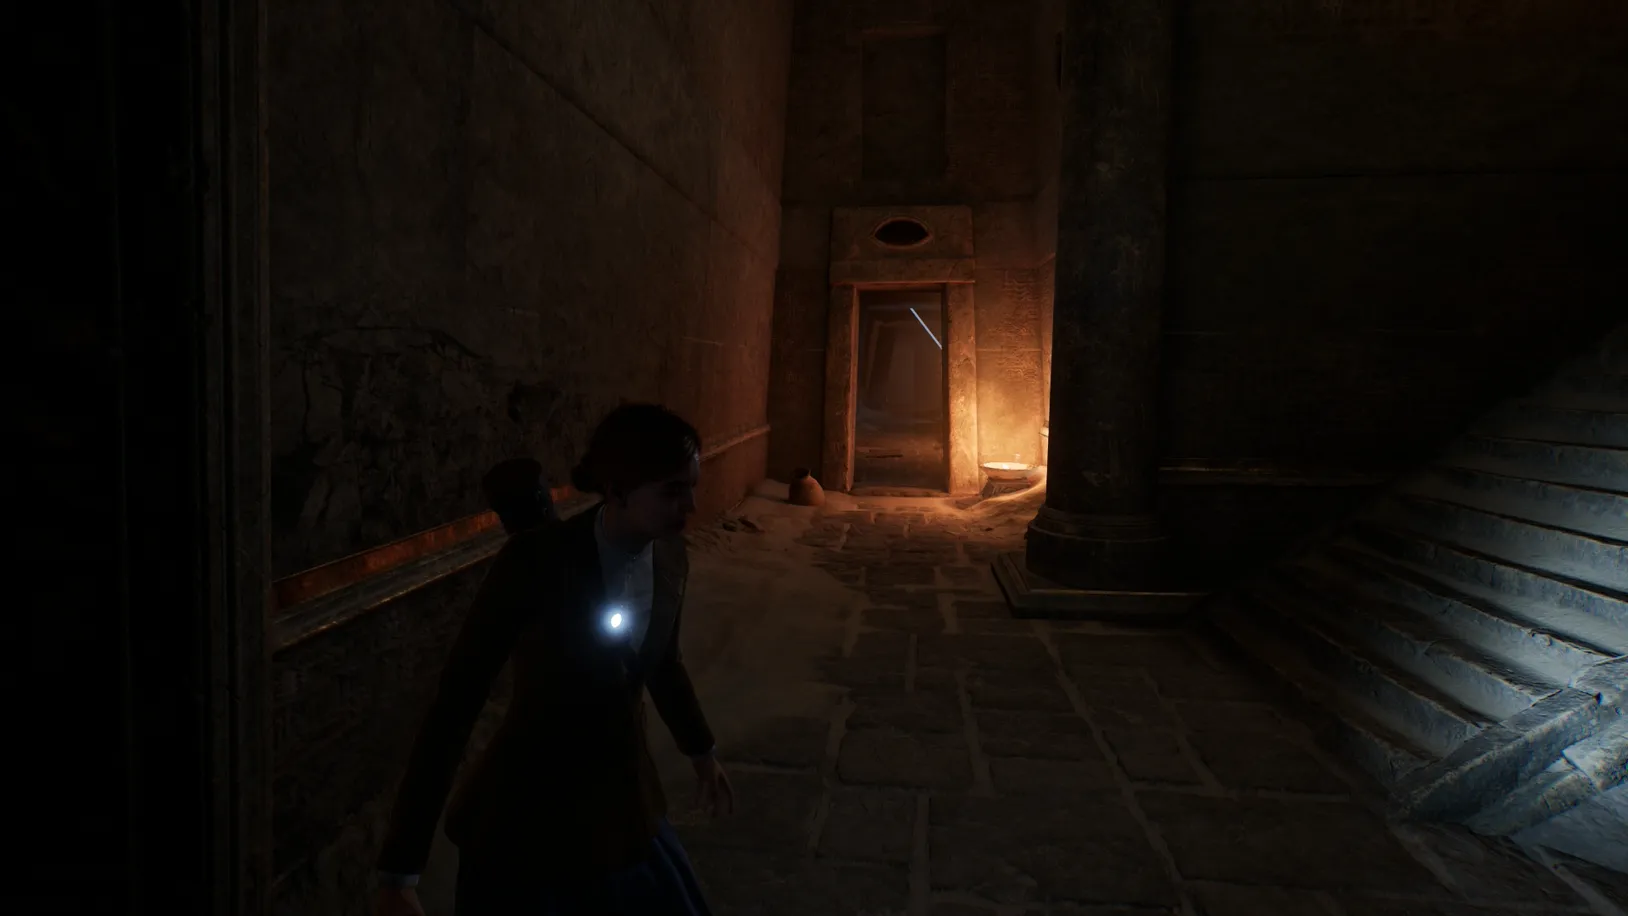
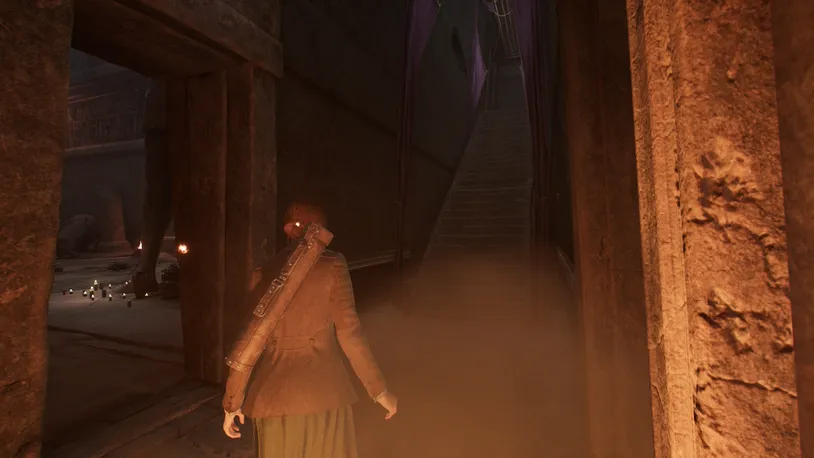
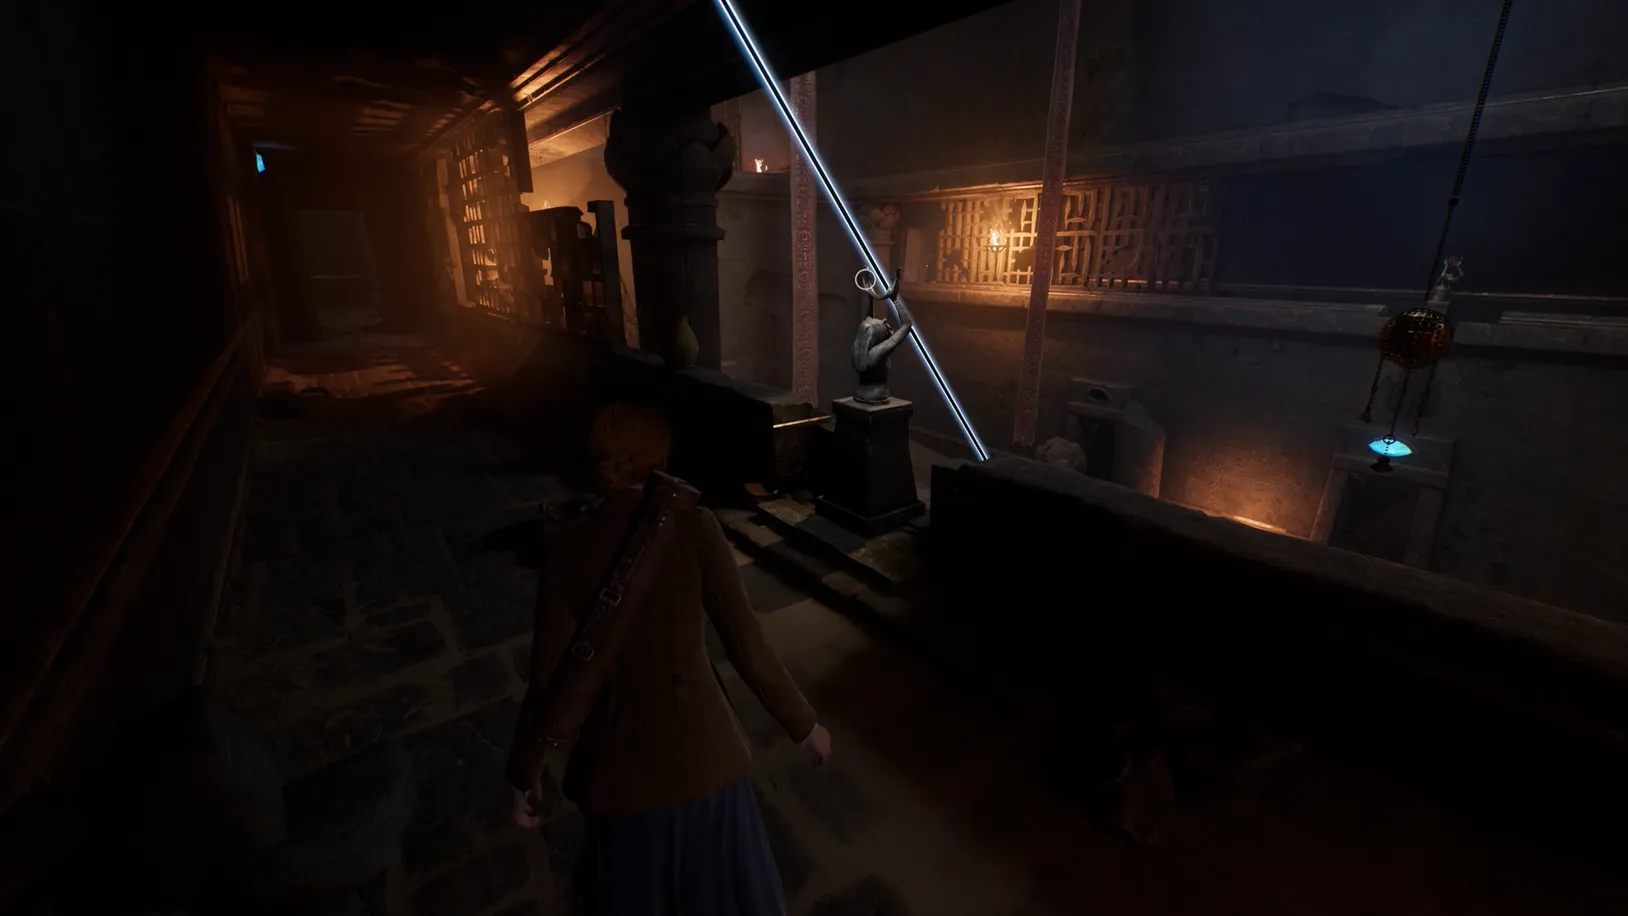
Jump down into the catacombs and find your way to the Grand Library.
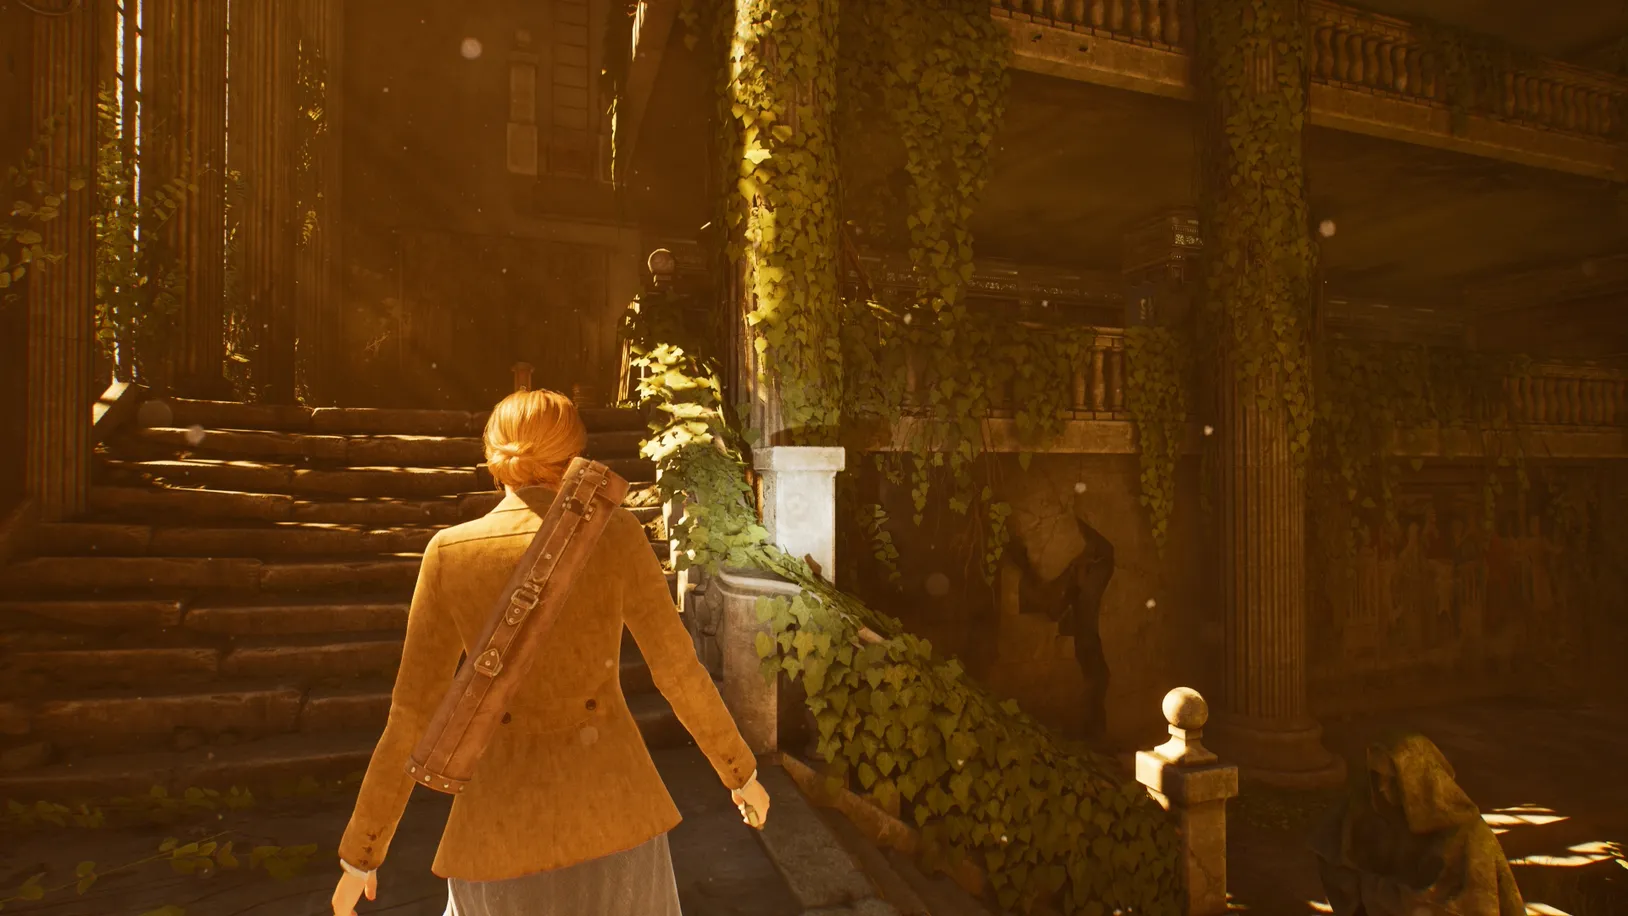
Ascend two stairs and take the right by the cross-shaped socket on a pillar.
Continue following the path to the other side. Along the way, you'll discover The Great Library clue on top of a desk along the railings to your right.

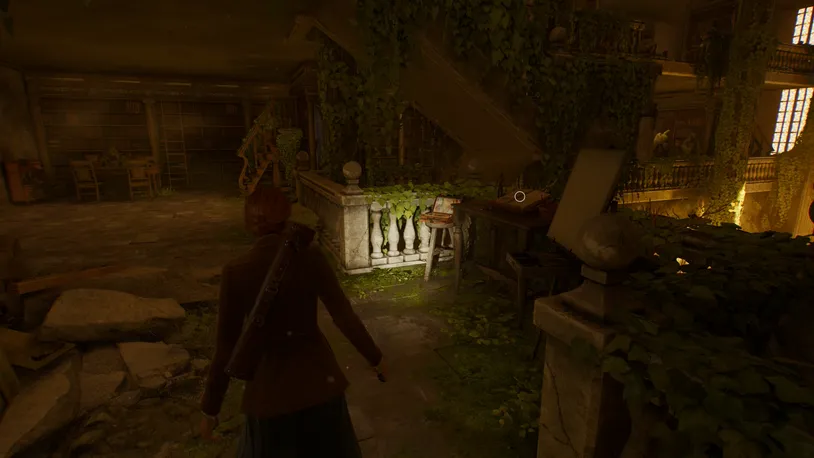
At the end of the path, ascend yet another set of stairs to the third floor. Before continuing, let's pick up a Lagniappe that you can miss.
From the top of the staircase, look slightly right. On the wall directly in front of you, you'll find a small hole that's covered in green vines.
Squeeze through the gap, and you'll find the Unmasked Evil Lagniappe on a table that's lit by a green hue.
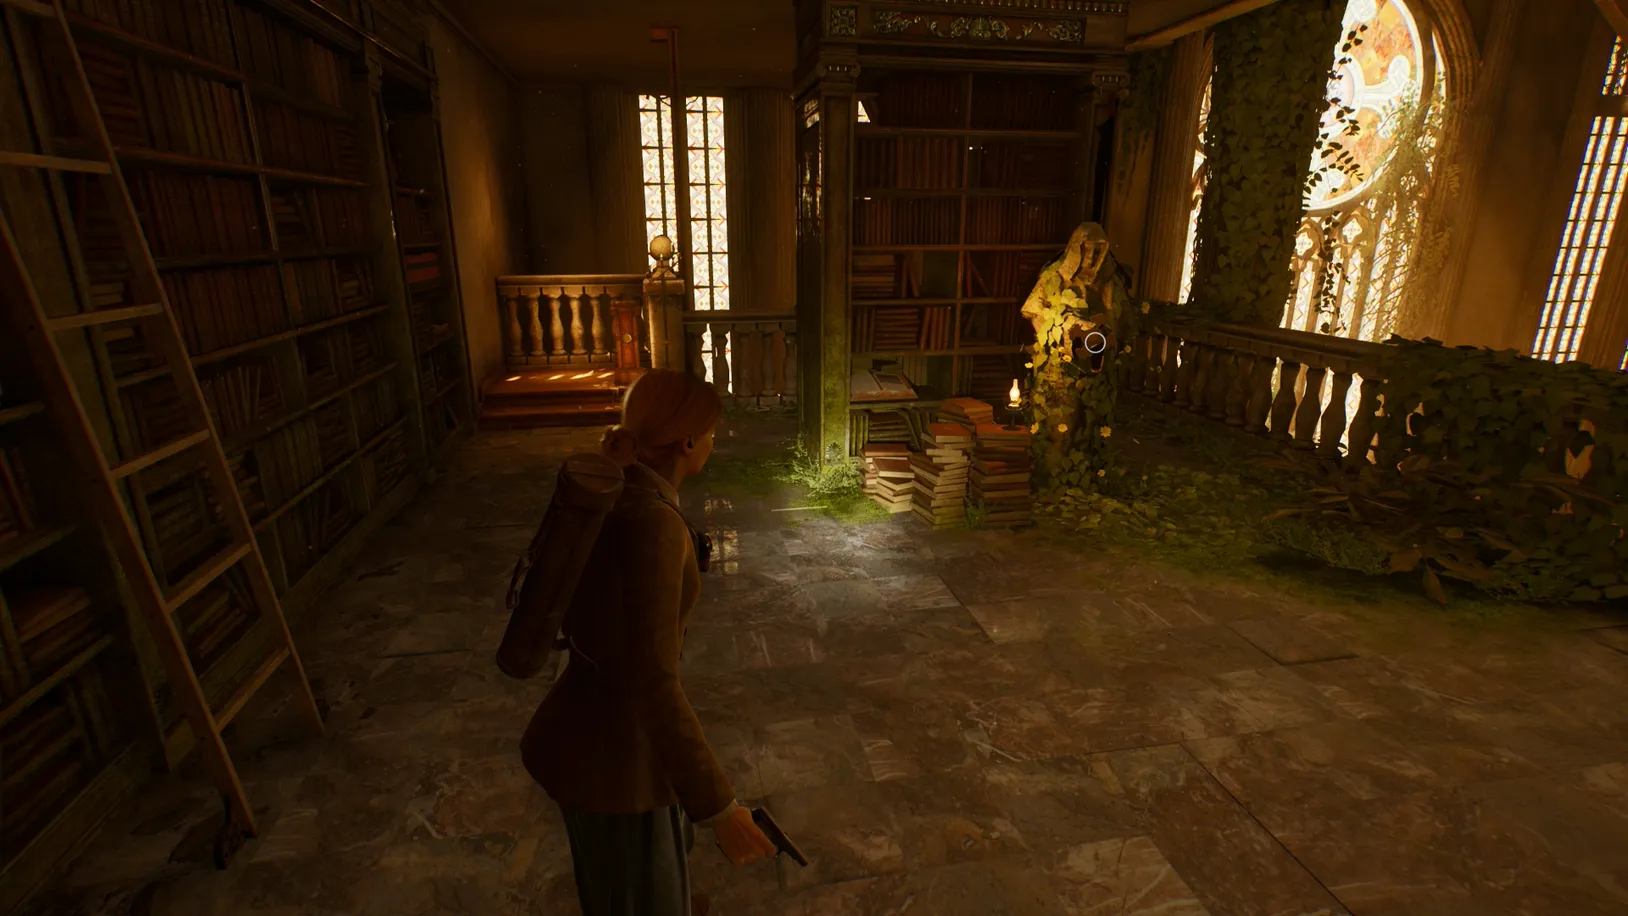
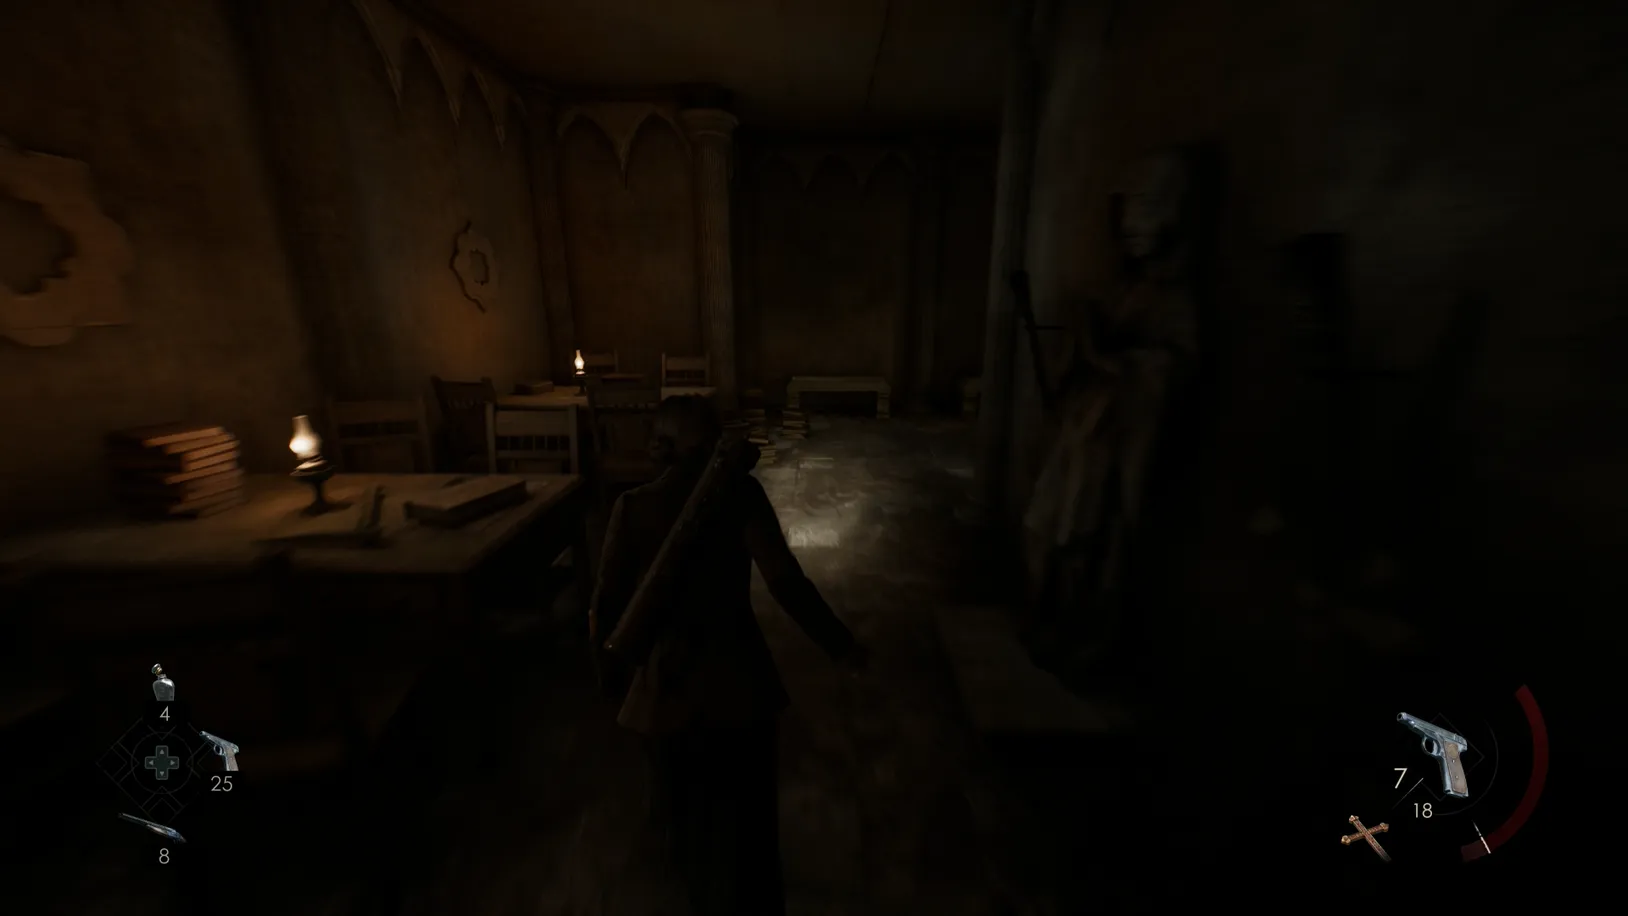
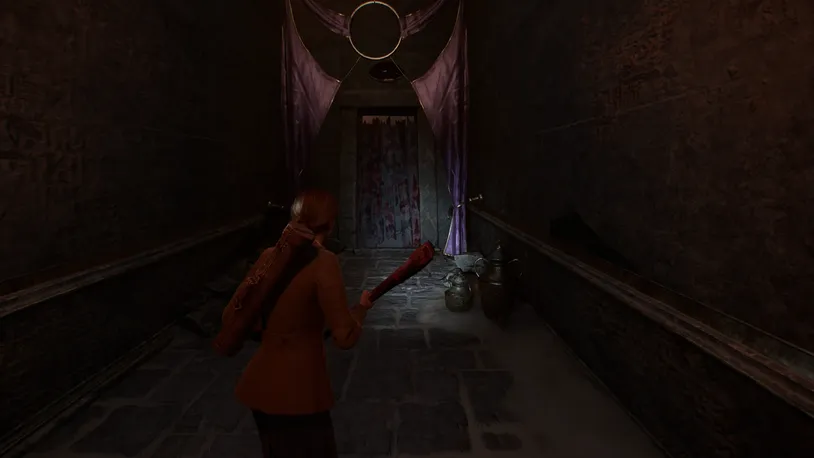
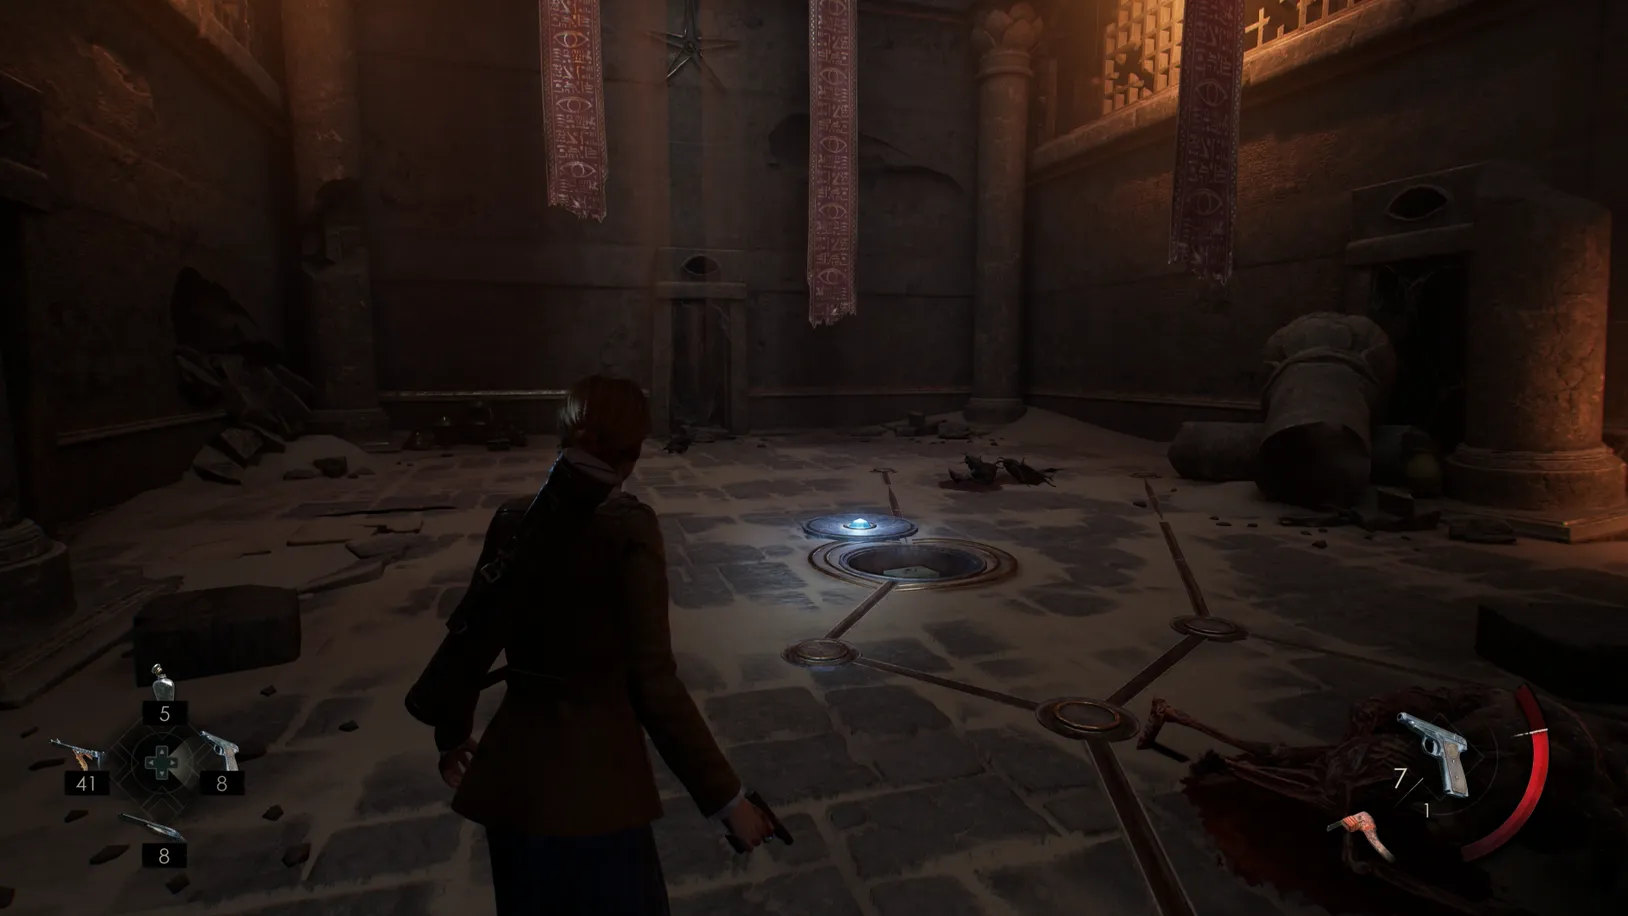
After collecting the Lagniappe, leave the crevice and follow the path straight ahead. At the end of this floor, pick up the cross from the statue's socket.
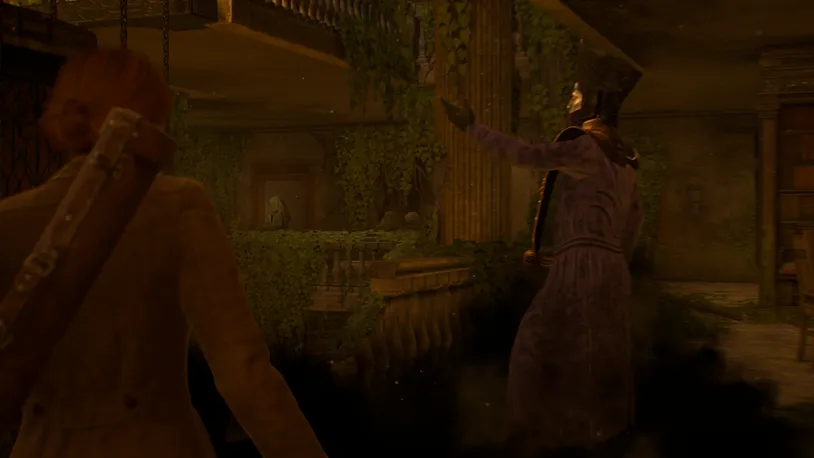
Doing so will trigger a cutscene with the Dark Man.
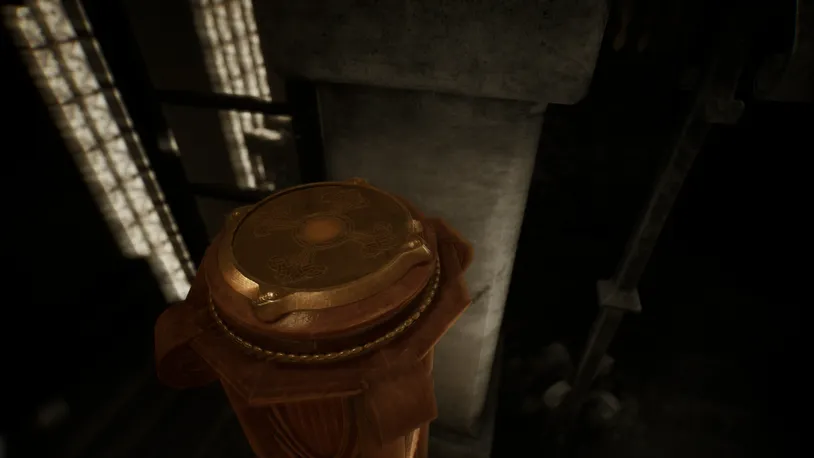
To escape the Dark Man, turn quickly and place the cross on the pillar behind the bookshelf directly behind you. Using the cross on the pillar will lower a ladder and allow you to descend to the floor below.
Once you're on the below floor, return to the pillar at the beginning of the floor to lower yet another ladder -- use this to climb to the floor above.
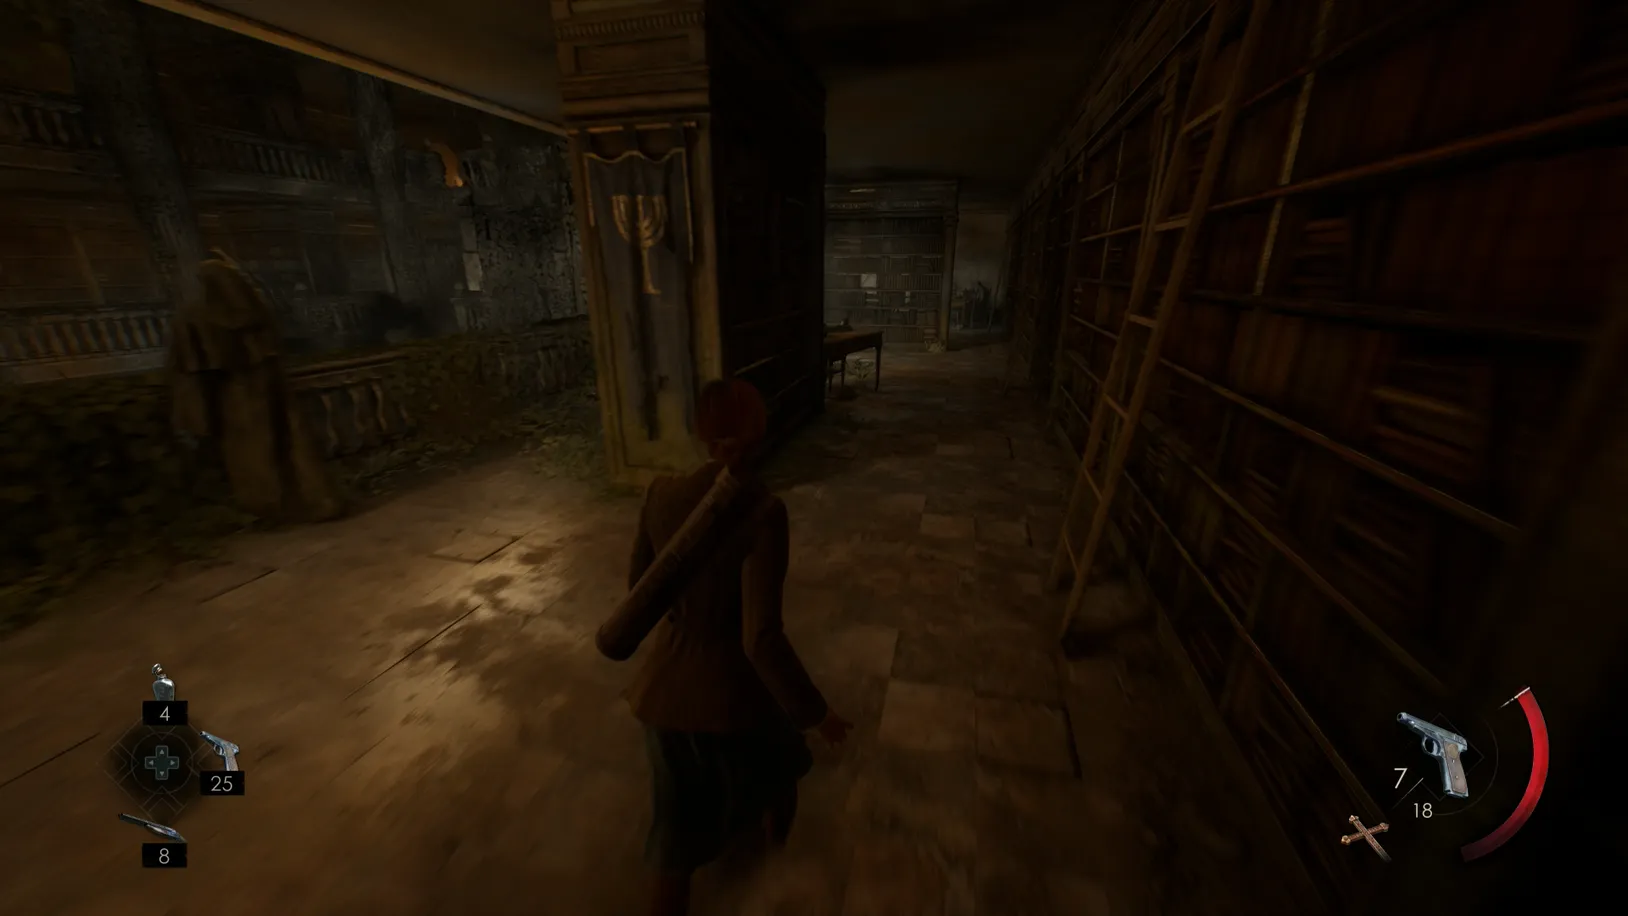
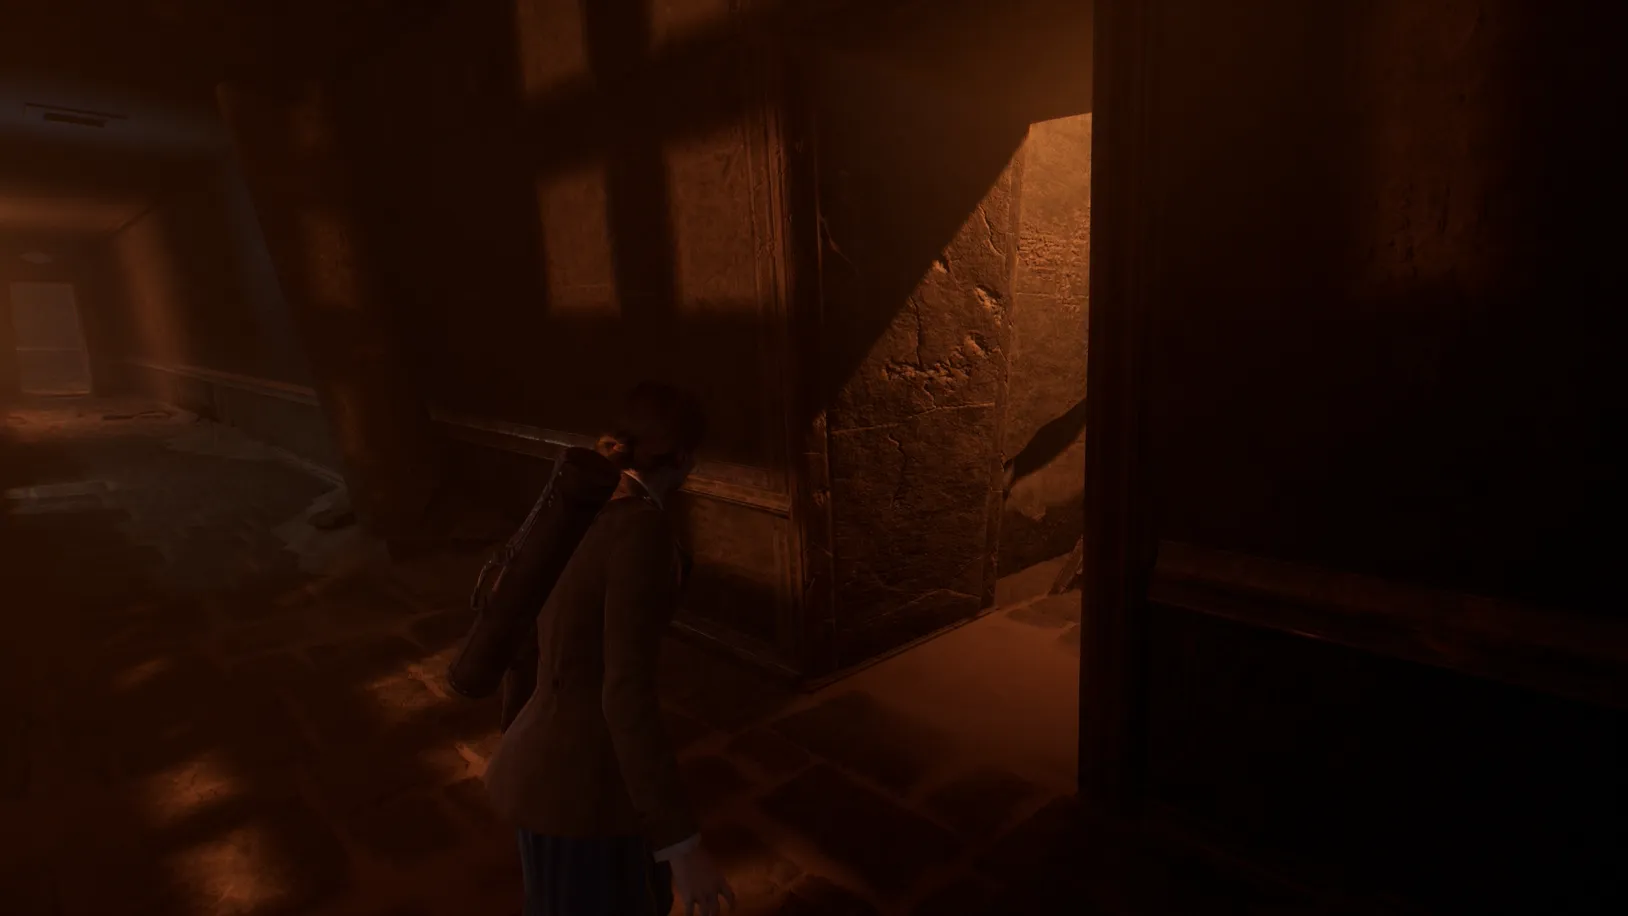
On the third floor, follow the path to an open door and enter the room to the left. You may need to lure the Dark Man out of this room first to reach it. Then add the cross to the pillar in the corner to lower a ladder that takes you to the third floor.
Follow the path and enter through a doorway to stop the Dark Man from following you.
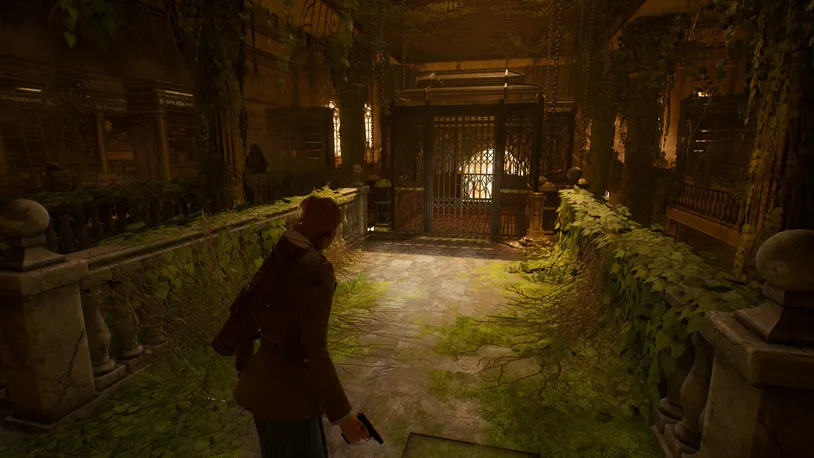
Once you're on the third floor, follow the path via the giant clerestory window to the other side of the floor. Add the cross to the pillar by the elevator.
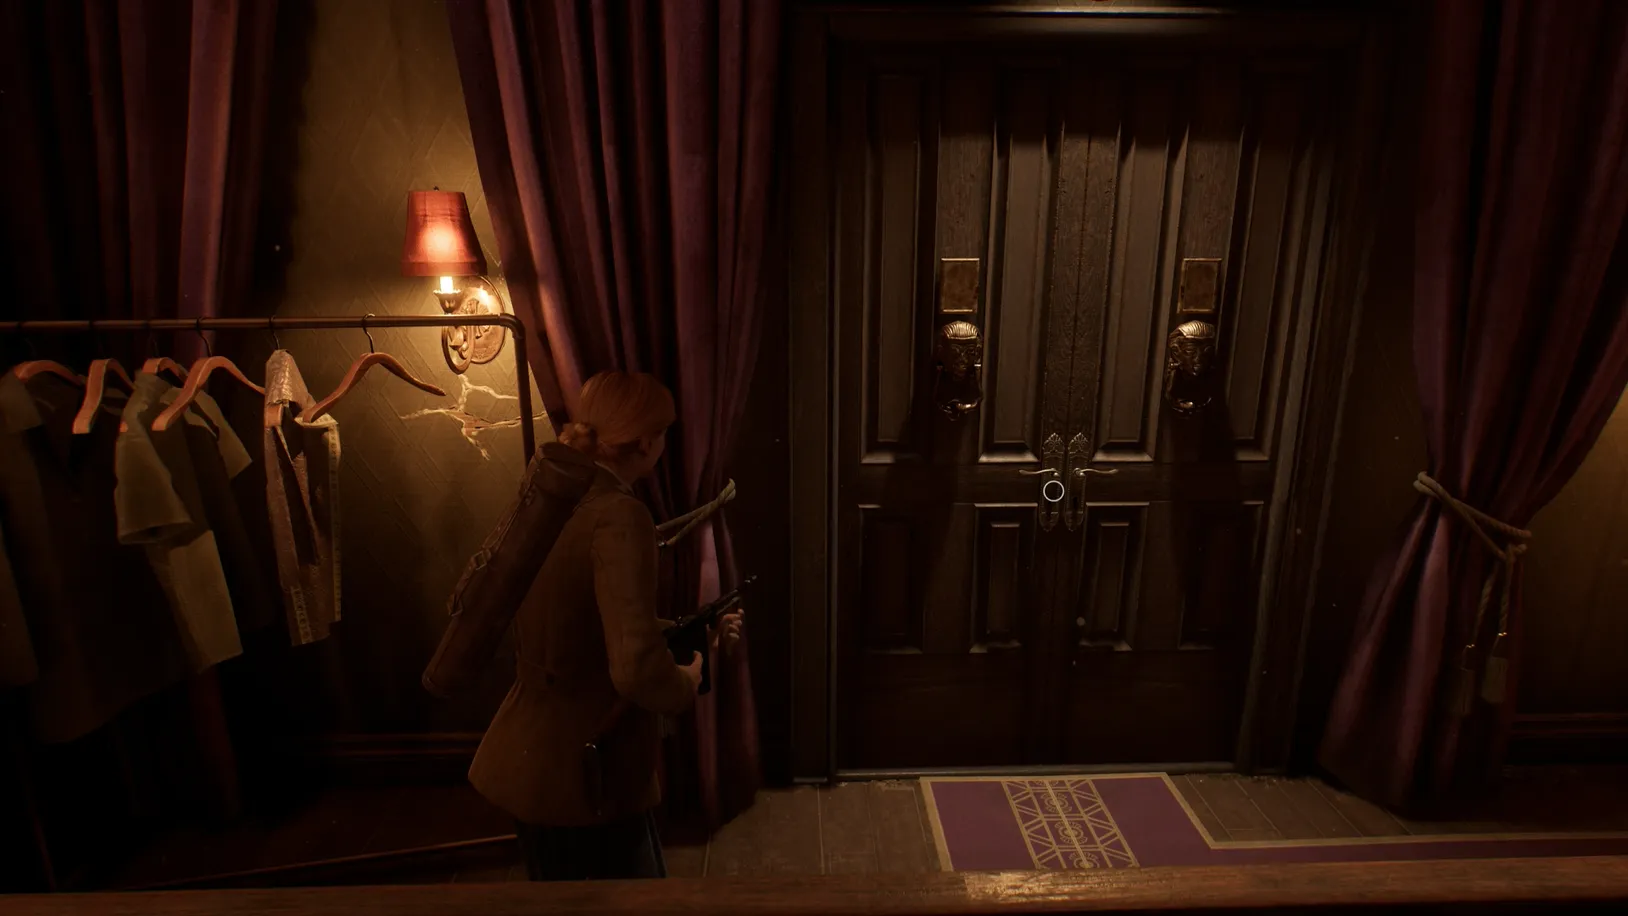
Enter the elevator and pick up the book inside to start a cutscene that takes you to Gallatin Street. Escaping the Dark Man will also pop the Drop Me Off In New Orleans trophy.
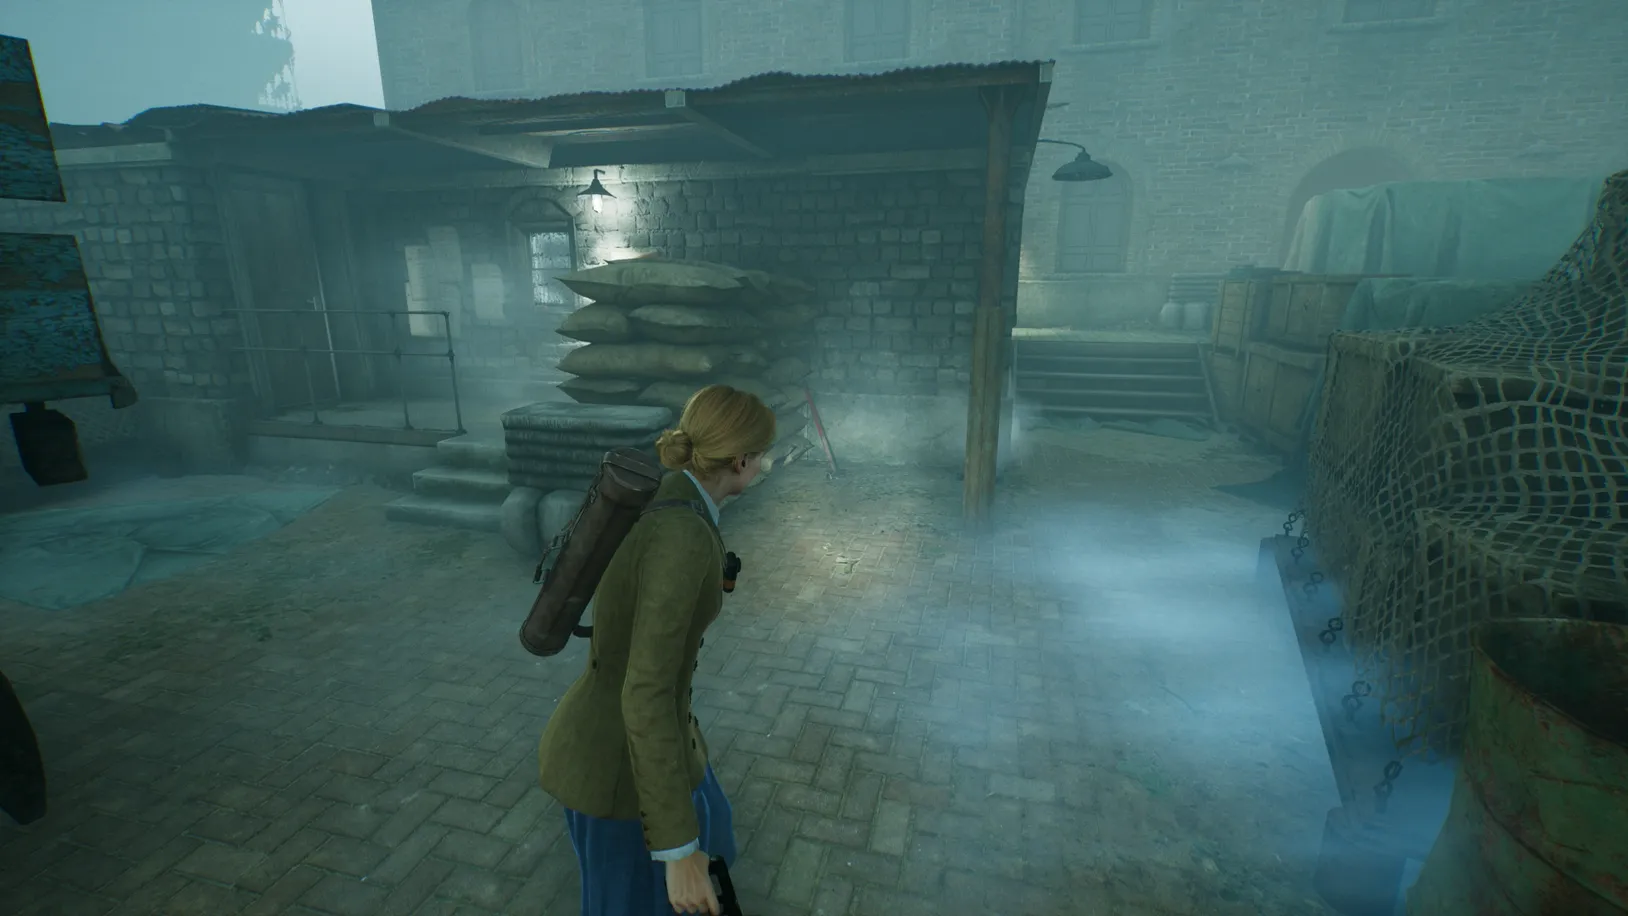
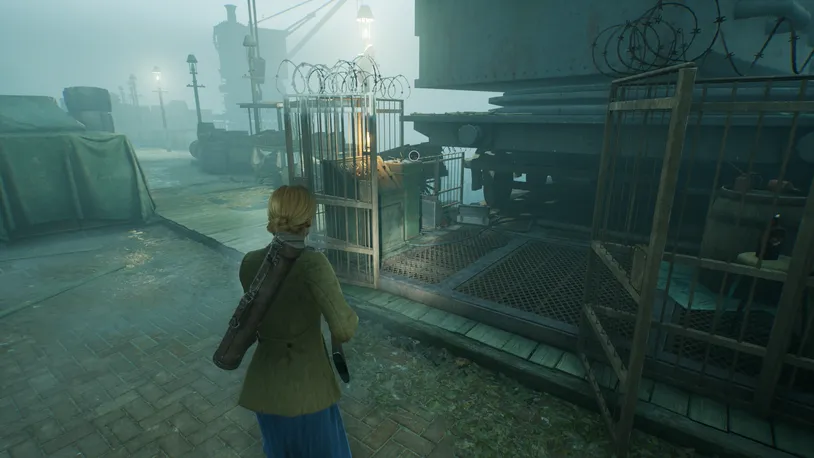
Gallatin Street - How to Find the Address to the Dark Man's Show
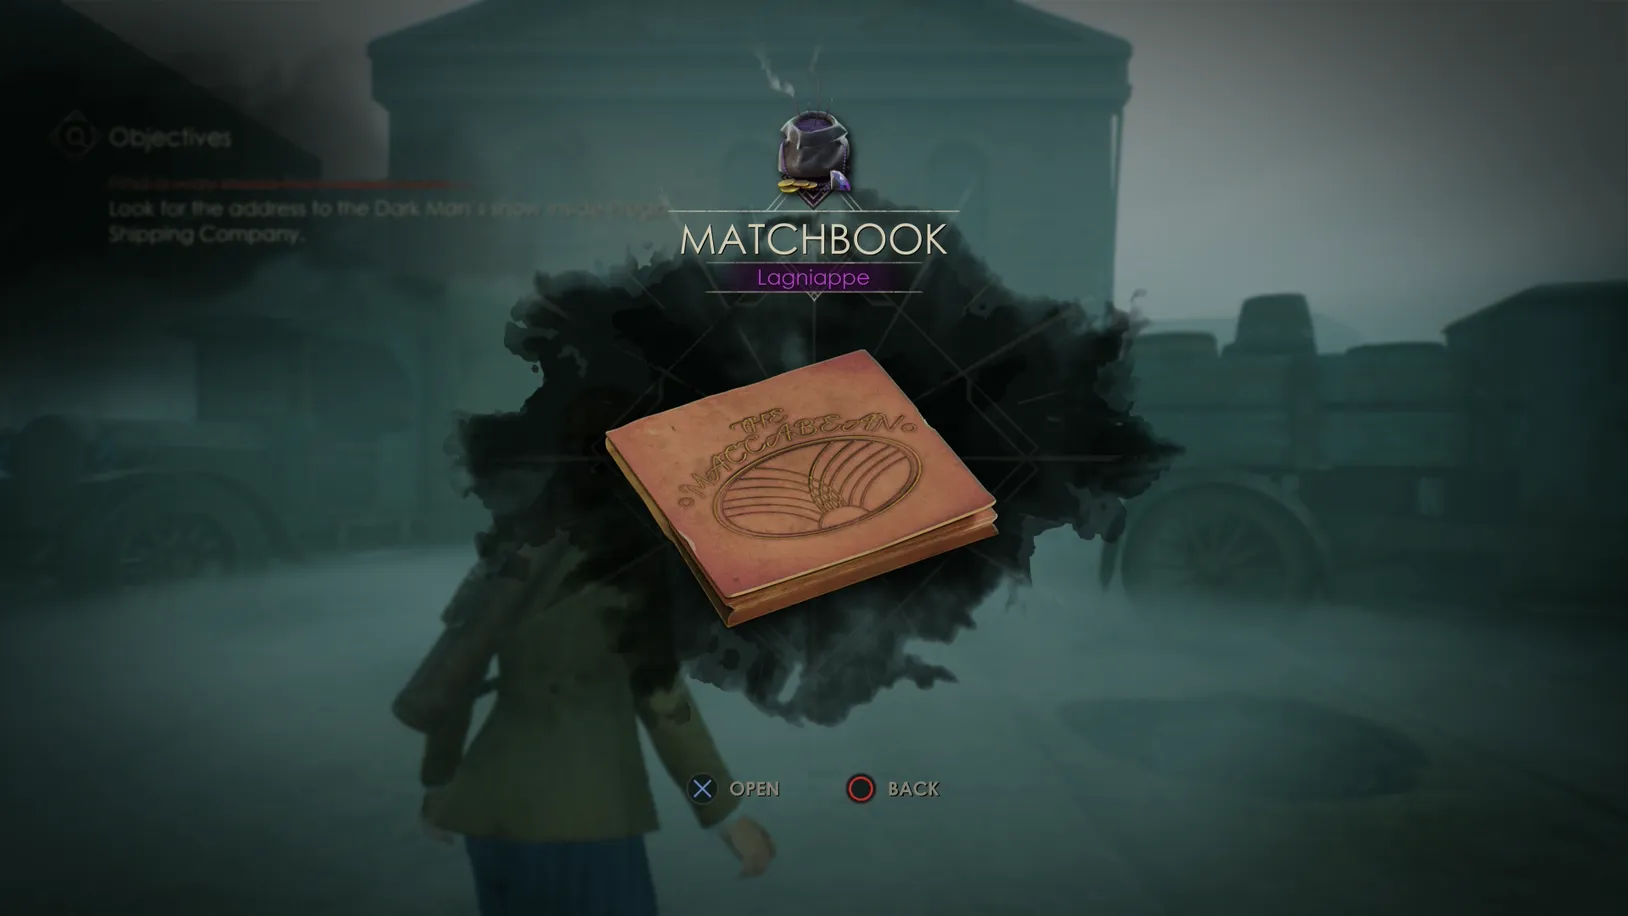
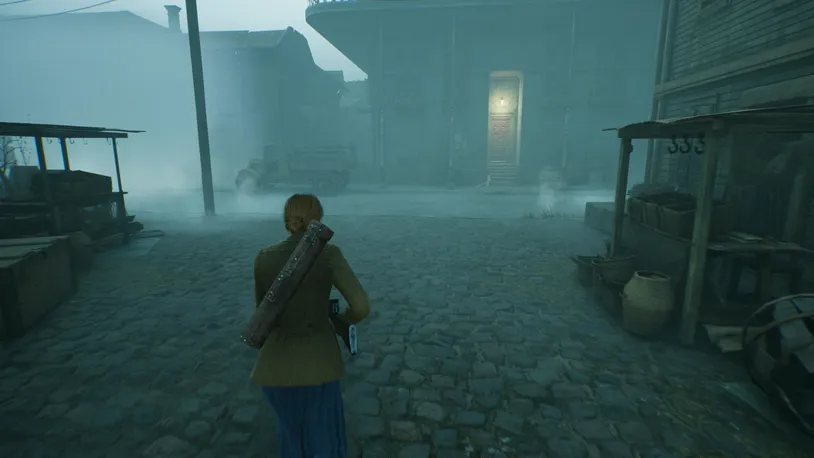
After the cutscene, you'll receive the Matchbook Lagniappe, The Dark Man Enters clue, and will find yourself in the middle of the street.
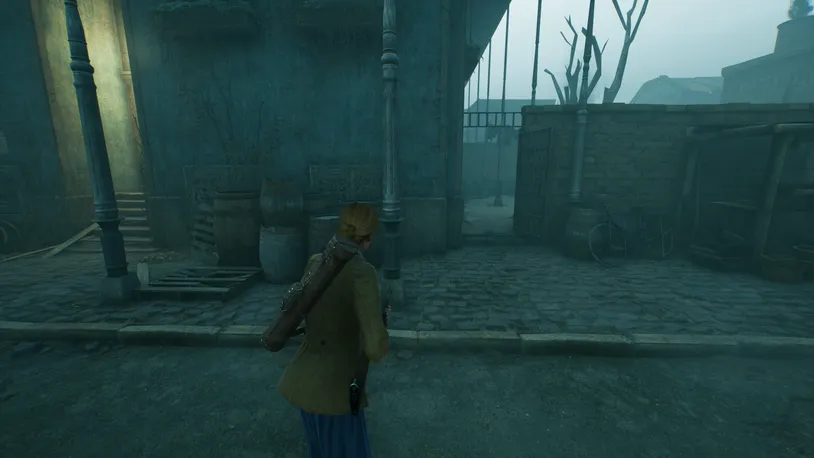
Note the barrier behind you and the warehouse in front of you, then turn right to progress.
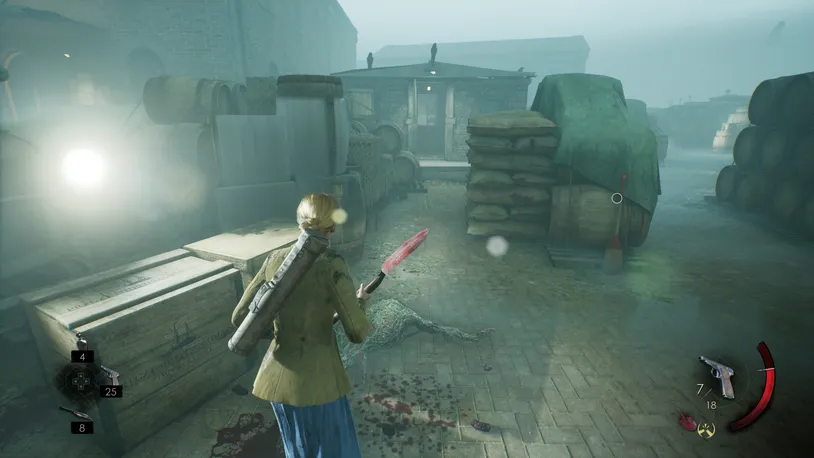
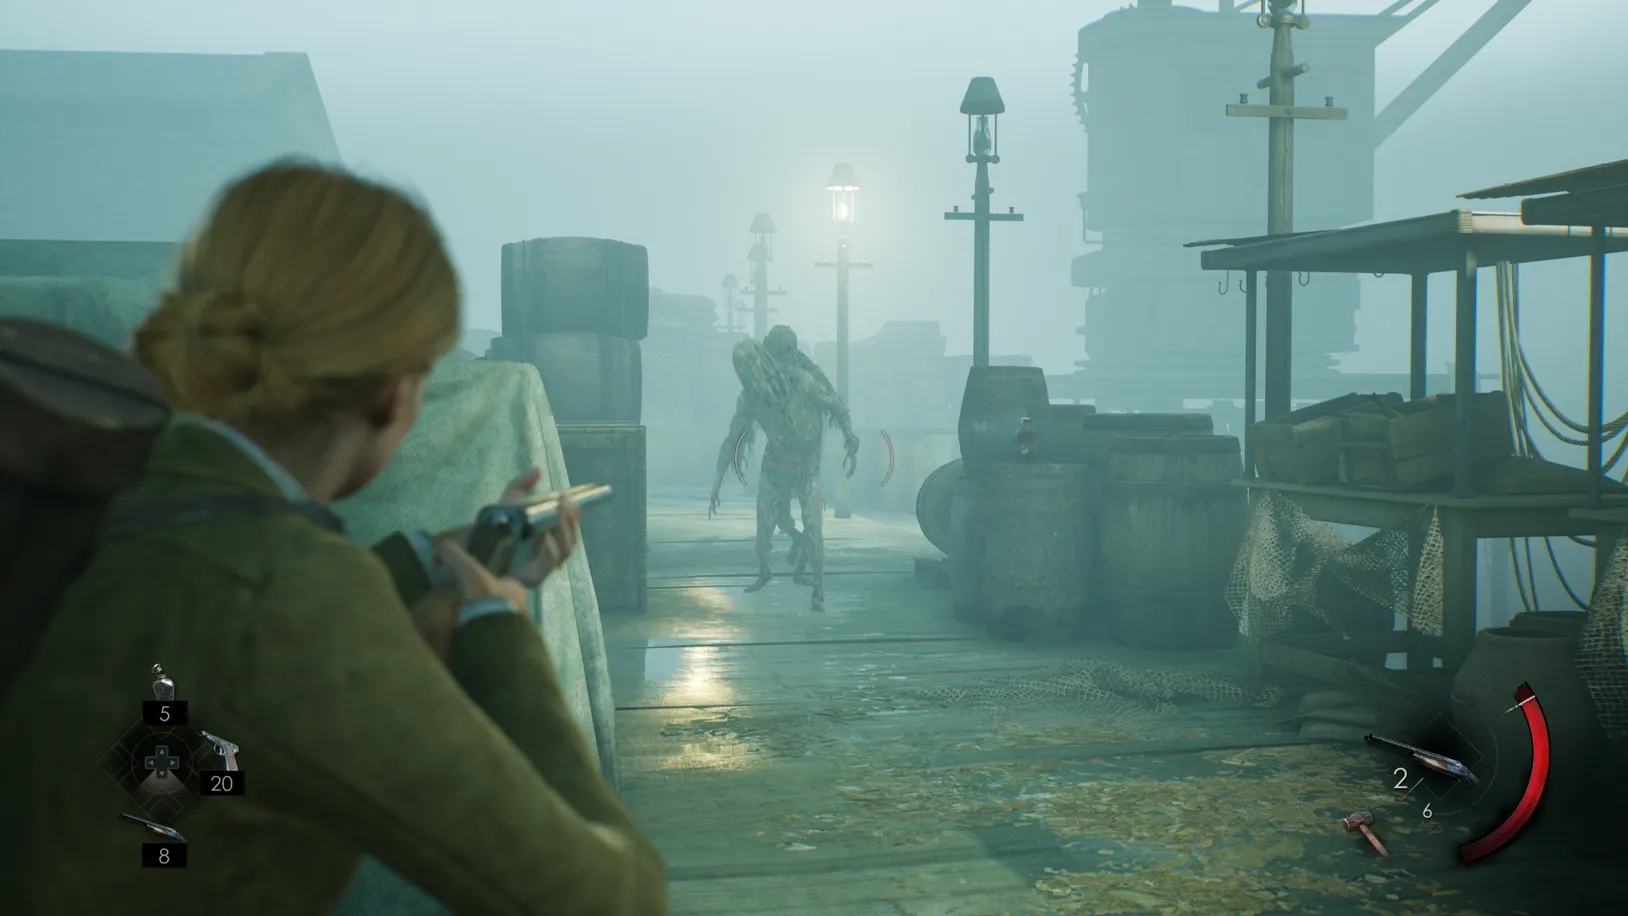
Make a left turn as soon as you can, where you will see a little boathouse -- defeat the nearby monster, followed by the monster that breaks through the boathouse door.
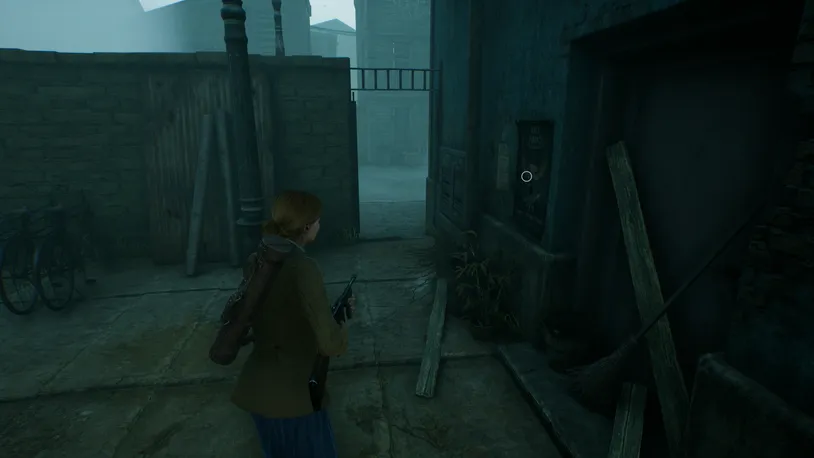
Once defeated, enter the boathouse, and you'll find the New Orleans Docks - Pier #11 clue on the wall.
After collecting the note, leave and continue along the street to reach a ladder behind the building.
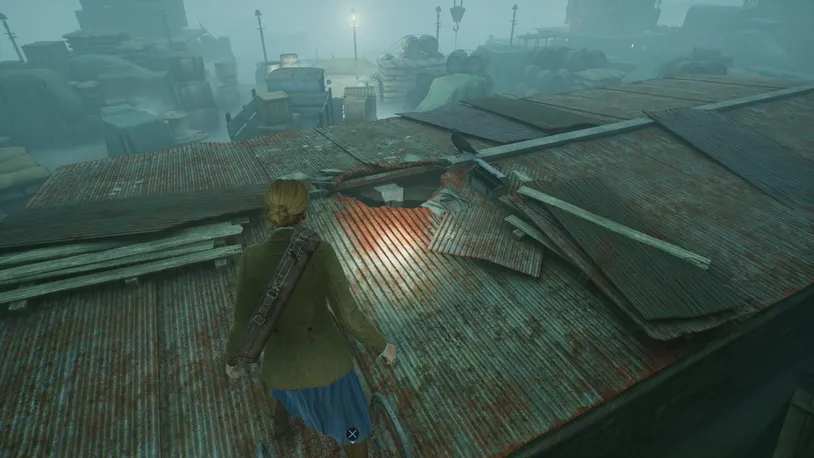
Climb up and jump through the hole in the floor.
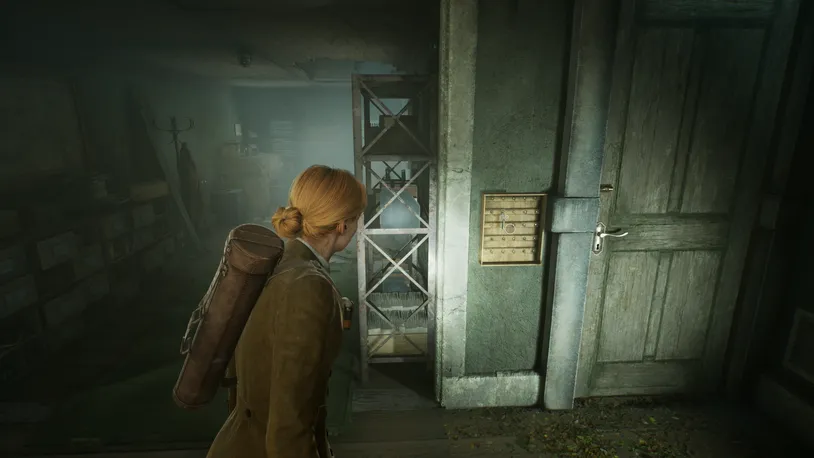
The crane key is on the wall by the door exit.
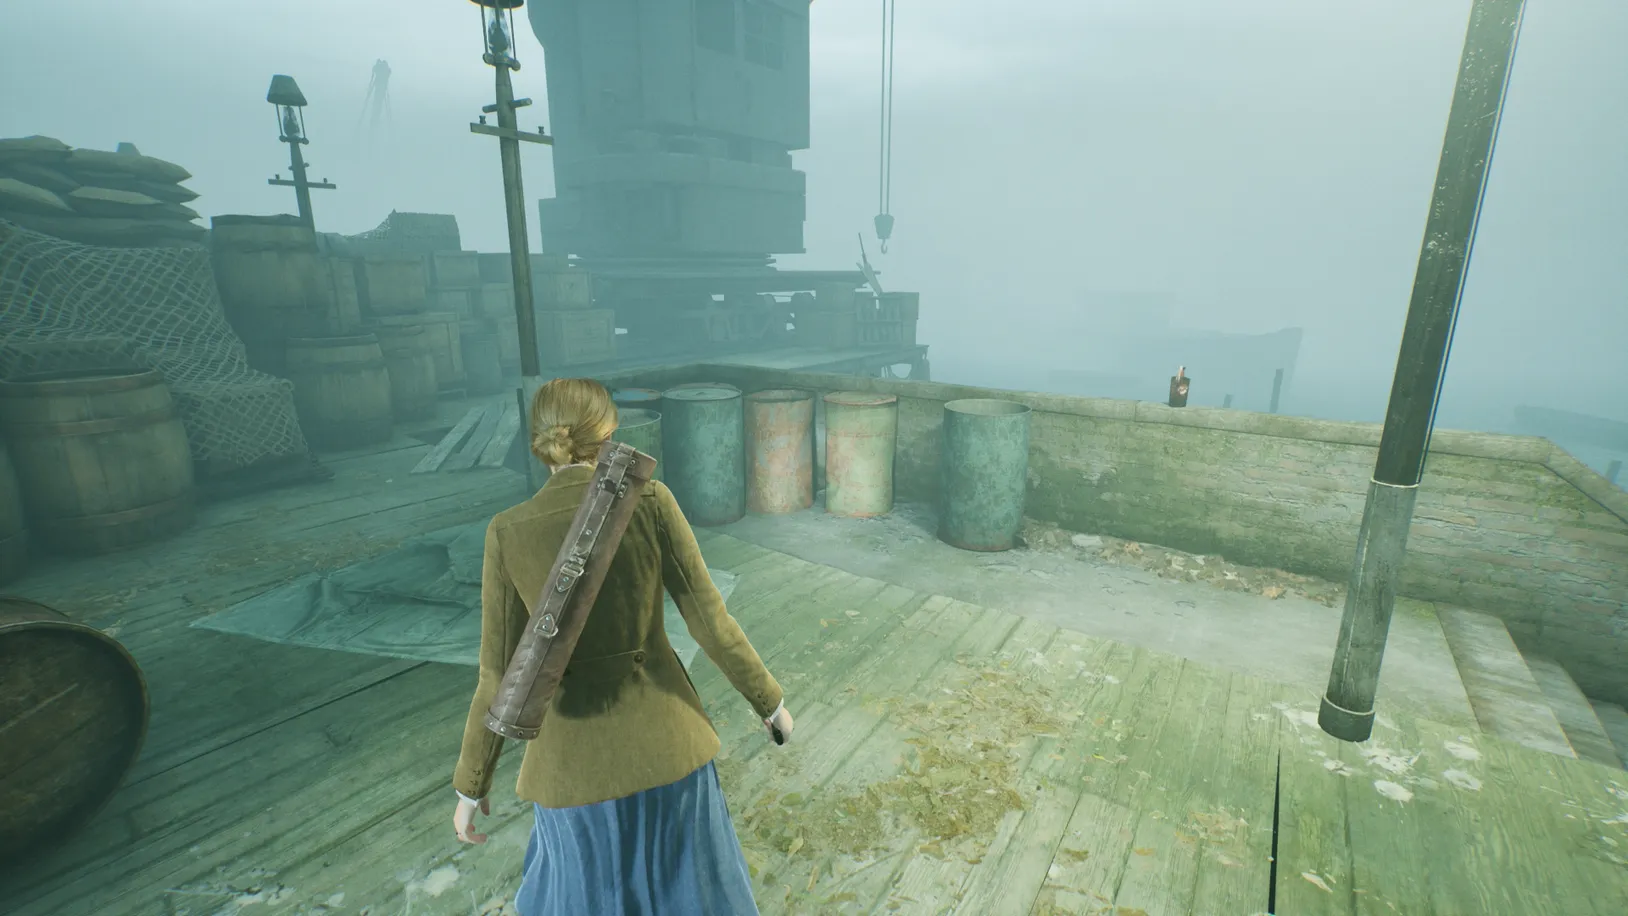
Exit the small house and go forward towards the docks; if you turn left, you'll find the Typewriter Ribbon Lagniappe on a small wooden crate at the end, whereas if you turn right and continue until the end, you'll find the crane machinery.
Use the key to operate the crane, which will allow you access to the sewers and cause six monsters to appear -- three from the sewers and three from the previous area.
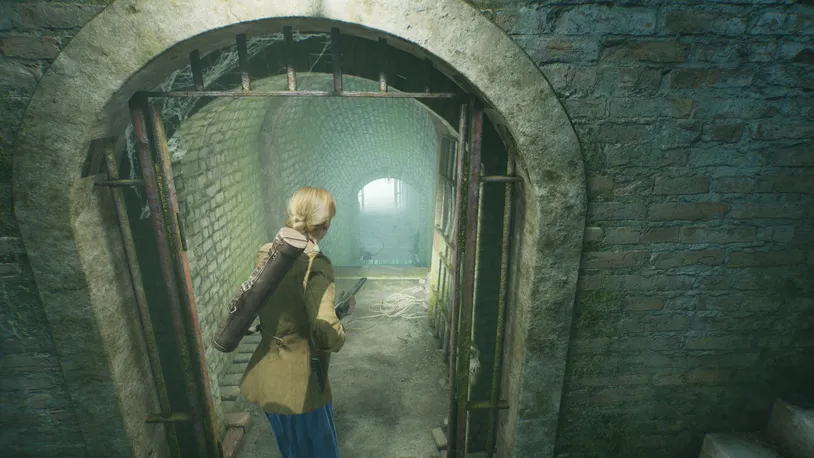
Walk down the stairs to the left of the crane, follow the sewers straight as far as possible, and turn right.
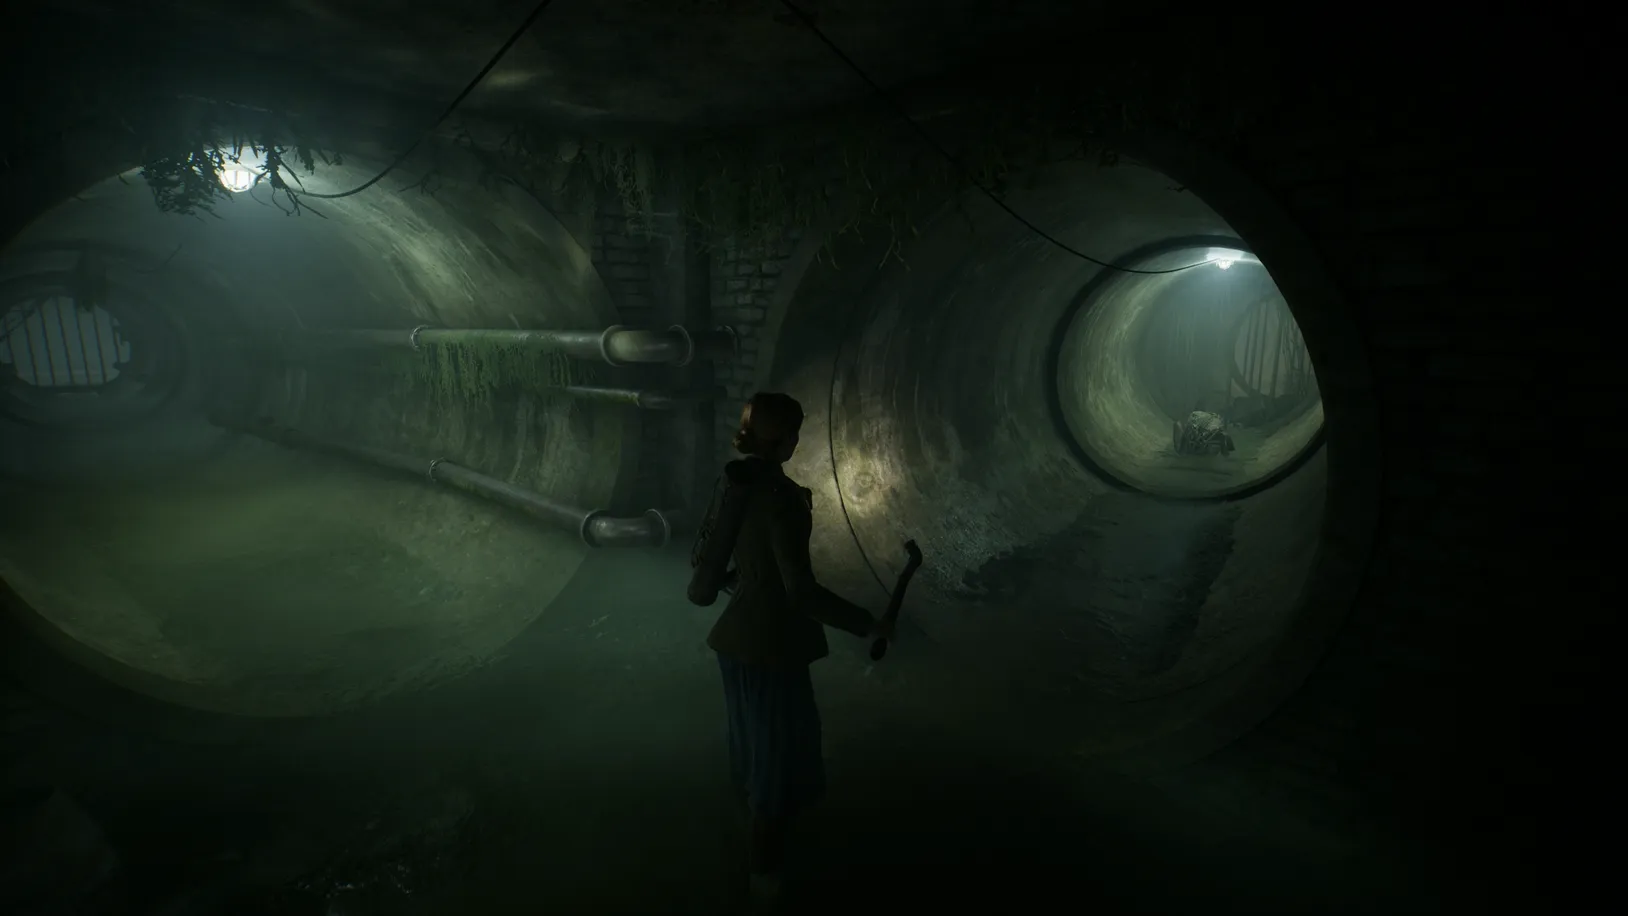
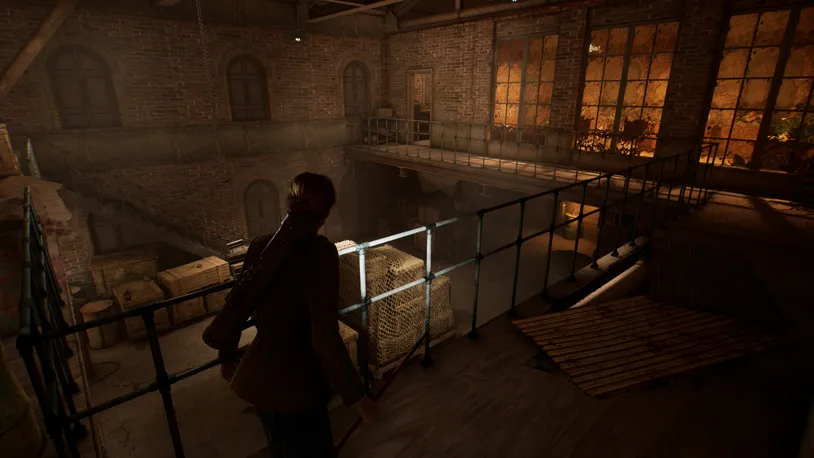
You should soon see a ladder. Climb the ladder to get into the warehouse.
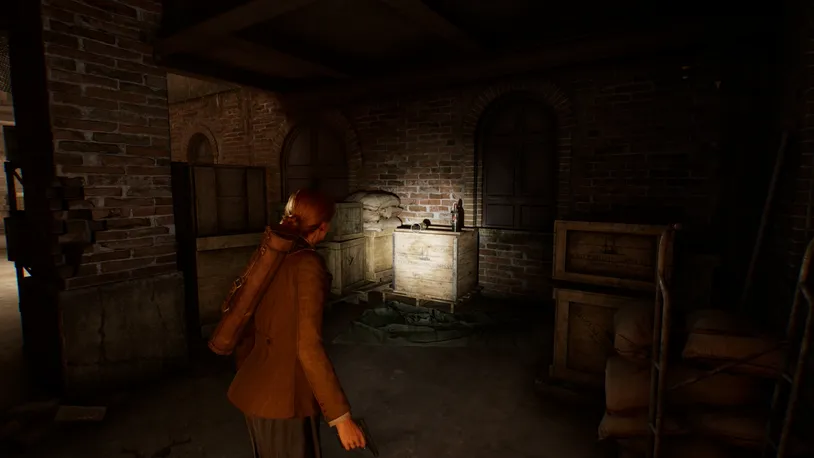
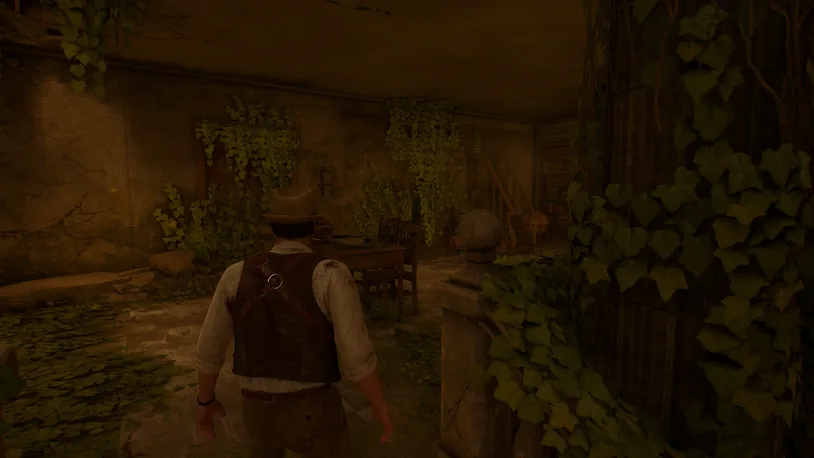
Inside the warehouse, you'll find the Severed Horn Lagniappe on top of a wooden crate in the dark corner, just left of the main entrance door.
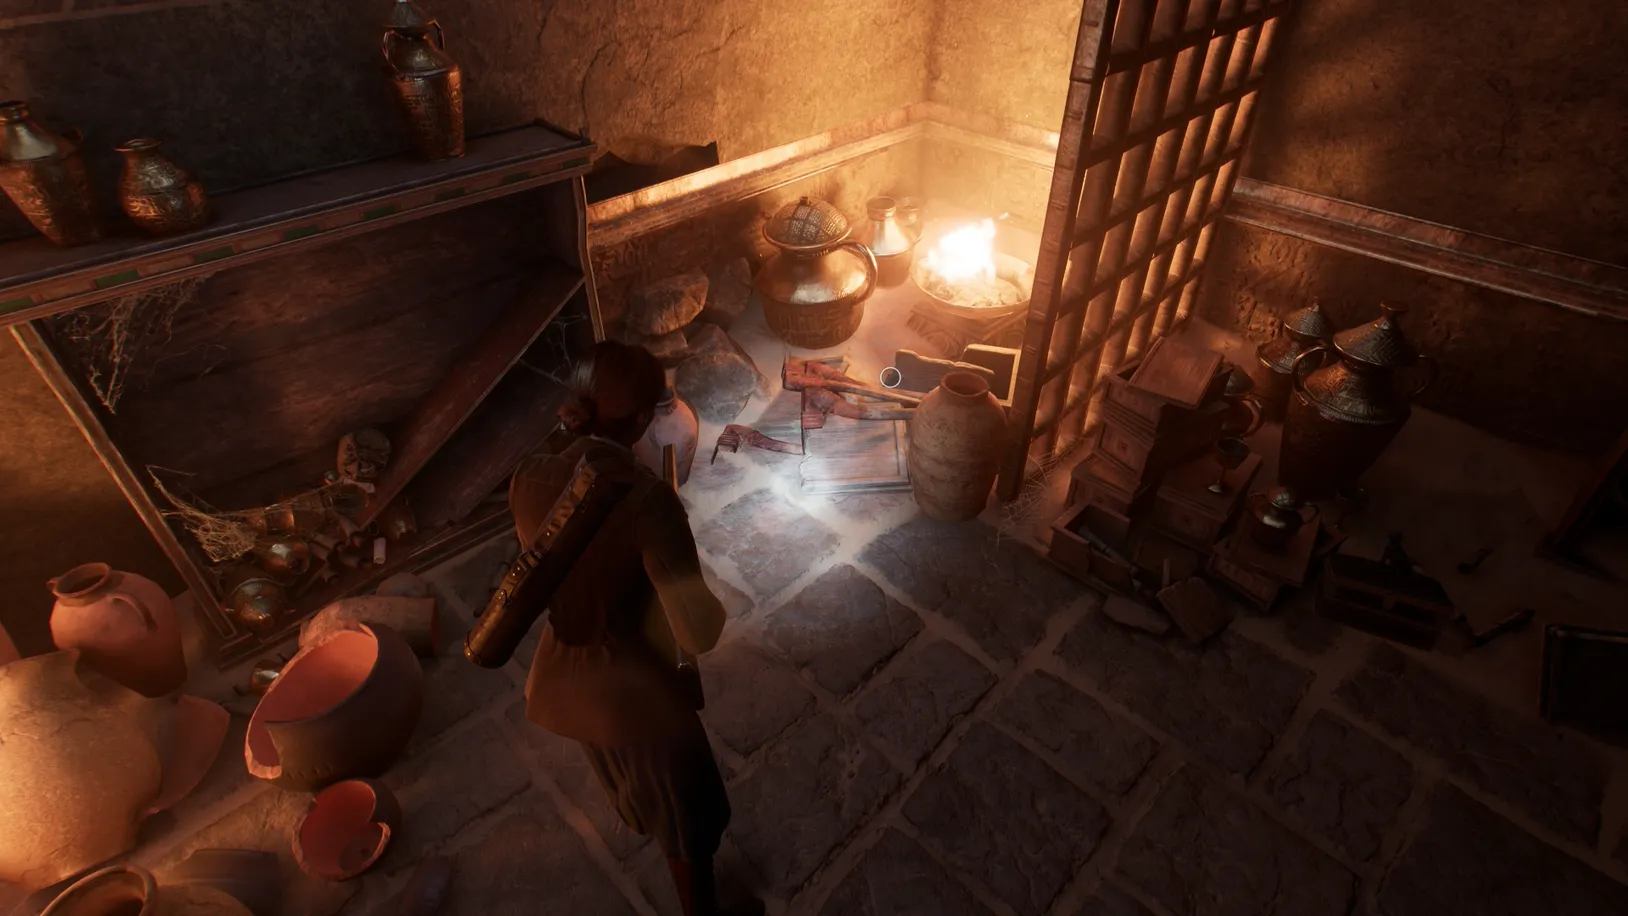
Once the Lagniappe is collected, head up the stairs and walk towards the office.
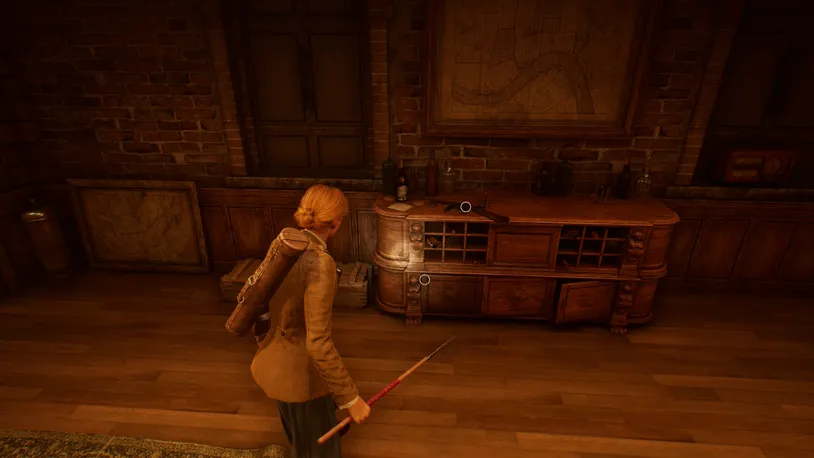
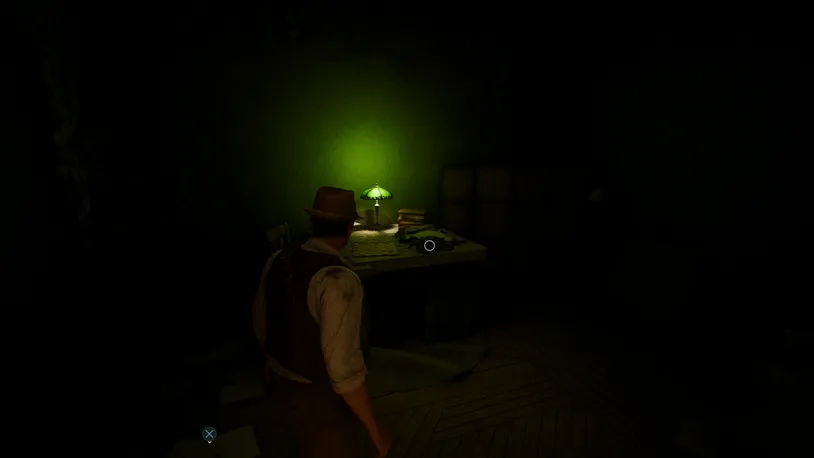
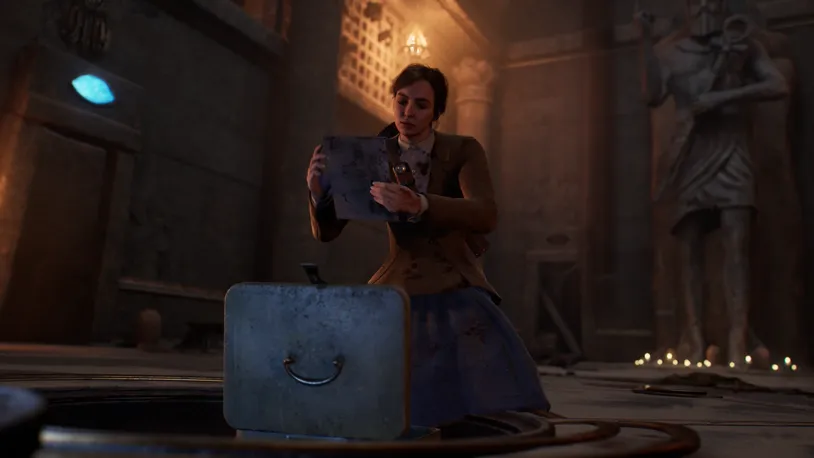
Pick up the All His Things clue from the wooden cabinet, which will share the safe combination (L4-R5-L4) for the nearby safe. On top of the cabinet, you'll also find the Tommy Gun.
Open the safe to get the Cargo Manifesto.
Walk out of the office and down the stairs towards the main entrance. You will be ambushed here.
For this fight, we recommend running back to the top of the stairs, which will funnel the monsters and make them much easier to take down.
Be sure to use the Tommy Gun for a kill to unlock the Gangster trophy.
Survive the ambush and make it back to the very beginning of the level, where you can now access the back streets.
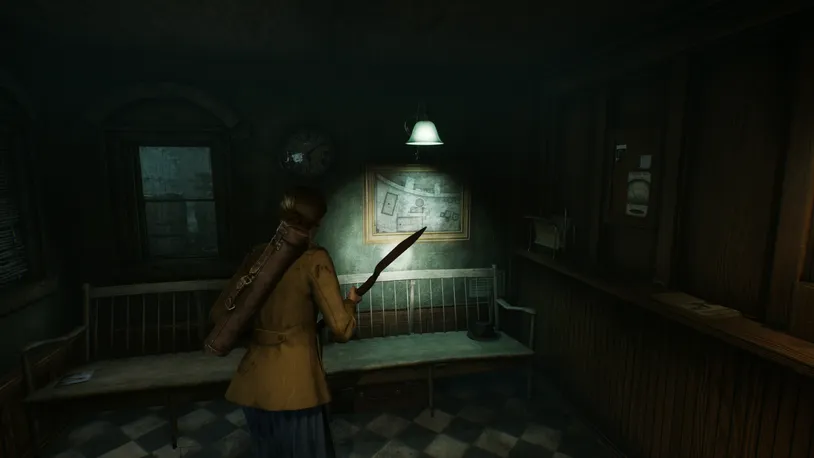
Follow the street until you reach a well-lit building.
Before heading inside, turn right and head into a small side garden area, where the Witness The Black Pharaoh Lagniappe poster is hanging on the wall.
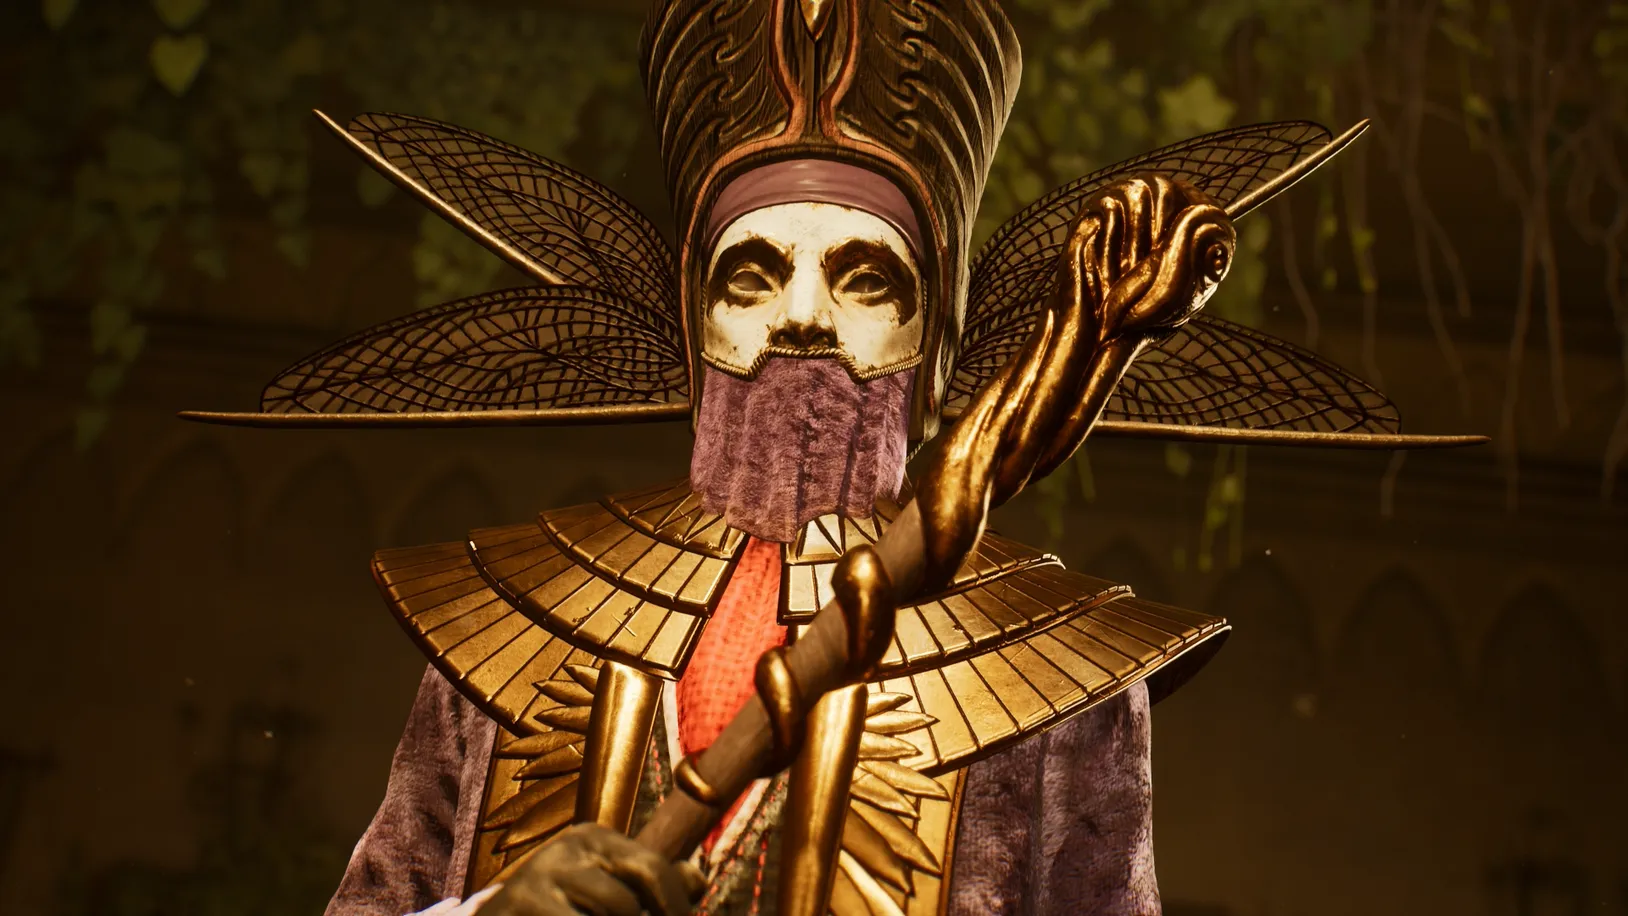
When you're ready, climb the stairs and enter the showroom.
A cutscene will play in the showroom.
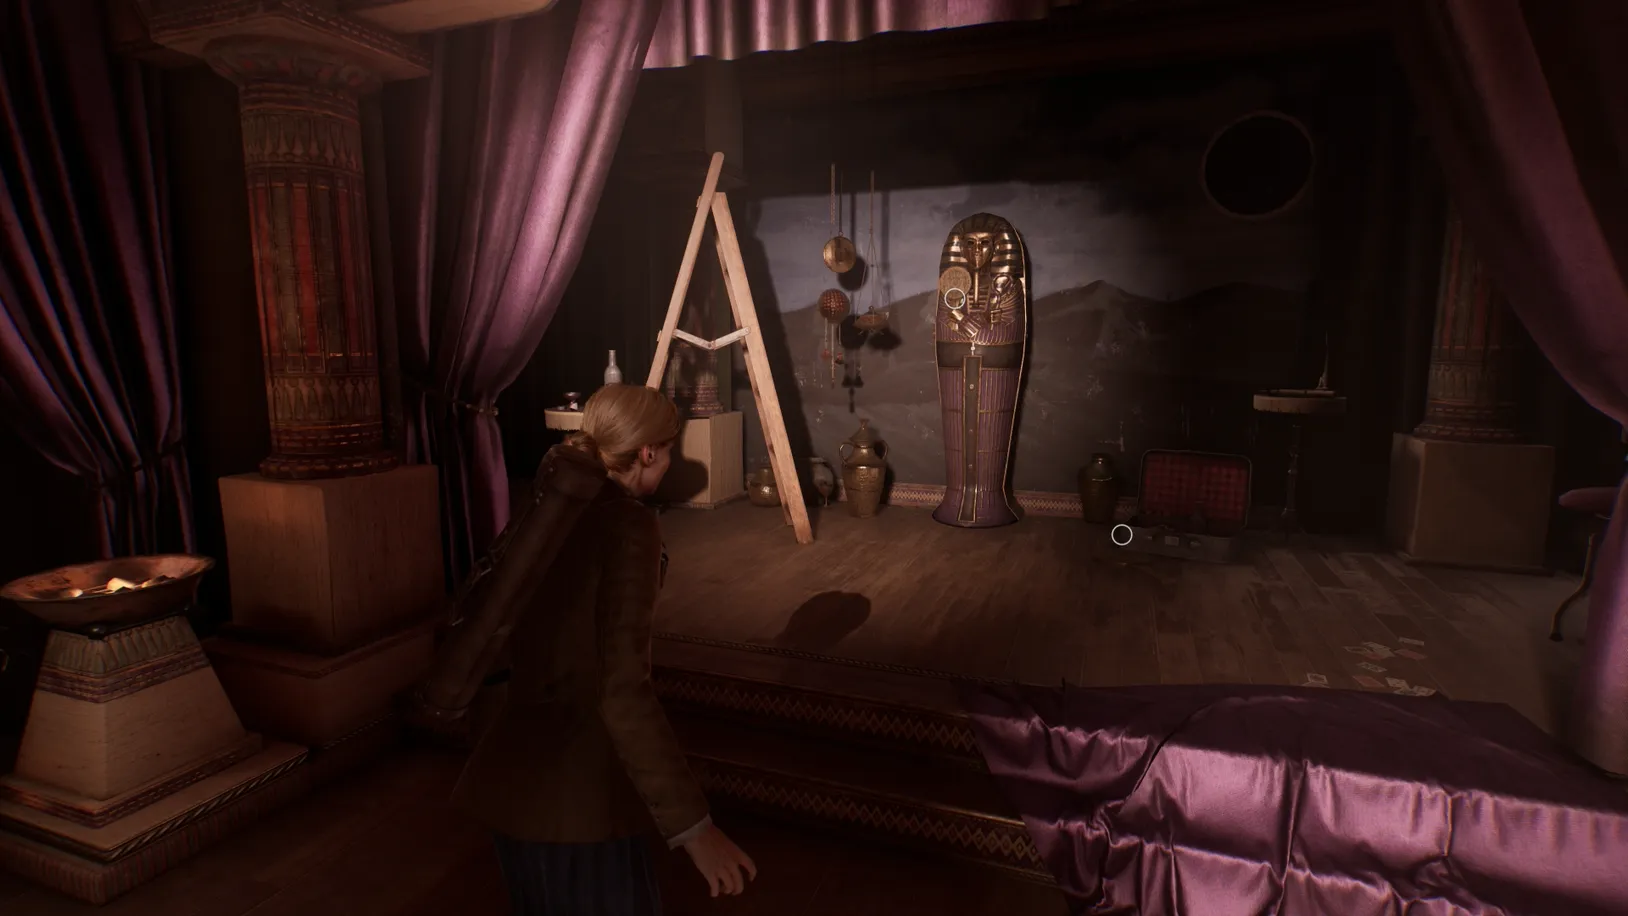
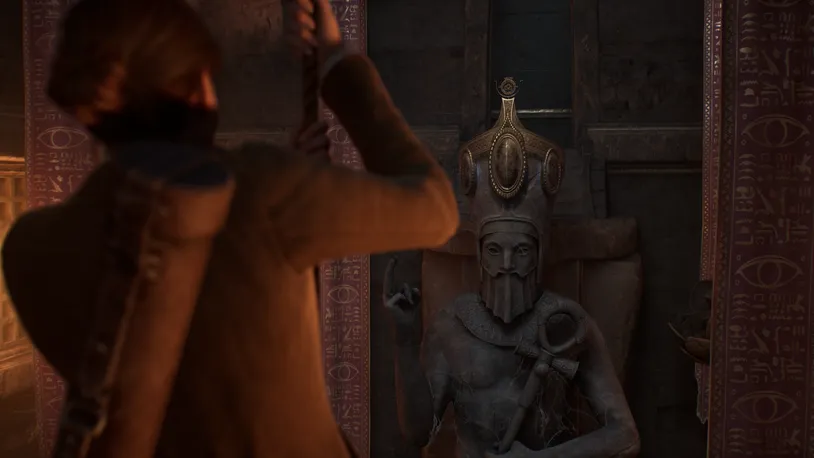
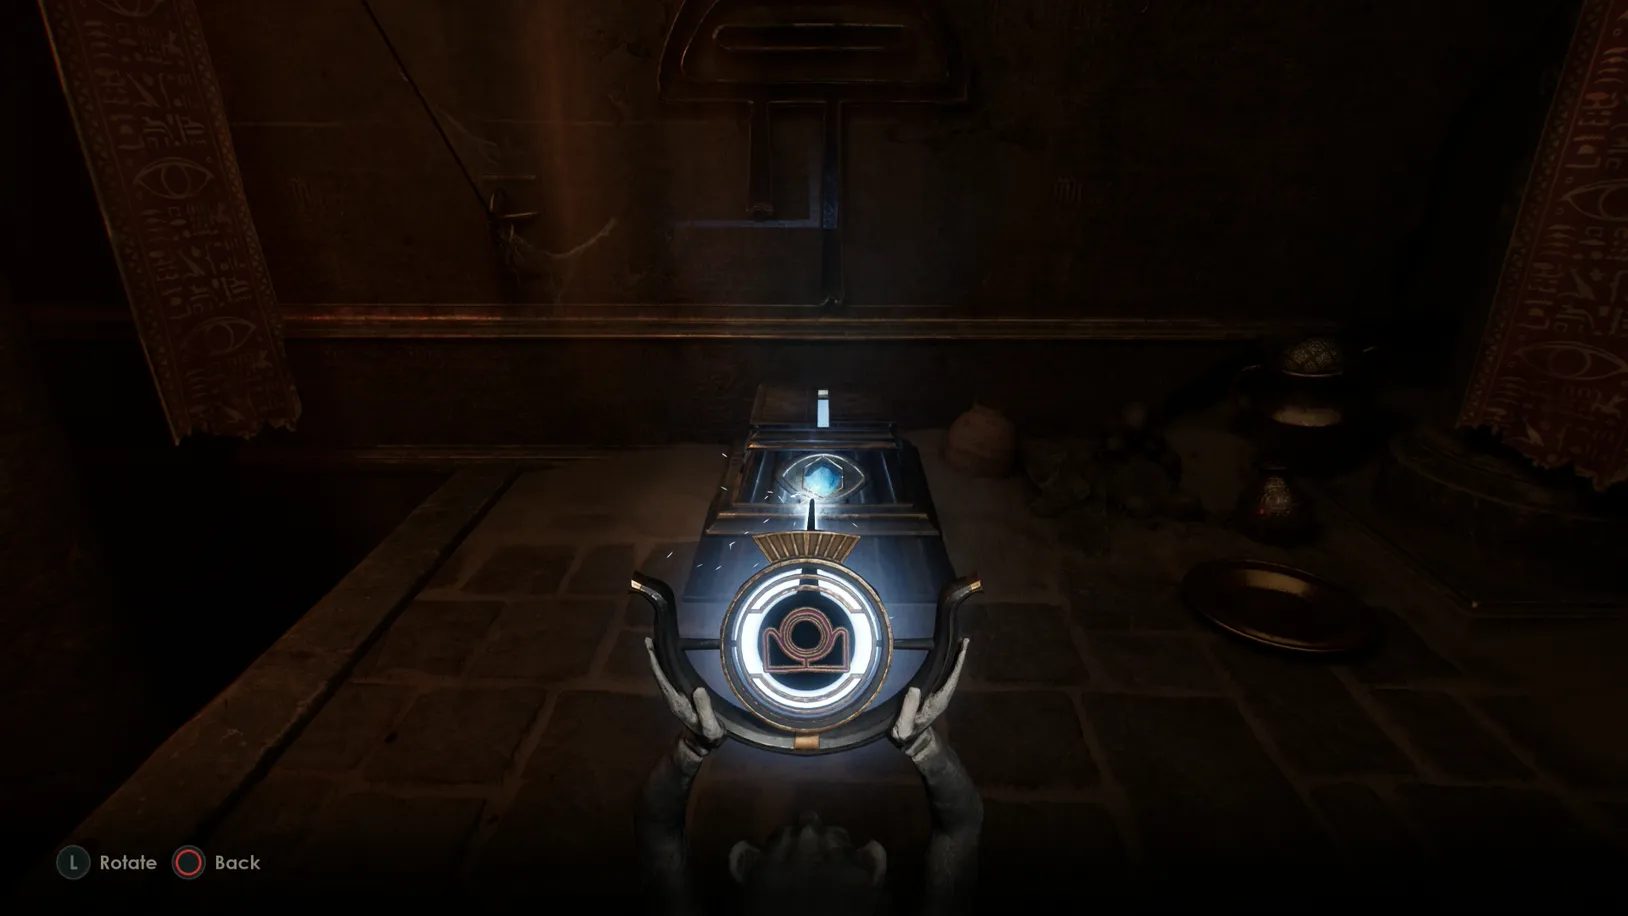
Solve the sarcophagus puzzle where you need the talisman. Behind where the talisman is placed, you will see some symbols that will match up with Perosis journal and the zodiac signs. The code is 258.

Find a Way Inside the Sunken Temple
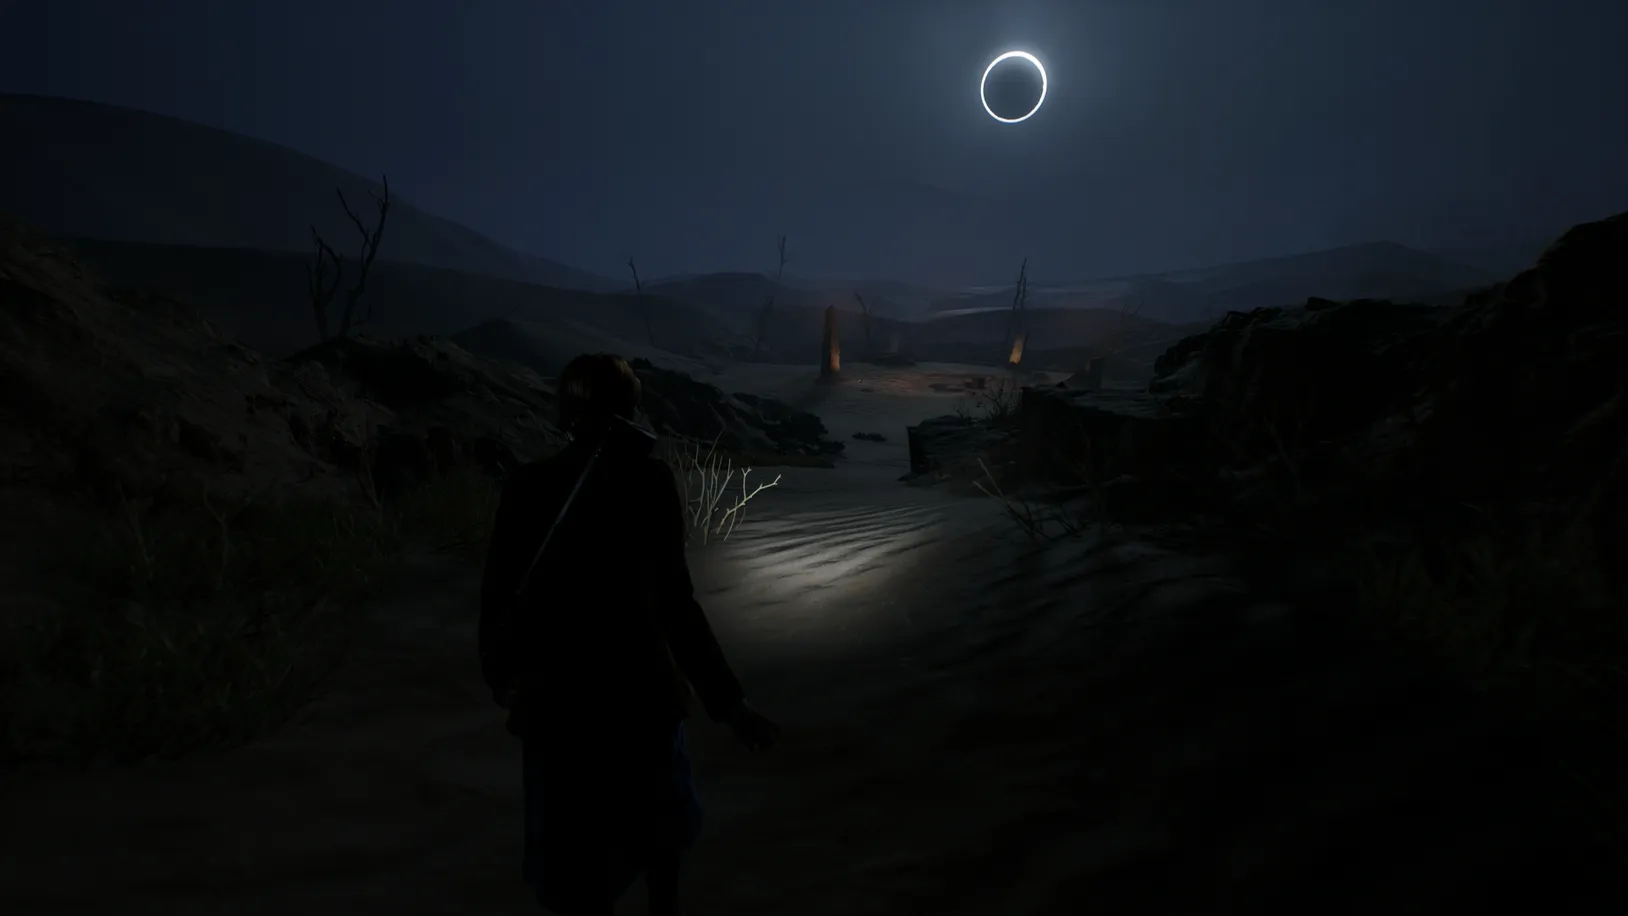
Follow the path down the dunes past the pillars and pick up the rope at the camp.

Beside the rope, inside a wooden crate, you'll find the Beyond the Nile Valley clue.
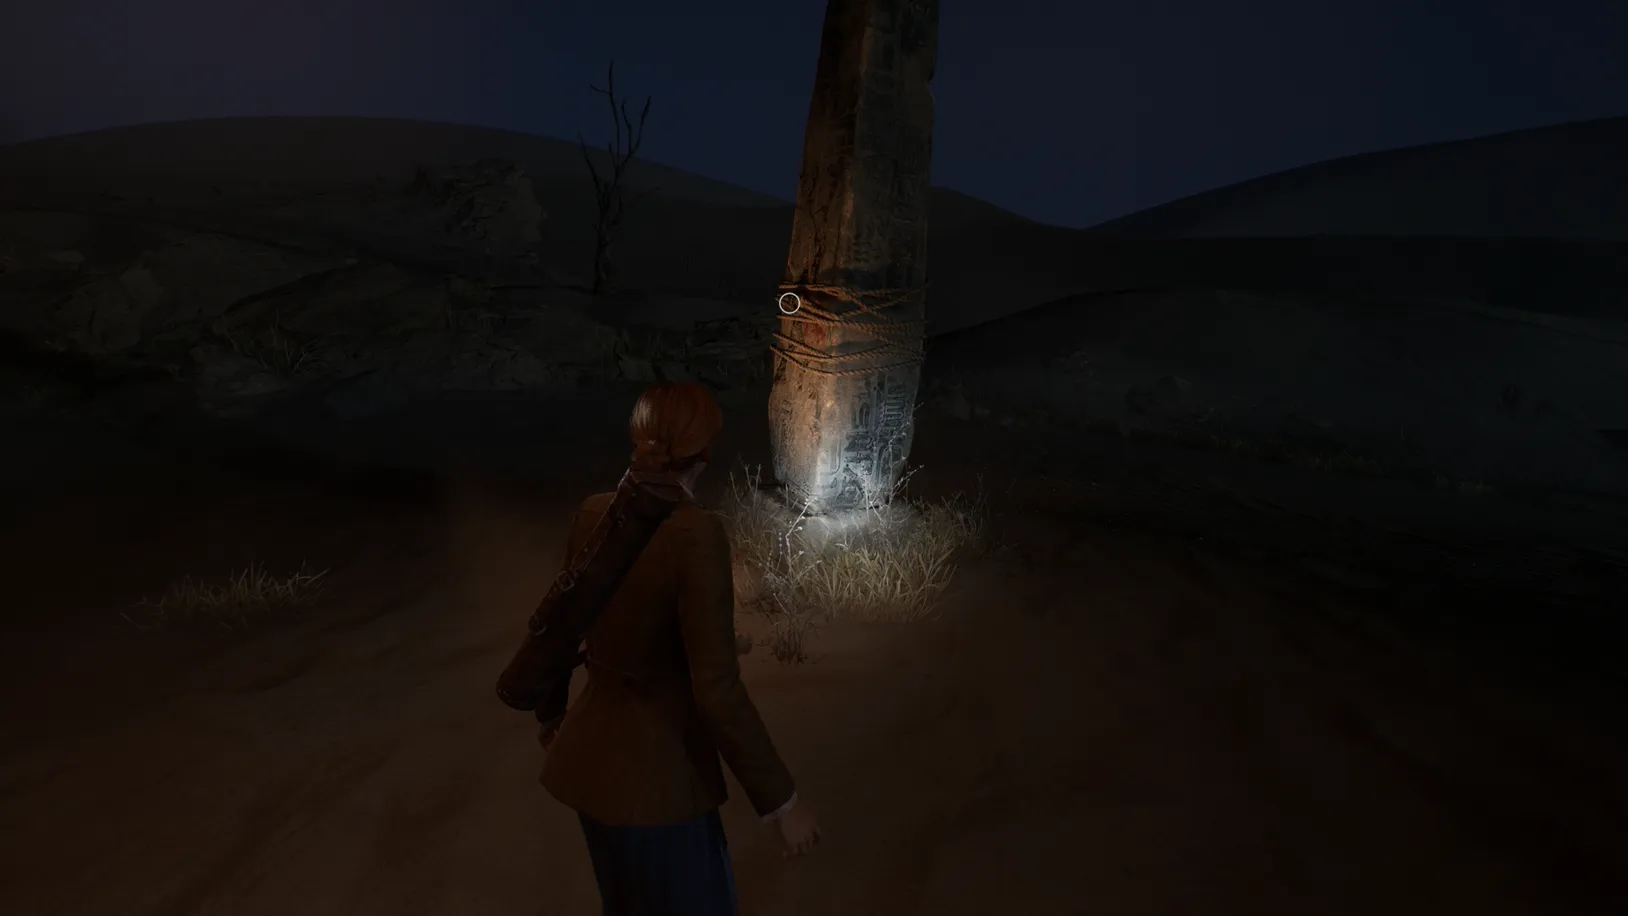
Use the rope on the anchor that's attached to the nearby pillar, not too far from the hole in the ground.
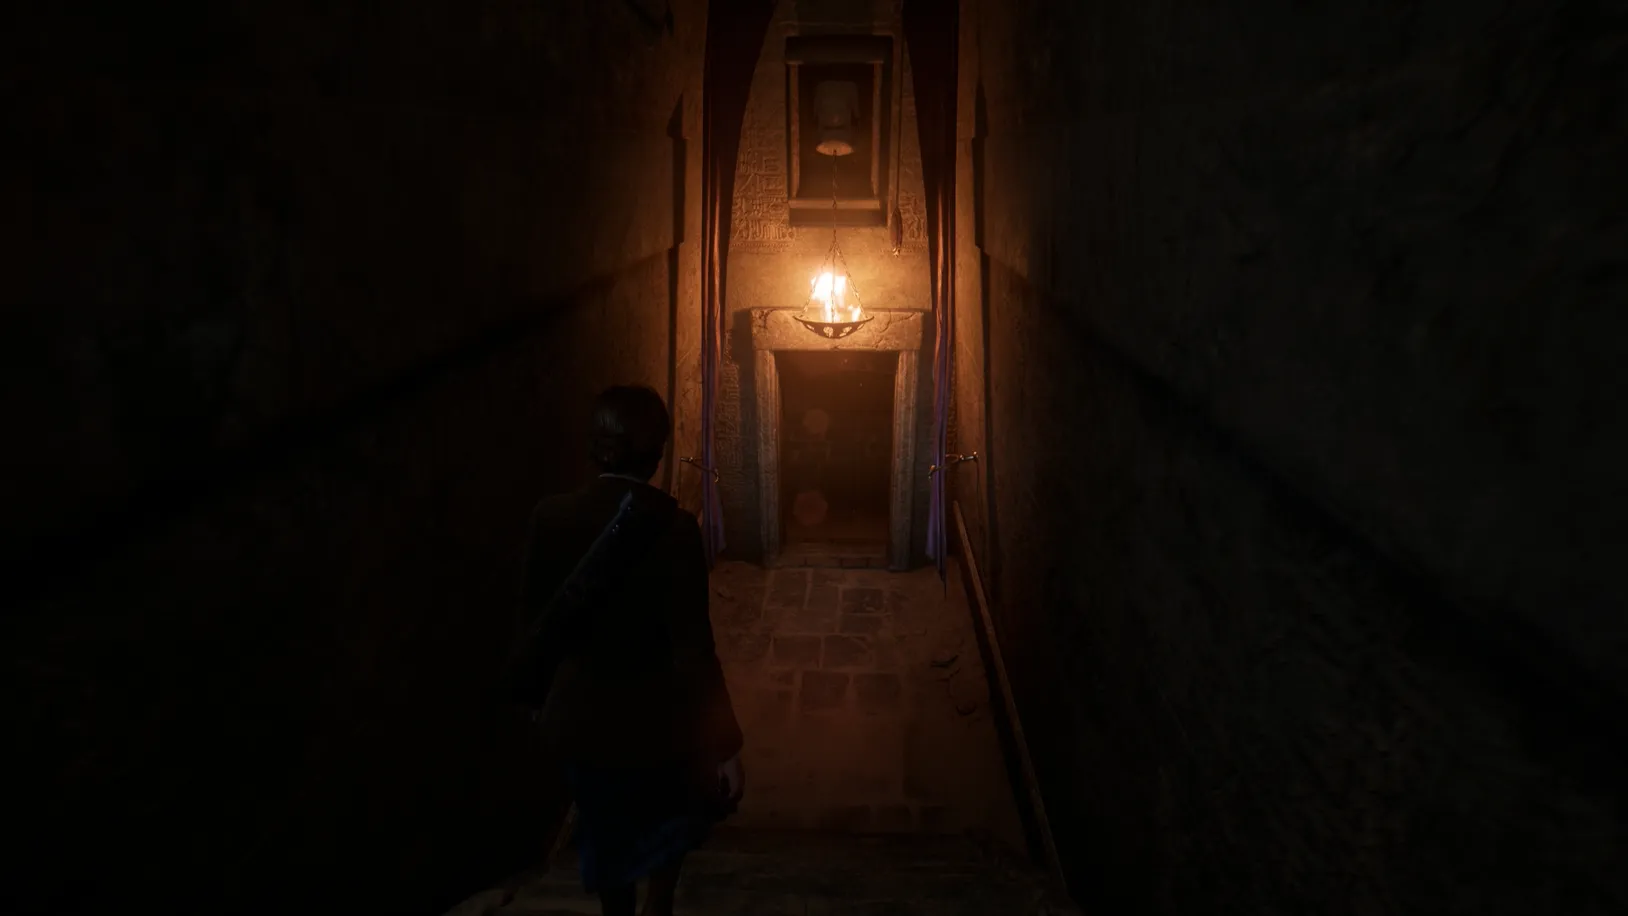
When climbing down into the hole, a short cutscene will play as you descend into the tomb.
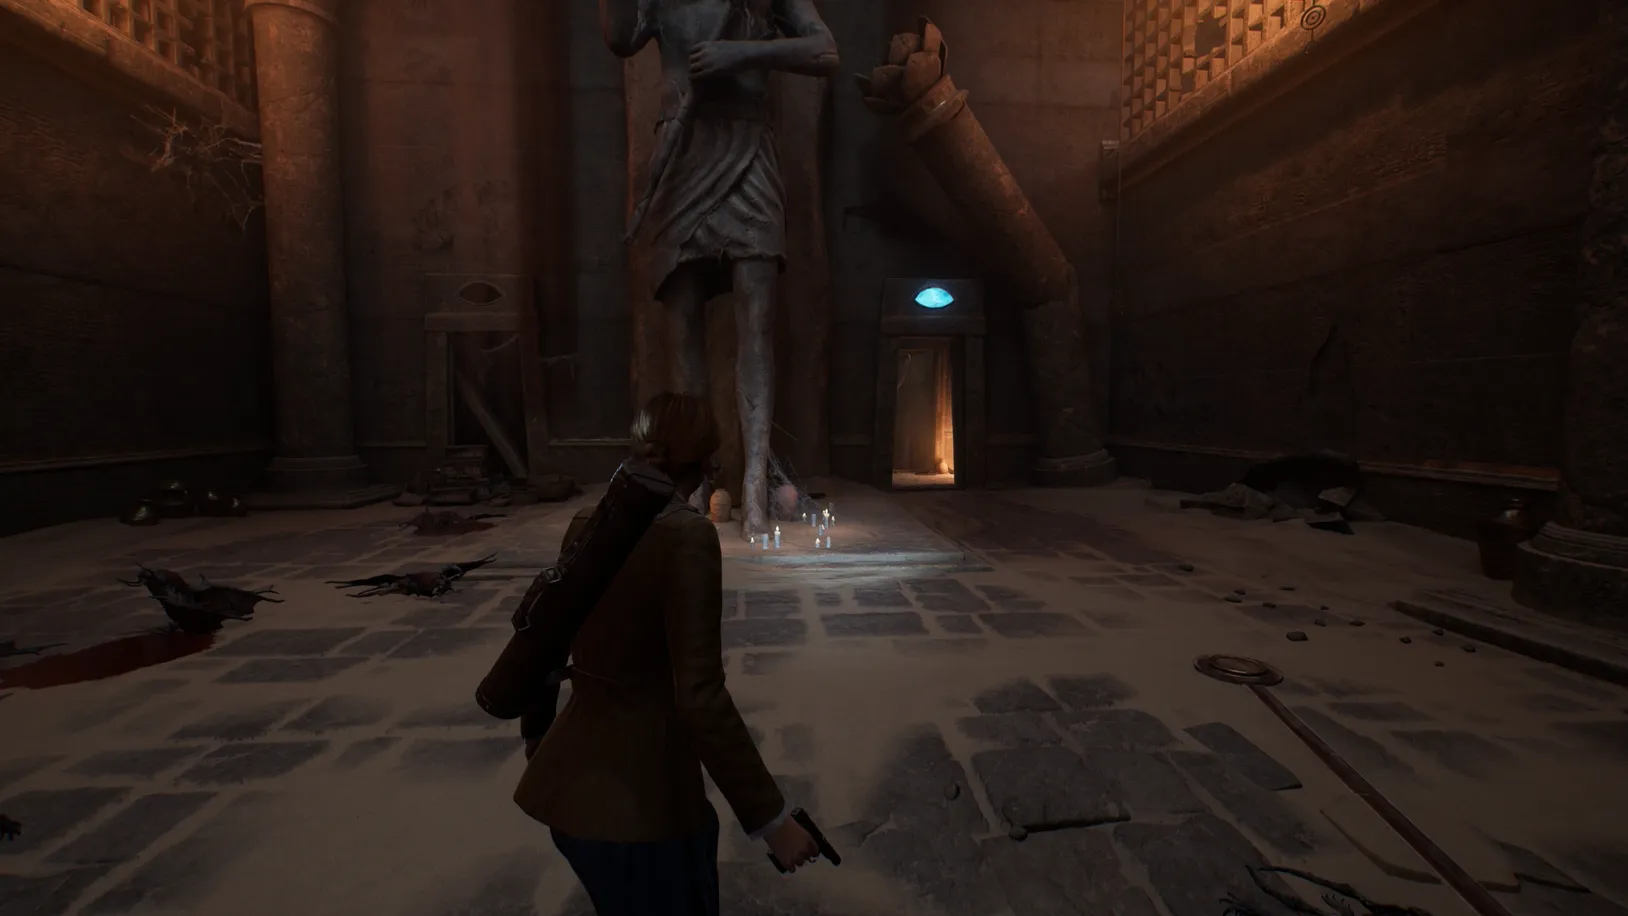
Use the Old Temple Mechanisms to Reveal the Contract
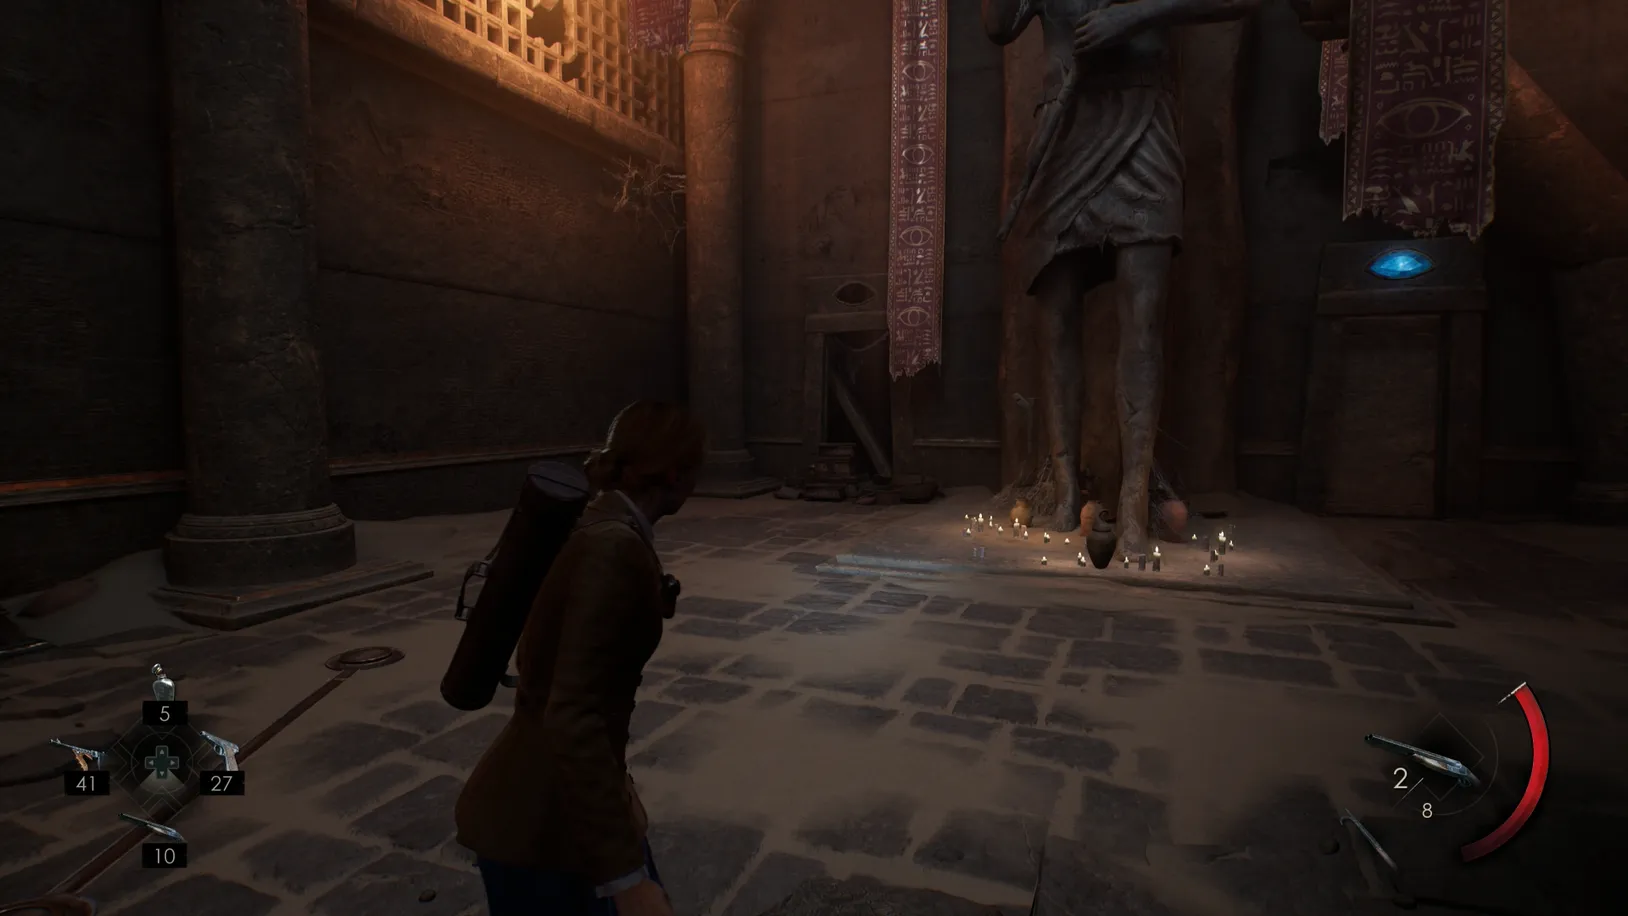
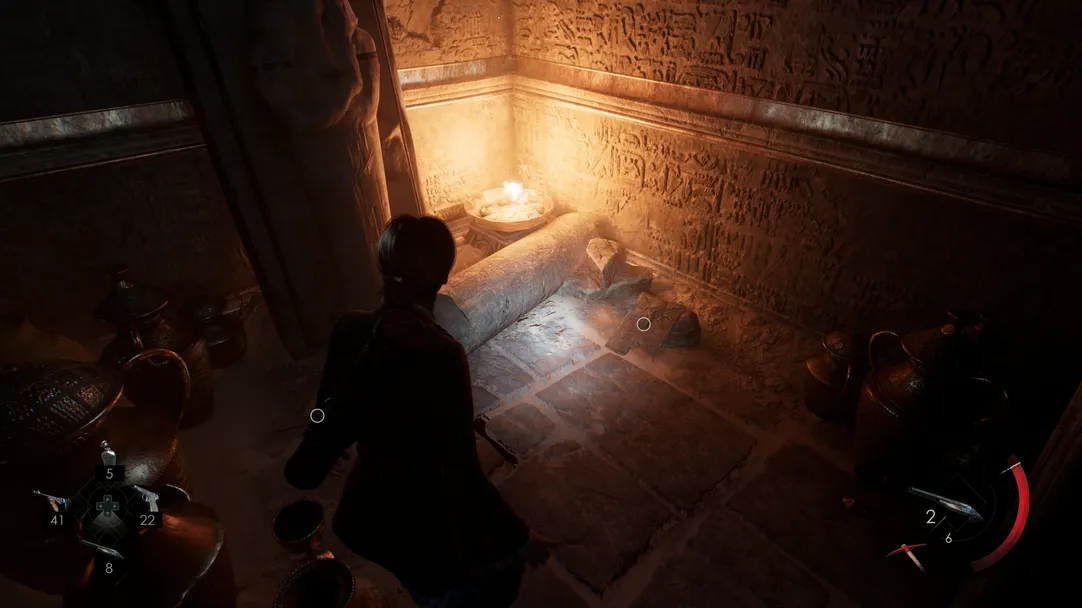
Once on the ground, approach the large statue nearby. The Canopic Jar Lagniappe is at the base of the statue.
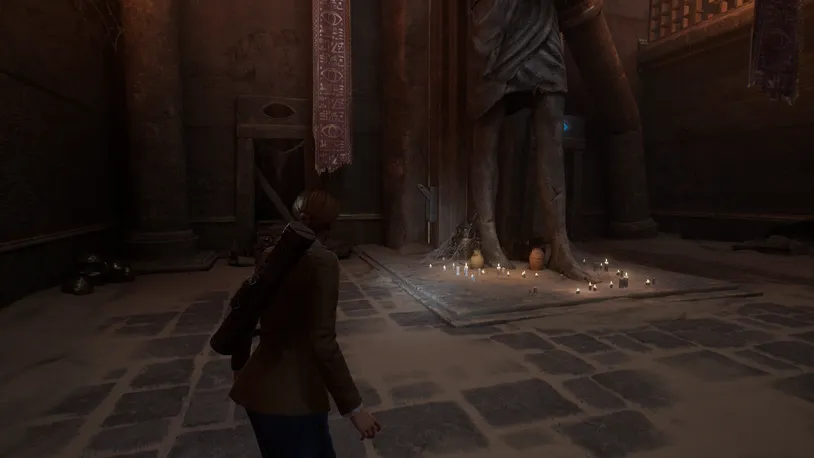
Once you have collected the Lagniappe, head to the left side of the statue and pull the lever.
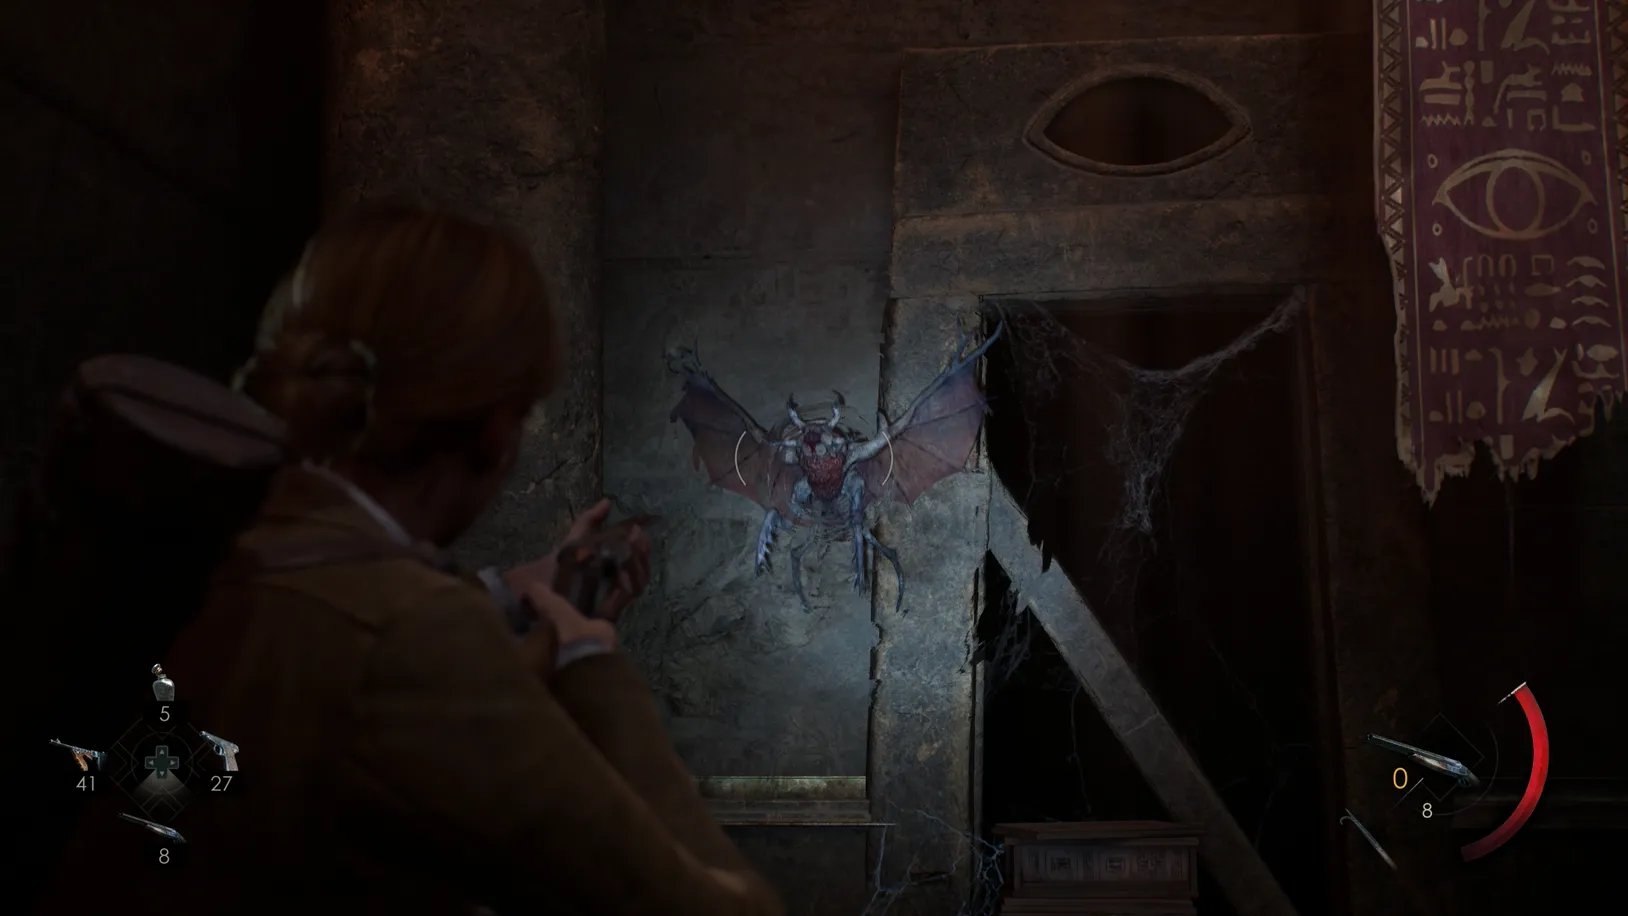
This opens a nearby door, where two flying monsters will appear—defeat them.
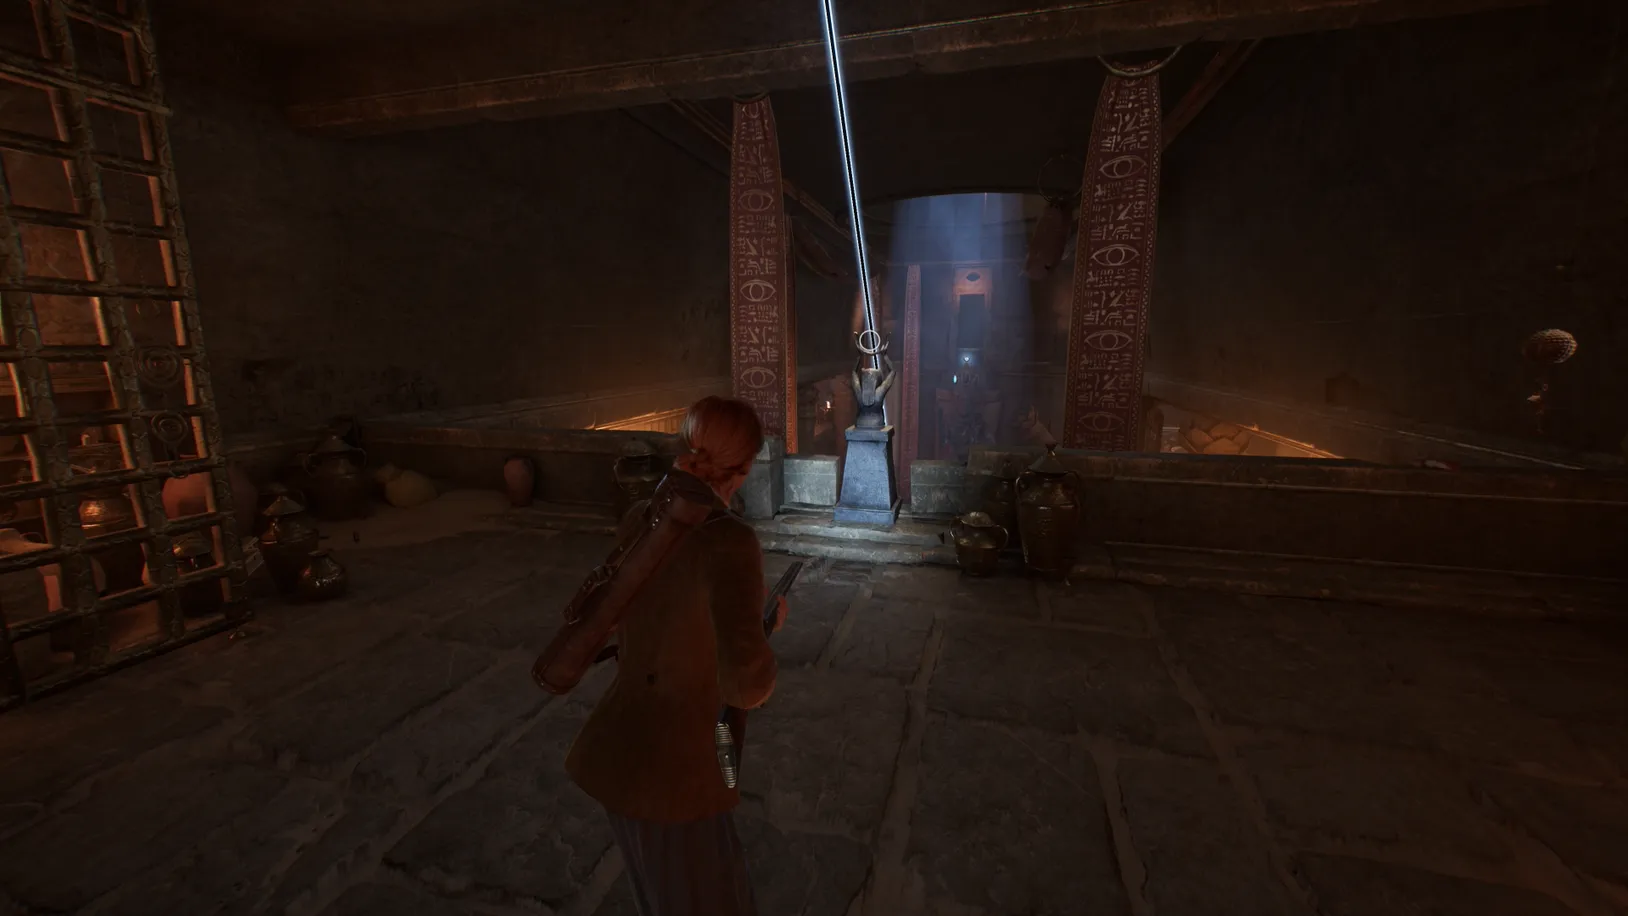
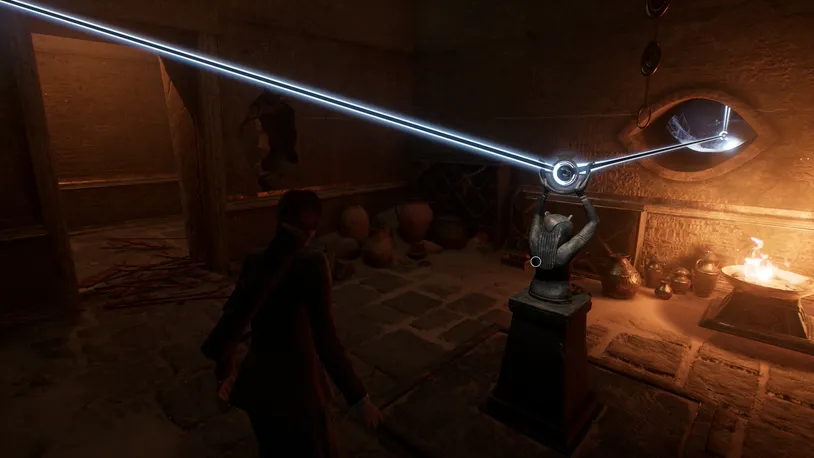
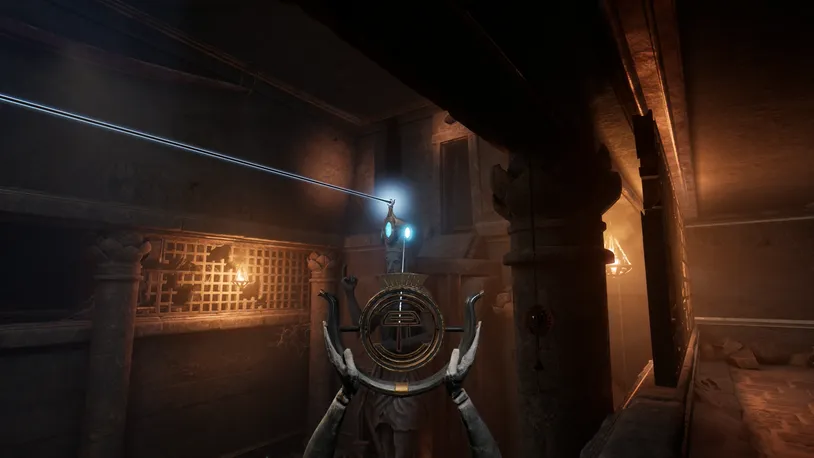
Once defeated, descend the stairs and then traverse under the fallen pillar to reach a lens puzzle room.
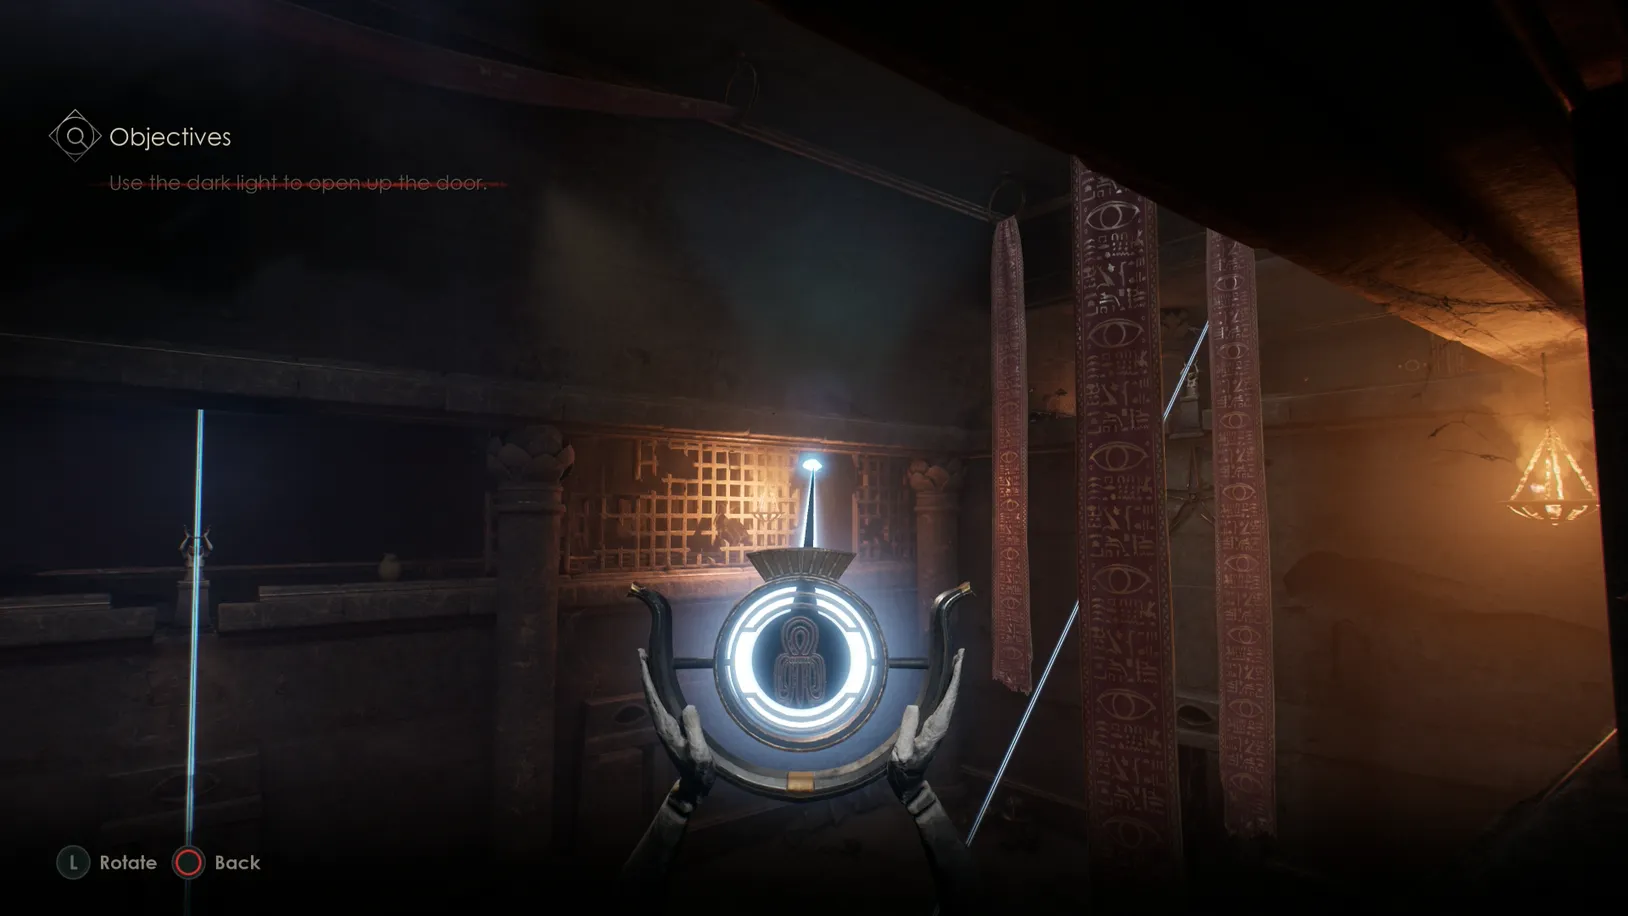
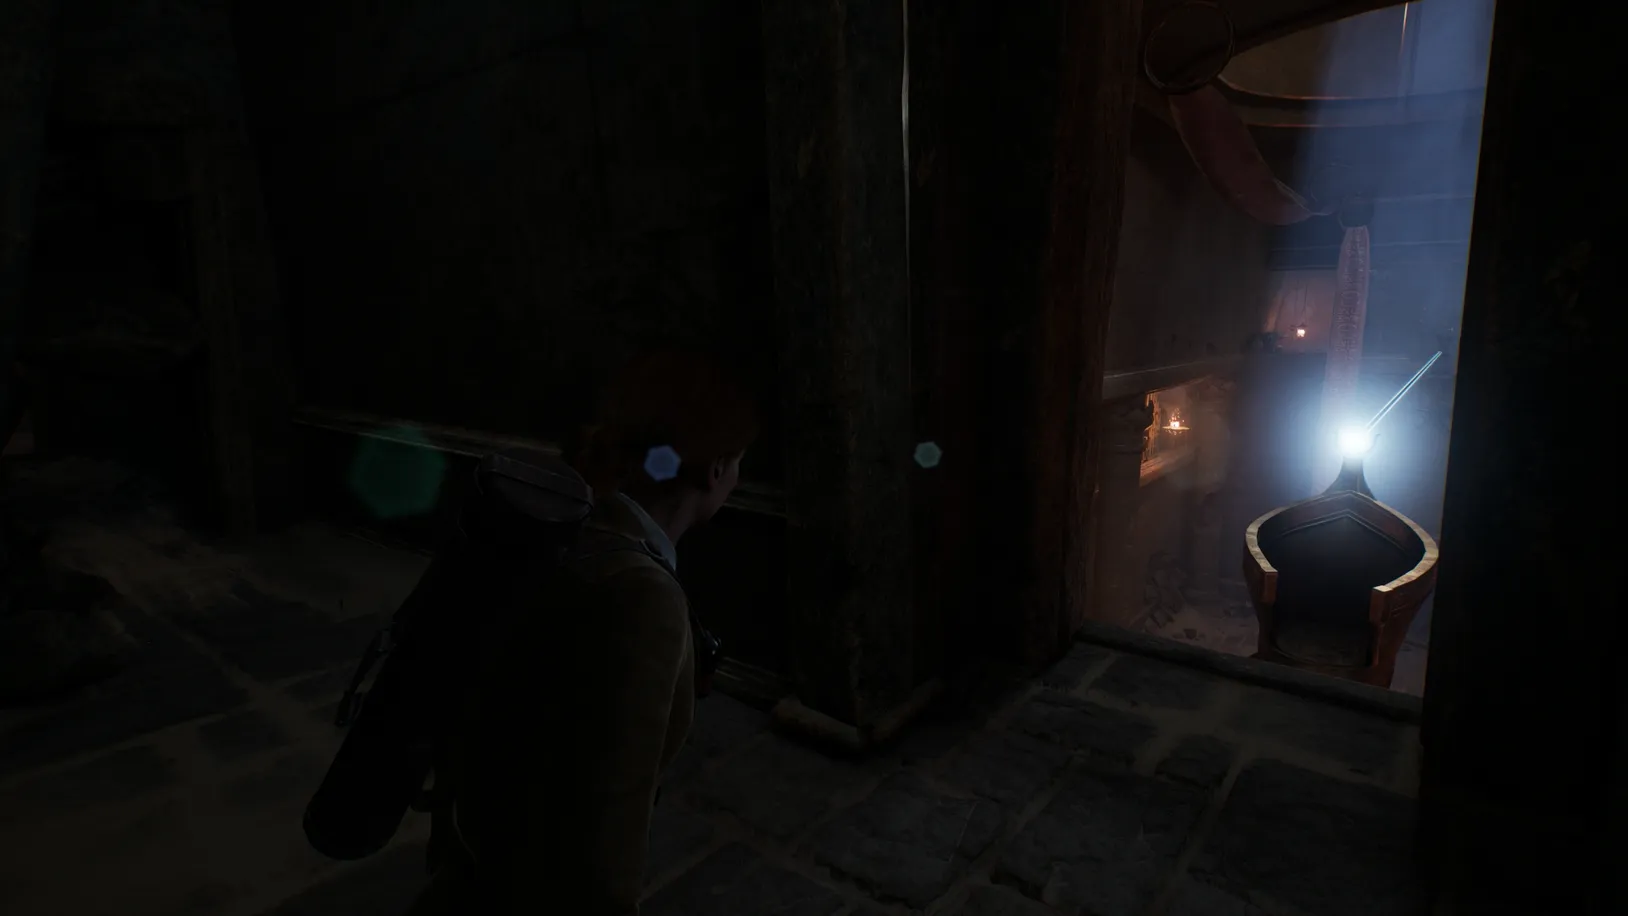
Pick up the lens from the box, add it to the lens holder, and pull the lever next to the door.
Aim the beam at the eye above the door to open it.
Ascend the stairs and turn left to find another mirror on the balcony. When entering this hallway, you'll be attacked by two more flying monsters.
After defeating those, use the mirror to open the door on the opposite balcony to the right. Two more flying monsters will appear, and you can defeat them with the beam.

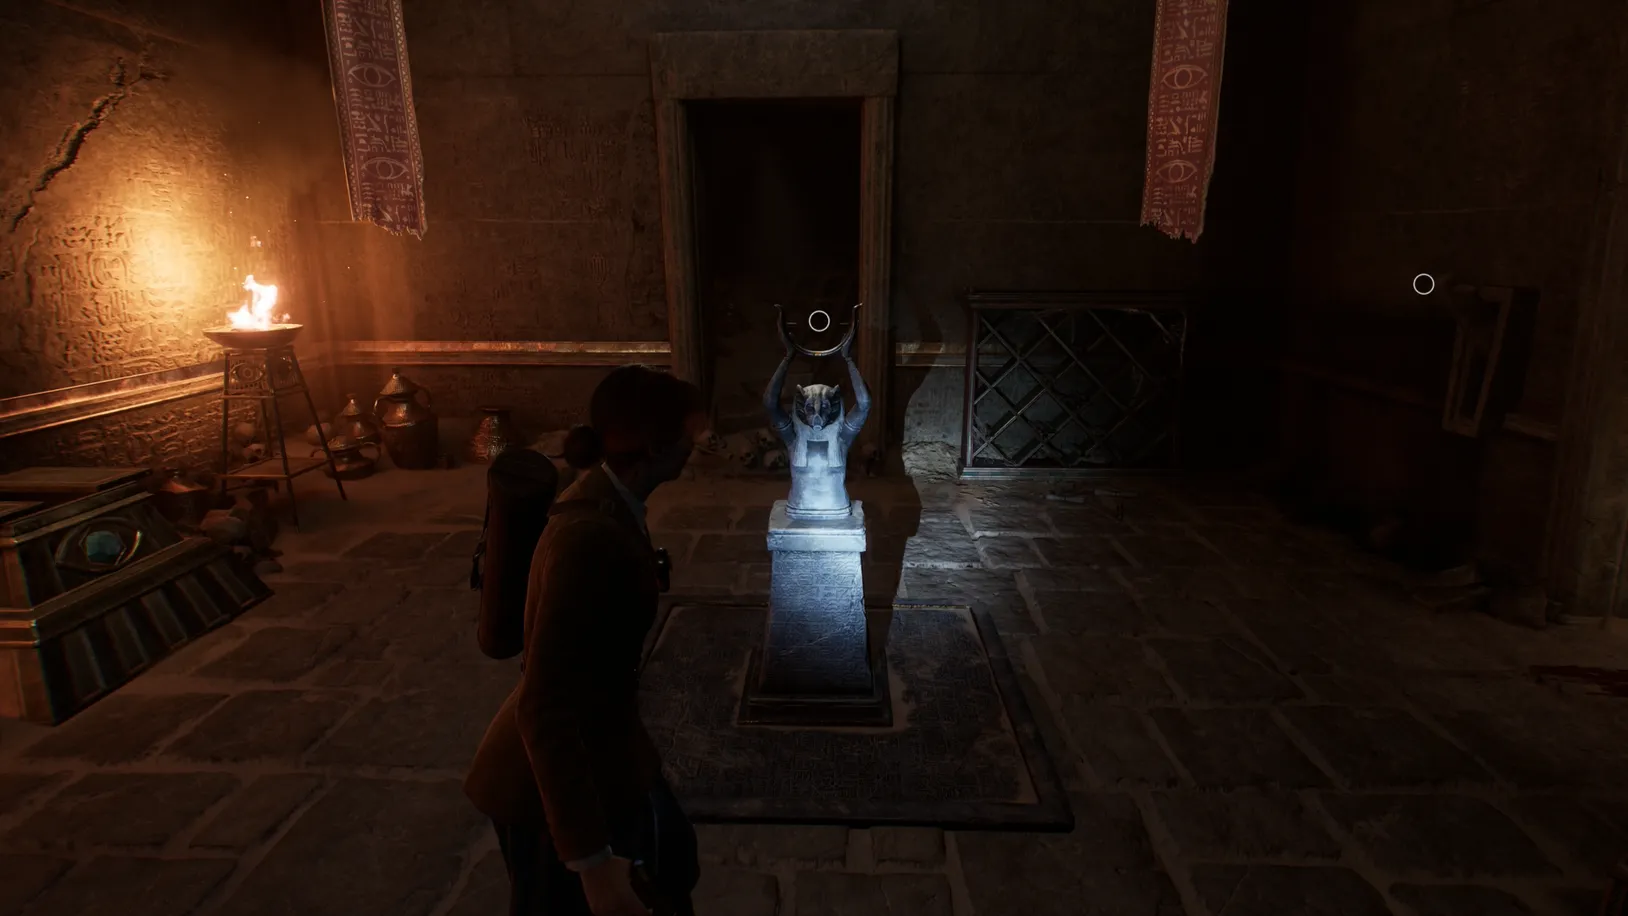
Then return the beam to the blue gem in the large statue's crown.
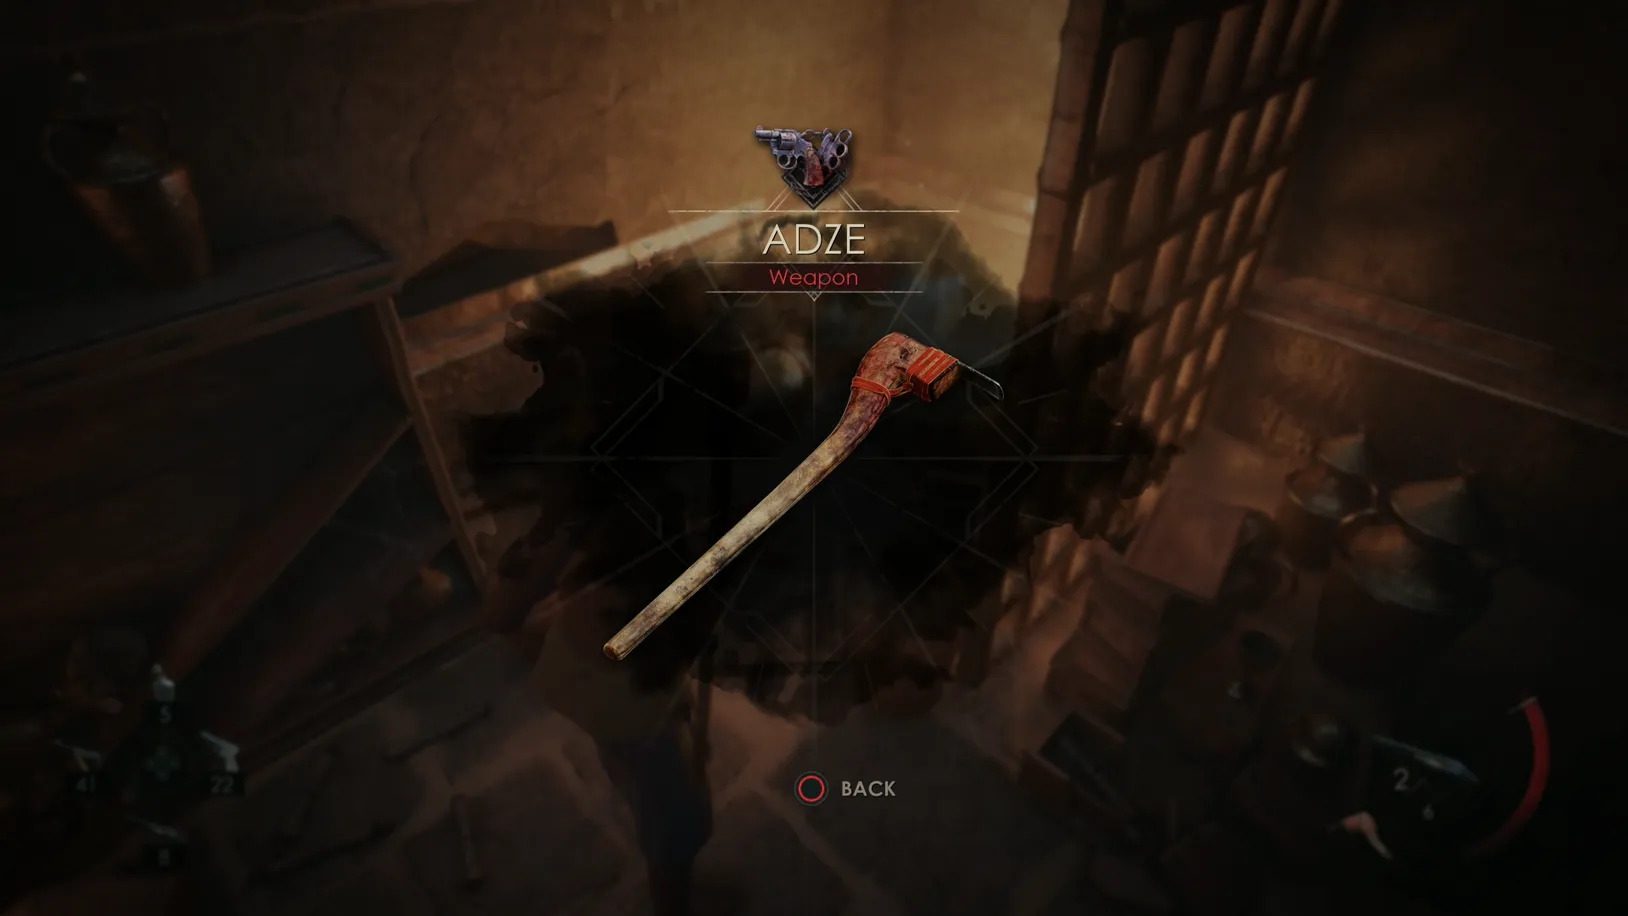
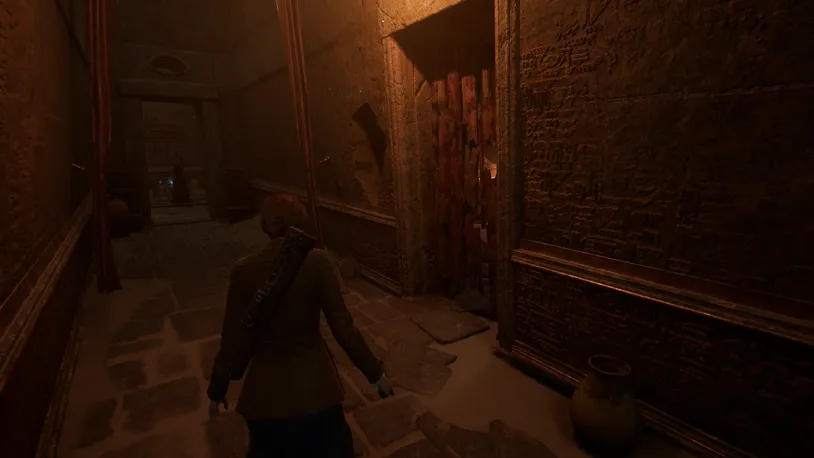
Find your way to the door you just opened. Descend the stairs and pick up the ancient pick in the open room.
Destroy the barricade to the left in the hallway and find another lens puzzle.

Pull the lever on the wall, direct the beam to the eye on the box on the floor, and pick up the lens.
Return to the hallway and destroy the barricade on the other end.
Backtrack up the stairs, take a left, and climb to the balcony on the opposite side of the giant statue.
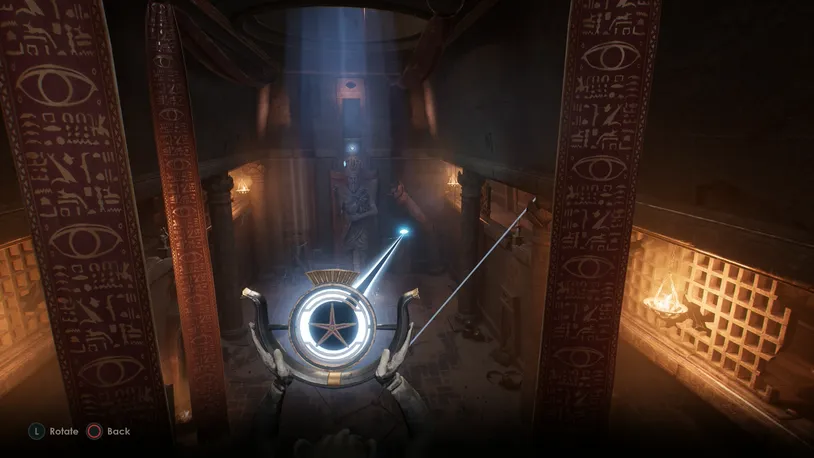
Add the lens—four flying monsters will appear—and direct it to the eye above the ground-floor door.

Then aim the beam at the mirror on the giant statue's crown.
Backtrack to the ground floor and enter the door you just opened. When you do, two monsters will appear that you need to defeat.
Descend the stairs, run through the hallway, and destroy the barricade on the right side. Enter the room and pull the lever.
Direct the beam to the hole in the wall shaped like an eye. Go out to the hallway again and enter the room all the way down.
Direct the lens to the eye on the box, and pick up the third lens.
Backtrack up the stairs and take a right just before entering the ground floor.
Head up another set of stairs, destroy the barricade, turn right, and ascend the stairs.
 After climbing the stairs, enter the doorway and turn right.

Here, you'll find a small hidden room.
On the ground, you'll find a Pickaxe and the Children of a Dark Sun Lagniappe.
Find your way to the other side of the balcony and add the lens to the lens holder.
Direct the beam to the mirror left of the giant statue. This will activate the lens above the giant statue.
Head up to the lens above the statue's head, and direct it to the plate on the floor.
This will trigger an escape event. You will be funneled to the ground floor as you backtrack to the main tomb area via the original path you used to reach the second floor. Along the way, you'll need to defeat several monsters who will attempt to stop you.
Interact with the plate on the floor, which triggers a cutscene.
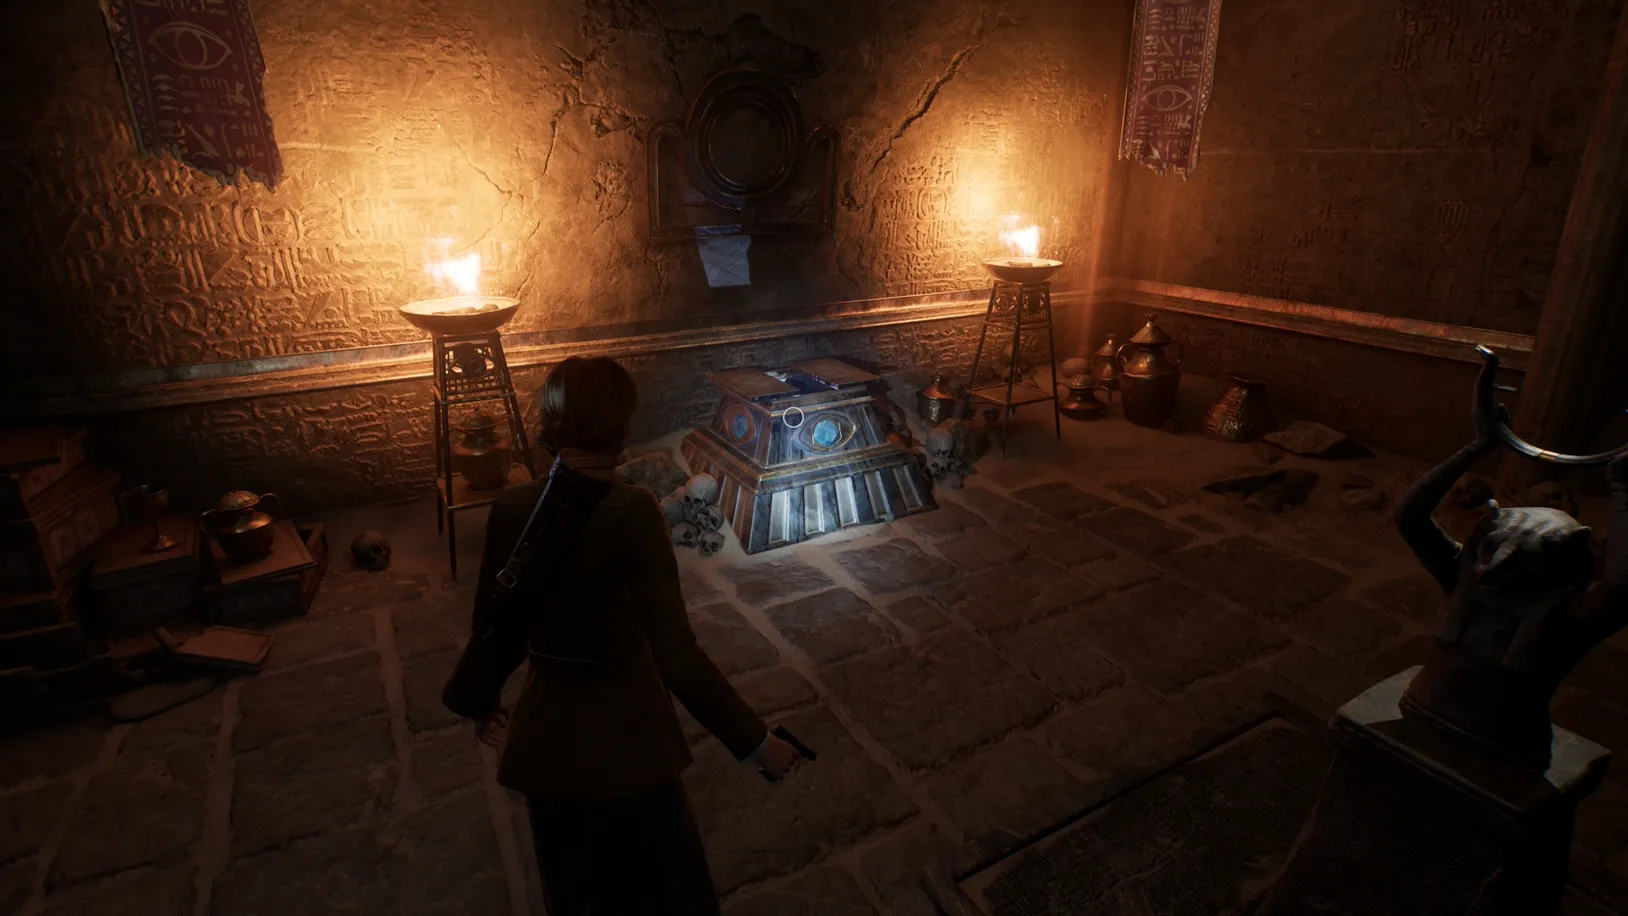
Here, you will find The Dark Man’s Contract and Sacrificial Dagger.