Chapter 1 Walkthrough
Emily and Detective Carnby have arrived at Derceto in search of Emily's uncle Jeremy, after concerns arose regarding his safety and wellbeing. This Chapter 1 walkthrough will guide you through breaking into Derceto, locating Jeremy, solving all puzzles, and navigating the in Alone in the Dark.
Chapter 1 Walkthrough
Look for a Way Inside the House

Following the opening cutscene, you’ll be prompted to select a character with the analog stick—we’ve selected Emily Hartwood, but this guide covers both character experiences—and press the interaction button to confirm your choice.

Following a short cutscene, you’ll still be unable to get inside, so you’ll find yourself breaking into Derceto.
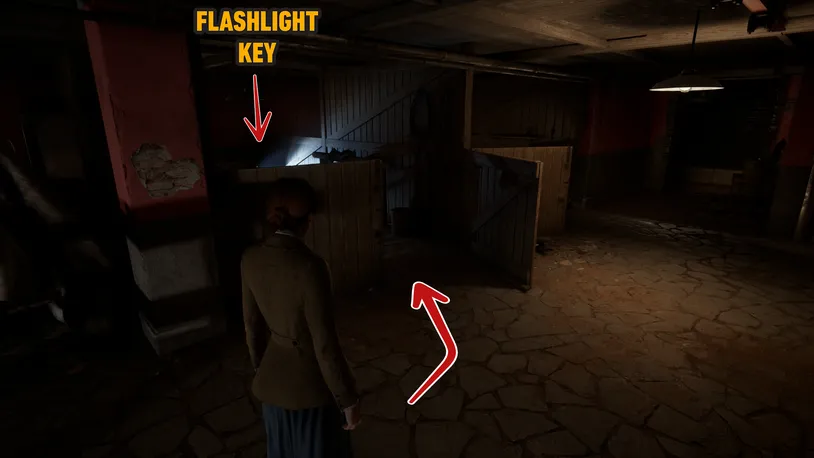
Needing to find a way into the house, navigate through the garage and pick up the flashlight and the key to the Kitchen Garden in the horse stall to your left.
Flashlight - Clue
Kitchen Garden Key - Key Item
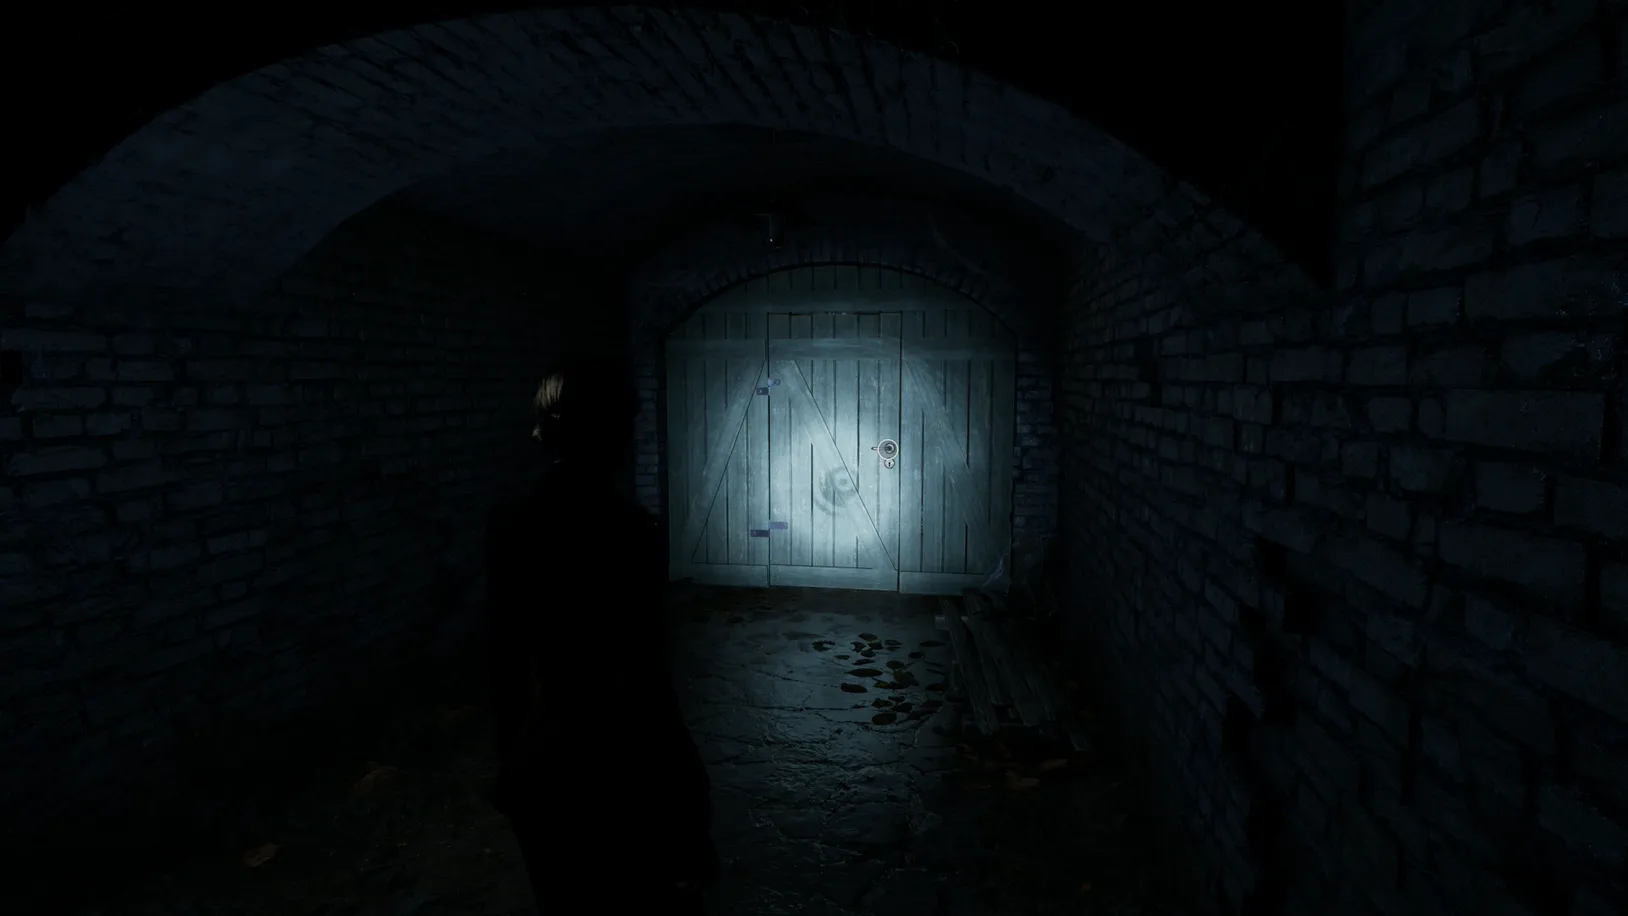
Once collected, exit the stall and head through the nearby doorway, where you’ll find a door you can unlock and proceed into the Kitchen Garden.
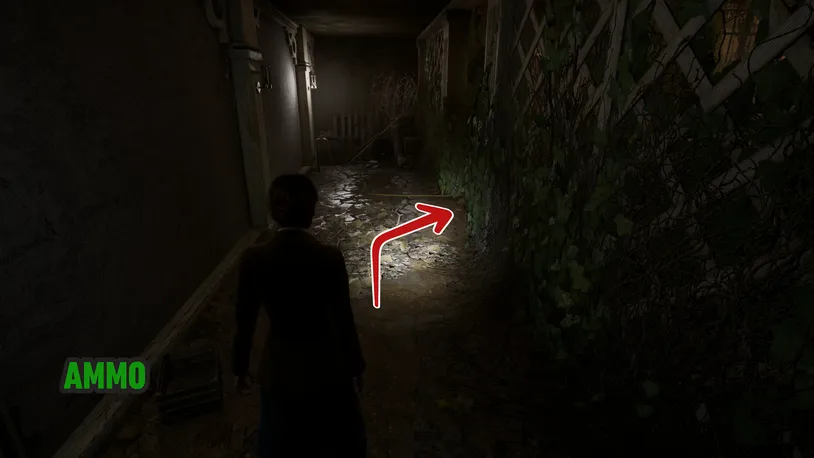
Once open, pick up the Pistol Bullets from the crate along the wall and then make your way to the Conservatory.

Here, you can pick up the Housekeeper’s Key from a broken pot on the other side of the fountain.

Housekeeper’s Key - Key Item
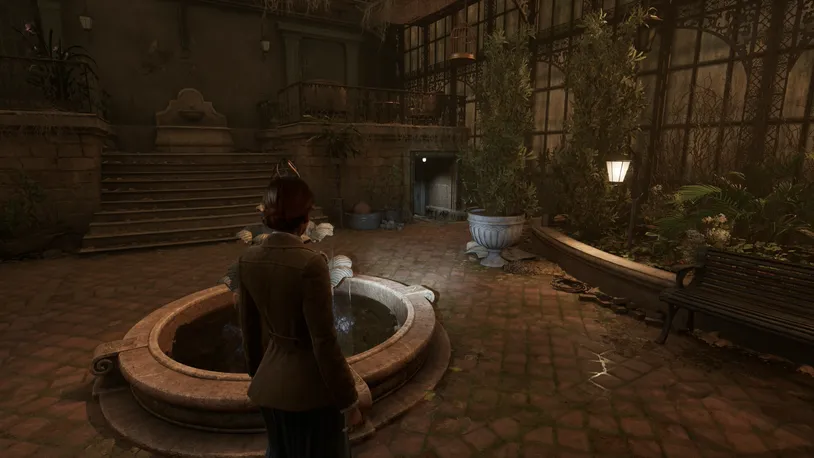
This key unlocks the door just down the stairs of the Derceto building.
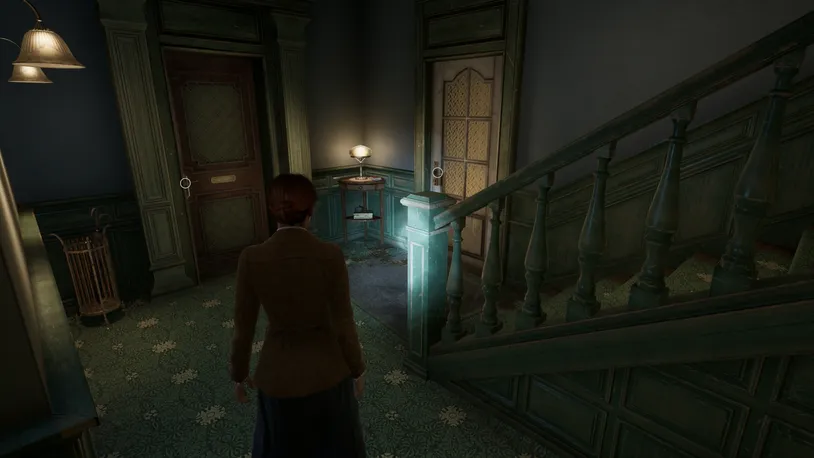
Find the Front Door and Let Detective Carnby Inside
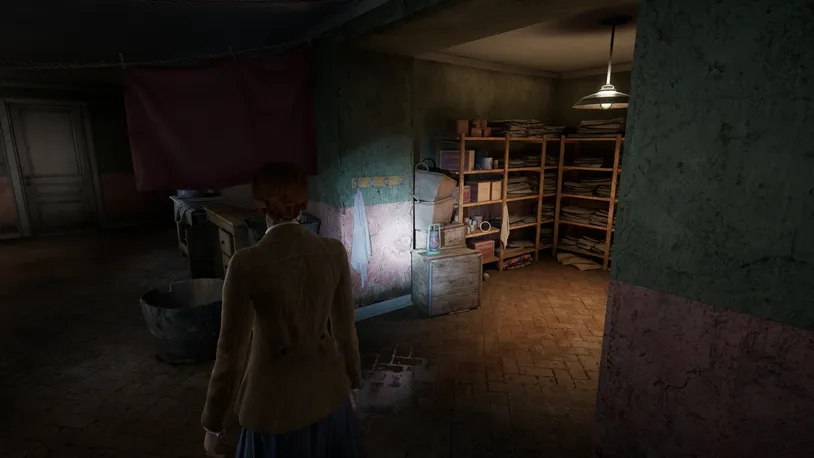
You’ll enter the Staff Lounge and Laundry when you open the door.
Here, you’ll find a healing drink amongst a stacked shelf in the Linen Room and Mag’s Room, which contains a Family Bible on the bed, and some Pistol Bullets inside a small wooden box.
Family Bible - Clue
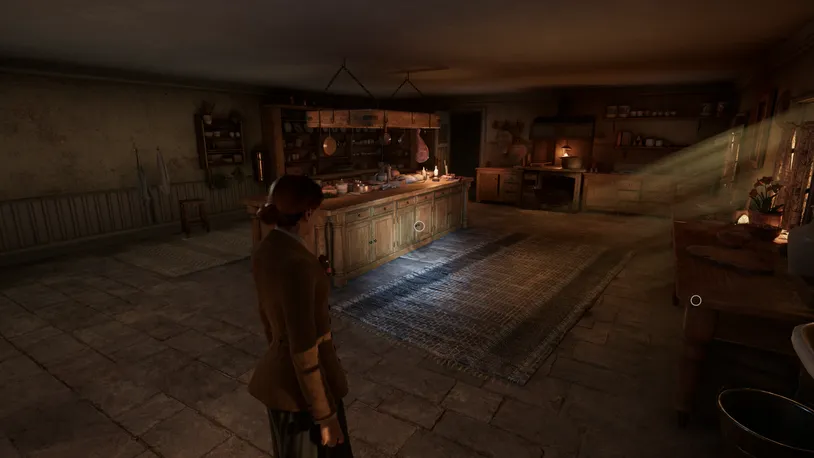
Once you’ve collected all the items, walk through the Staff Lounge & Laundry and open the door at the end of the room. When entering the Kitchen & Preparation Room, you’ll find several items you can collect before taking a left turn in the Kitchen & Preparation Room and entering the Stair Hall.
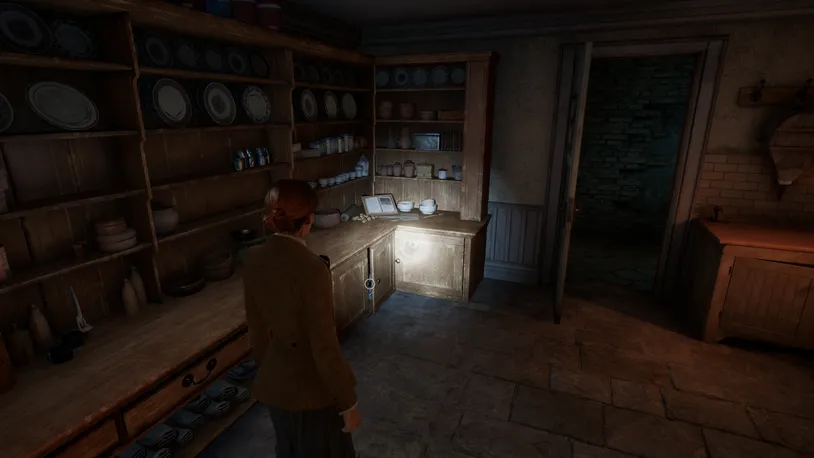
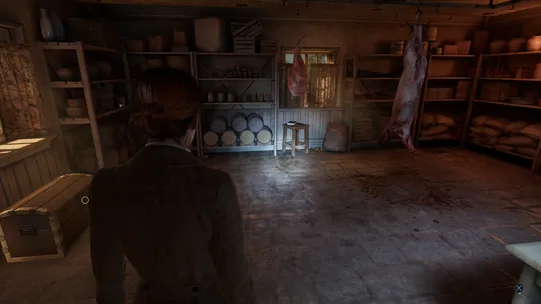 First, enter the door along the right-most wall. This will lead you to the Pantry, which is acting as a makeshift butchery. In the back corner of the room, on top of an old sheet on the ground, you’ll find some Rat Poison, which is part of a Lagniappe Set Collectible. There is also a chest beside the door that contains a healing drink.
Rat Poison - A Great Depression Set
Rat Poison - A Great Depression Set
When exiting the room, you’ll find a healing drink inside a small white cabinet next to the door.
From here, look towards the far side of the room, and you’ll discover some Pistol Bullets inside a wooden crate beneath the bench along the wall and inside a cabinet on the center island bench.
Lastly, before leaving the room, search the cabinet just left of the door that leads to the Stair Hall to discover more Pistol Bullets.
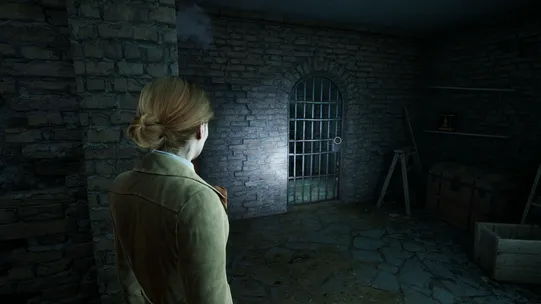 Leaving the Kitchen & Preparation Room, head right, where you’ll discover a steel gate leading to the Food Cellar. Enter inside and explore the room.
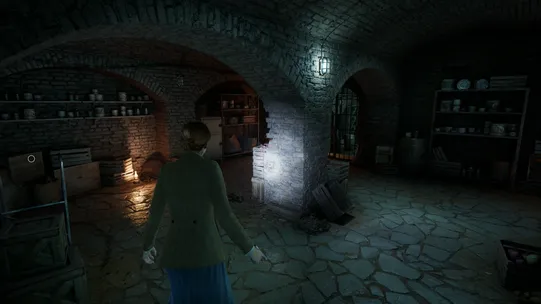
You’ll find Pistol Bullets inside a wooden crate in the leftmost corner of the room and the Streetcar Ticket Lagniappe on a shelf near the rightmost corner of the room.
Streetcar Ticket - The Crescent City Set
Unable to pass through the locked steel gate to the Wine Cellar, leave the Food Cellar and follow the hallway.
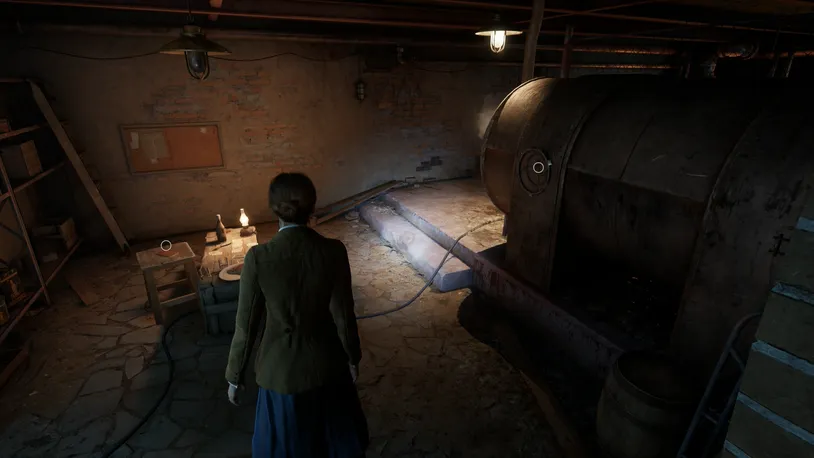
When you reach the first unopened door on your left, head inside to discover the Boiler Room. Here, you’ll find a Sabotage note on the table from Mr Waites, who informs you that while the boiler is working, the sabotage caused a leak, and the decorative plate has been completely ruined.
Sabotage - Clue
Unable to pass through the steam—similar to the Food Cellar, which we’ll return to later—leave the room and open the door opposite to find some stairs.
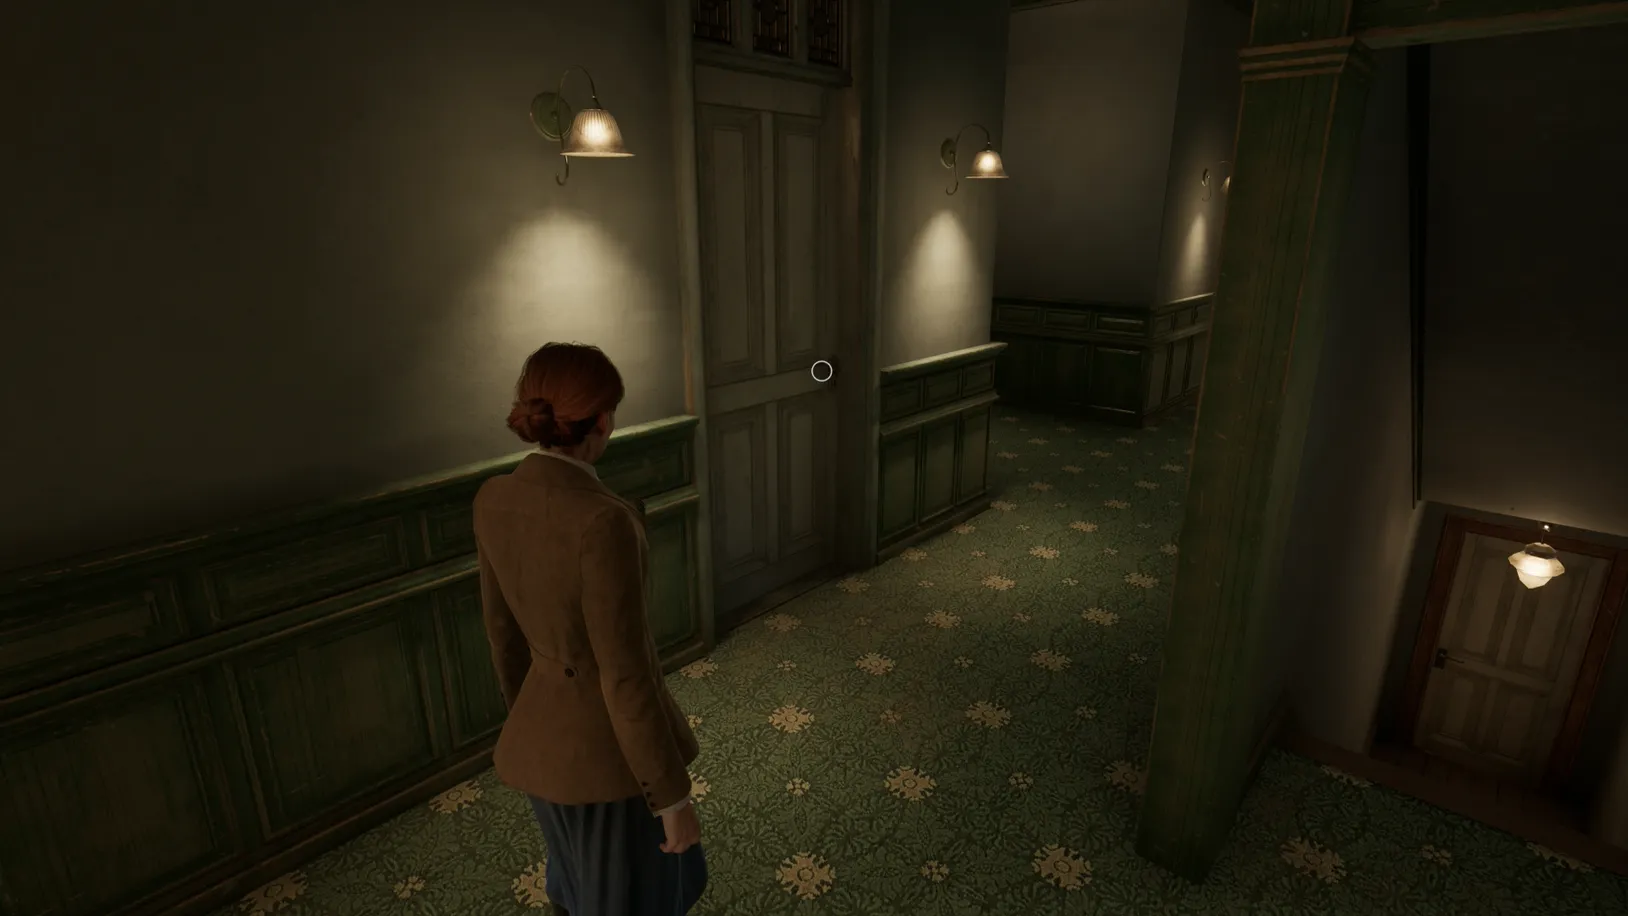
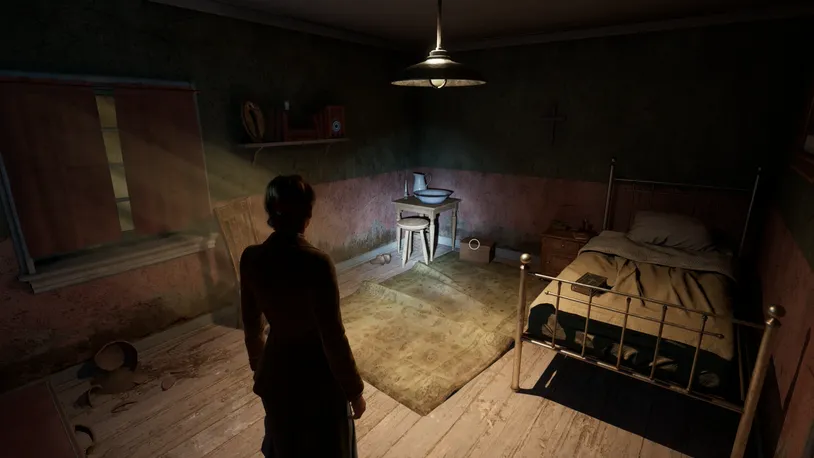
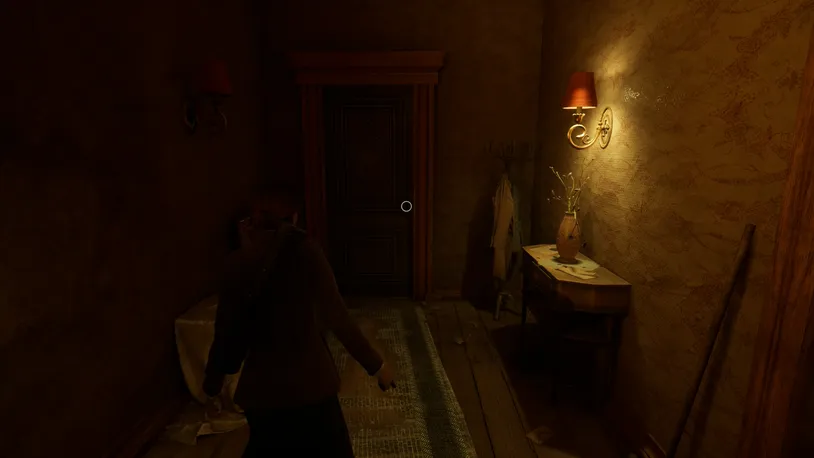
Proceed up one flight of stairs and round the corner. The first left-hand door leads to the Water Closet, and the second left-hand door leads to Lottie's Room. Head inside.
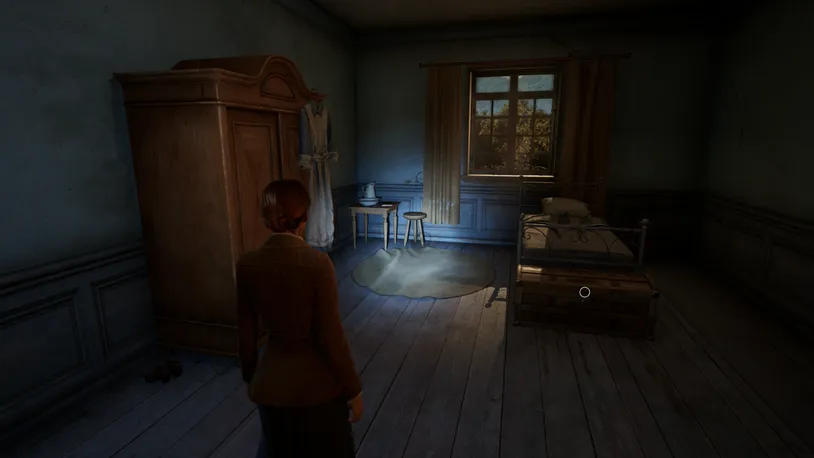
In this room, you’ll find Lottie’s Diary on the small bedside table and a chest at the foot of the bed containing a healing drink.
Lottie’s Diary - Clue
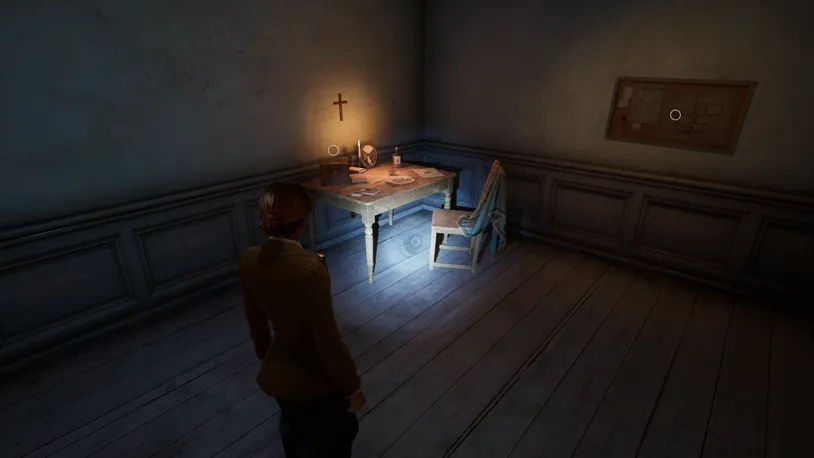
Near the door where you first walked in, pick up the Derceto Floor Plans off the wall and the Piazza key – the key is behind the map.
Derceto Floor Plans - Clue
Piazza Key - Key Item
Note the medicine box on the table; now leave the room and unlock the door to the Piazza to reach the Stair Hall.
Important
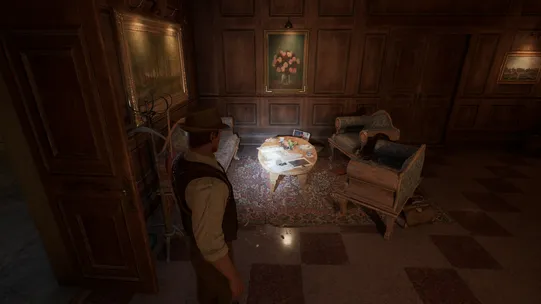 Before opening the door to Decerto for Emily, carefully approach the Reception. In this room, you'll find The Picayune Post clue on the coffee table.
The Picayune Post - Clue
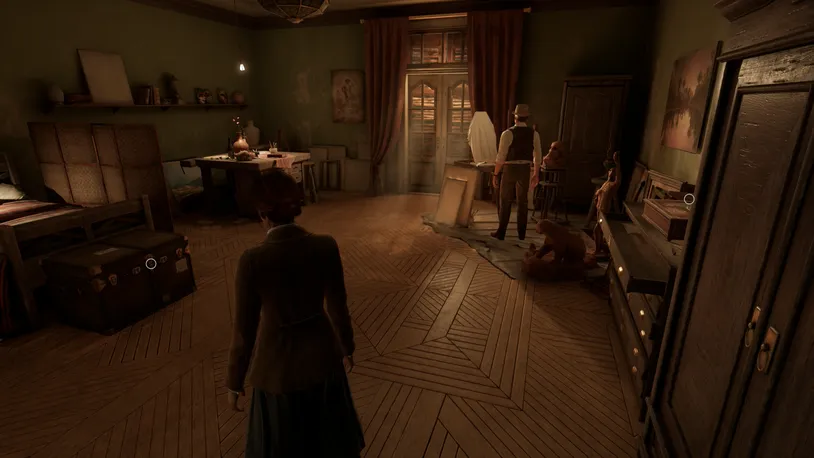
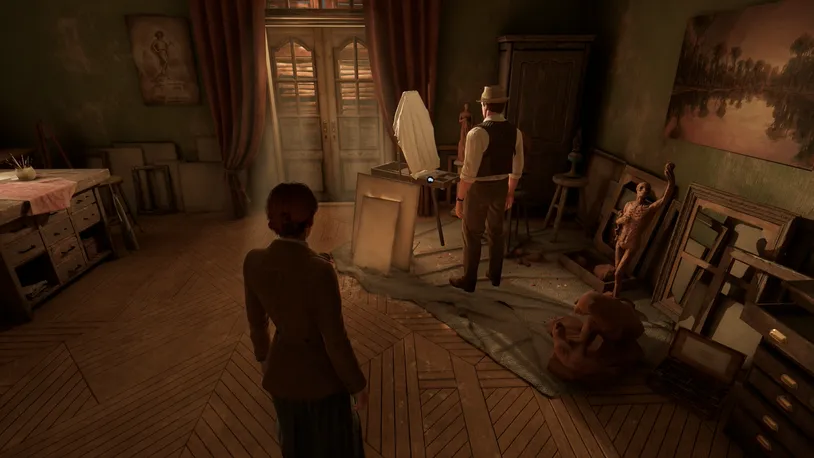
Search Jeremy’s Room for Clues
You end up in Jeremy’s Room.
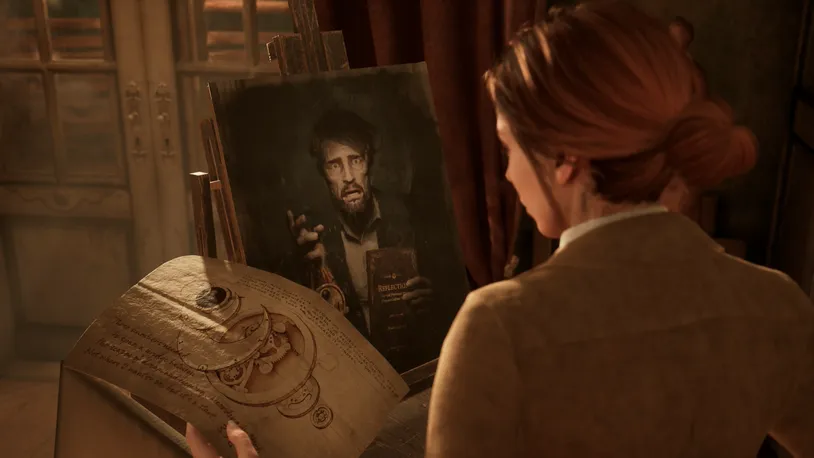
Pick up the Commonplace Book and the Painted Tile puzzle piece on the table to your left.
Commonplace Book - Clue
Painted Tile - Key Item
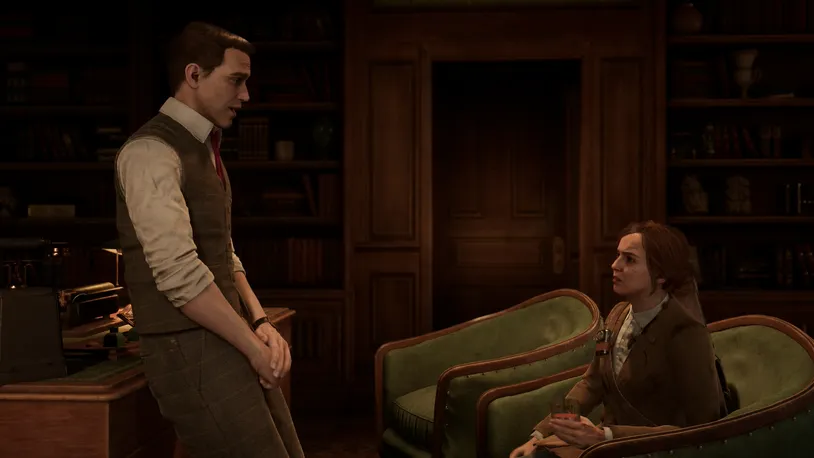
Before continuing, speak with Detective Carnby for three optional conversations.
Detective Carnby - Optional Conversation 01
Detective Carnby - Optional Conversation 02
Detective Carnby - Optional Conversation 03
If you're playing as Detective Carnby, Emily will also have her own conversations by the table near Jeremy's bench.
Emily Hartwood - Optional Conversation 01
Emily Hartwood - Optional Conversation 02
Emily Hartwood - Optional Conversation 03

Following the conversation, enter the puzzle piece in the apparatus on your right and solve the puzzle to trigger the next Cutscene.
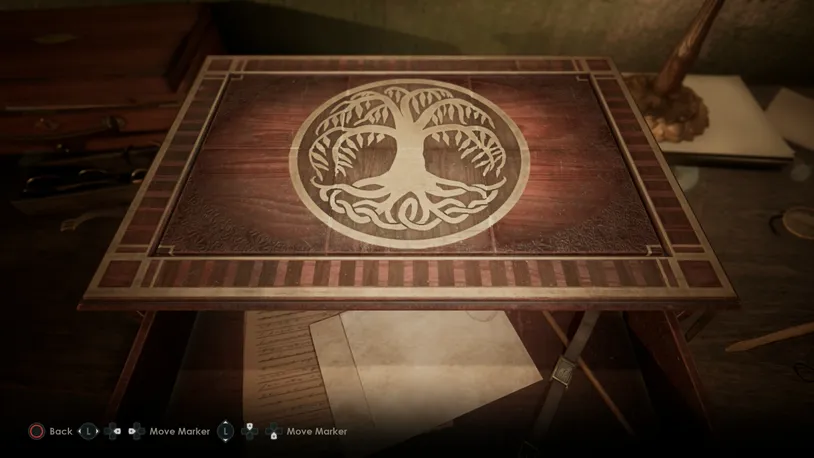
To solve the puzzle, move the pieces around the puzzle board until it displays a picture of the Tree of Life.
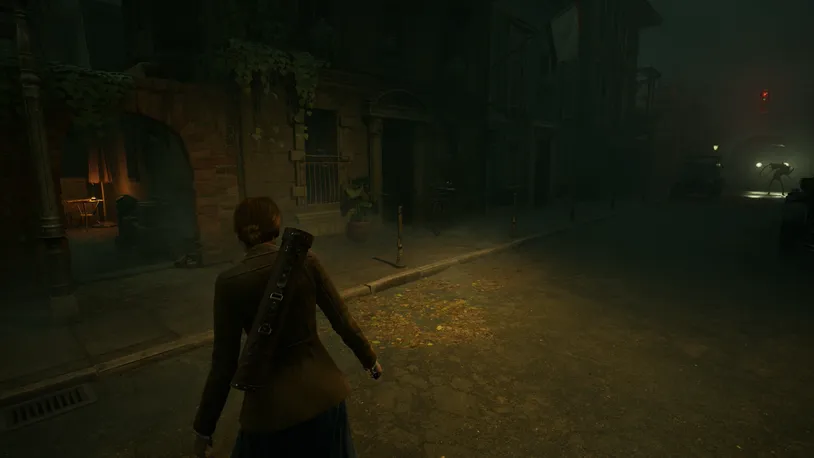
Investigate the Corner Store
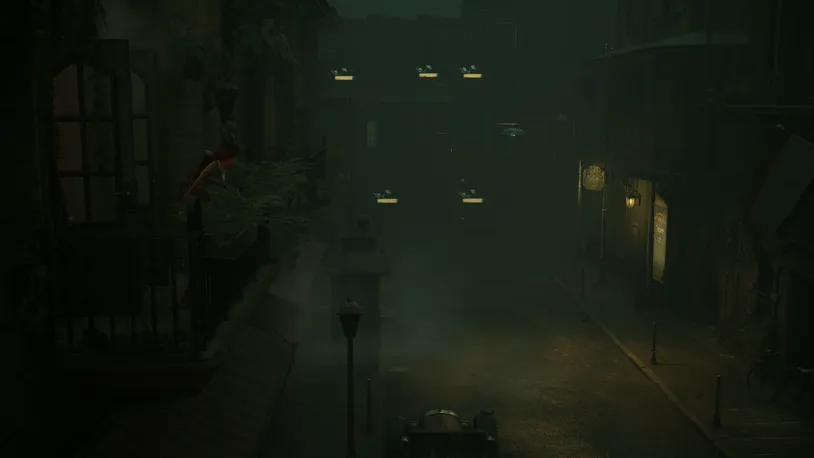
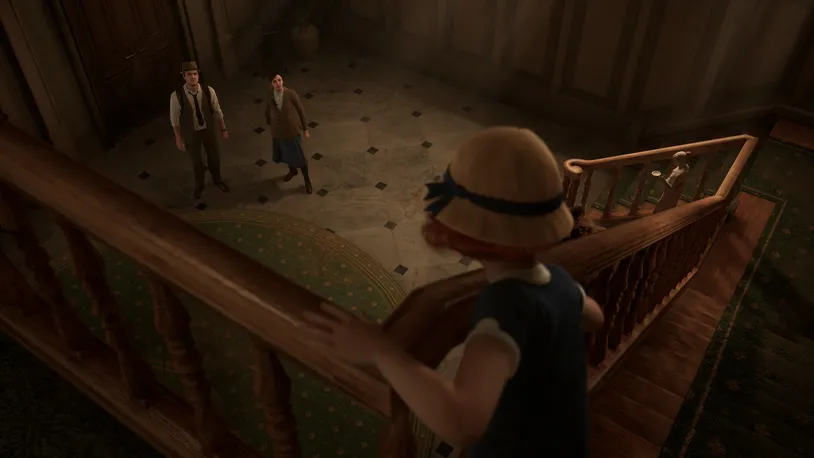
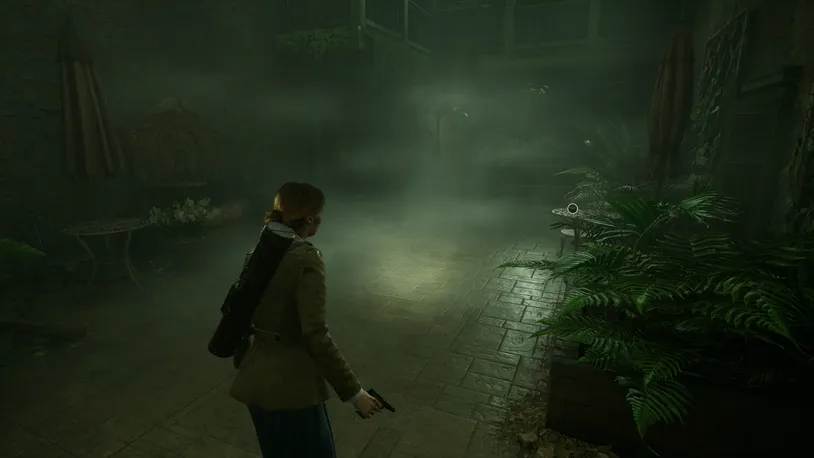
Following the cutscene, you are now in French Quarters.
Make your way out of the room and downstairs to leave the building.
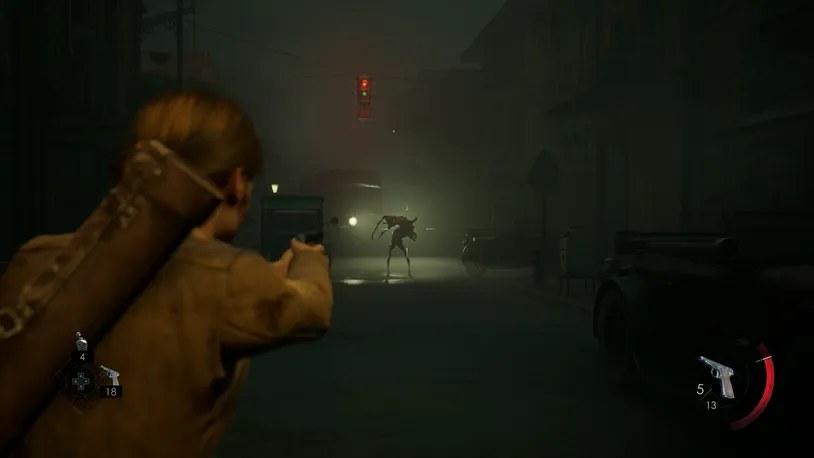
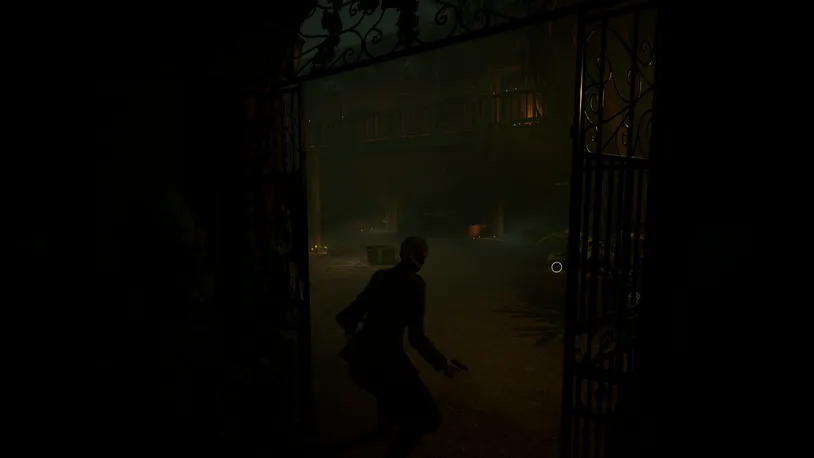
Cross the courtyard and take down the two enemies that you encounter with your Pistol.
Once defeated, exit the courtyard—be sure to grab the Pistol Bullets from the top of the outdoor table first.
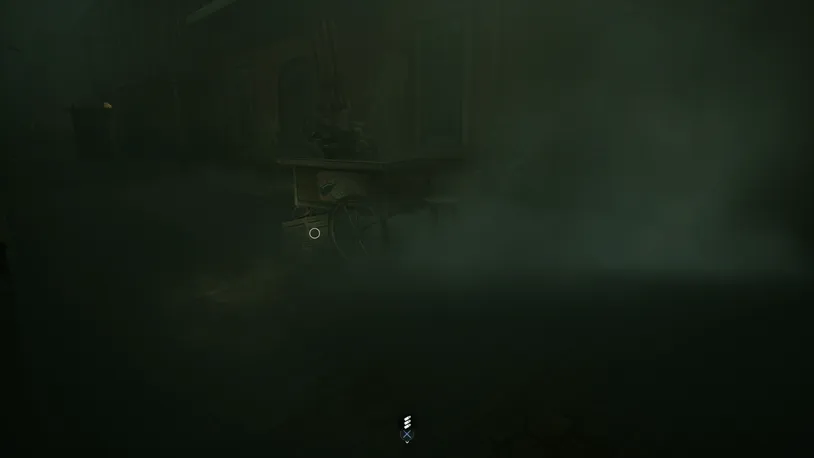
When leaving the courtyard, head towards the wooden soda cart to your left, where you’ll find a crate beside the wheel containing Pistol Bullets, as well as more within a trash bin on the other side of the road.
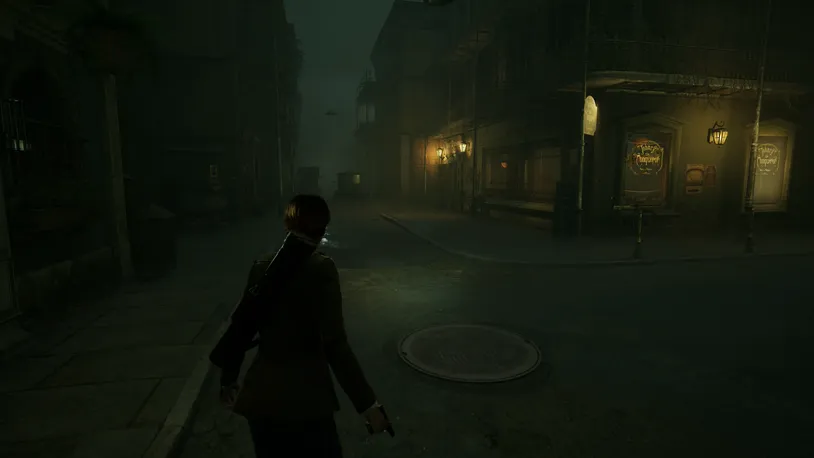
With those collected, continue down the street to reach the spiritual supply shop, Johnny The Conqueror. Before entering, you’ll find a trash bin across from the left side of the shop containing a healing drink and another metal outdoor table with Pistol Bullets.
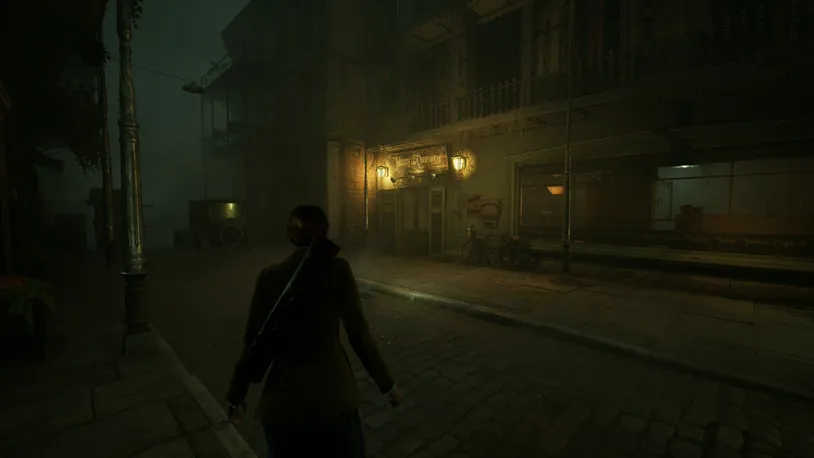
Once collected, head inside the store, where a cutscene will play upon entering.
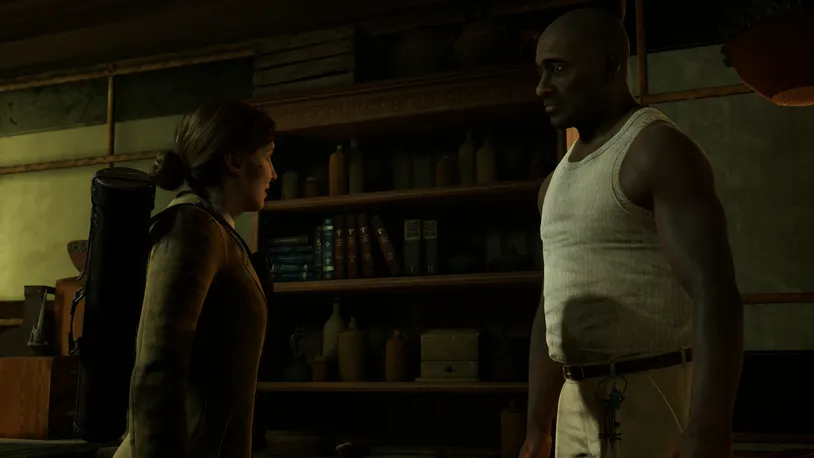
You receive Batiste's Key Chain at the end of the cutscene.
Batiste’s Keys - Key Item
Find Miss Jackson’s Place to Learn More About Jeremy’s Talisman

Following the cutscene, pick up the Preserved Reptile Lagniappe off the floor next to the large chest in Batiste's store.
Preserved Reptile - A Goat Without Horns Set
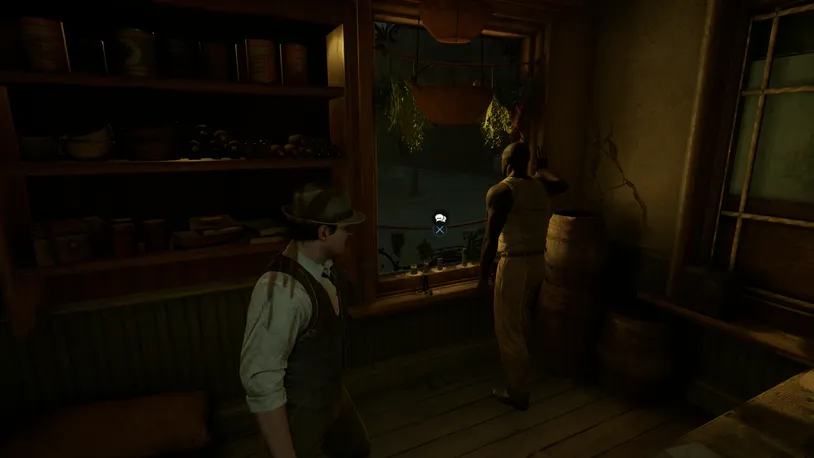
After the cutscene with Batiste in the French Quarter, speak with him for some optional conversations as he looks out the nearby window behind the counter.
Batiste - Optional Conversation 01
Batiste - Optional Conversation 02
Batiste - Optional Conversation 03
Exit the store from where you came, take the left turn, and continue down the street. Along the way, you’ll find more ammo in trash bins that line the sides of the roads.
You’ll also find a Pipe weapon on an outdoor table that’s found down an alleyway next to the shop – .
Pipe - Weapon
Continuing down the street, take a right turn at the crossroads and continue down the street.

At the end of the street, there will be a gate to the left, which Batiste's Key Chain will open. Before entering the gate, you’ll find a Hatchet on the side of the nearby vendor cart.
Hatchet - Weapon
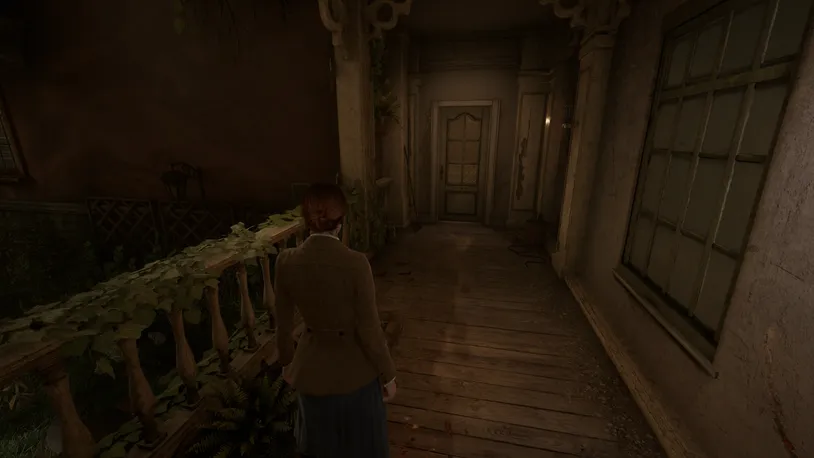
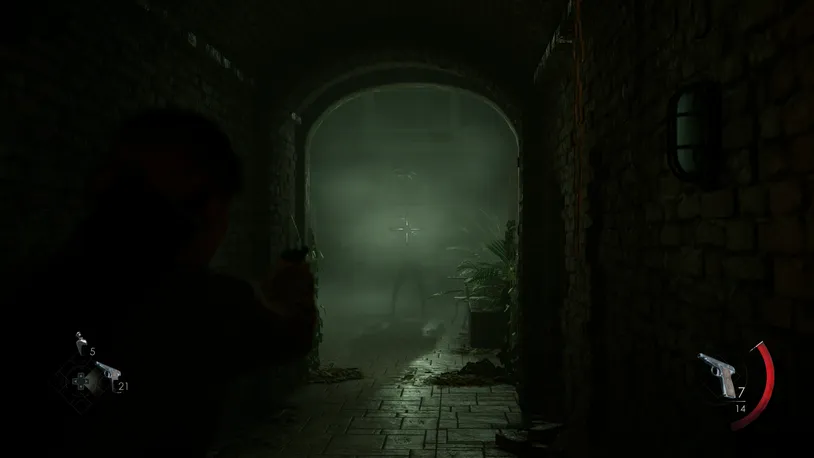
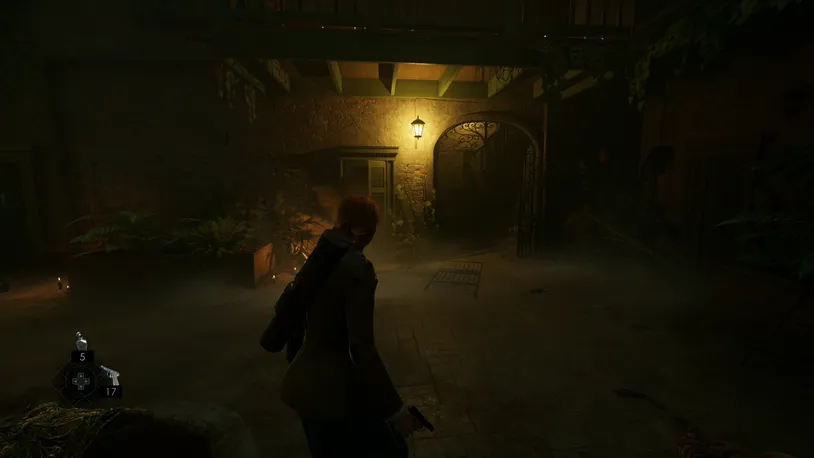
Make your way into the courtyard, fight the enemies and continue up through a gate on the left side.
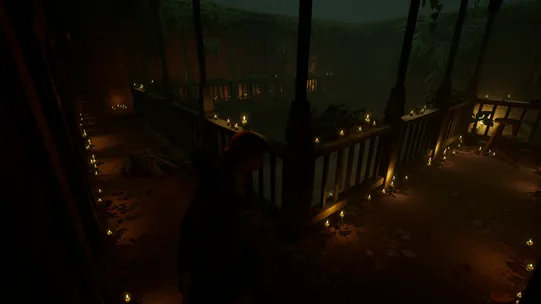 After climbing the stairs to the balcony, turn right, and you’ll find the Ju-Ju Lagniappe on a small stool.
Ju-Ju - The Crescent City Set
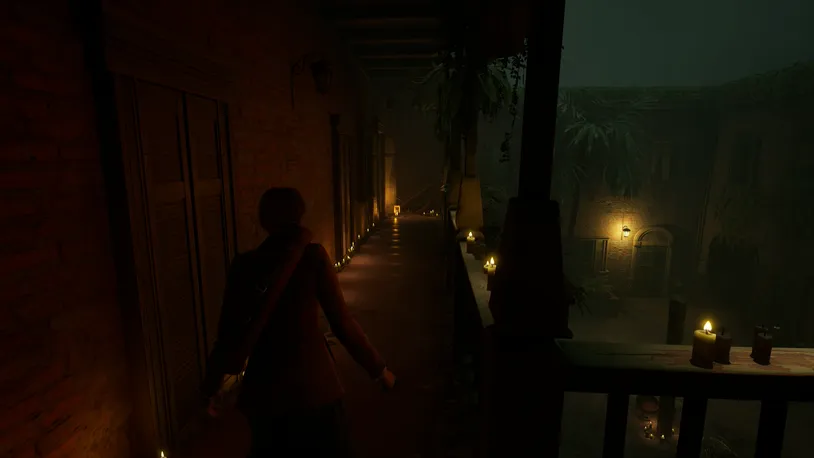
Now, follow the balcony to the other side of the courtyard to access the entrance of the Seance Room.
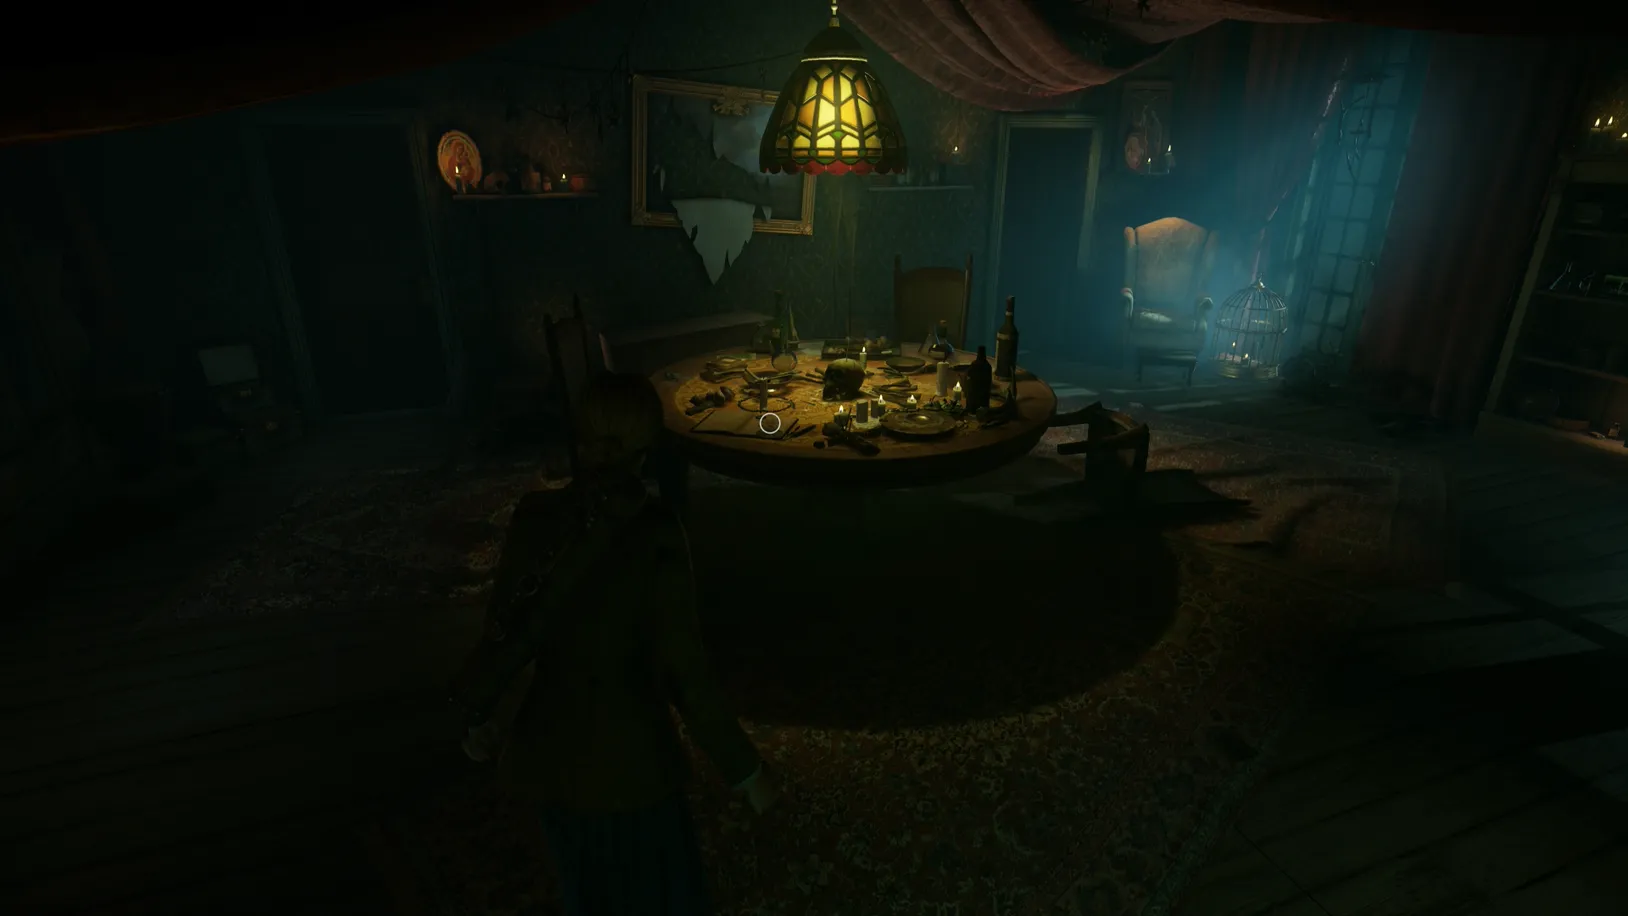
There, you can pick up the Talisman from the table. Place the talisman in the socket on the table.
Talisman - Clue

Through the talisman schematics you received at the beginning of the level, you learn that the code back to Derceto is 3-5-8, the first number being the smallest circle on the talisman.
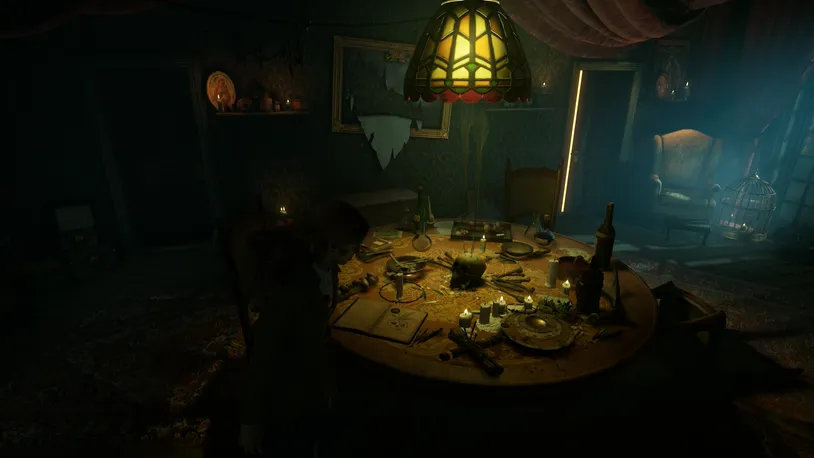
Enter the code – 3-5-8 from top to bottom – and a light will shine from a door.
Enter the door to trigger two cutscenes and return to Derceto.